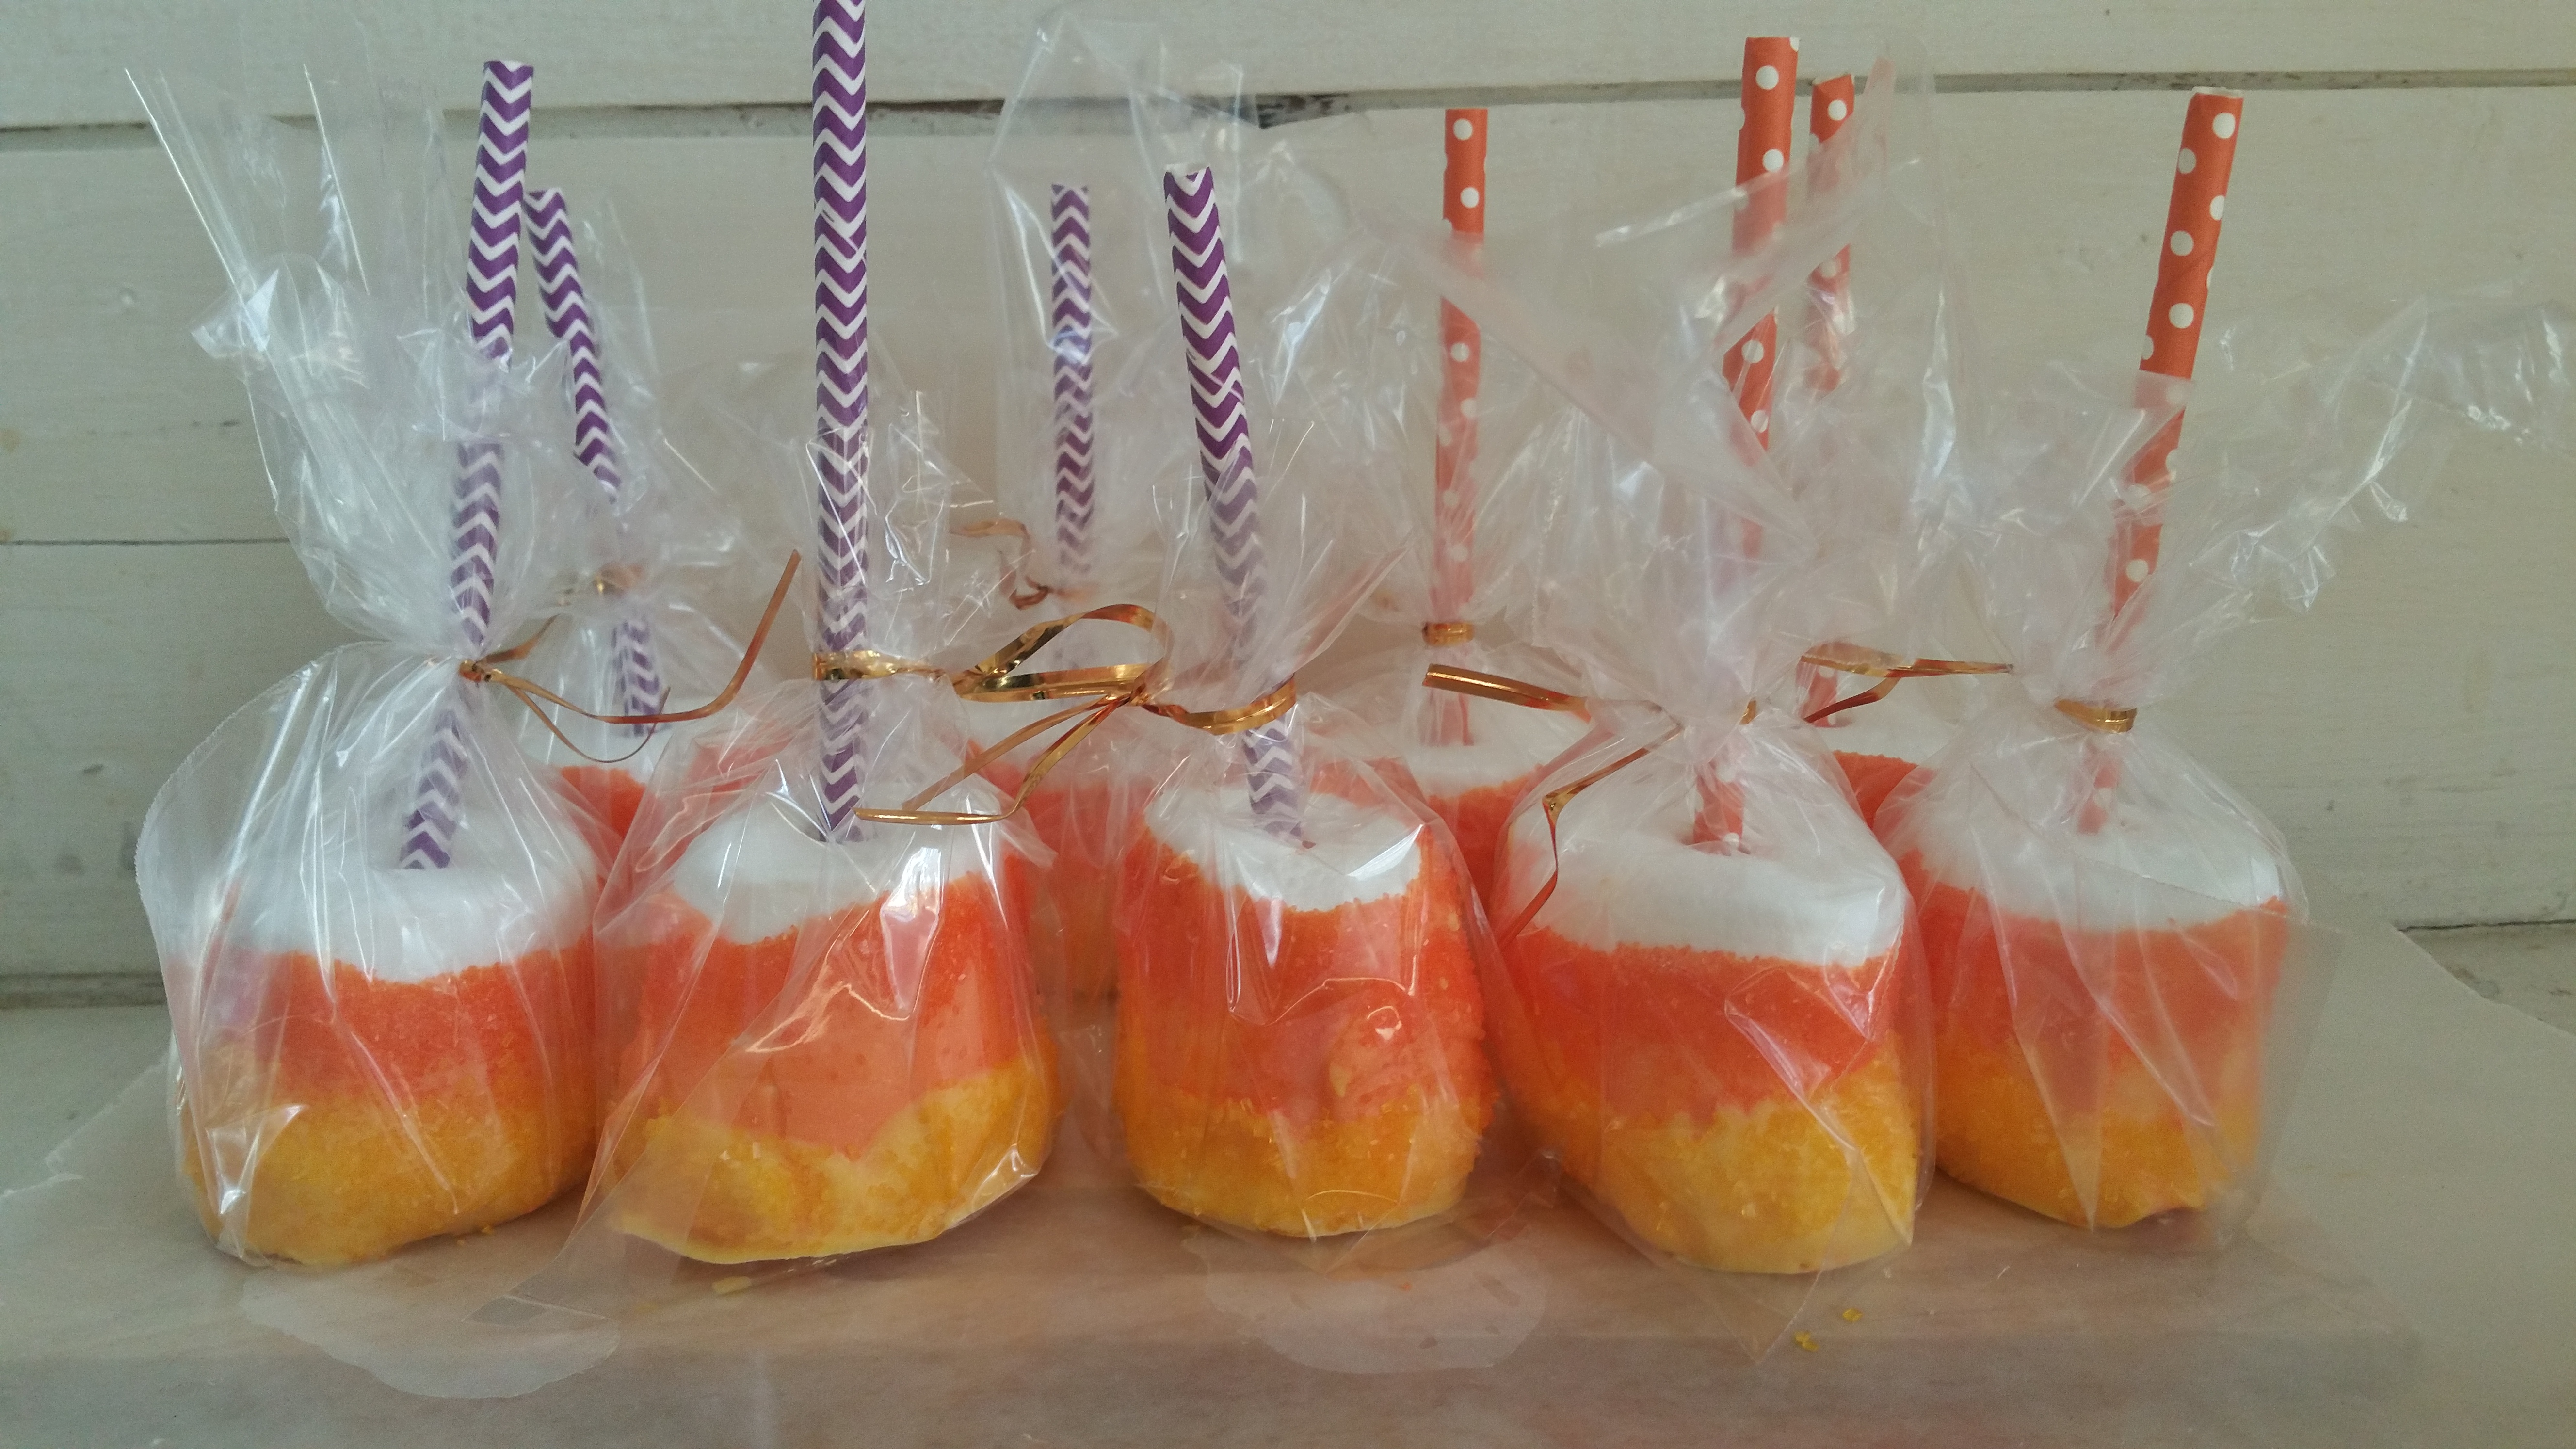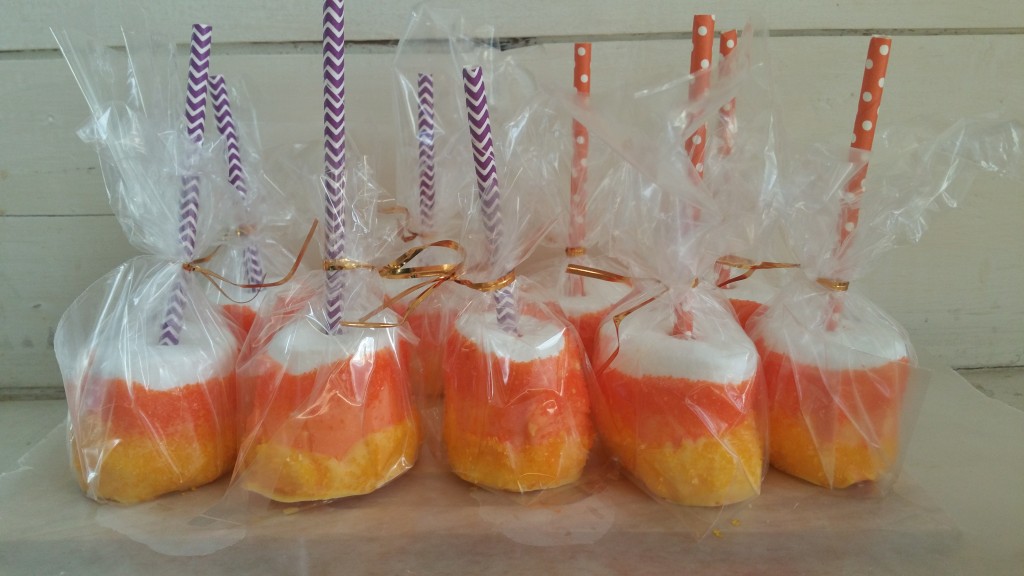
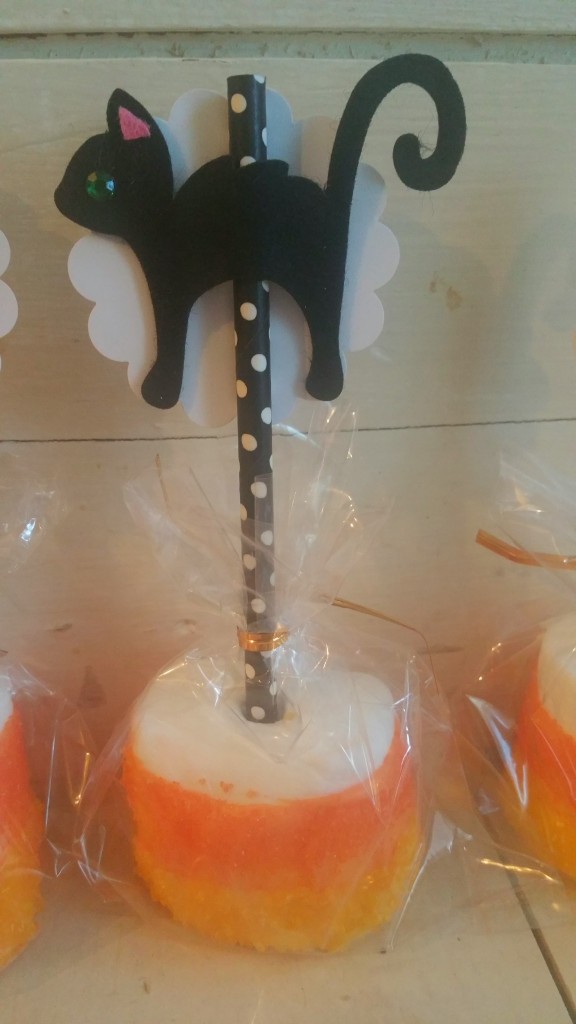
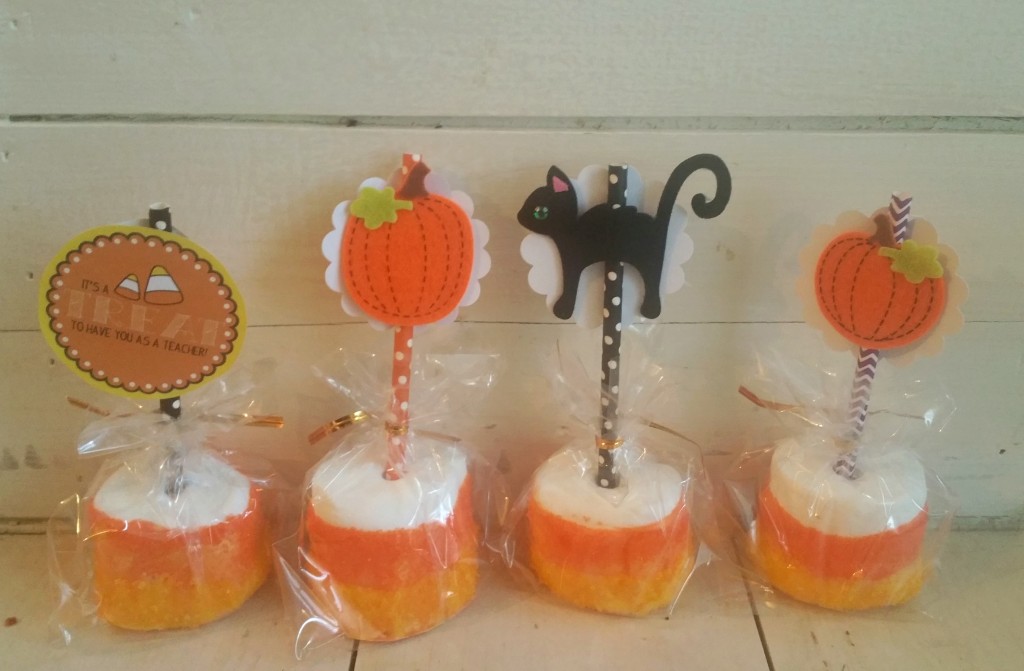
Who doesn’t love candy corn? That candy that is oh so terrible for you but yet also such fun sugar triangle to pop in your mouth. I do admit it is a bit of my guilty pleasure and I still eat them by color to this day. So this year’s Halloween theme is inspired by Candy Corn and I will post photos of our annual ‘Spook-tacular’ event after it is over. In the meantime, as I prep for the party to come and our pre-k party I decided to make treats for the whole class to take home and ofcourse the teachers.
They came out quite darling if you ask me. I just added a little fun touch with festive stickers that were 60% off from Joanne’s since we are vastly approaching Halloween and everything is on sale.
The Teacher prints you can download here .TeacherTreat
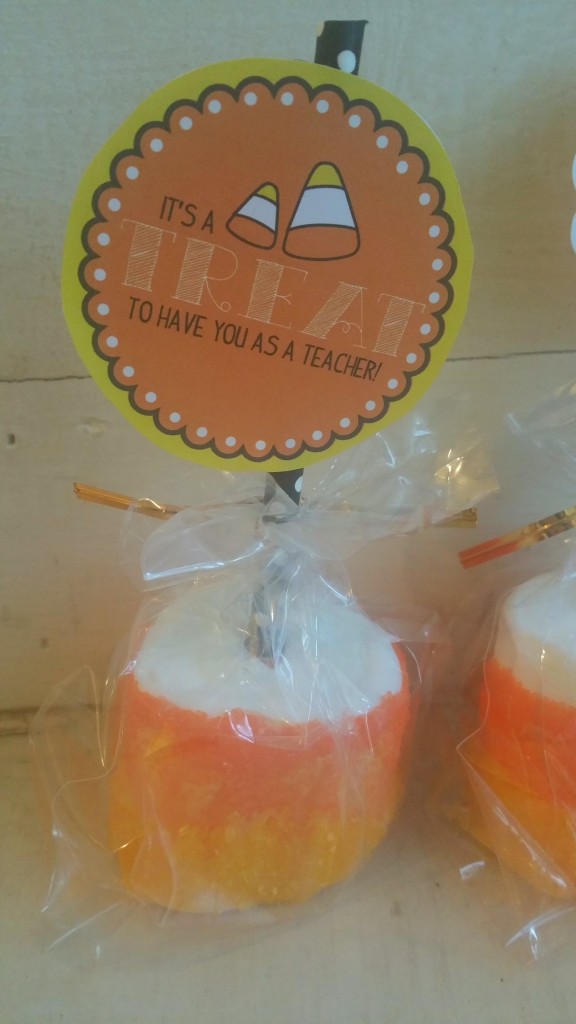
I am sure whomever you decide to make these for weather it is your child , child’s class or teacher they will enjoy these pretty wrapped treats.
*tips on the Marshmallows
-make sure your orange chocolate is completely dry before you decide to add the yellow chocolate.
– colored sprinkles must be put on one color at a time as chocolate is still wet.
– I used coconut oil instead of crisco to make the chocolate consistency easier to work with. The bonus is it much more healthy for you and your family!
Enjoy~


Here we are late September and finally in Pre-K. I received some papers in my daughters backpack from the teachers and it was requested that all outerwear should be labeled. I thought back to my Mom taking a black sharpie and making a graffiti like name and or initials on my jackets and truly thought I have to do better than this. How could I make a label that would not destroy her beautiful clothes with an updated look? Than it came to me…
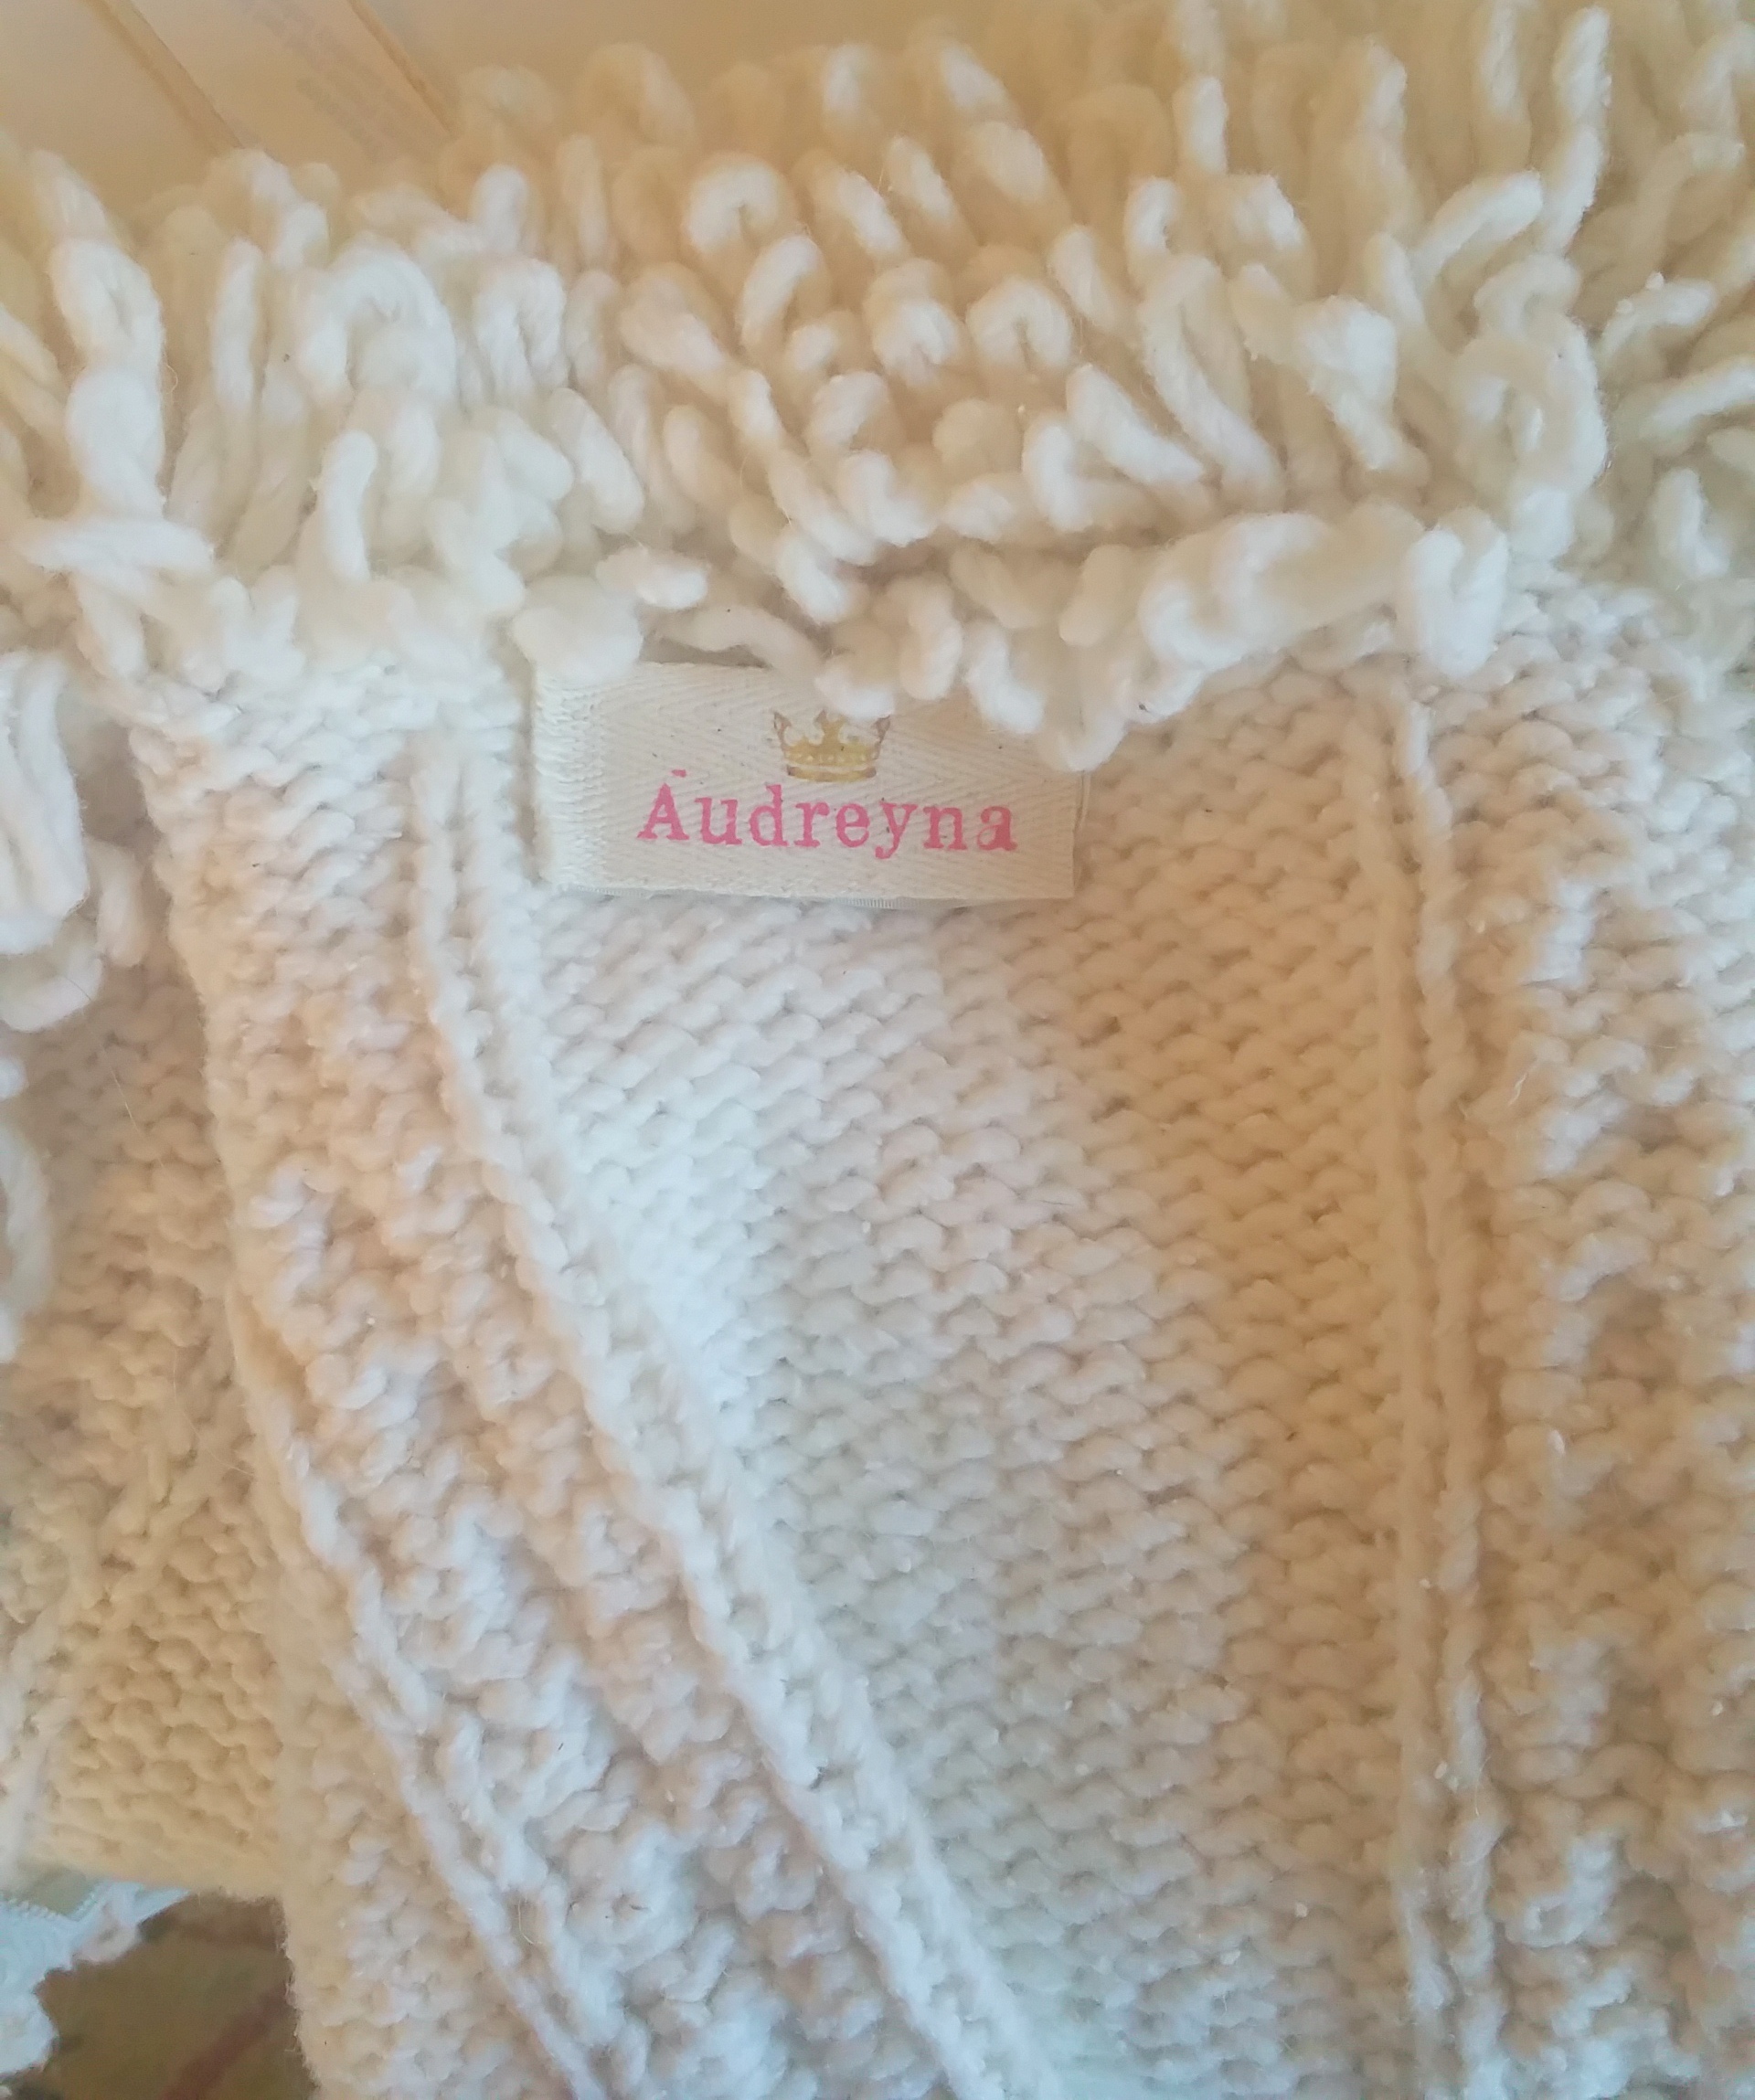
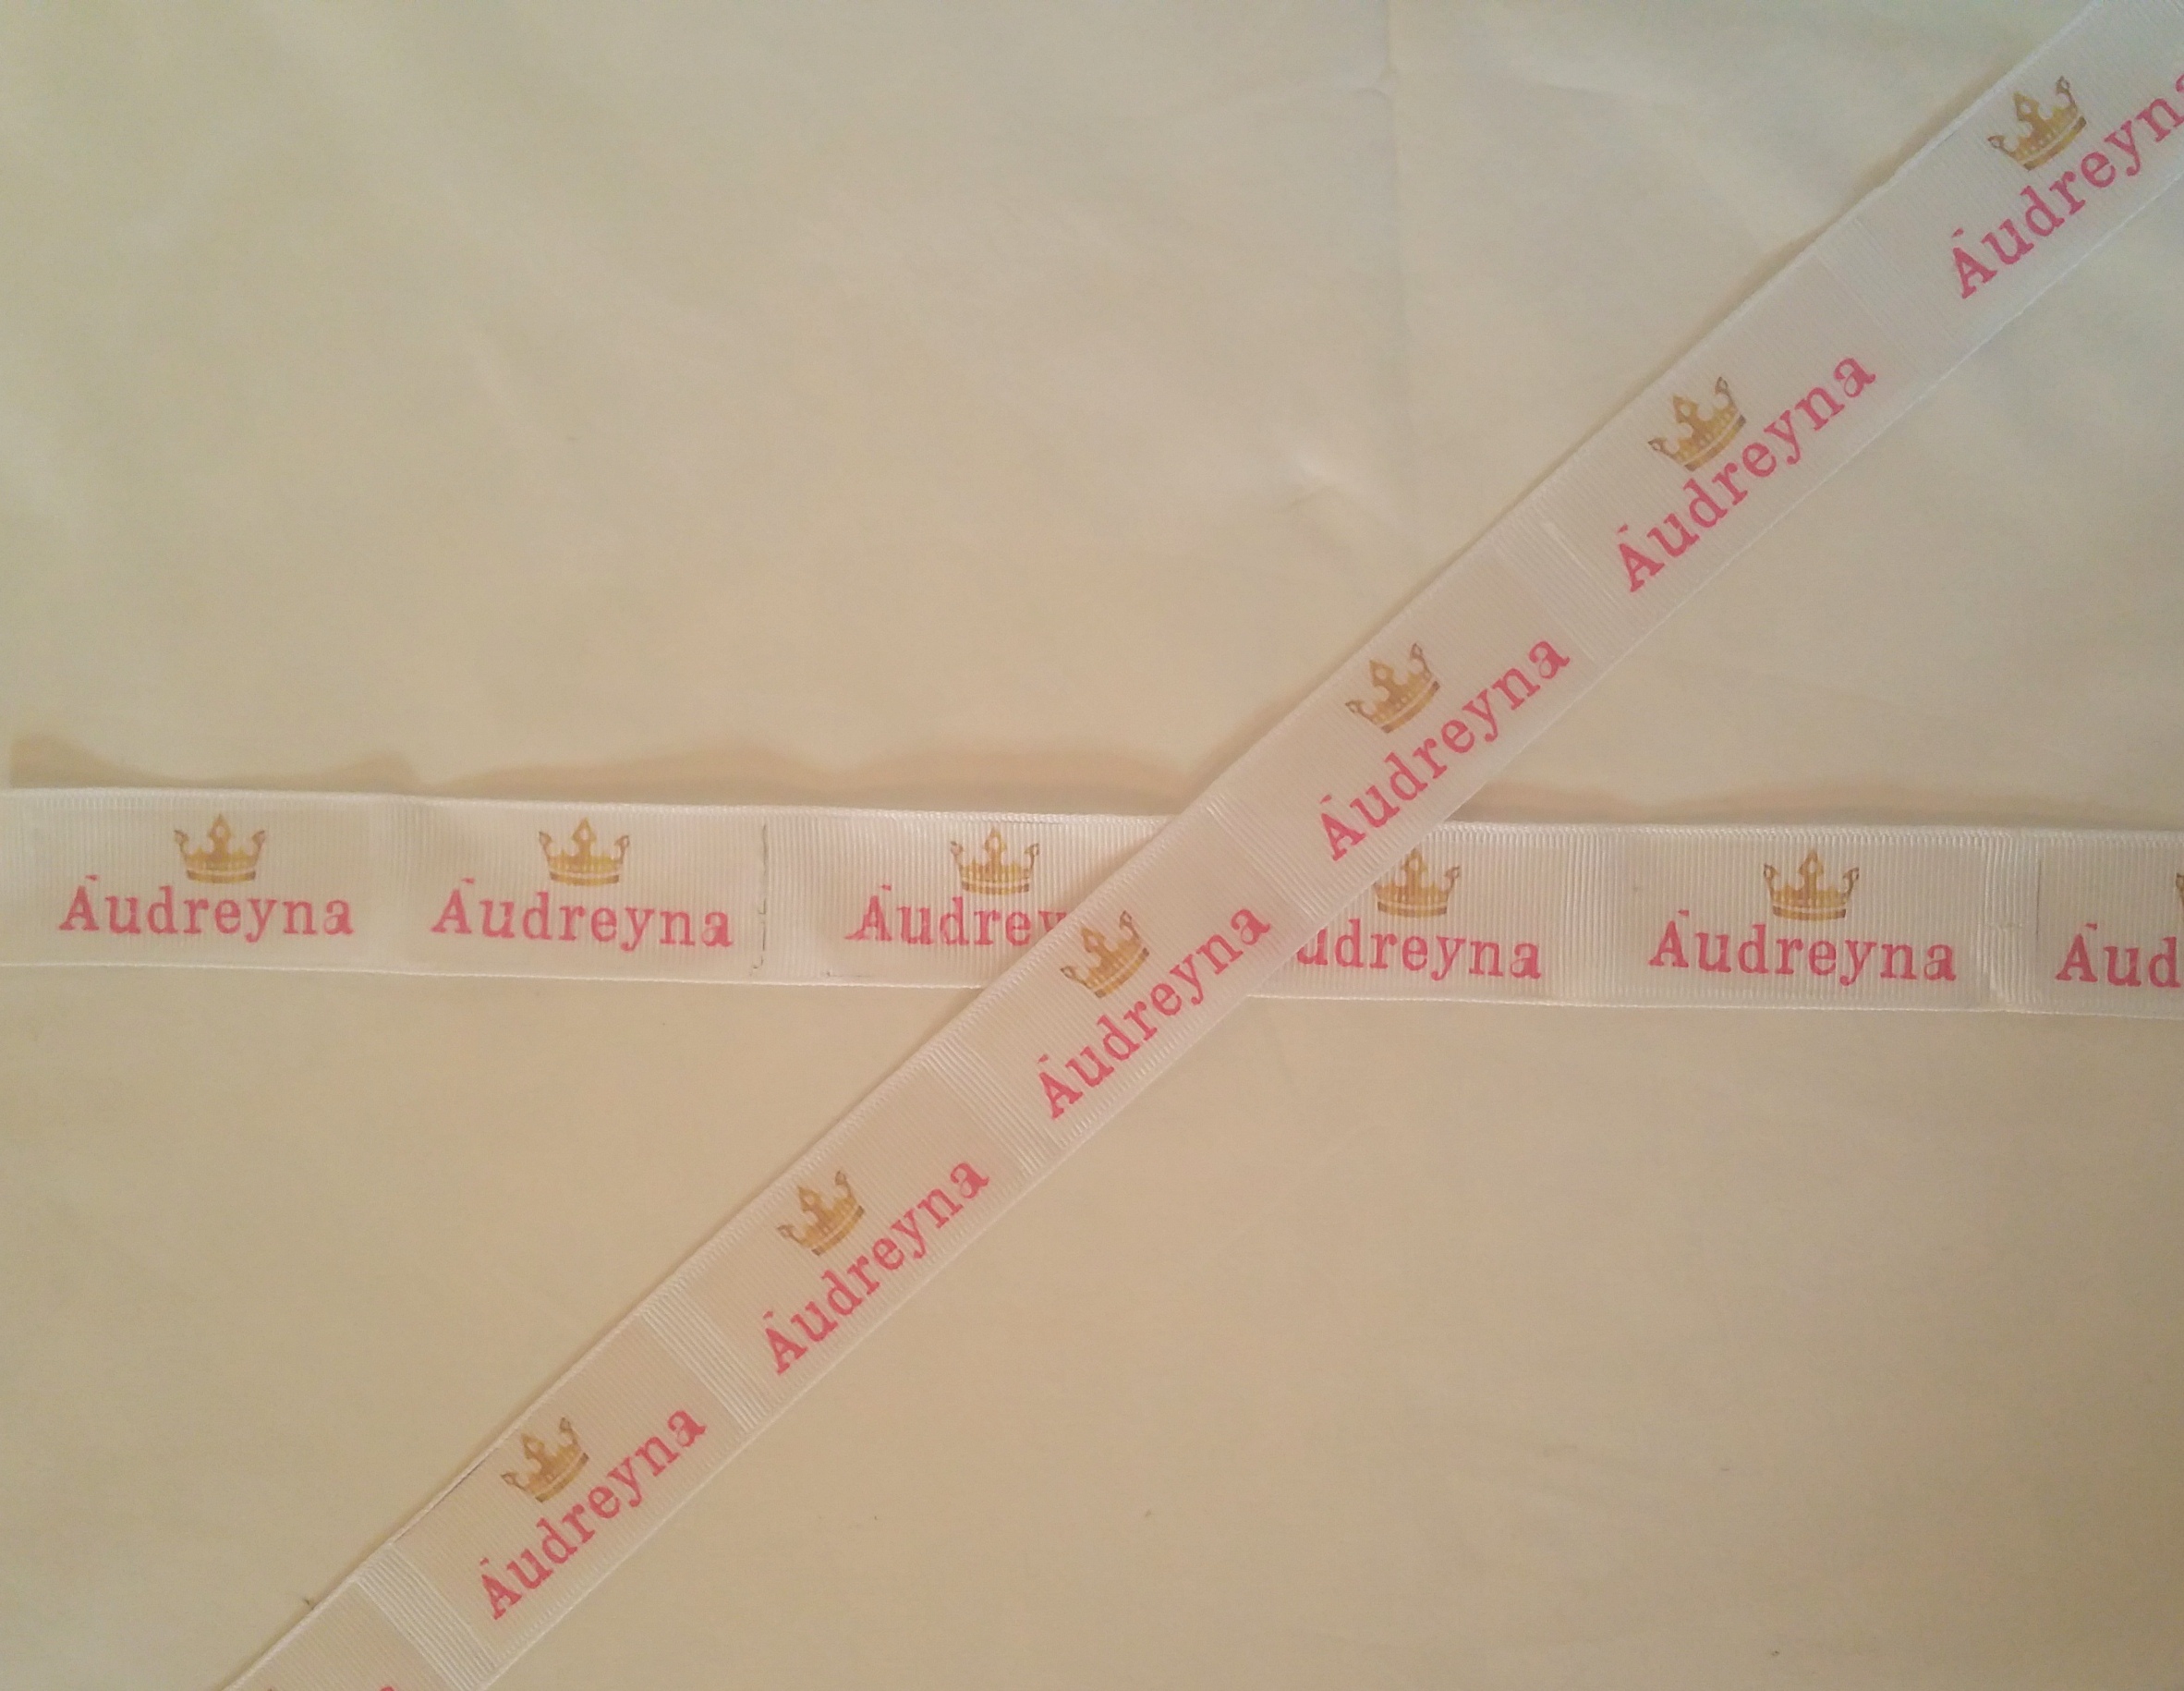
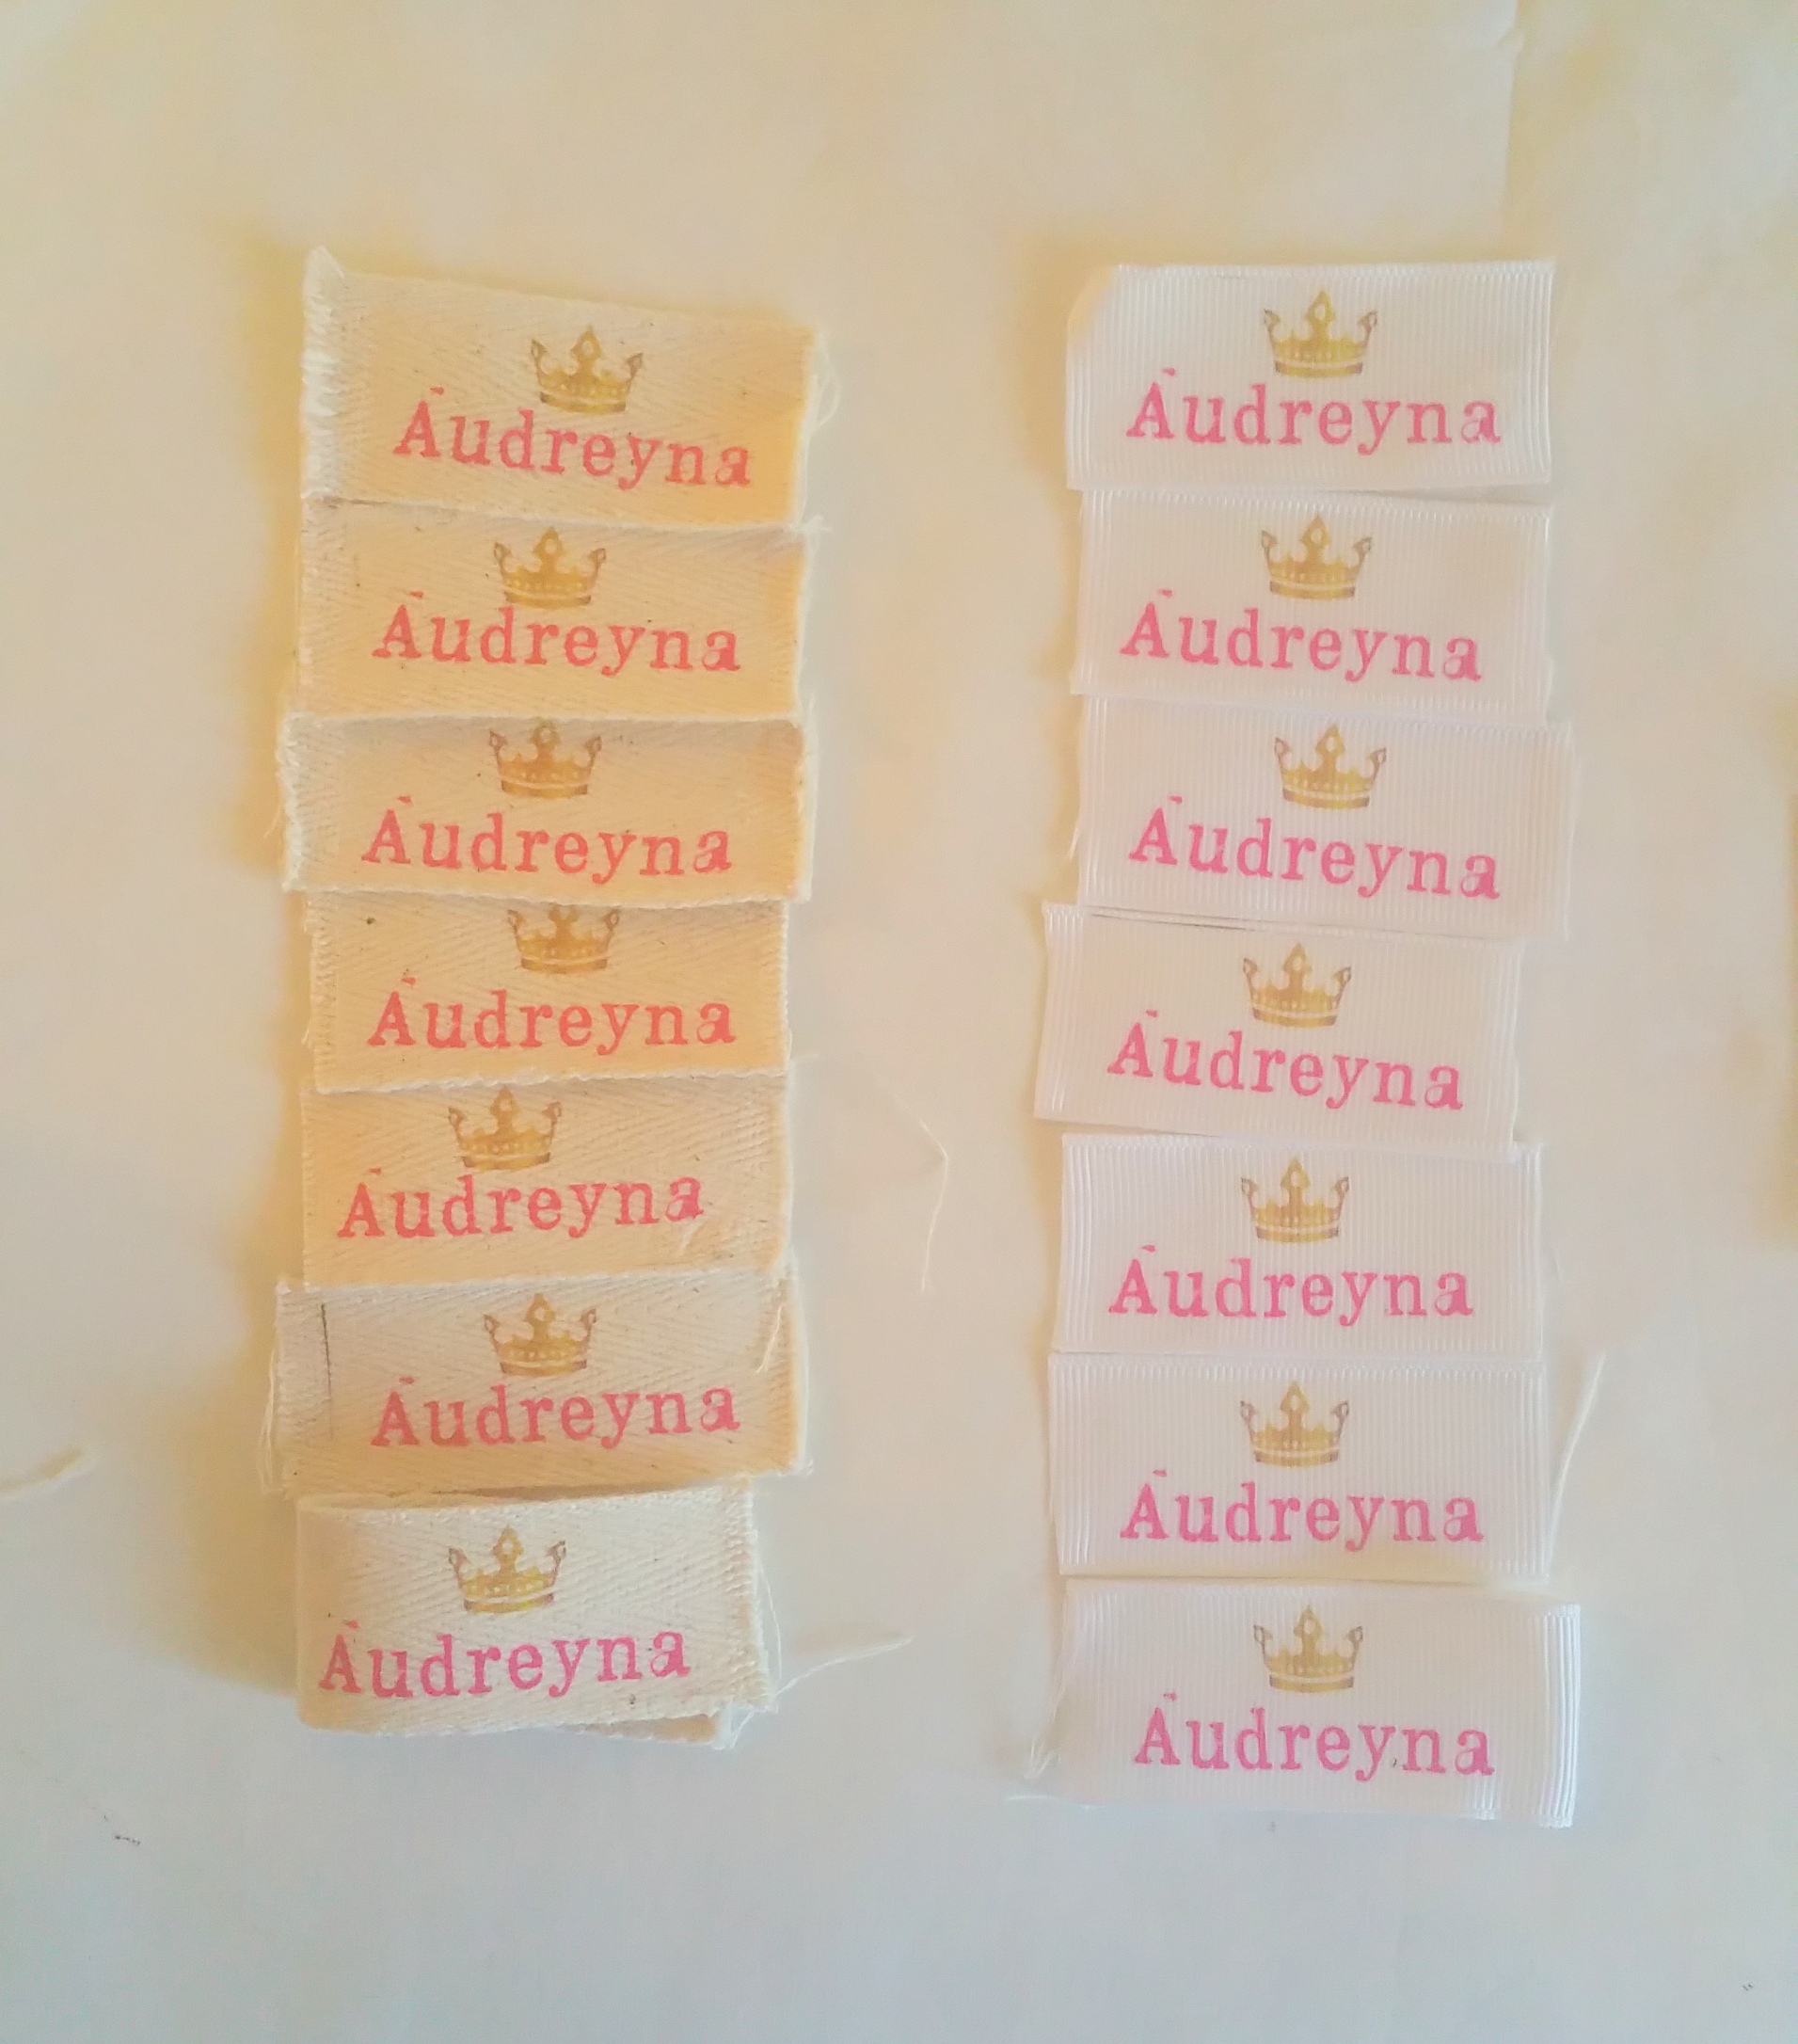
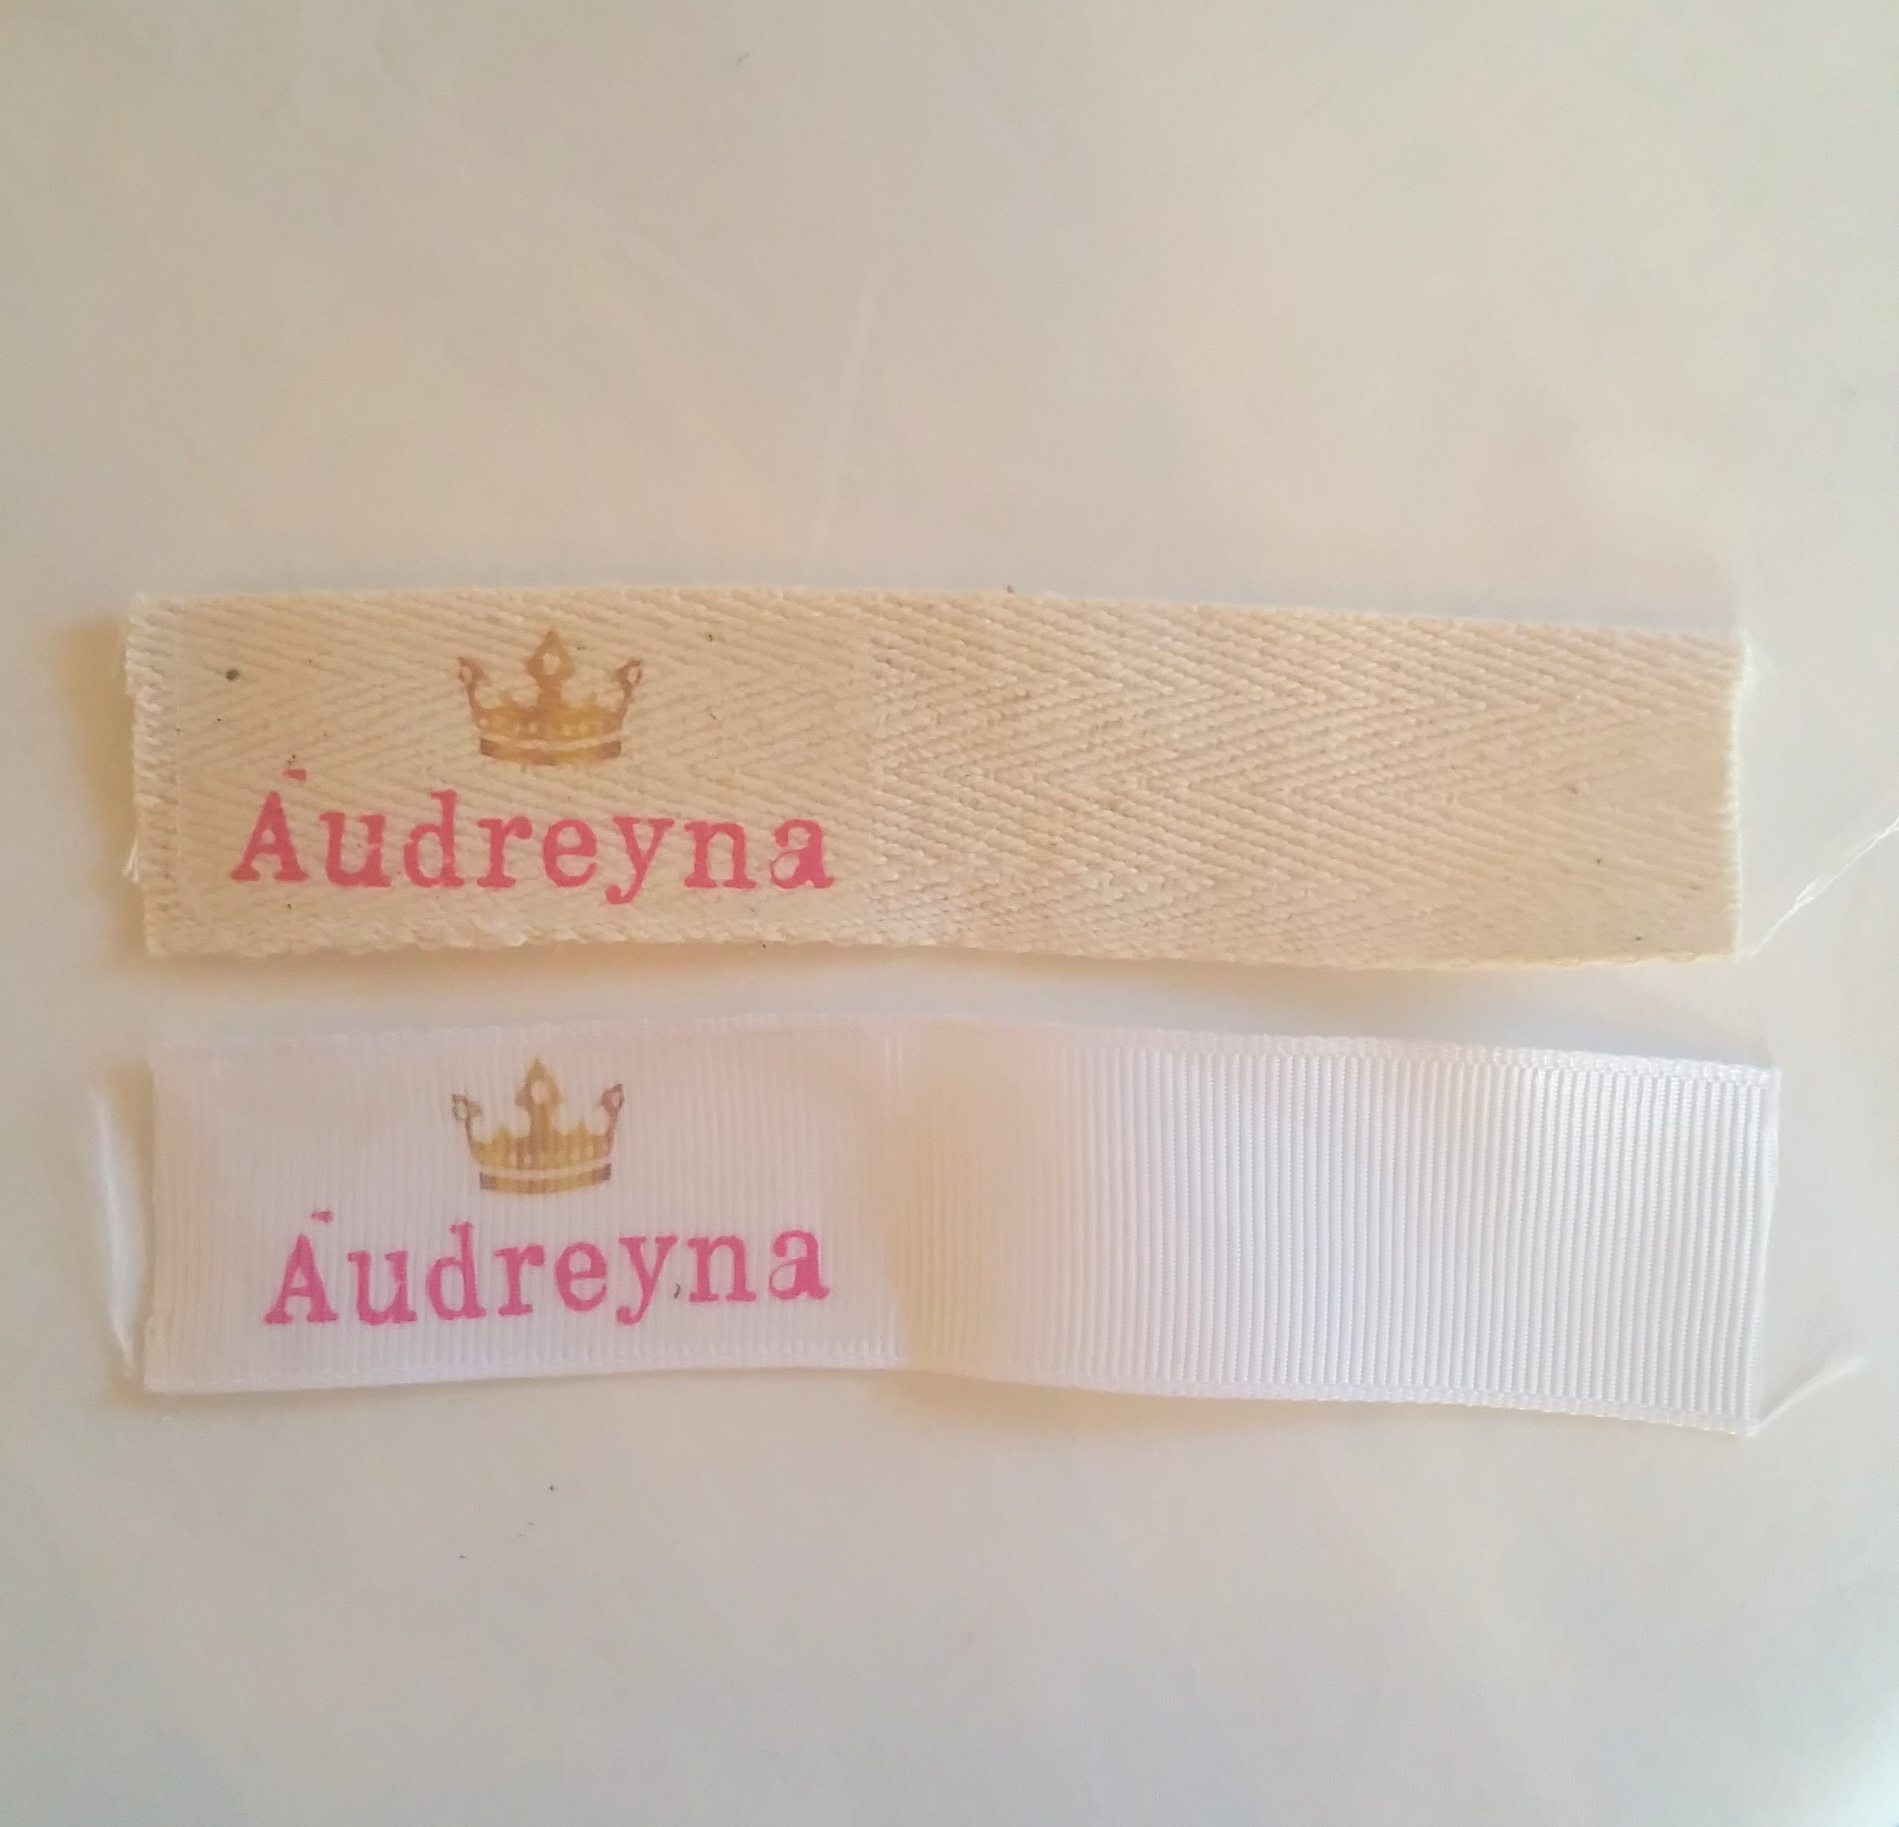
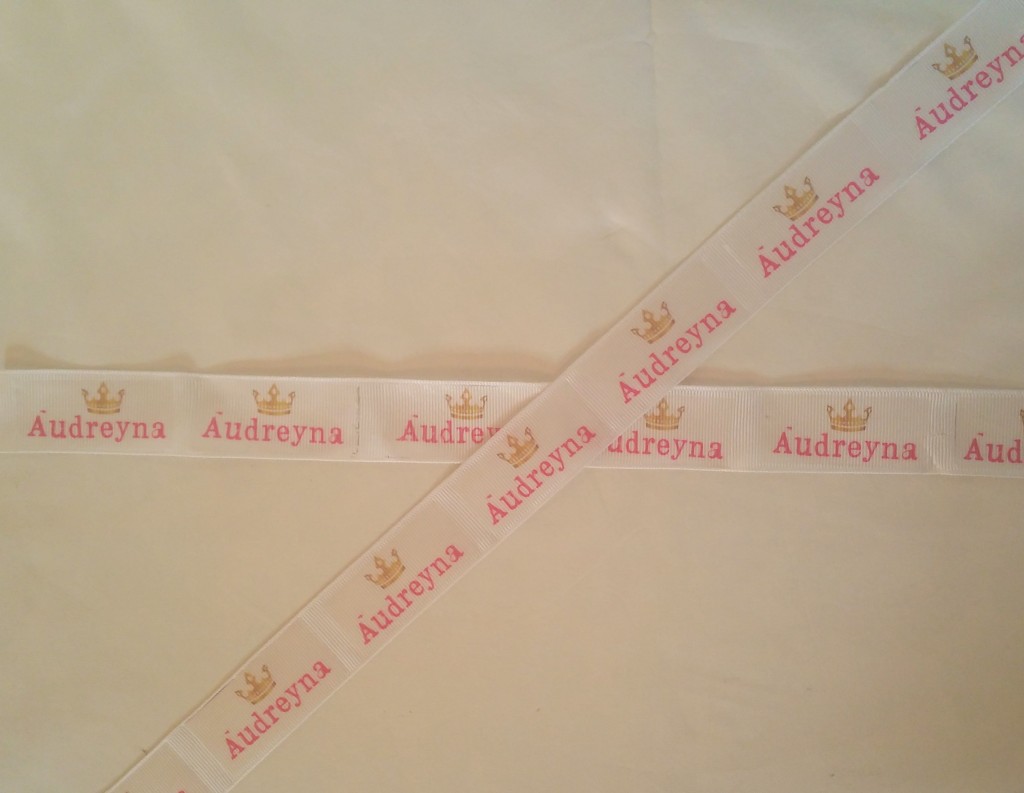
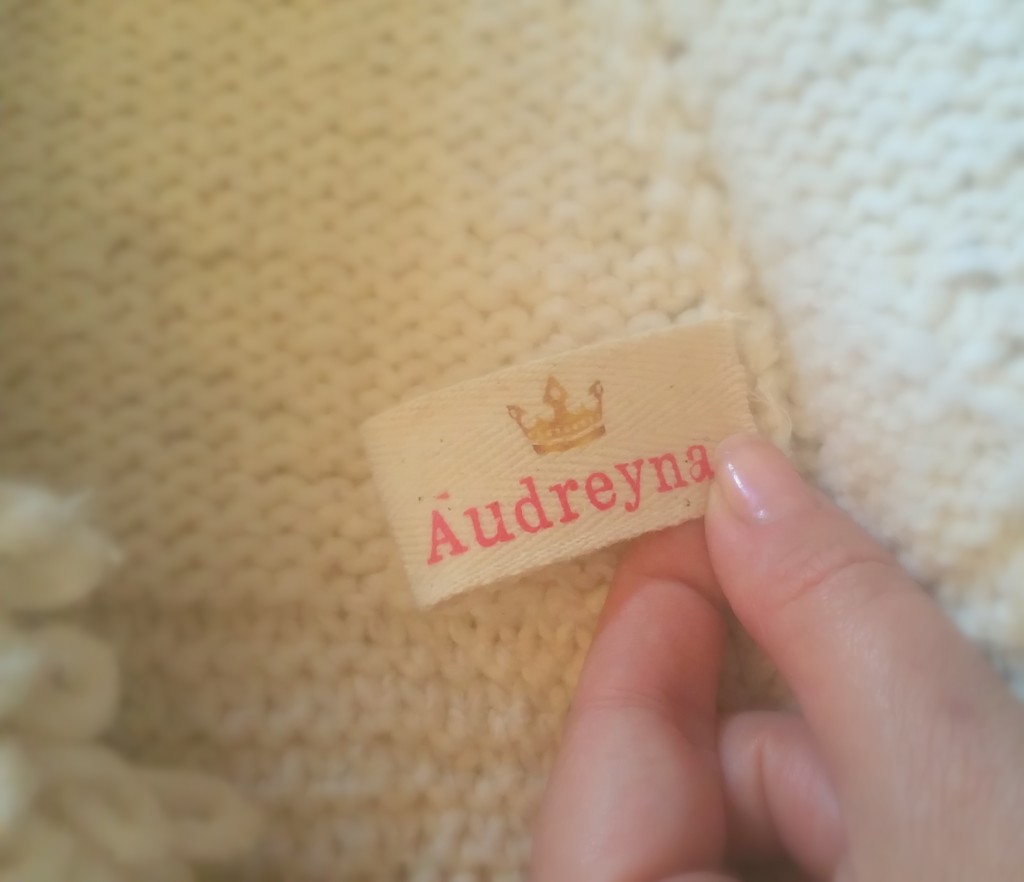
Solution – Iron on ribbon labels. These came out simply adorable and my ‘princess’ really enjoyed the customization that I put into it.
What you will need:
Iron on transfers by Avery
Inkjet printer
Scissors
Any ribbon that is 1.5 x 4″
*My template crownribbontemplate
Photoshop or use keynote
Iron
Needle and thread
optional (clip art)

I started by creating my template in Photoshop, than I used the “place” tool for the crown. I have made the template now available for my fans here 🙂 So you can now open it up and just type in the name you want with custom font for your princess or prince. You can also take out the crown and add your own clip-art with the “place” tool.
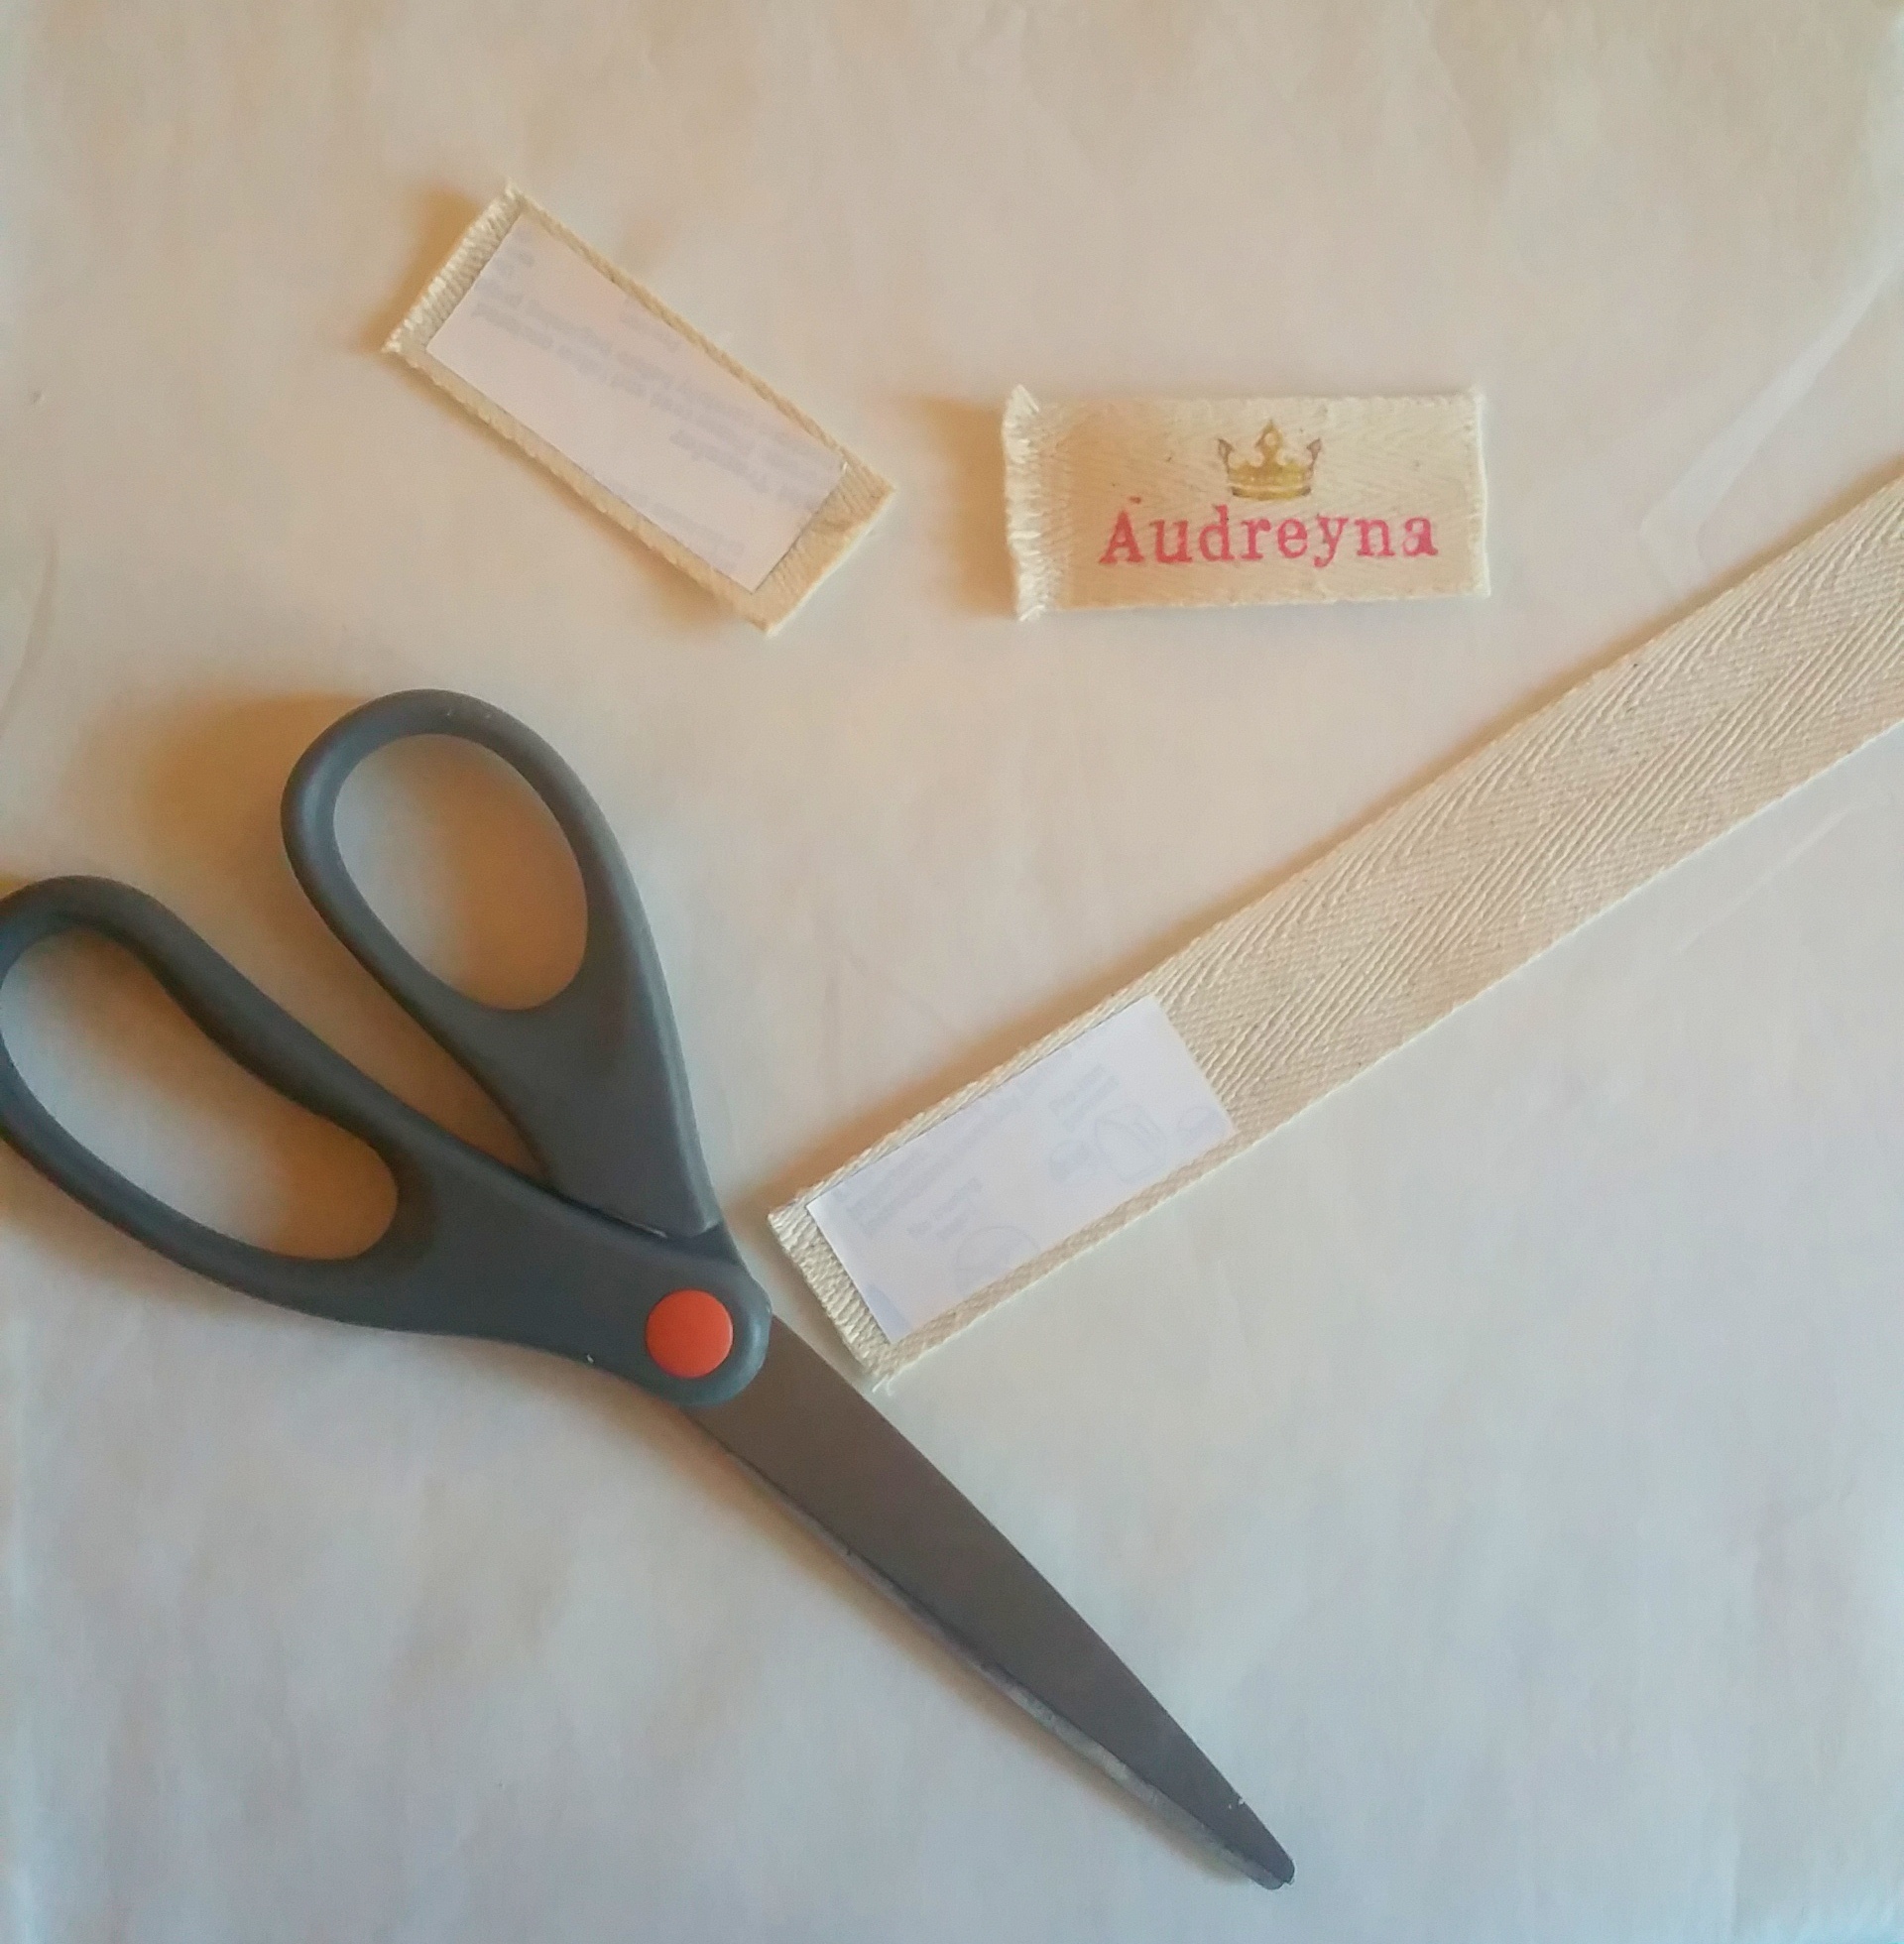
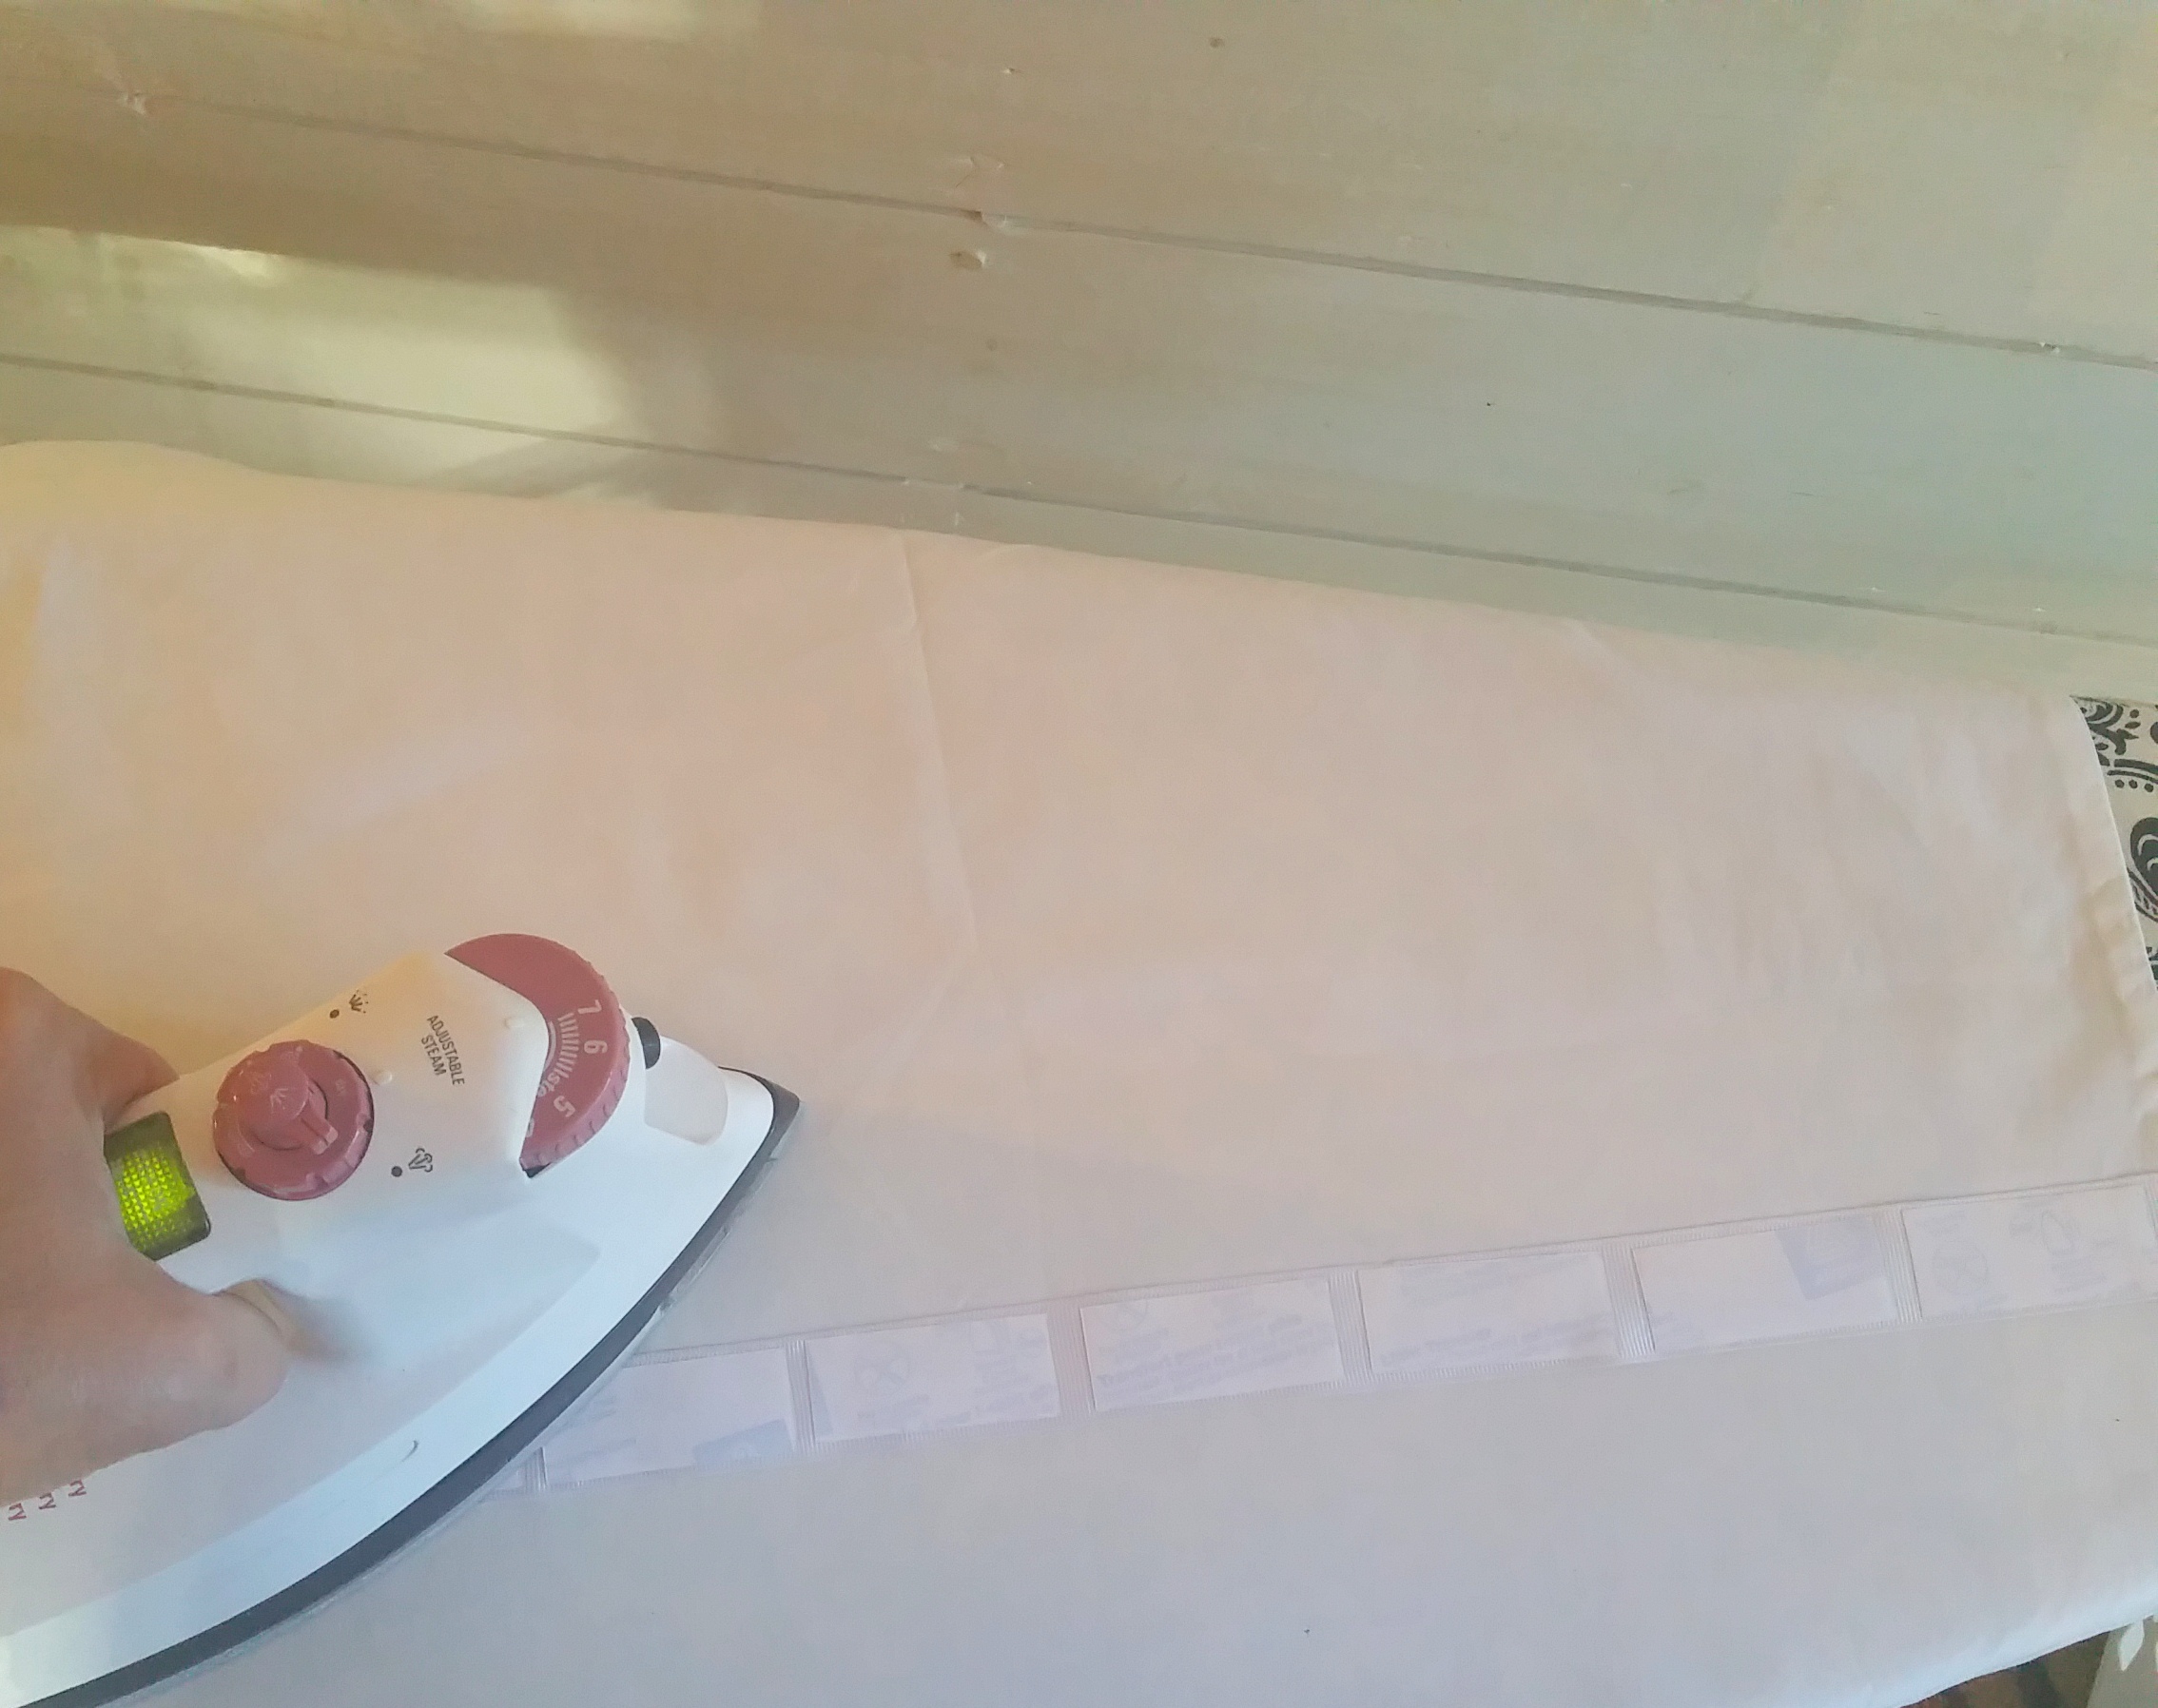
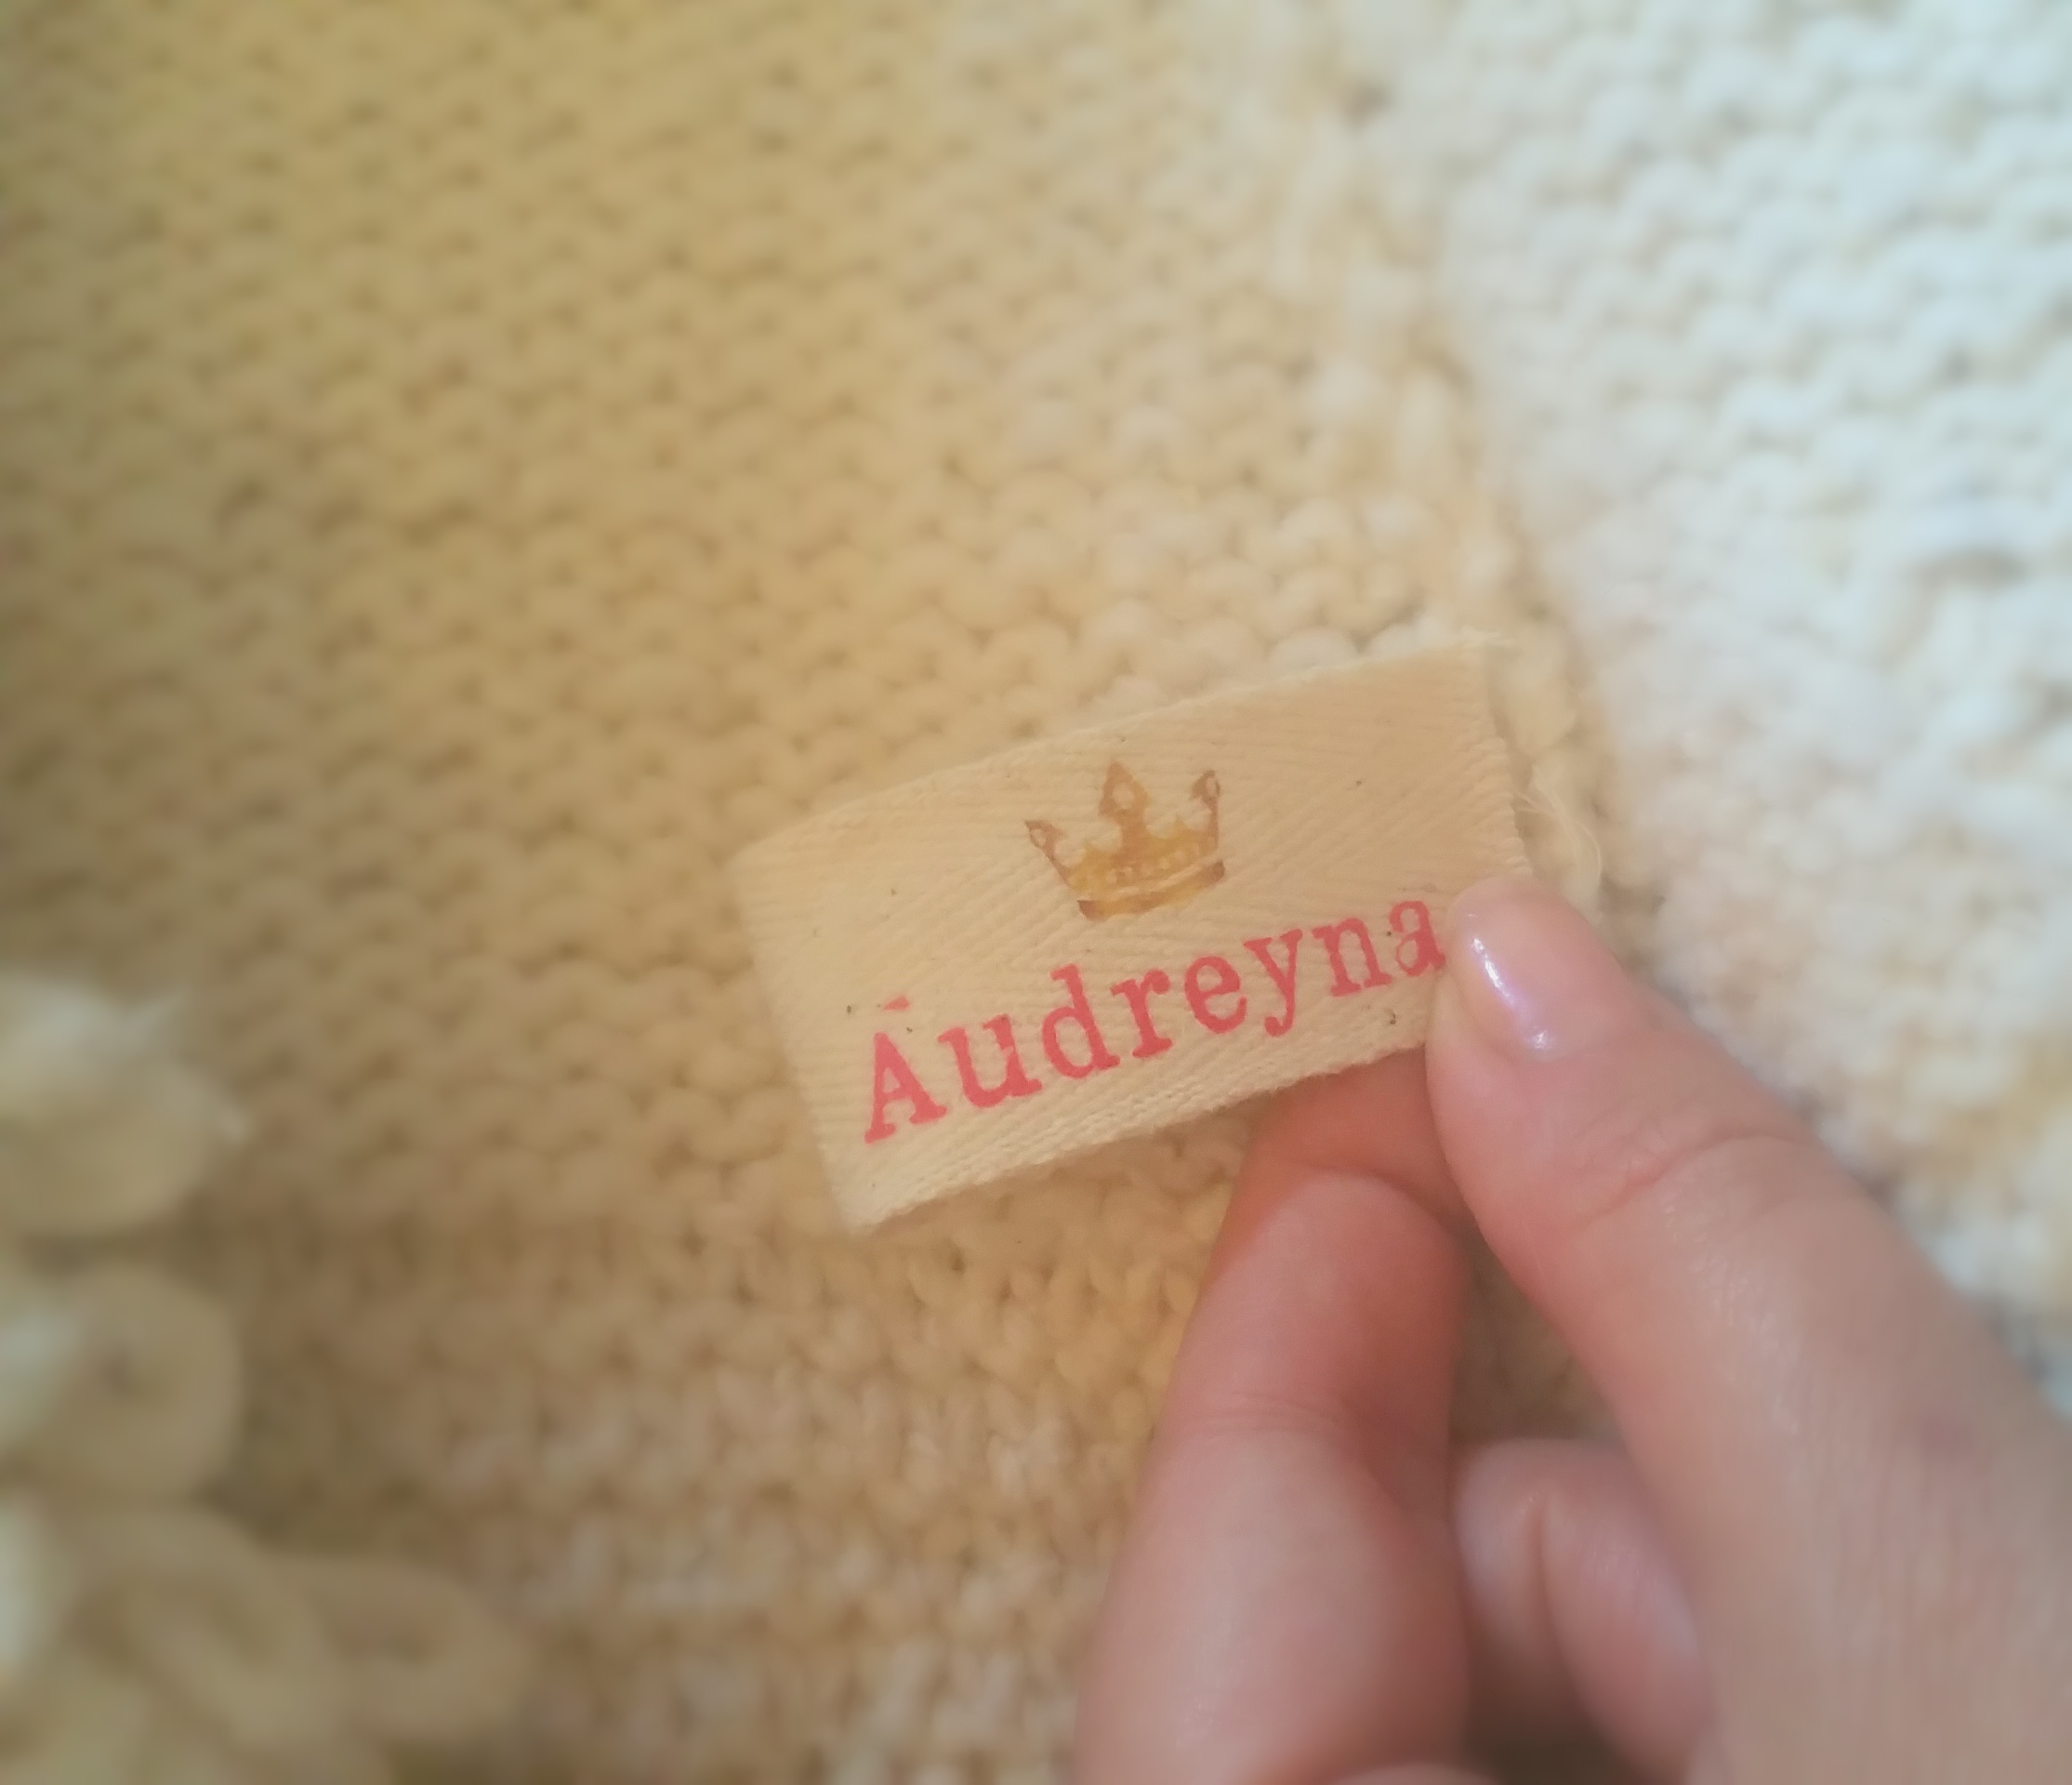
After I printed the template I cut to fit the ribbon strips. Now, because I am a thriftier and save all scraps of ribbons I was able to use natural colored heavy ribbon and some white silk ribbon that came with some napkins I purchased – SCORE! Therefore that eliminated the purchase of a roll of ribbon for this project. Follow the Avery instructions for iron on transfer and it’s important to wait for the cool time. You can even leave the back of the strips on and peel when your ready to use them.

Some tips –
- Make sure you use your ‘free transform tool’ to flip your font to horizontal for that mirror image.
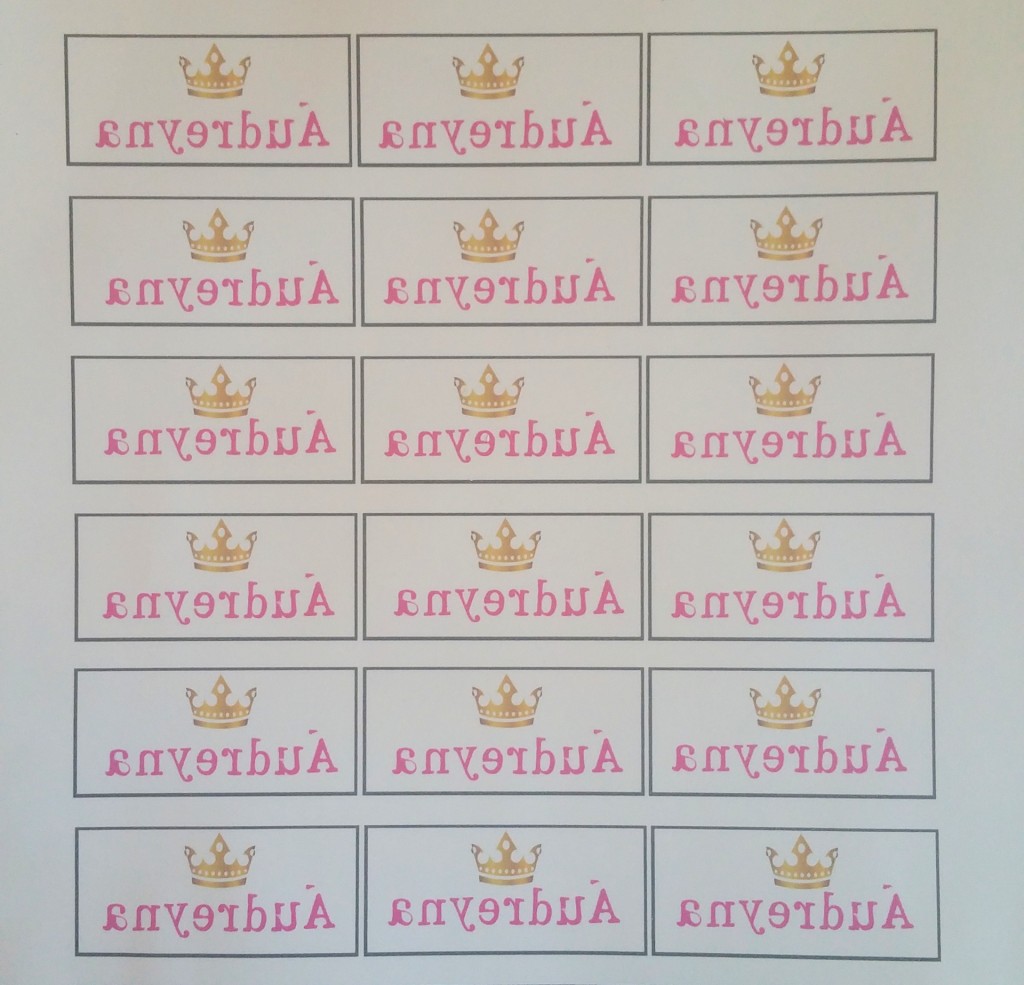
- Just be sure that when you cut the template you cut off all the black as I made the mistake of missing some and it ended up on my design. (take note to the first column on the lft side on the bottom you will note the black on the ribbon)

You can attach on the back or make them like a tab for the sides of the garment.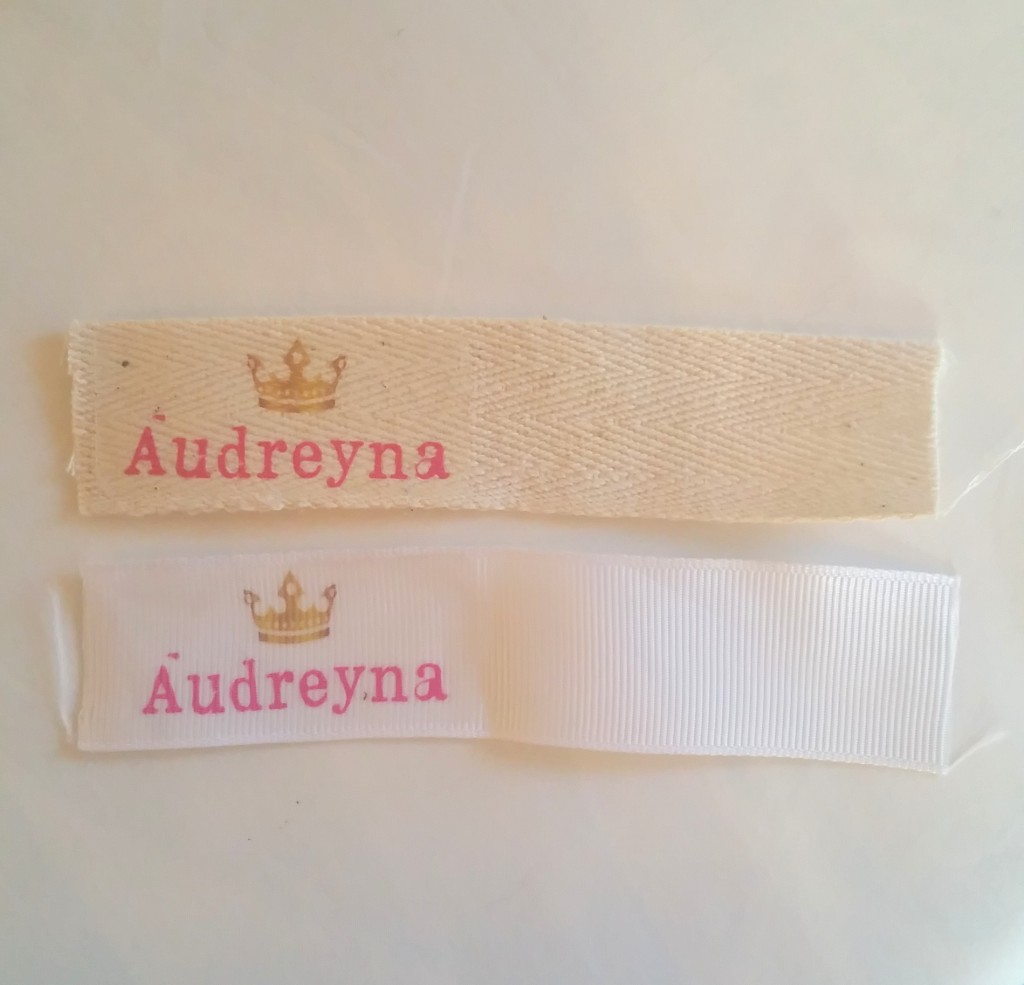
I hope you enjoy my free template I created for you little pretties and feel free to comment and let me know how yours turned out. 🙂