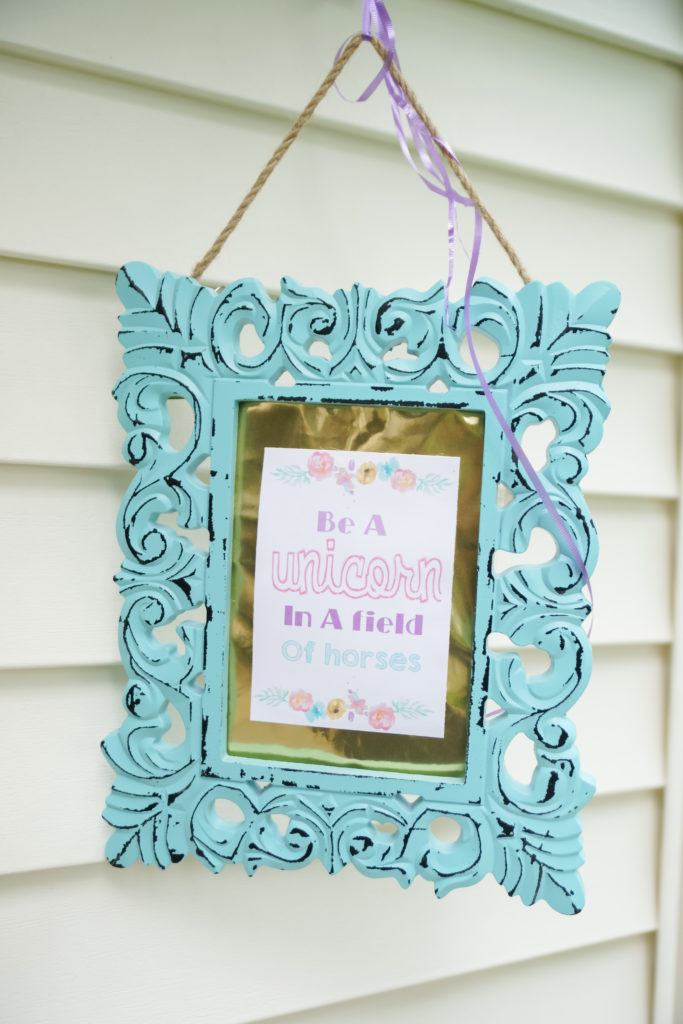
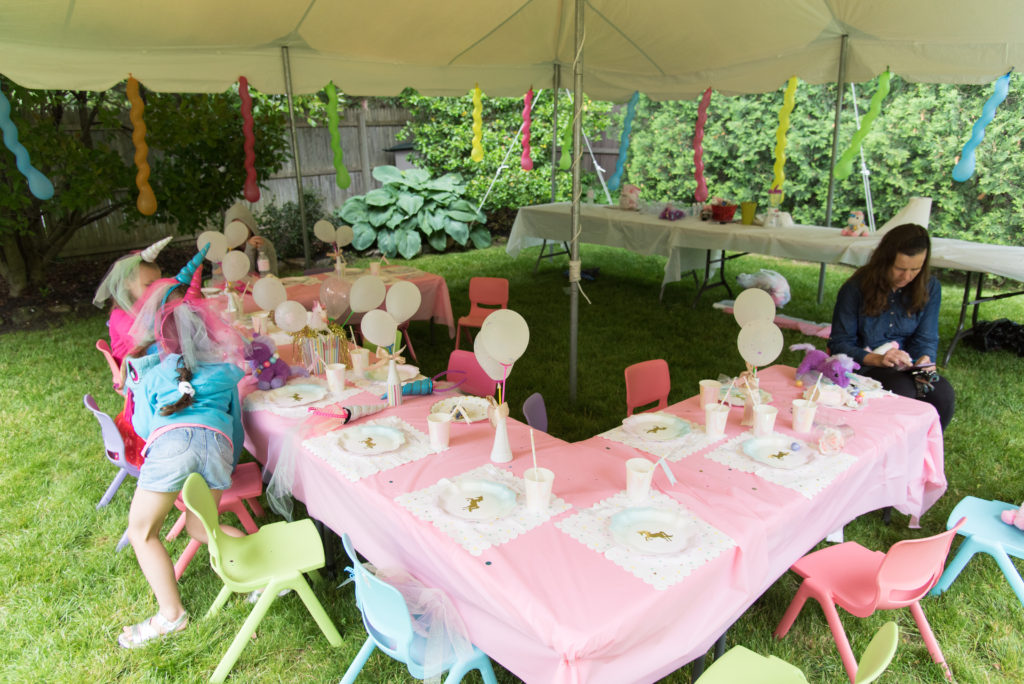
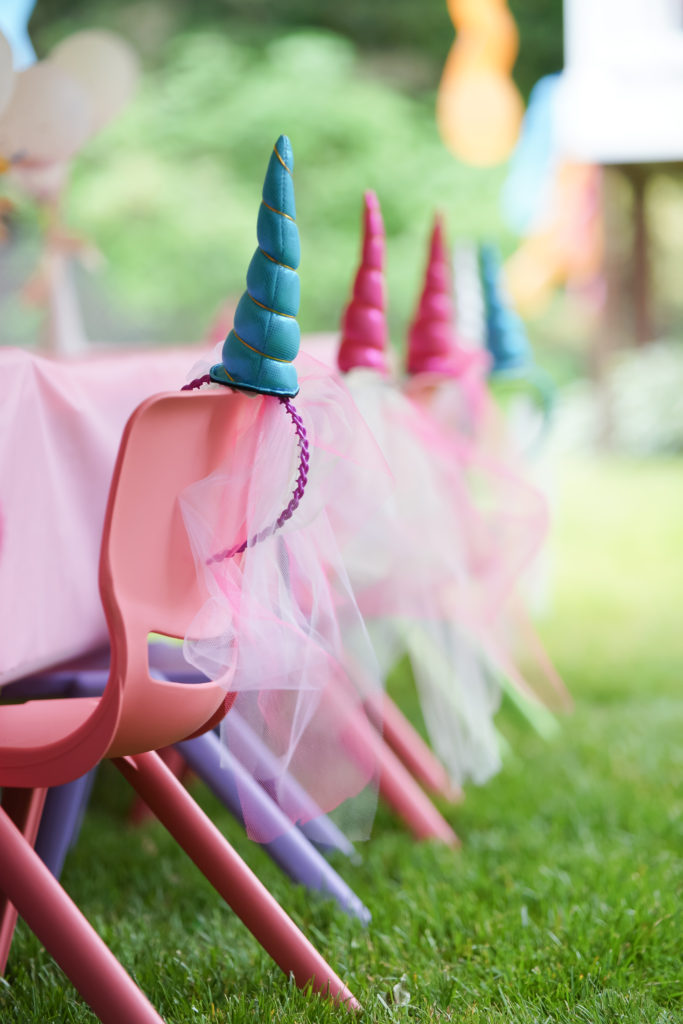
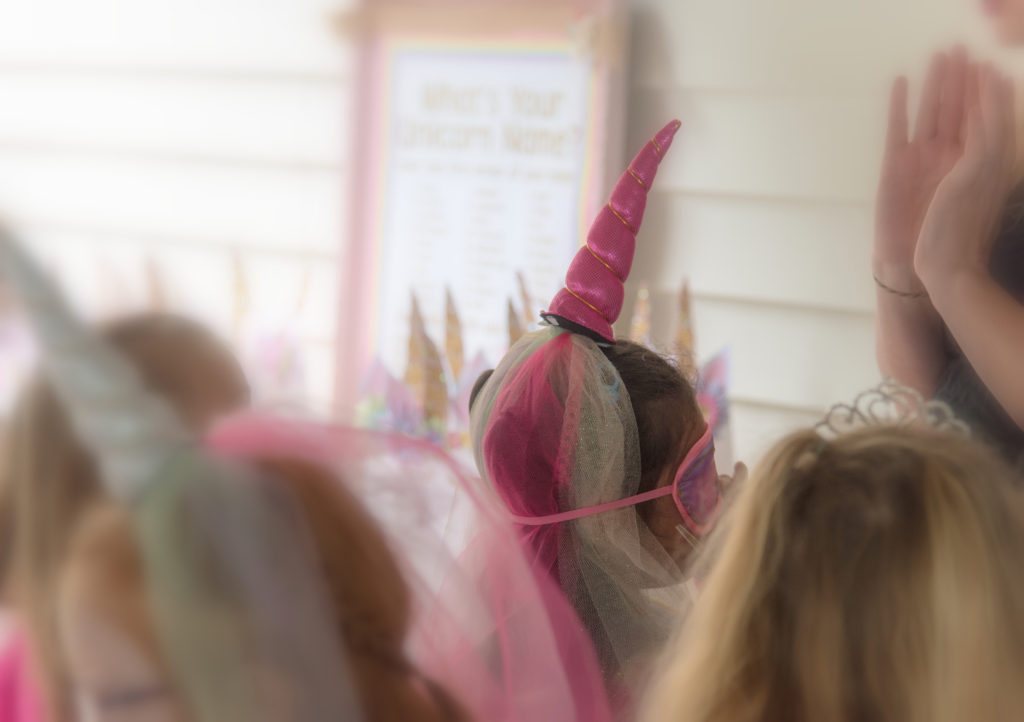
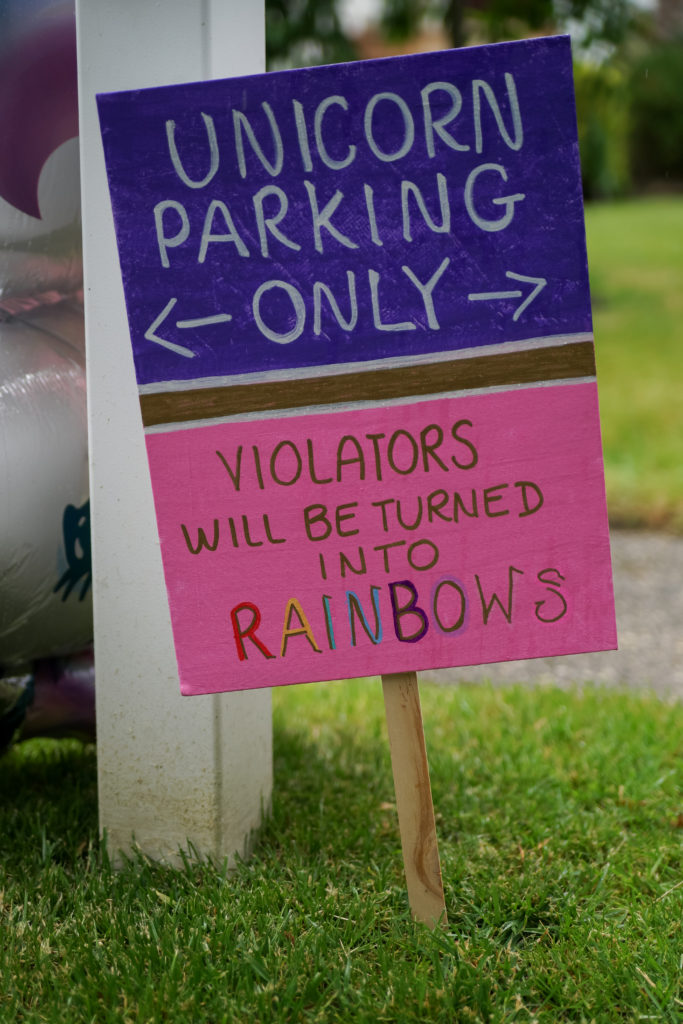
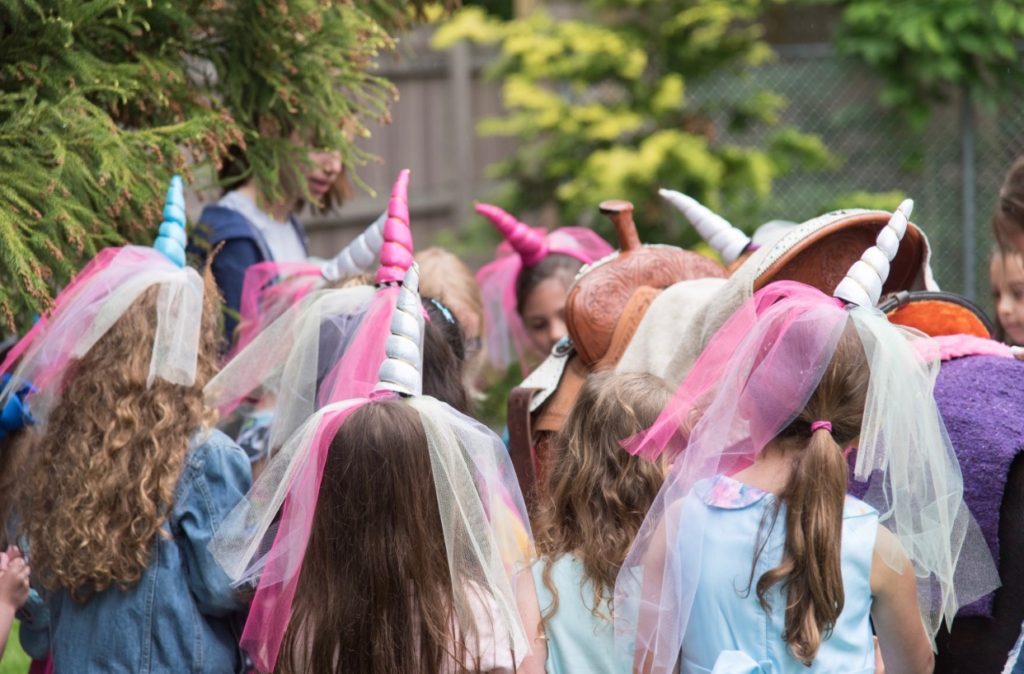
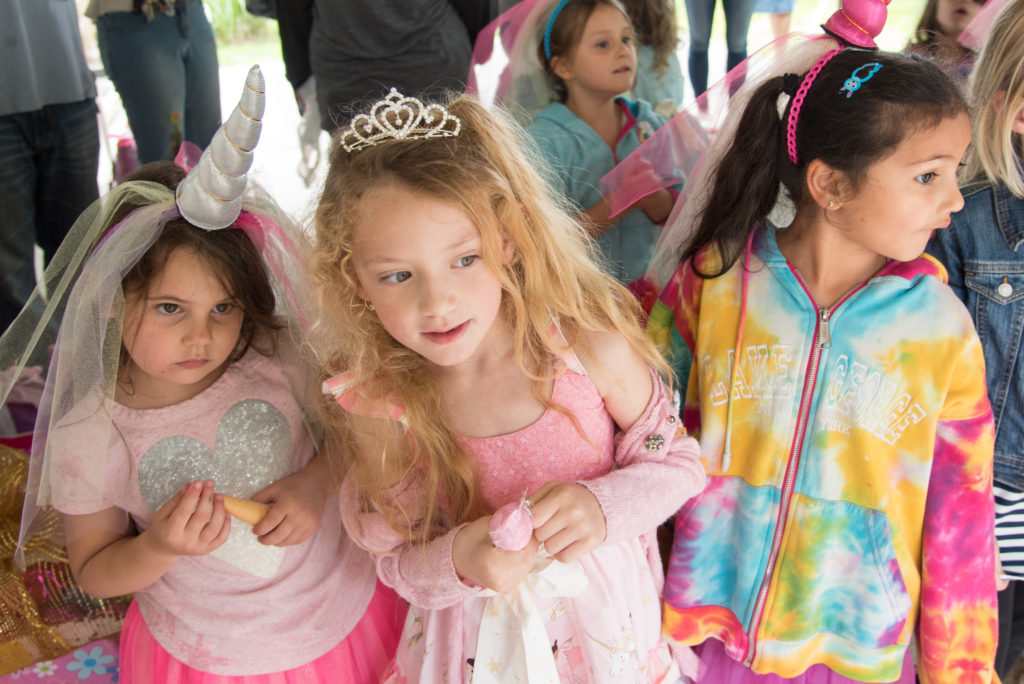
“In a field of horses be a Unicorn” – That is definitely the best way to describe my daughter. Perfect example here on her birthday as everyone wore Unicorn headbands that I crafted she had to wear her tiara.
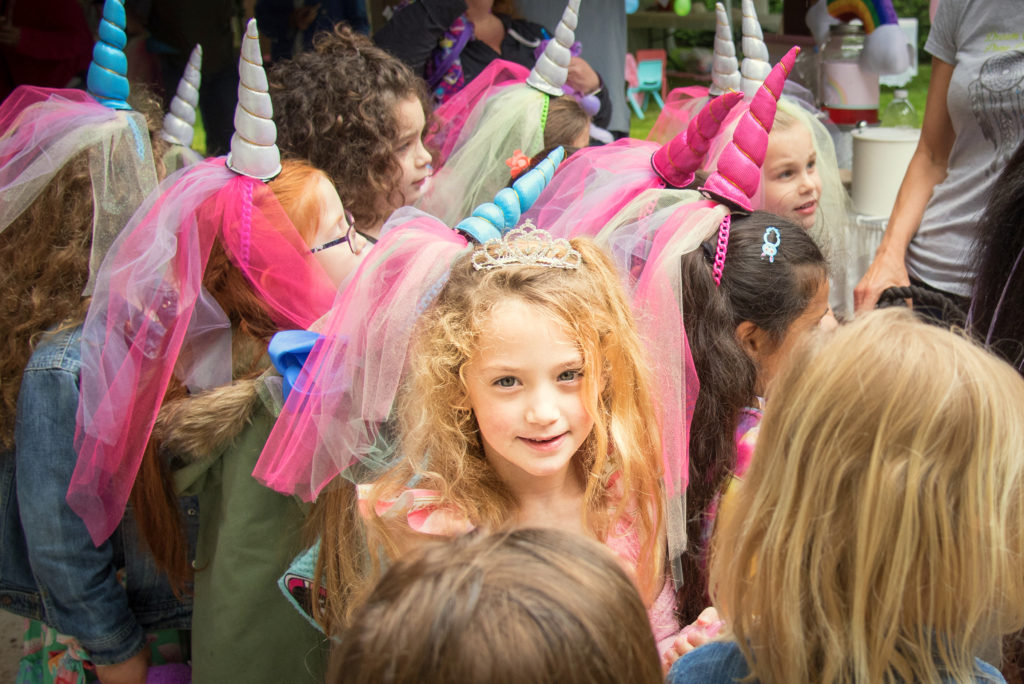
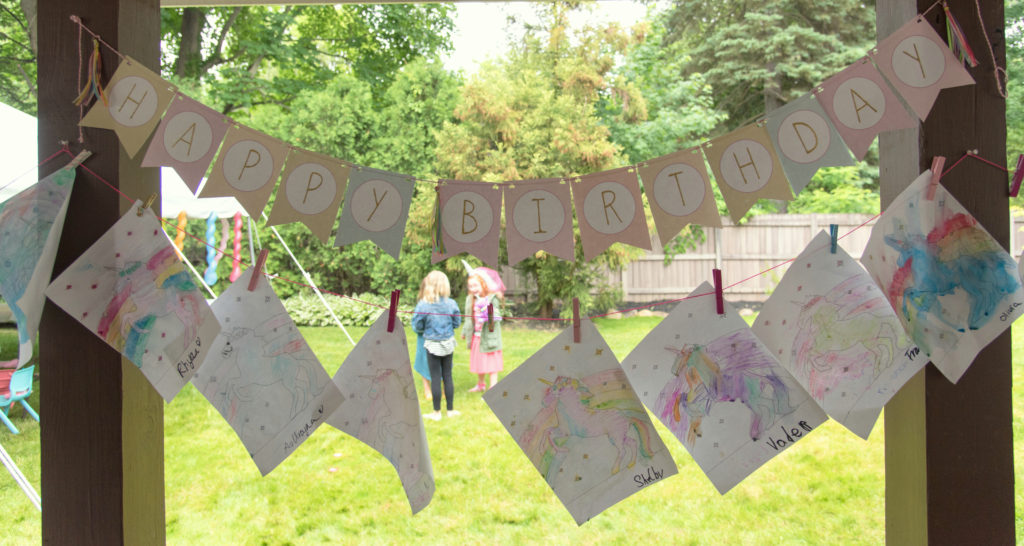
This year was geared for thinking about the mystical unicorn and creativity. The imagination of this child is starting to flourish at the age of 6 and I can already tell she will soar with ideas.
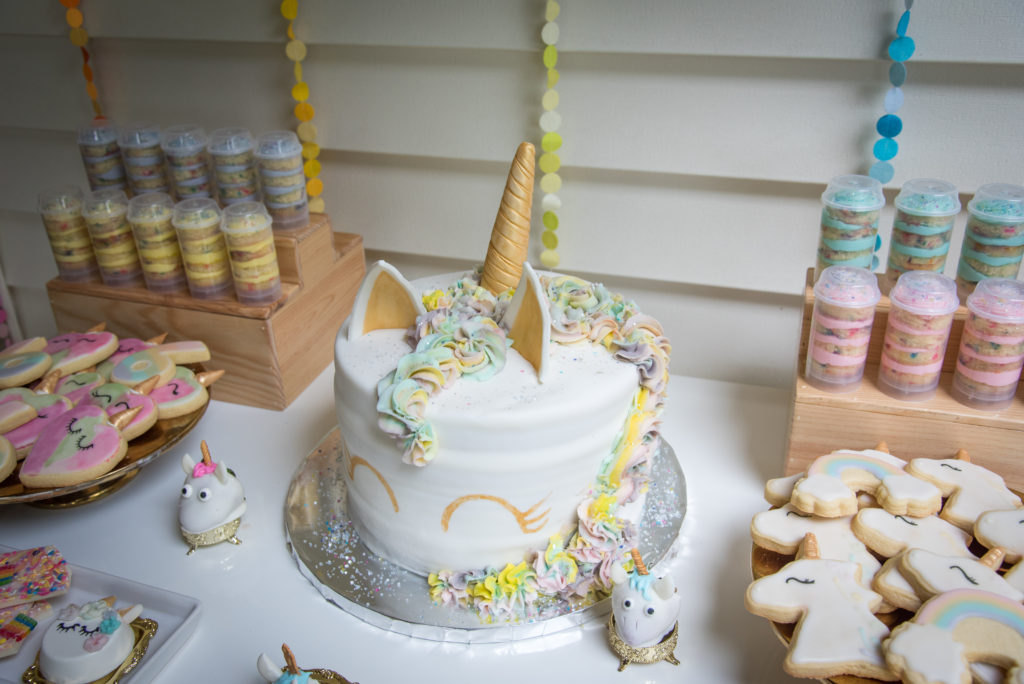
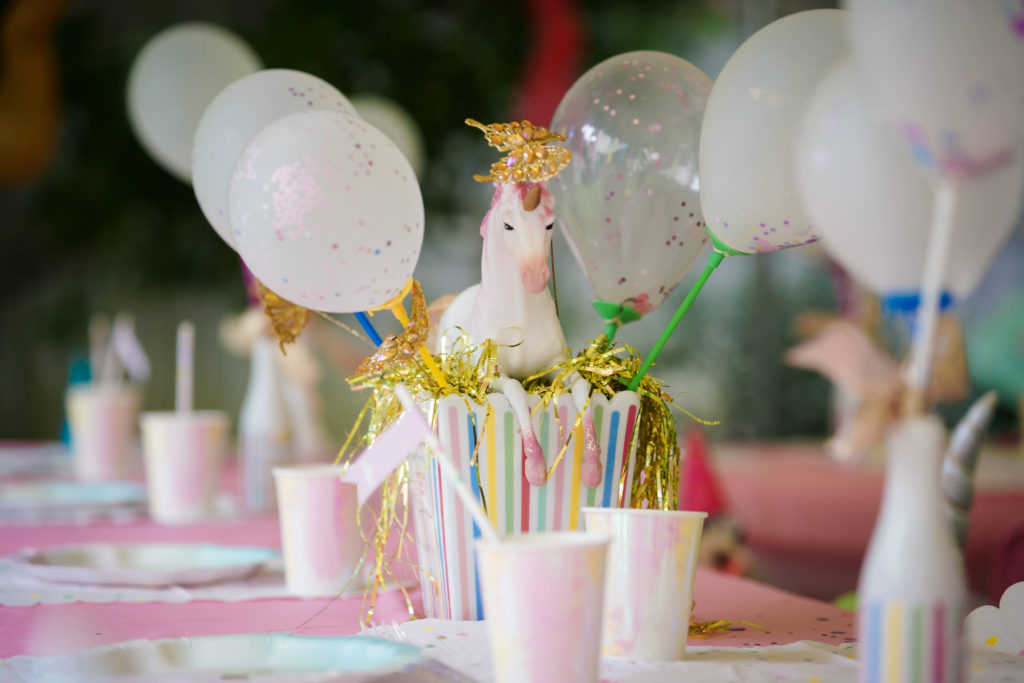
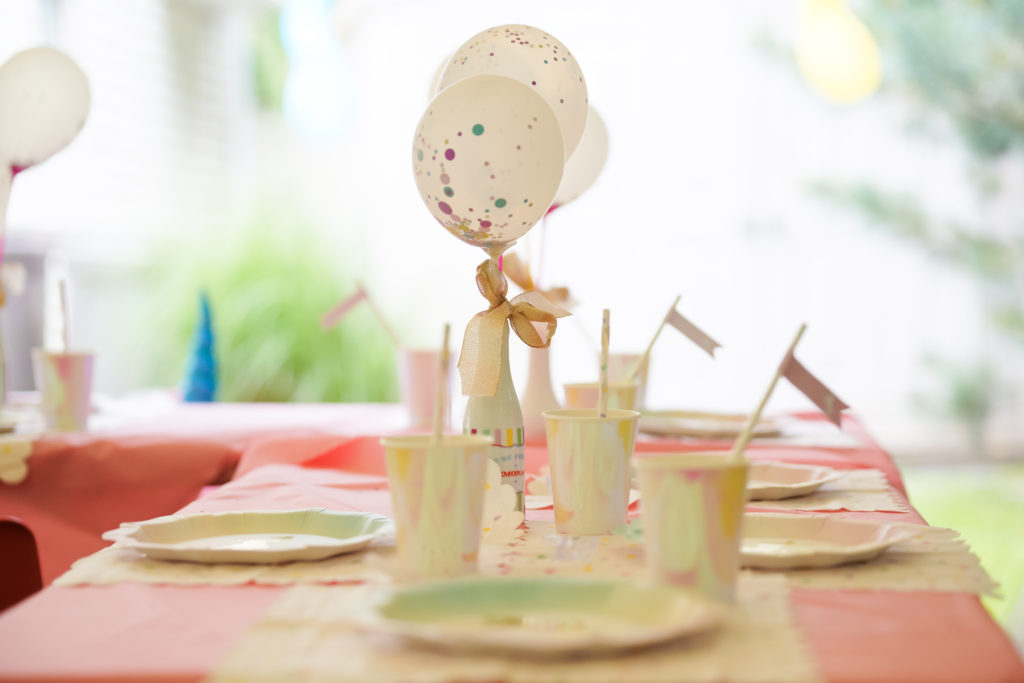
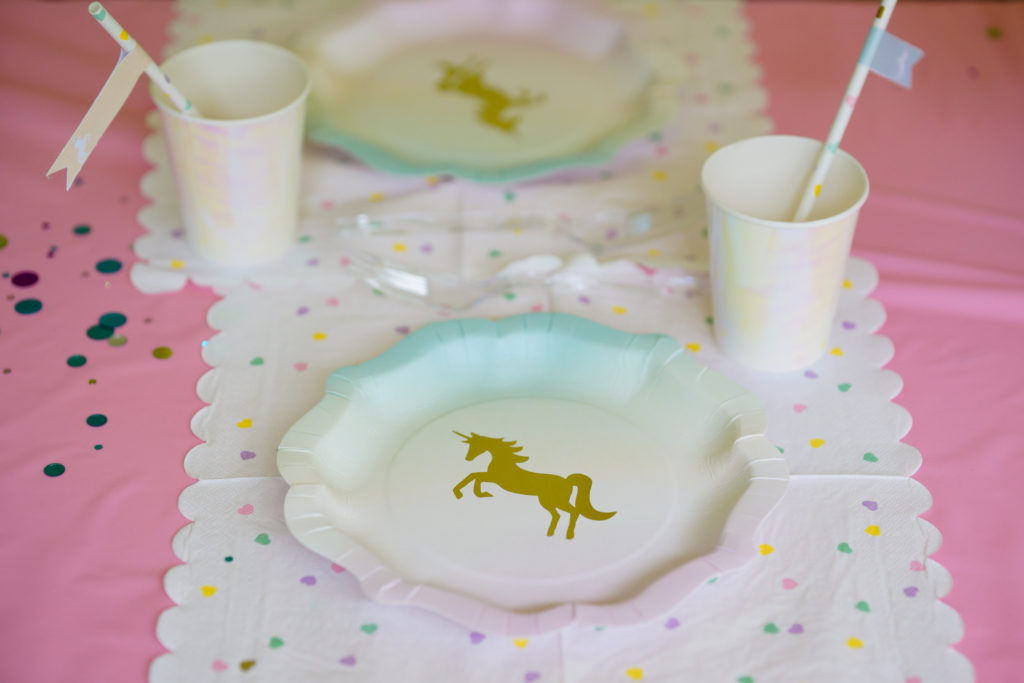
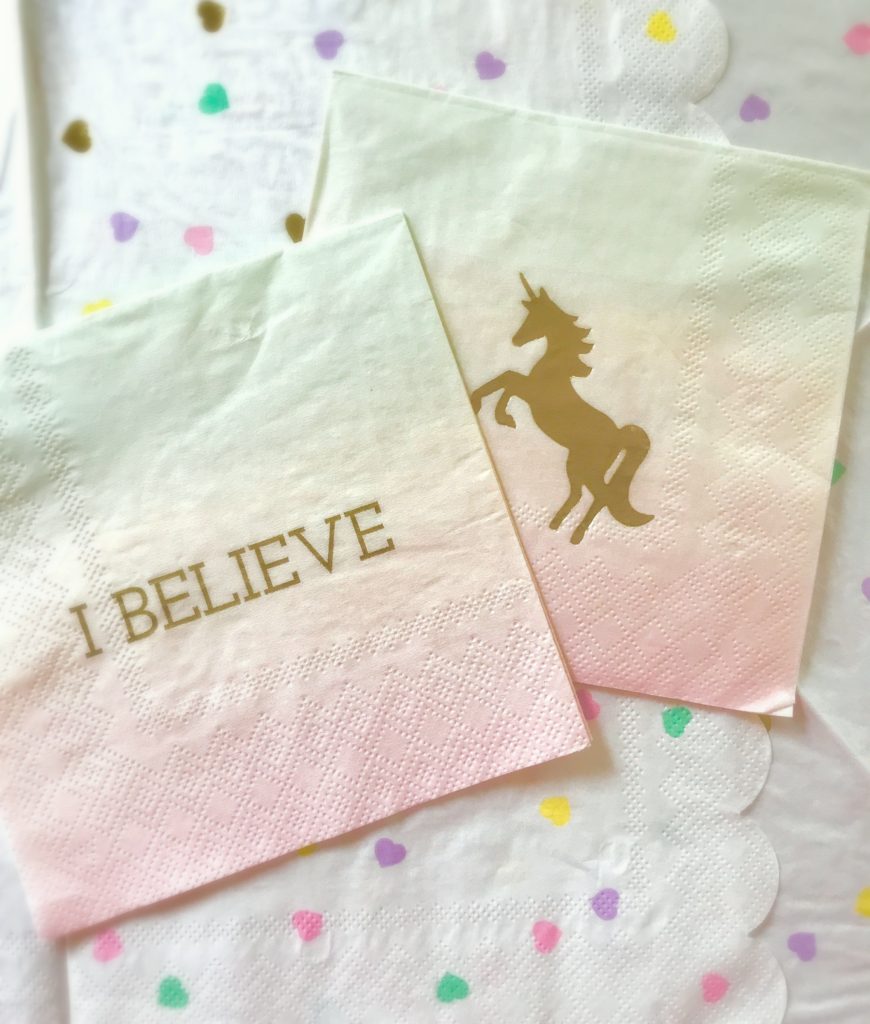
Here are some of our party ideas and images – vendor credits will be listed on the bottom.

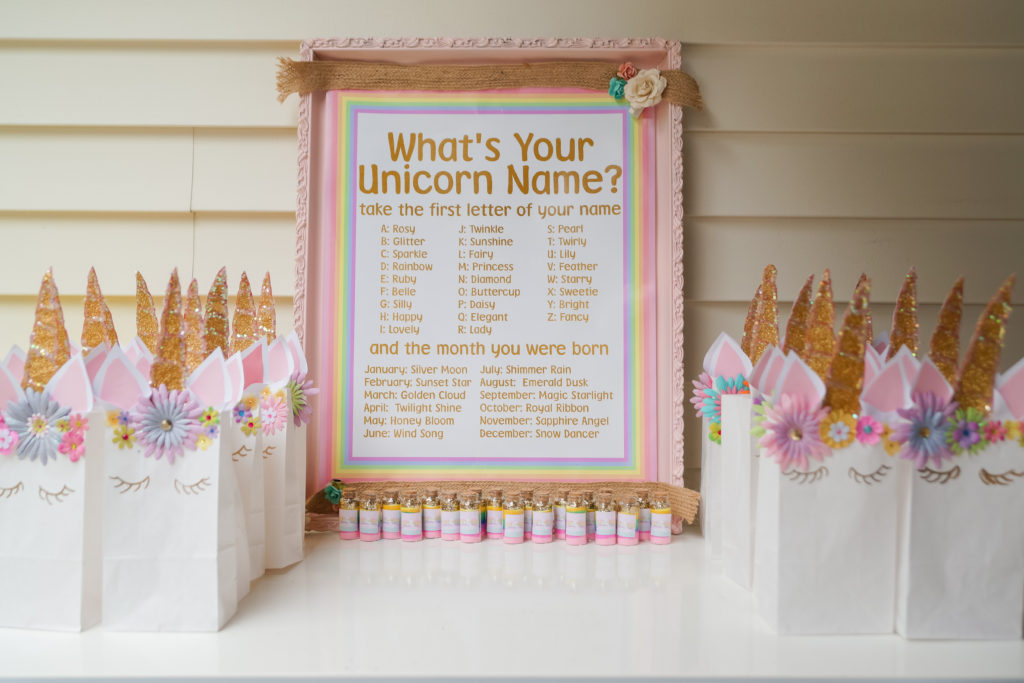
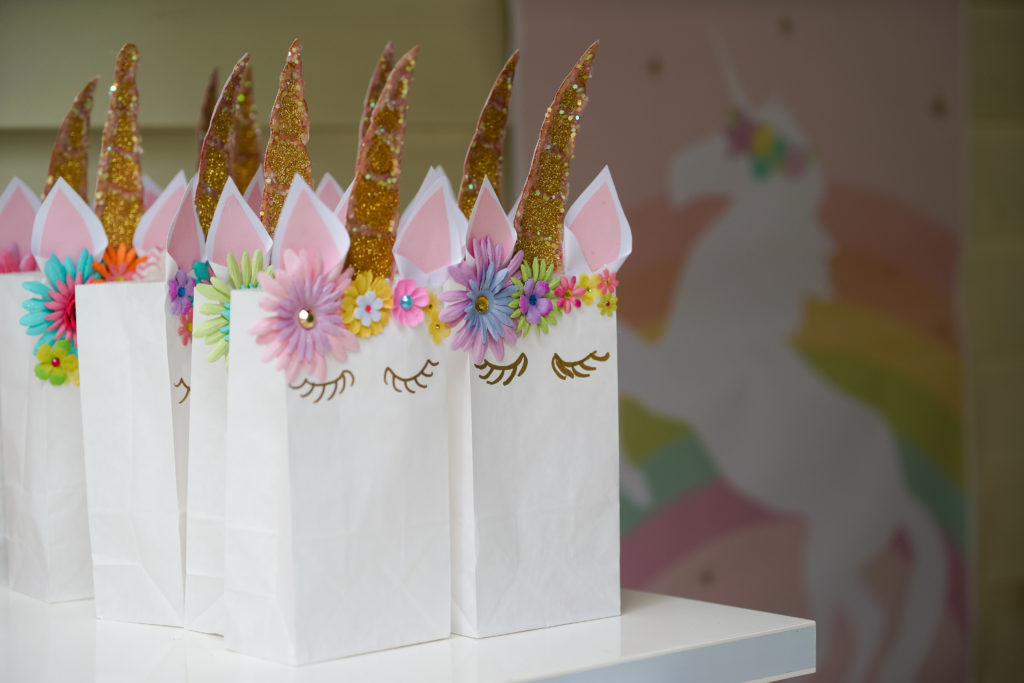
Each favor bag was crafted by myself, none were alike so no fighting girls 😉
Here are some of the crafts we incorporated for this party –
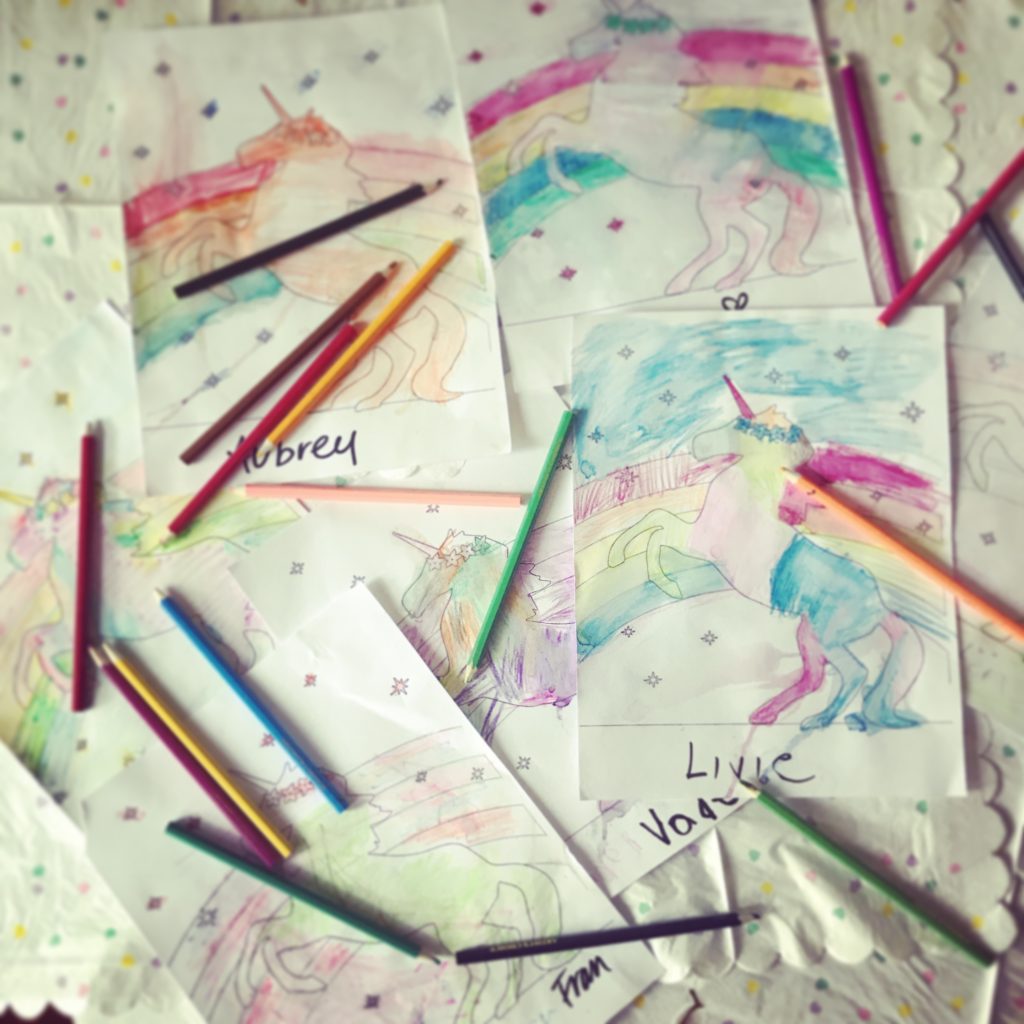
Pencil Water colors

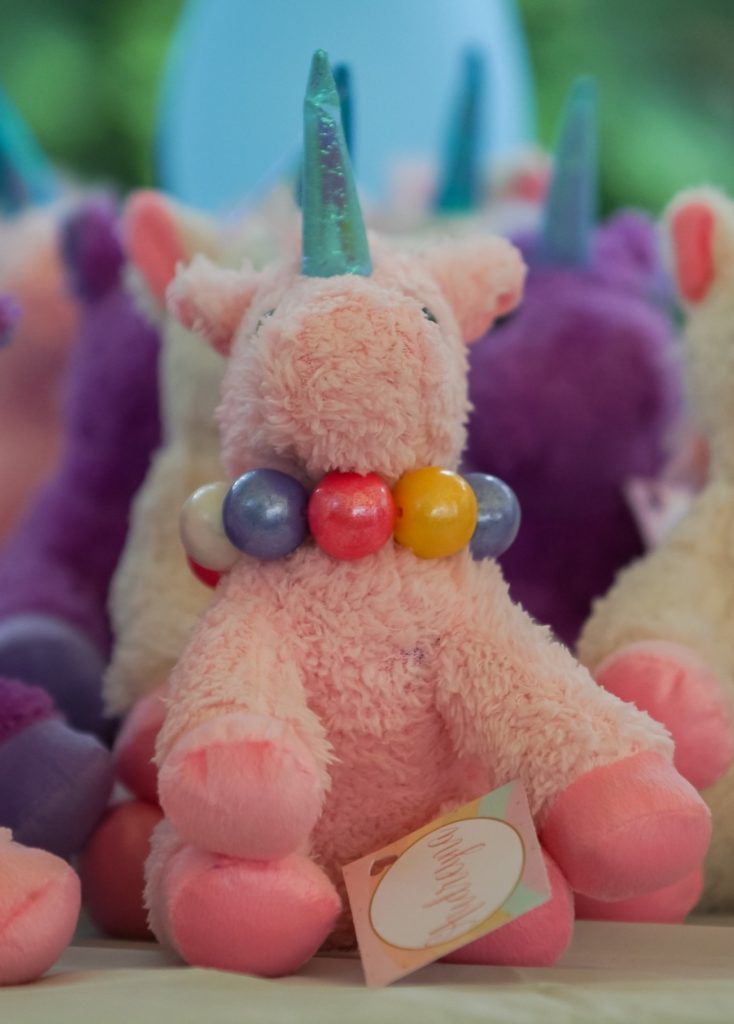
String your own candygum ball necklace for your unicorn
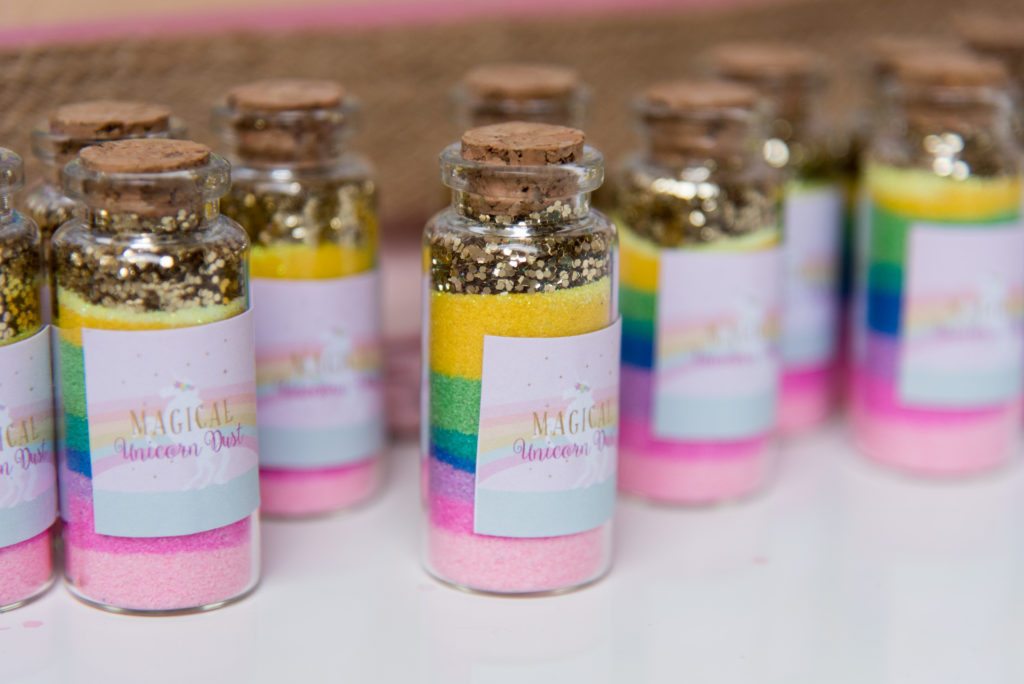
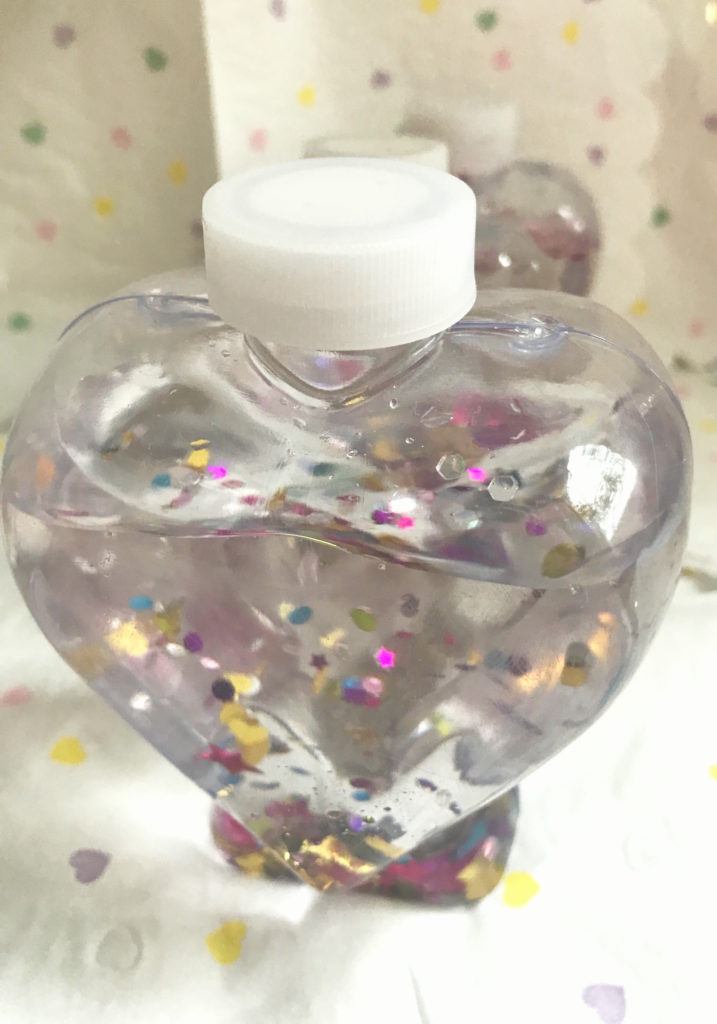
Make your own Magical glitter confetti bottles
No party is complete without a game – What is more perfect than ‘Pin the horn on the Unicorn’
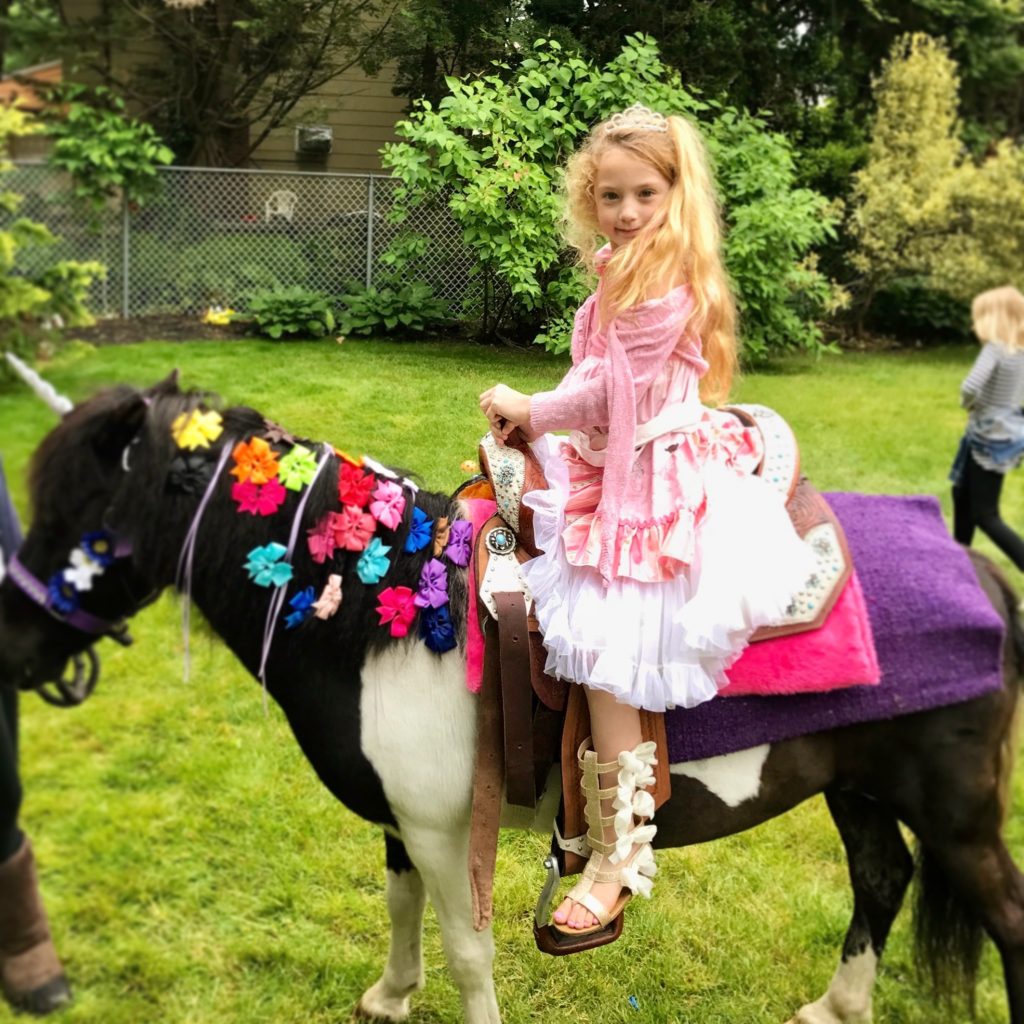
The BIG surprise for the event was to have a real life white UNICORN come – but instead we got a pony unicorn due to the weather apparently the white unicorn couldn’t fly in the rain as we had some issues that day with showers. In the end I don’t think the girls minded the pony unicorn and even stuck through it all cold and wet – excited as ever!
The expression on my daughter’s face was priceless!
I hope you enjoyed this themed event as much as we did!
VENDOR CREDITS
Unicorn Strawberry’s – with love by Mom
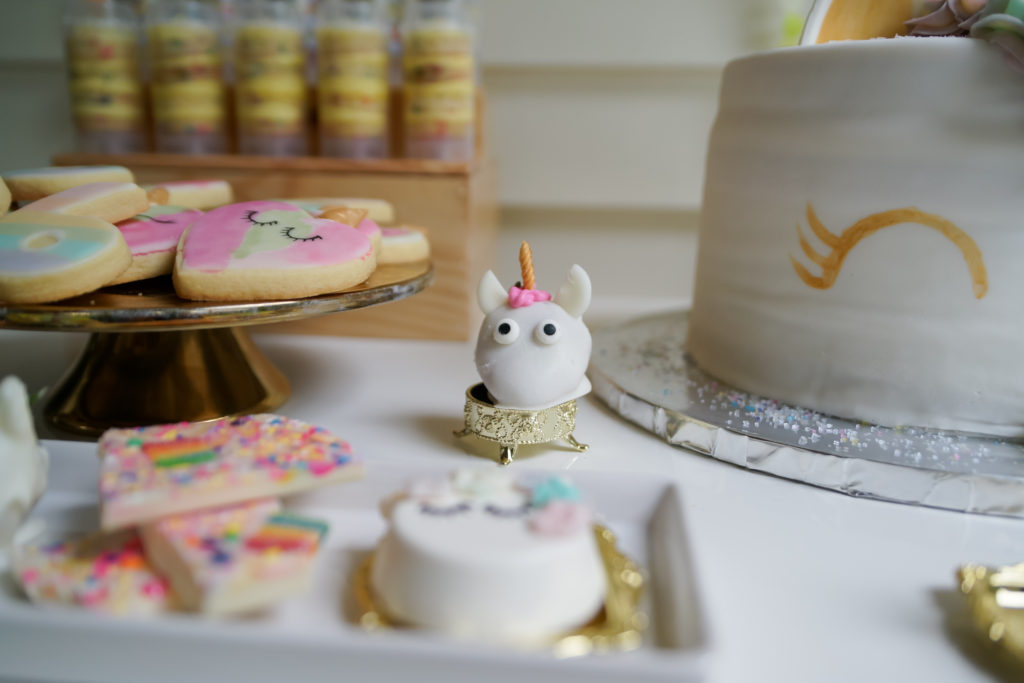
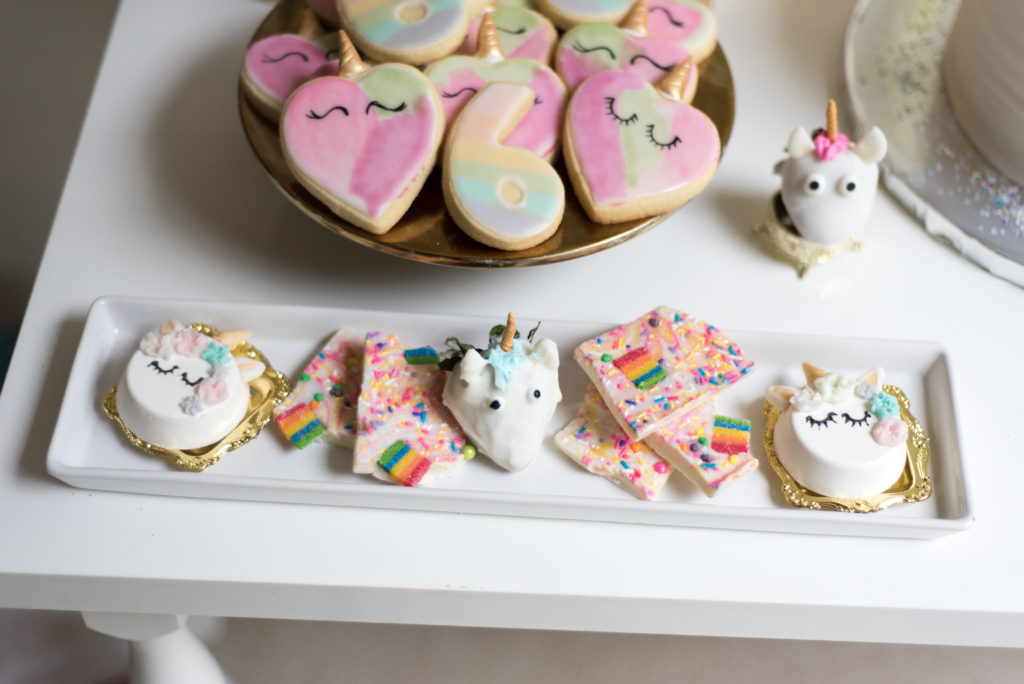
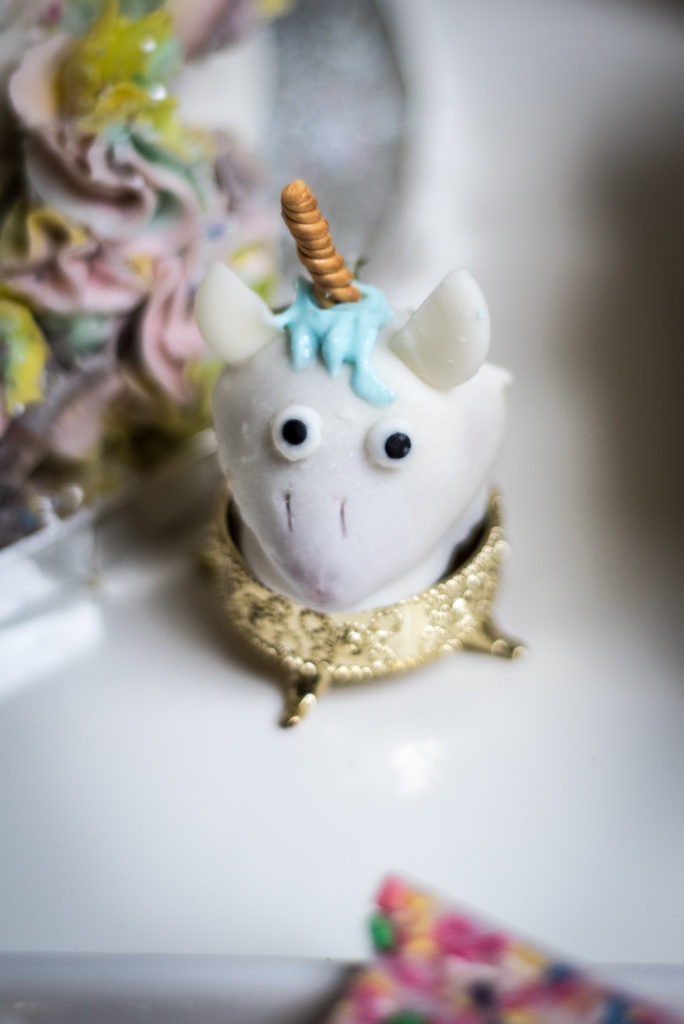
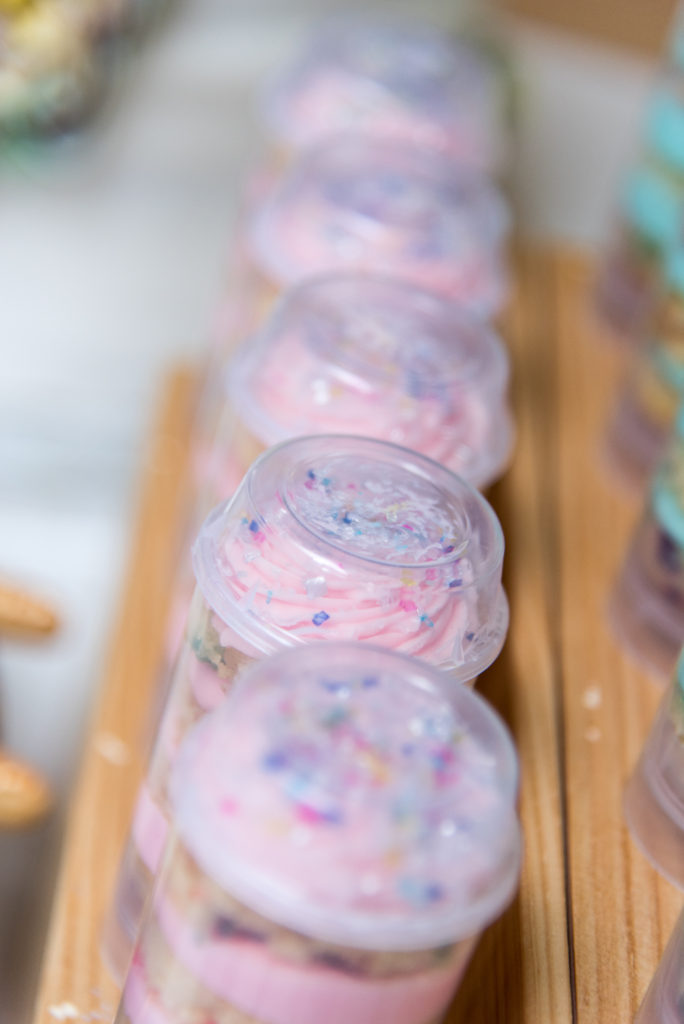
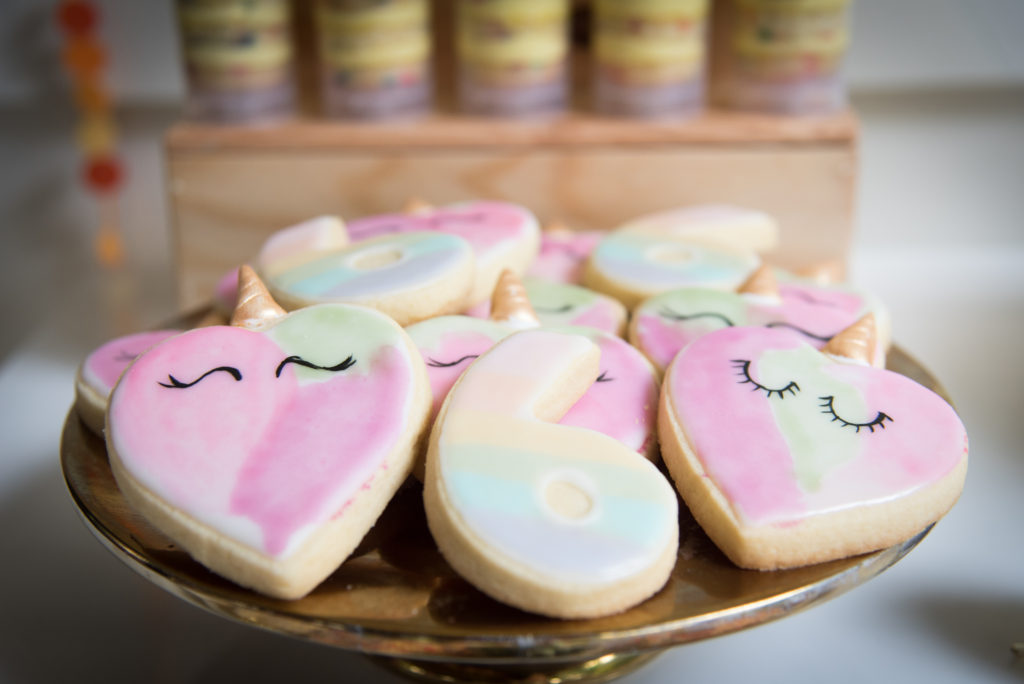
Cookies & Push Pops Flour Blossom Bakery
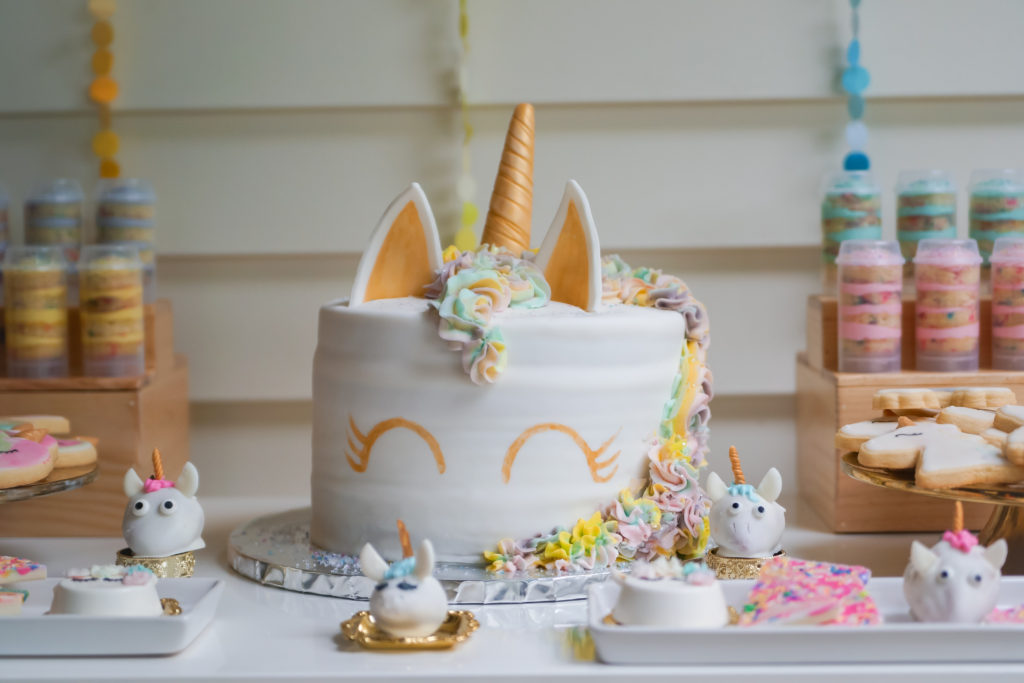
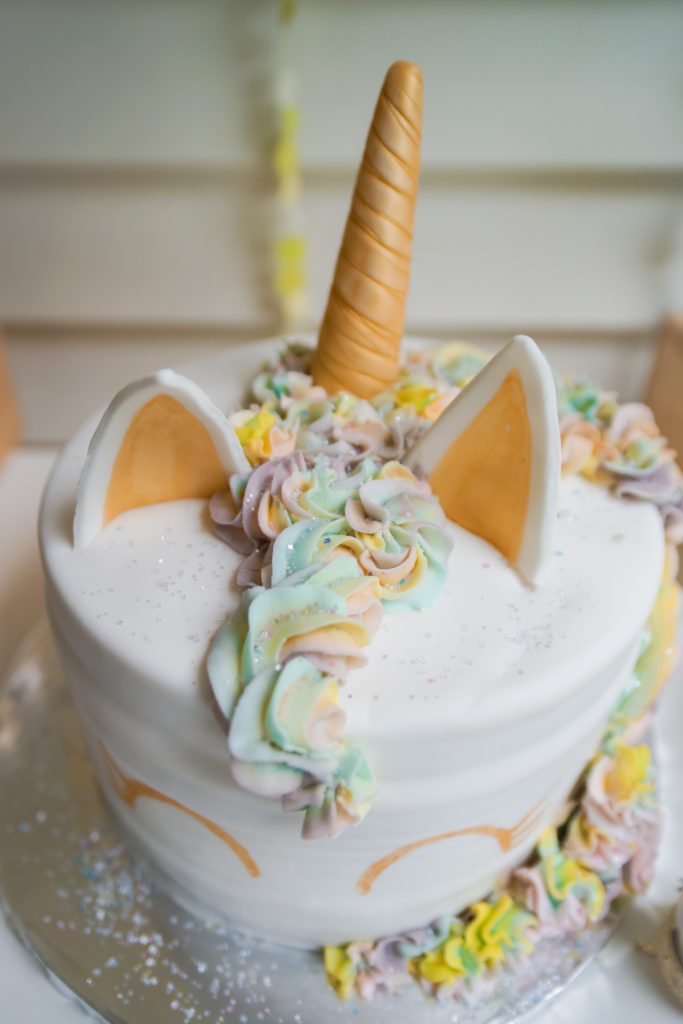
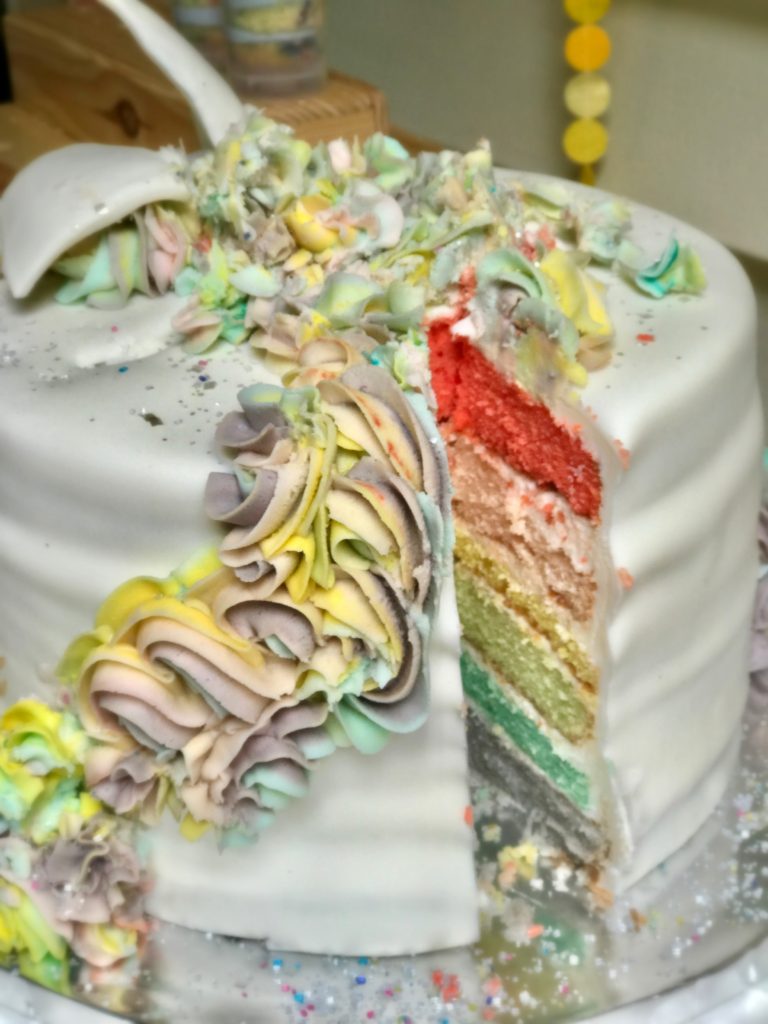
Unicorn Cake & Oreos – Marlenes creative side
Unicorn chocolate bark & Pearl Gumballs – Sweeties Candy Cottage
Gold Trays – Maison dubonbon
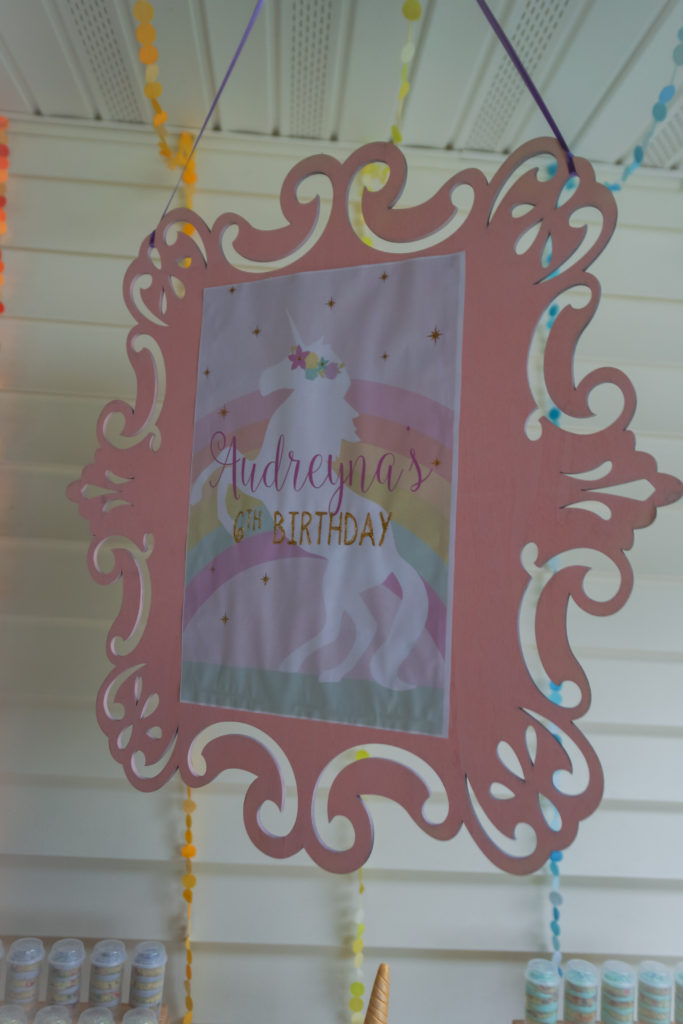
Graphic art & Pin the horn – Annoucing You
Art Supplies – Picasso Kidz
Unicorn Name – NothingPanda
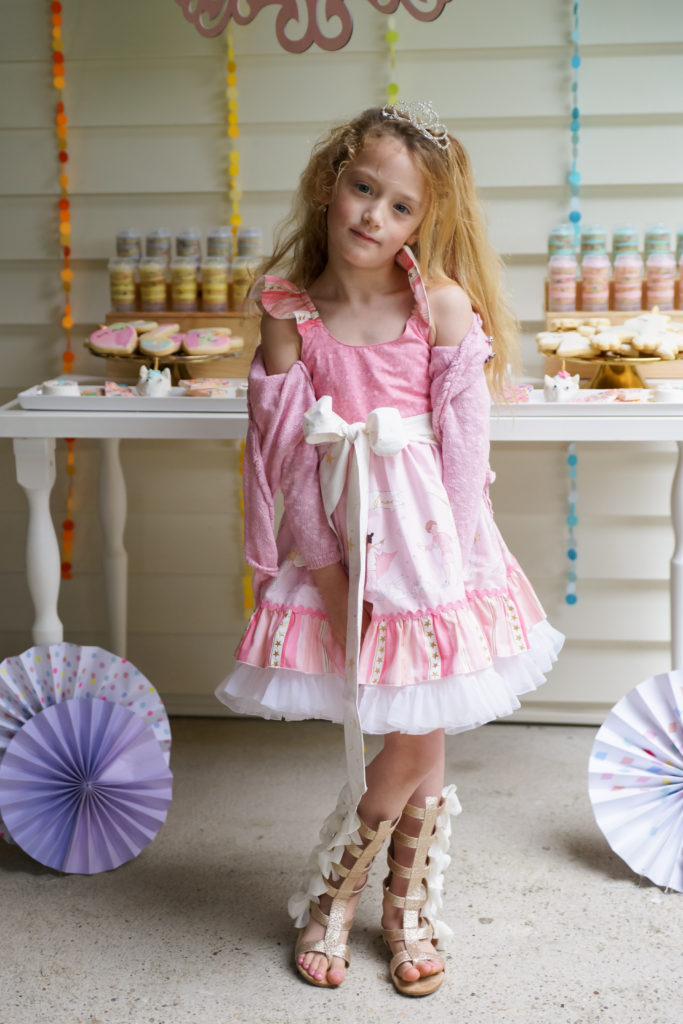
Custom Unicorn dress – Sweet Annies Boutique
Photography – CMC photography & Kelvin Photo
Unicorn horns , Unicorn favor bags, Event planning and Styling – dear jeni
Unicorn plates and napkins, straws – Amazon
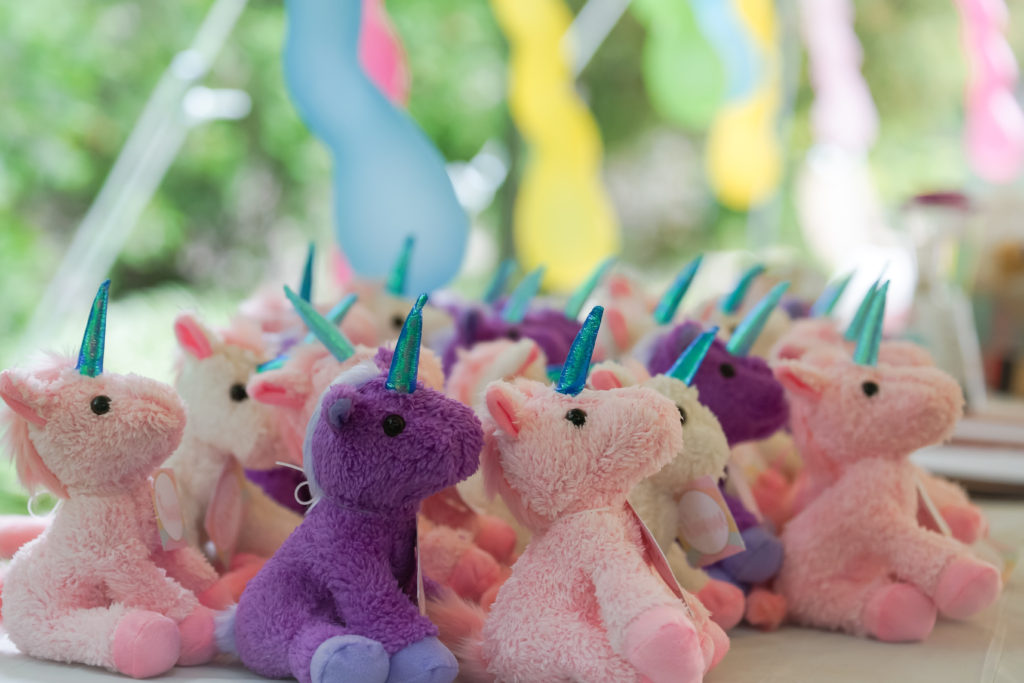
Unicorn plush stuff animals – Amazon
Spiral Unicorn horn balloons – Balloons
Tent – Chance of Showers
Unicorn Pony – Dream Catcher Pony Parties

I ran across some adorable crayon melt projects. Truthfully, I had a hard time deciding which project we would attempt from social media sites like pinterest, facebook and youtube. After much deliberation I finally made my decision and we used this one here. From Katarina’s Paperie.
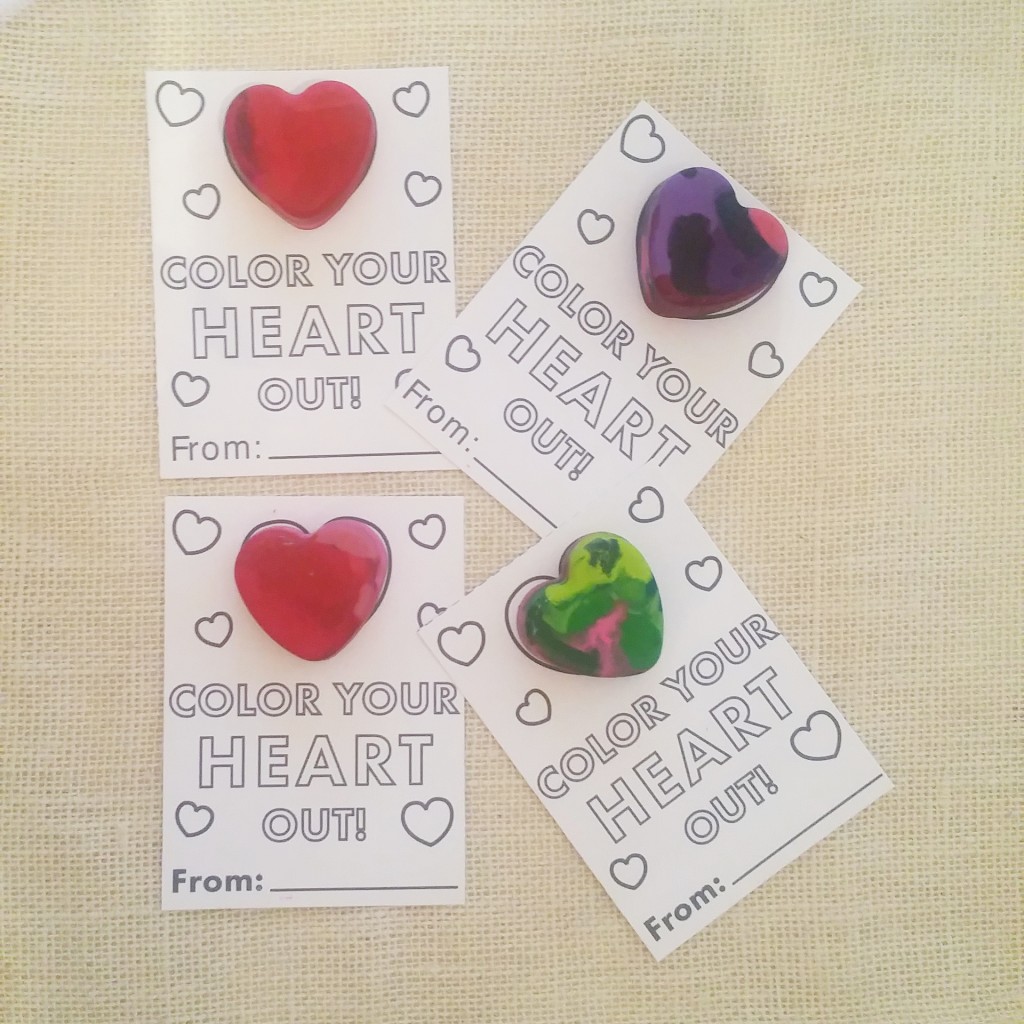
Valentine card for print here.
The only difference in my post here that you will not see in the link above is I will give you my tips for making this project go a little smoother for us 1st timers 😛
- Use an exact knife and cut the crayon labels straight down for easy removal when breaking crayons apart.
- Definitely make sure you over fill your Wilton heart molds with more crayons than less or your crayons will be shallow and smaller.
- Make sure you keep your oven on 225 and bake for 30 minutes ( I found a slow steady temperature makes a better crayon instead of cranking the heat up)
- Do NOT put them in the freezer , let them sit for 3 hours or more you will get bubbles in the crayons
- After your crayons are ready to be peeled and popped out of your tray you might experience a small sinking hole or some unevenness in the crayon heart , you may need a peeler as shown to make your crayon level for pasting onto the paper valentine.
- Use double sided heavy scotch tape with weight for 1.4 lbs to hold into place.
- Use zip-locks and cut them for a clear cello look or use cello envelopes and cut to shape. Fold over access and use decorative washi tape (as shown)
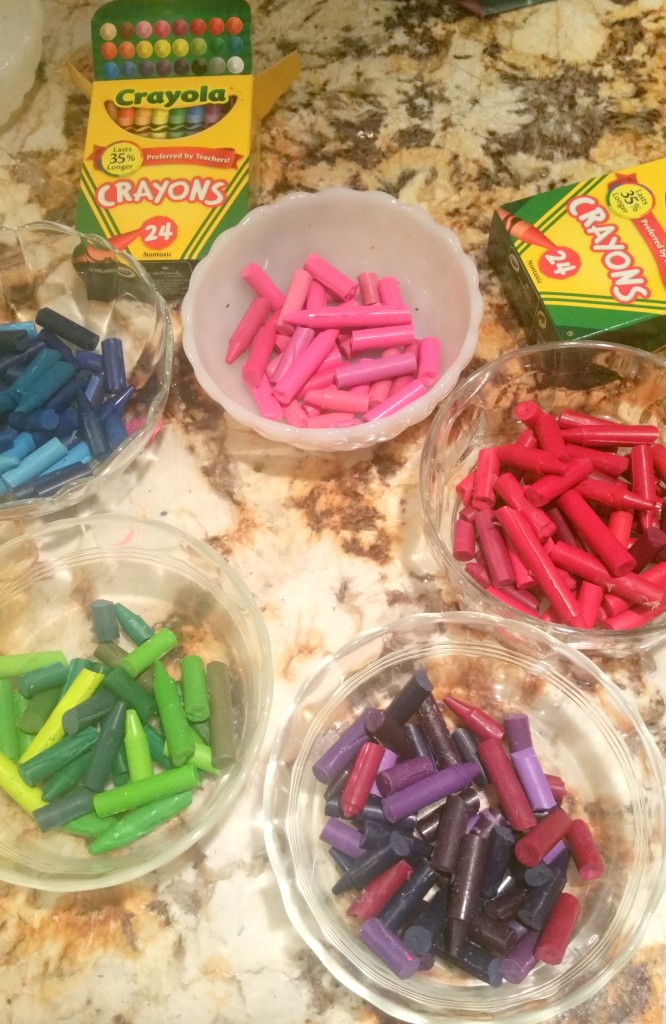
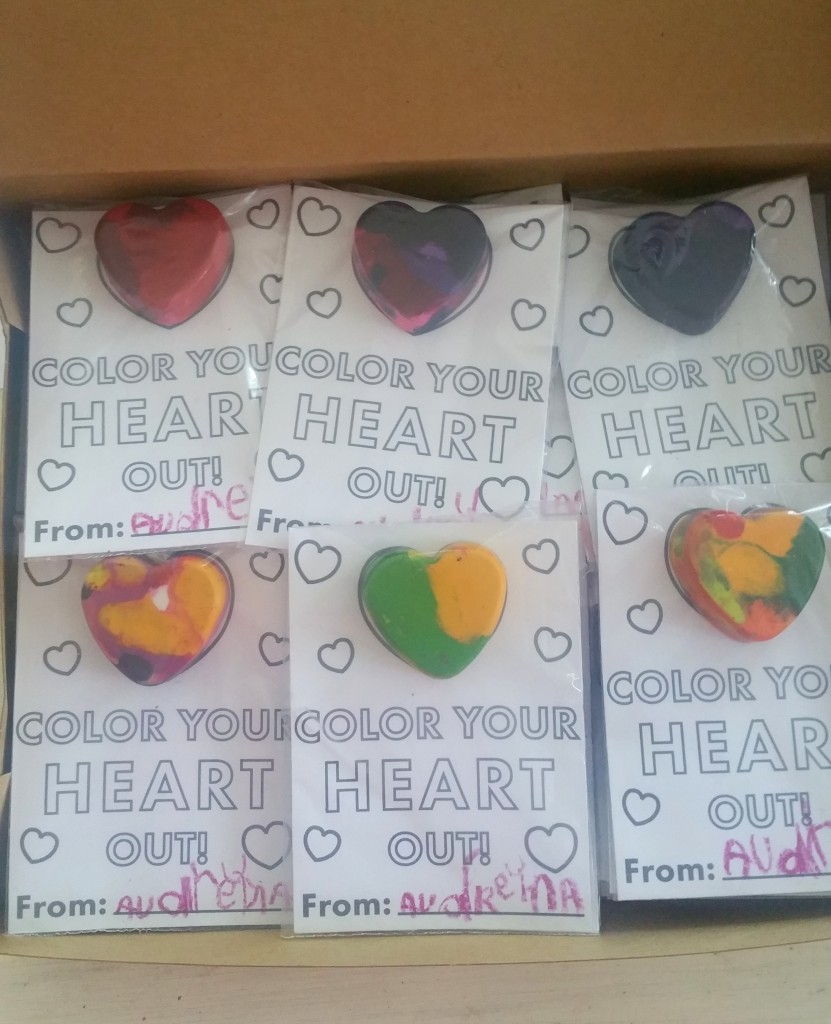
We separated by color.
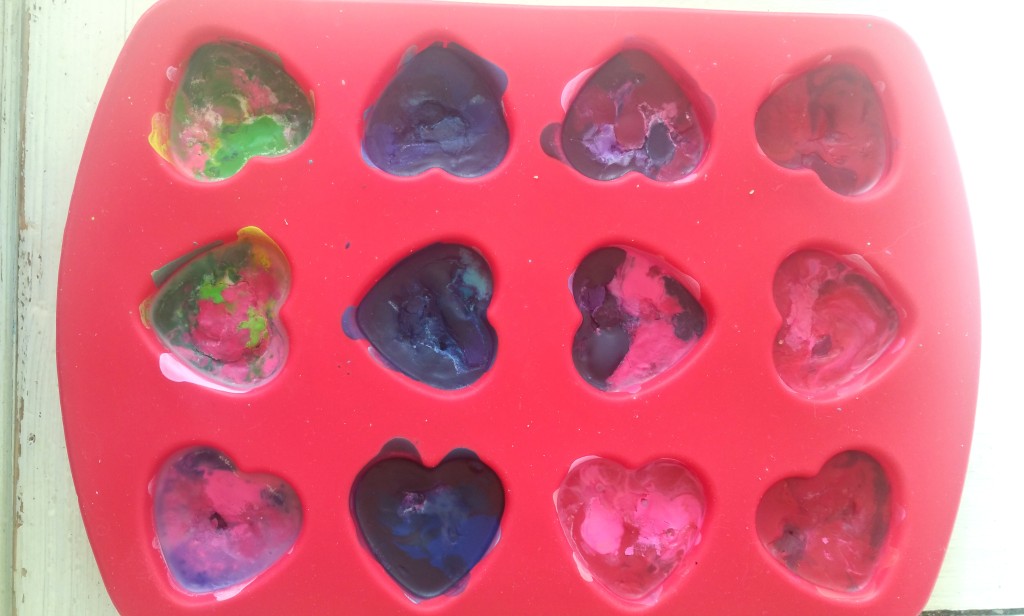
Pictured above is after our melt.
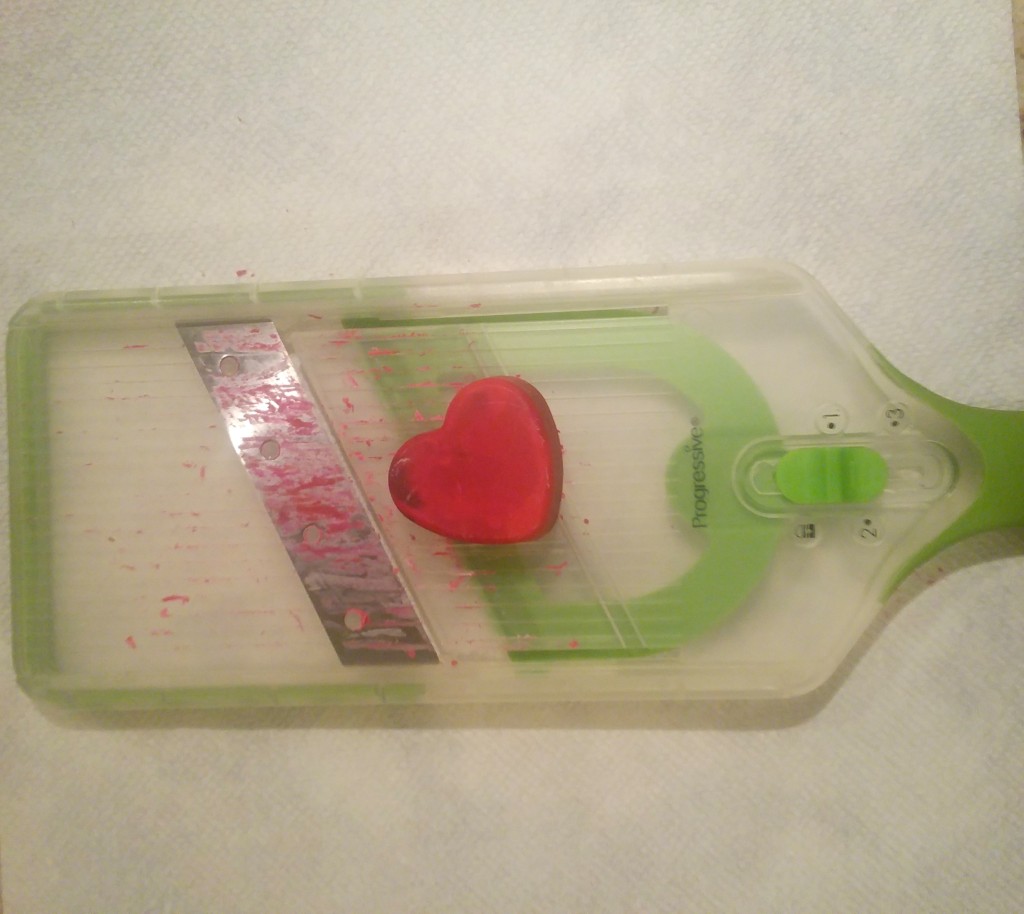
Here I shaved a section down to make even so it could adhere to the card evenly.
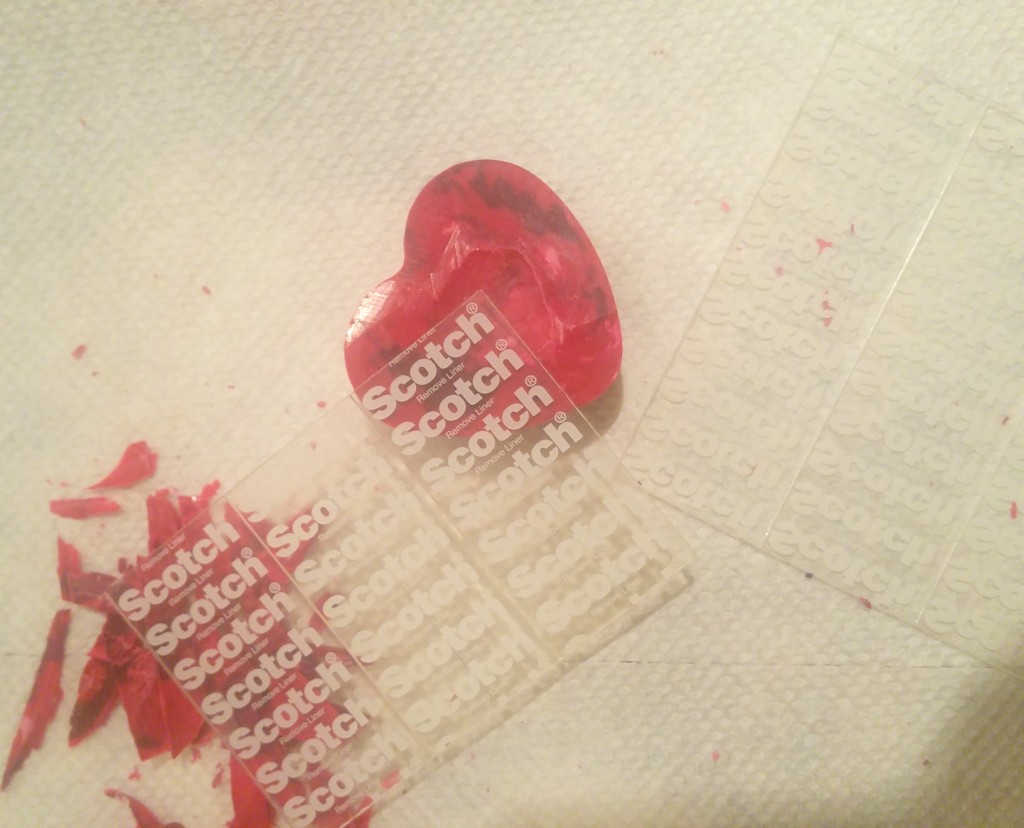
I recommend using scotch guard double sided tape for heavy weight or glue dots.

Result after colors were separated.
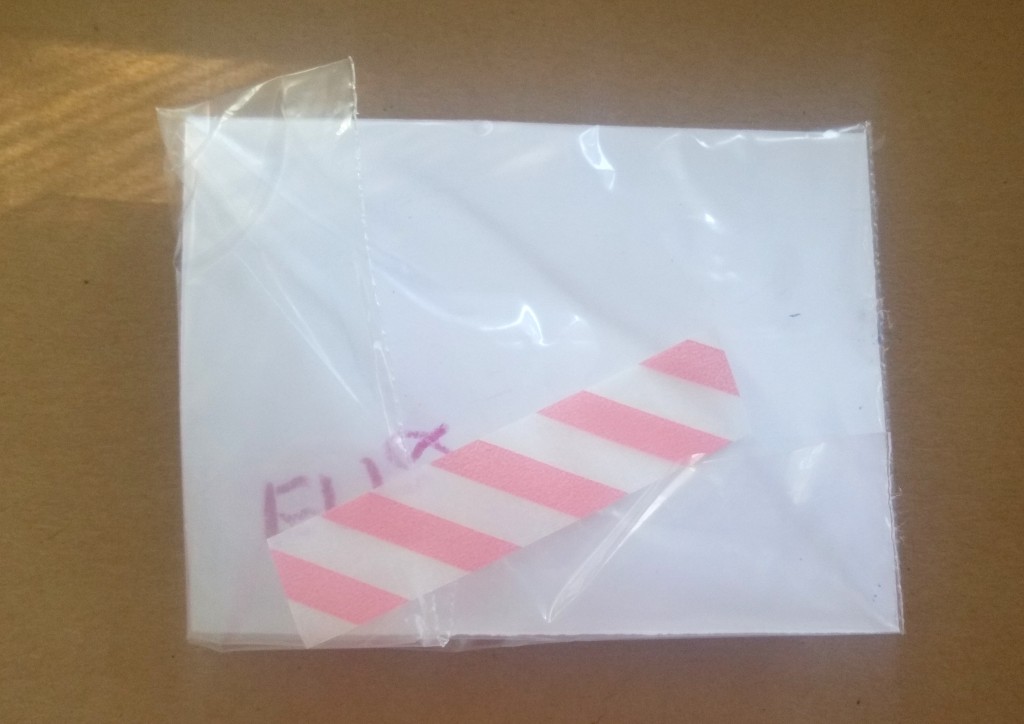
I found the clear cello or zip- lock give a nicer appearance than inserting into envelopes. It is also awkward when trying to close a regular envelope.
I hope your Valentines like them as much as we did making them!
Happy New Year All!
This post I wanted to get up in December but it turns out it benefited me to wait after the New Year as I am able to share two sample ideas in one blog post.
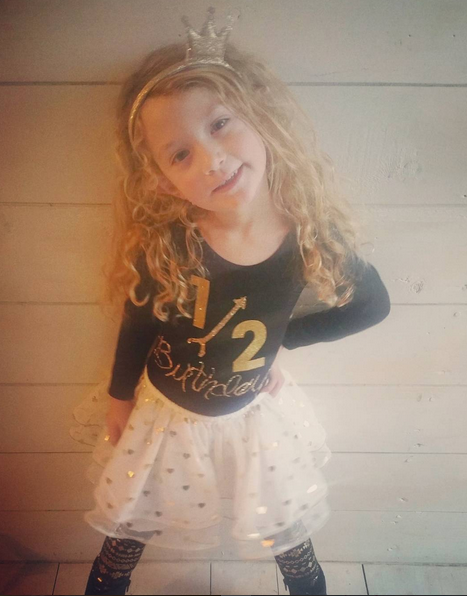
Here goes… Some of my friends caught some images of my daughter on my personal Instagram account with her 1/2 birthday and asked me a bunch of questions about her attire. Yes you read that correct. 1/2! My daughter could not wait to turn 4 1/2 as most of her friends are older than her and apparently when you are 4 every second of getting more mature and independent counts! Oh to be young again , because all I do is try forget my age when people ask!
With some thought and deliberation I decided that my daughters excited feelings of this day has to be acknowledged in a tasteful way without breaking the bank. After all each moment of a child’s life should be celebrated if they care enough about it enough because you’ll never get it back again.
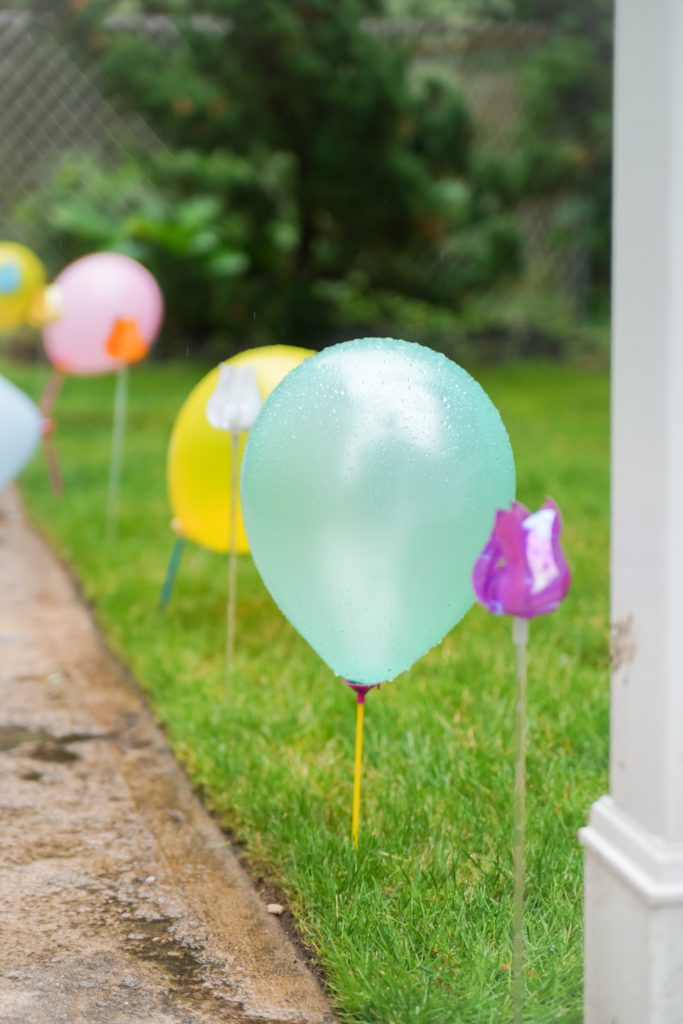
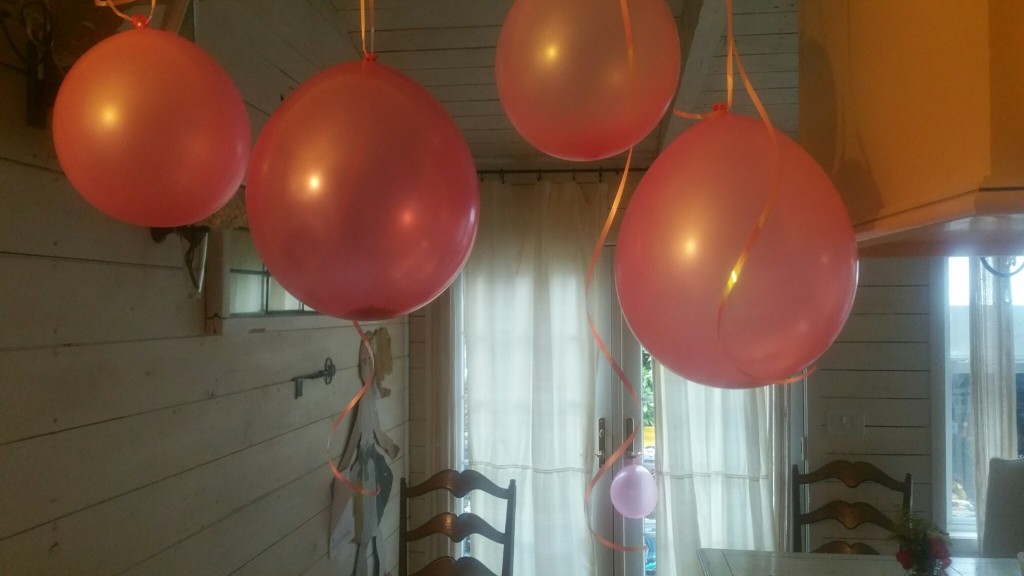
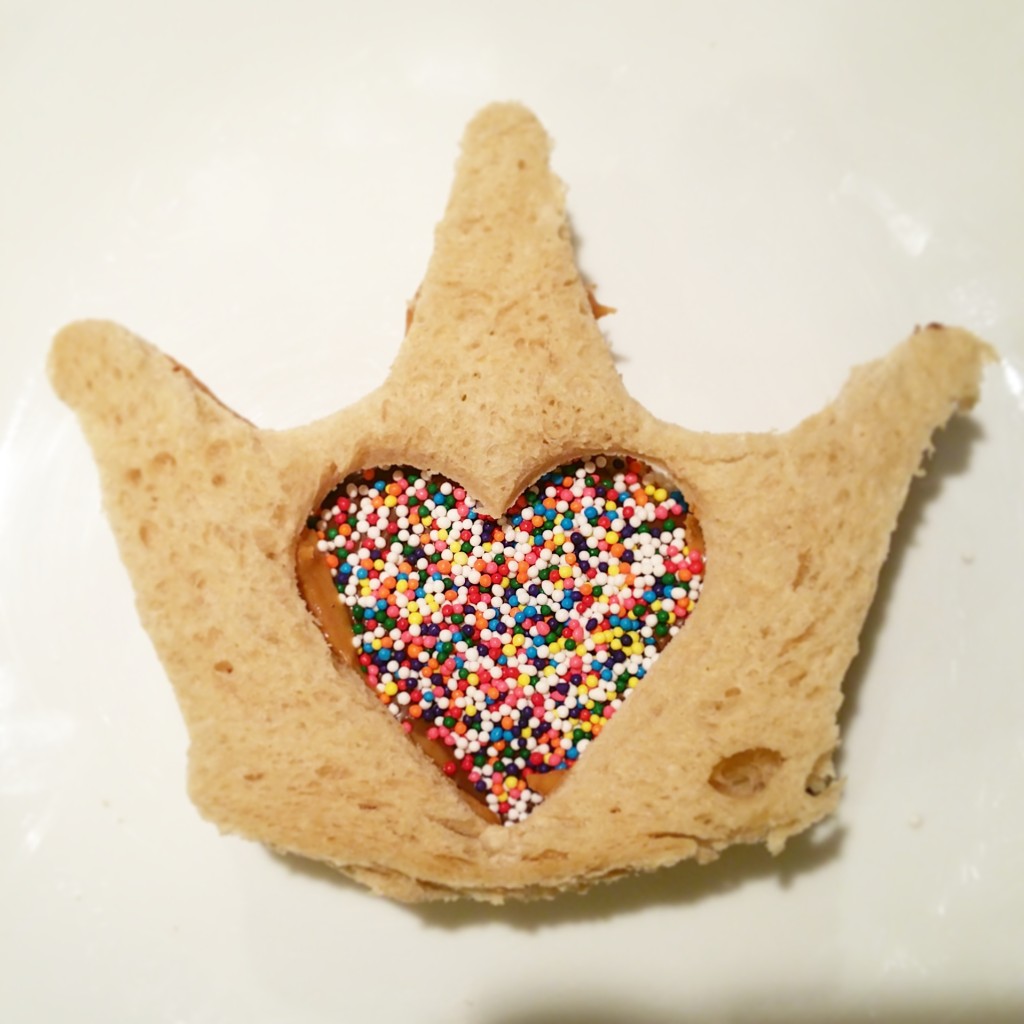
My simple ideas with some pizzazz were hanging glitter pink balloons, organizing a surprise special friend over for a play-date. I also made crown window sprinkle nutella sandwiches, printed castle and crown images for color time and because it was Christmas time our Elf “Ellie” got dressed in her princess dolls dress. I used bracelets as a necklace for added glamour & blew up a water balloon and put it on a chocolate pop stick. When it came time for cake we had 1/2 of a cake for dessert.
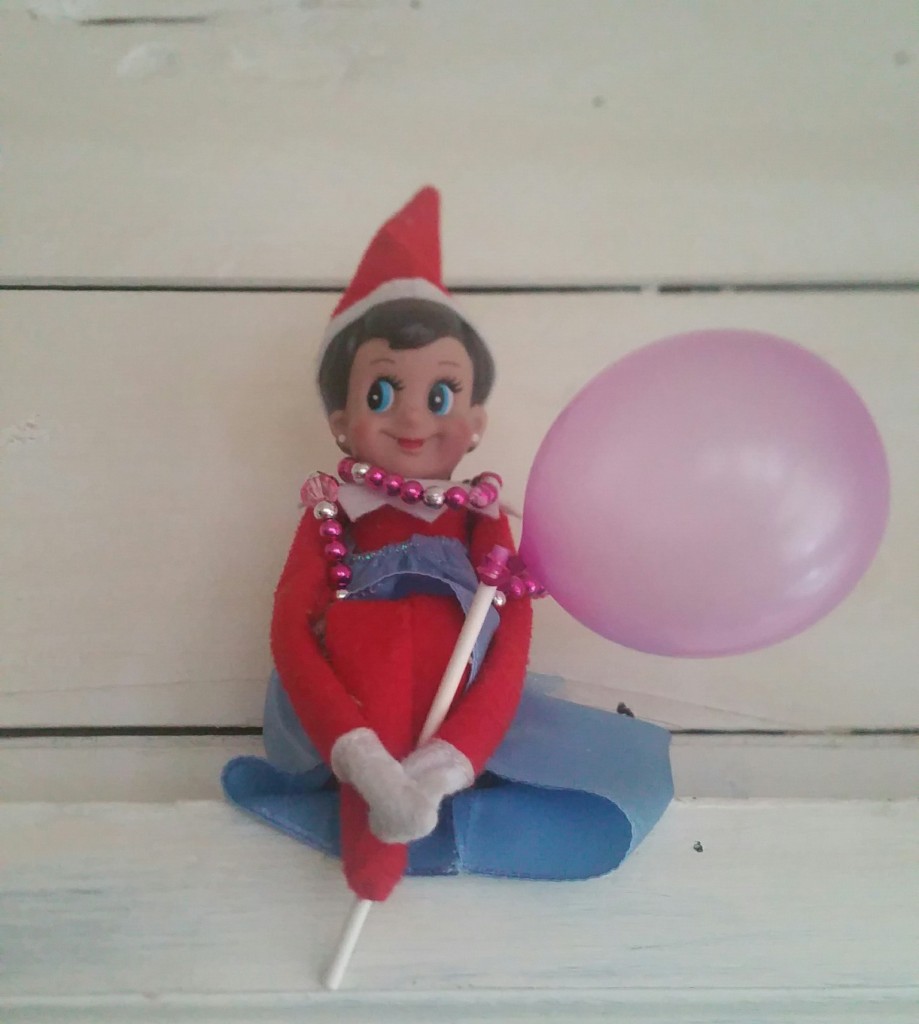

*note candle -melt wax and stick 😉
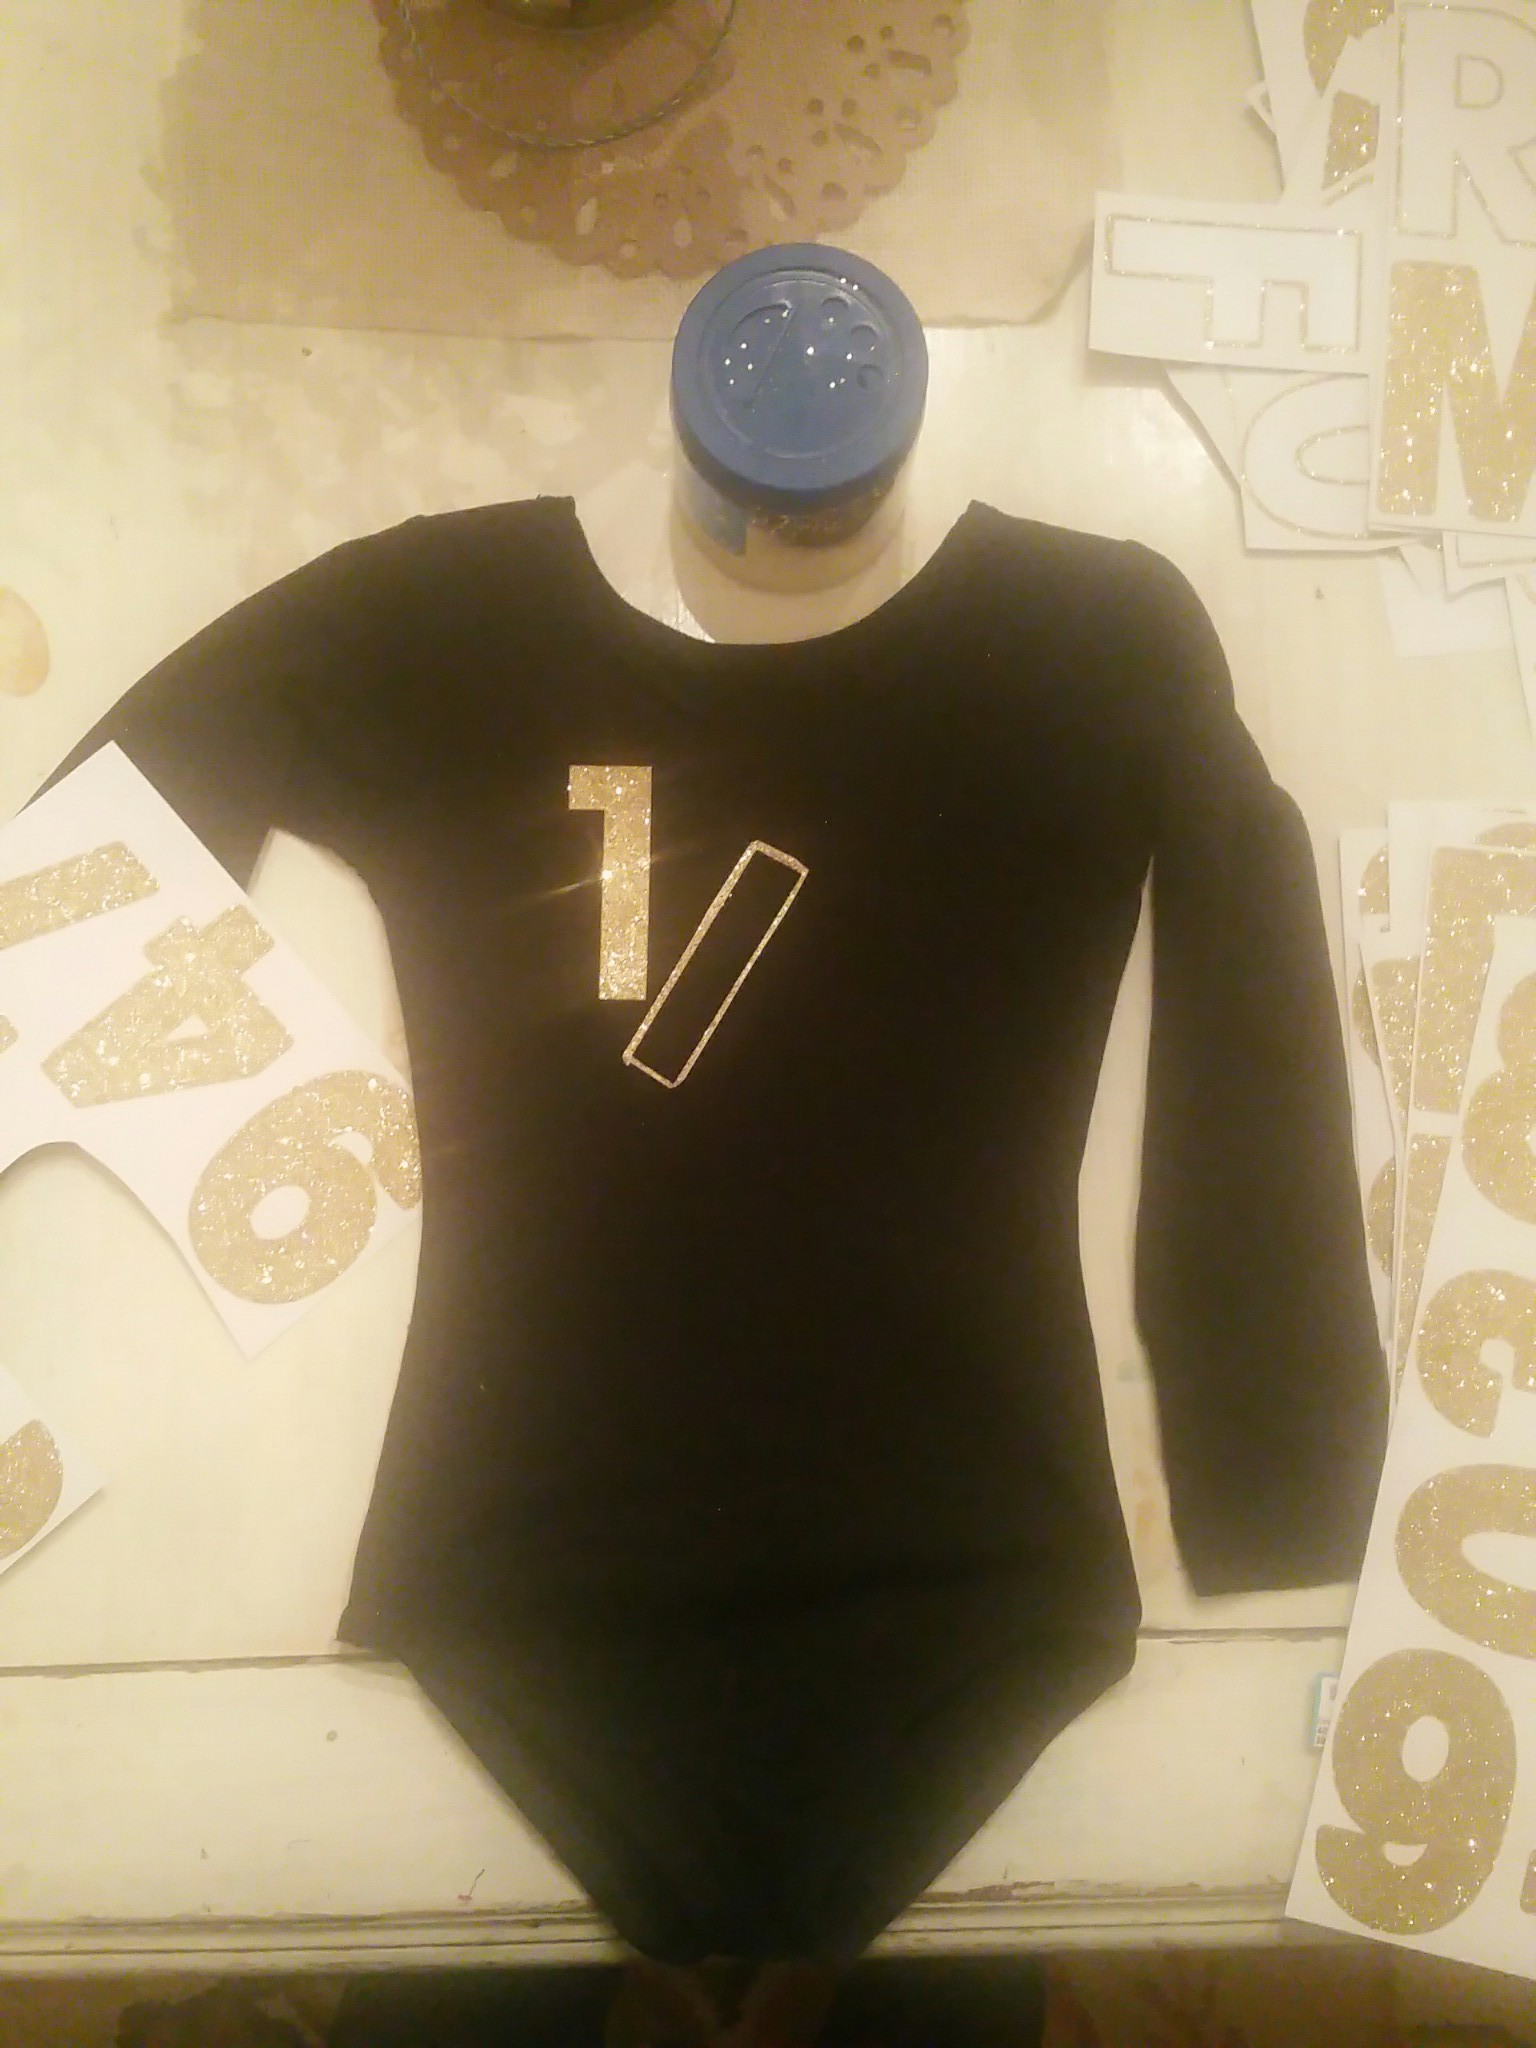
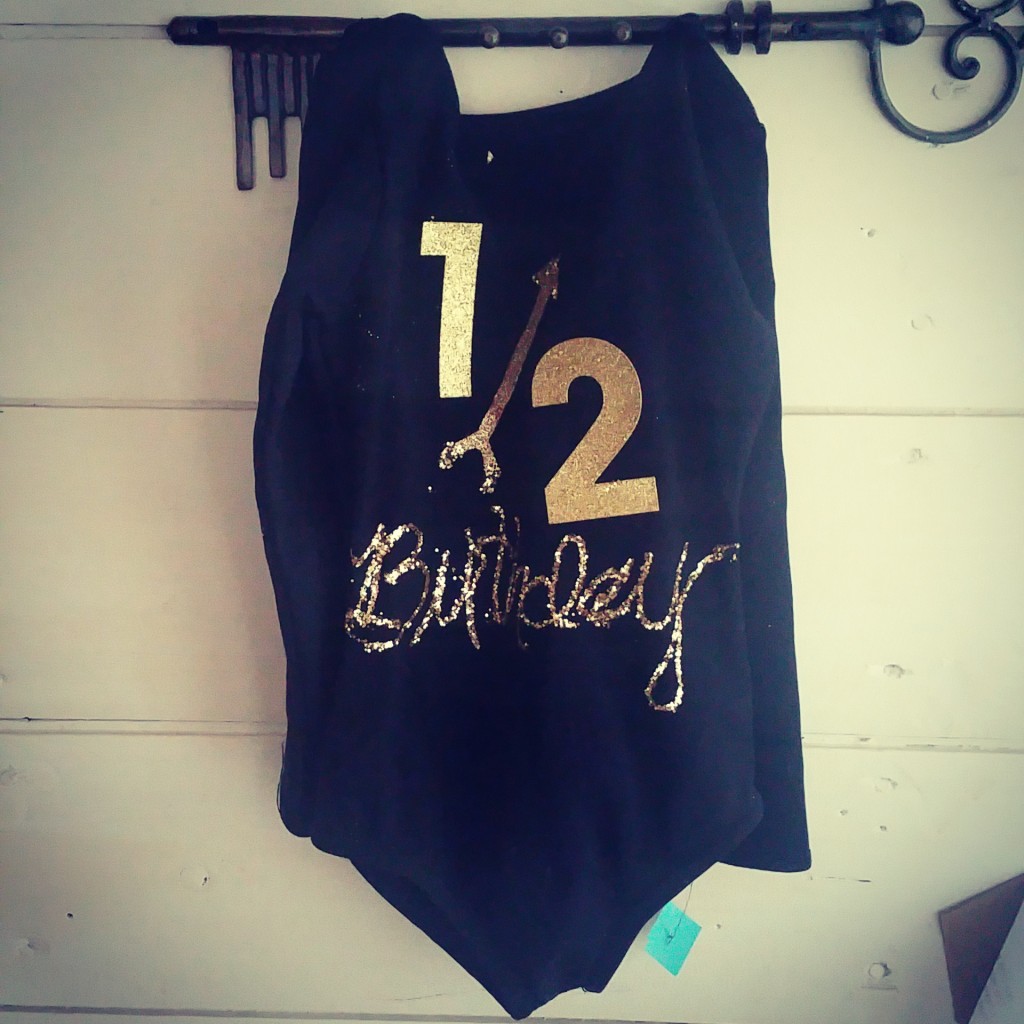
What I also did was do a totally affordable DIY personalized bodysuit for that day that and that is what I am going to address now from that one famous photo on instagram.
What you will need :
1 plain bodysuit (any color)
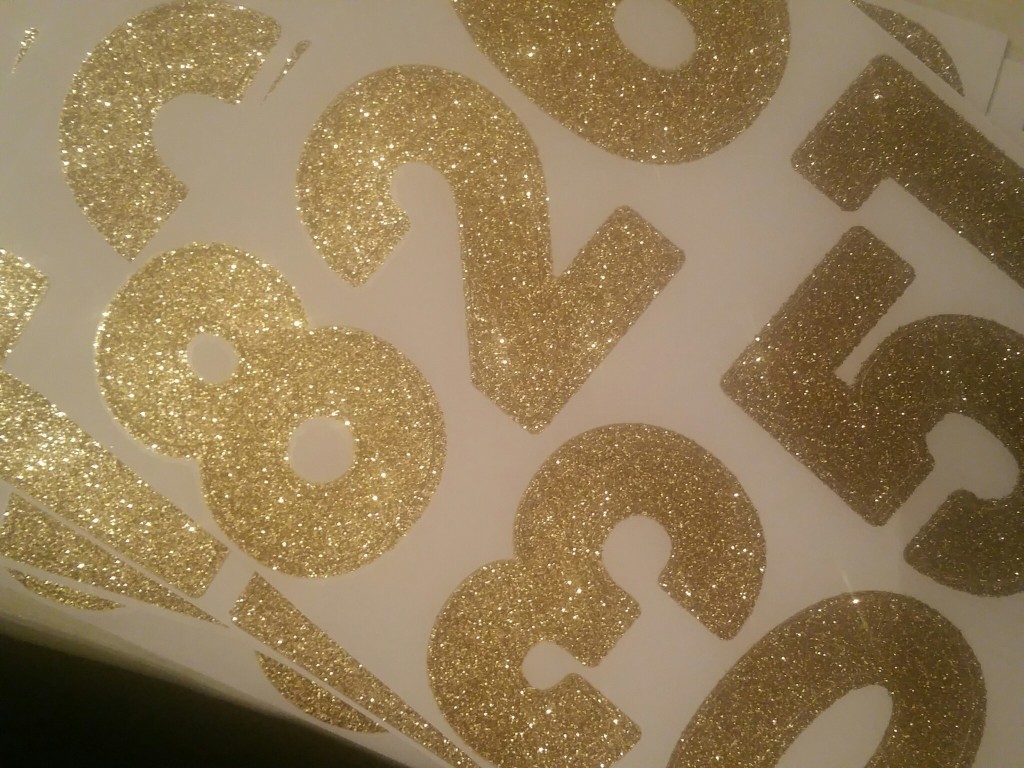
Iron on Stencils or stick on letters (note stick on are temporary will not wash). I chose Gold.
Gold Glitter optional
Elmer’s glue (only if you chose to add glitter)
Fancy tutu of your choice
Above you will note that I mixed both stick on numbers and Glitter.

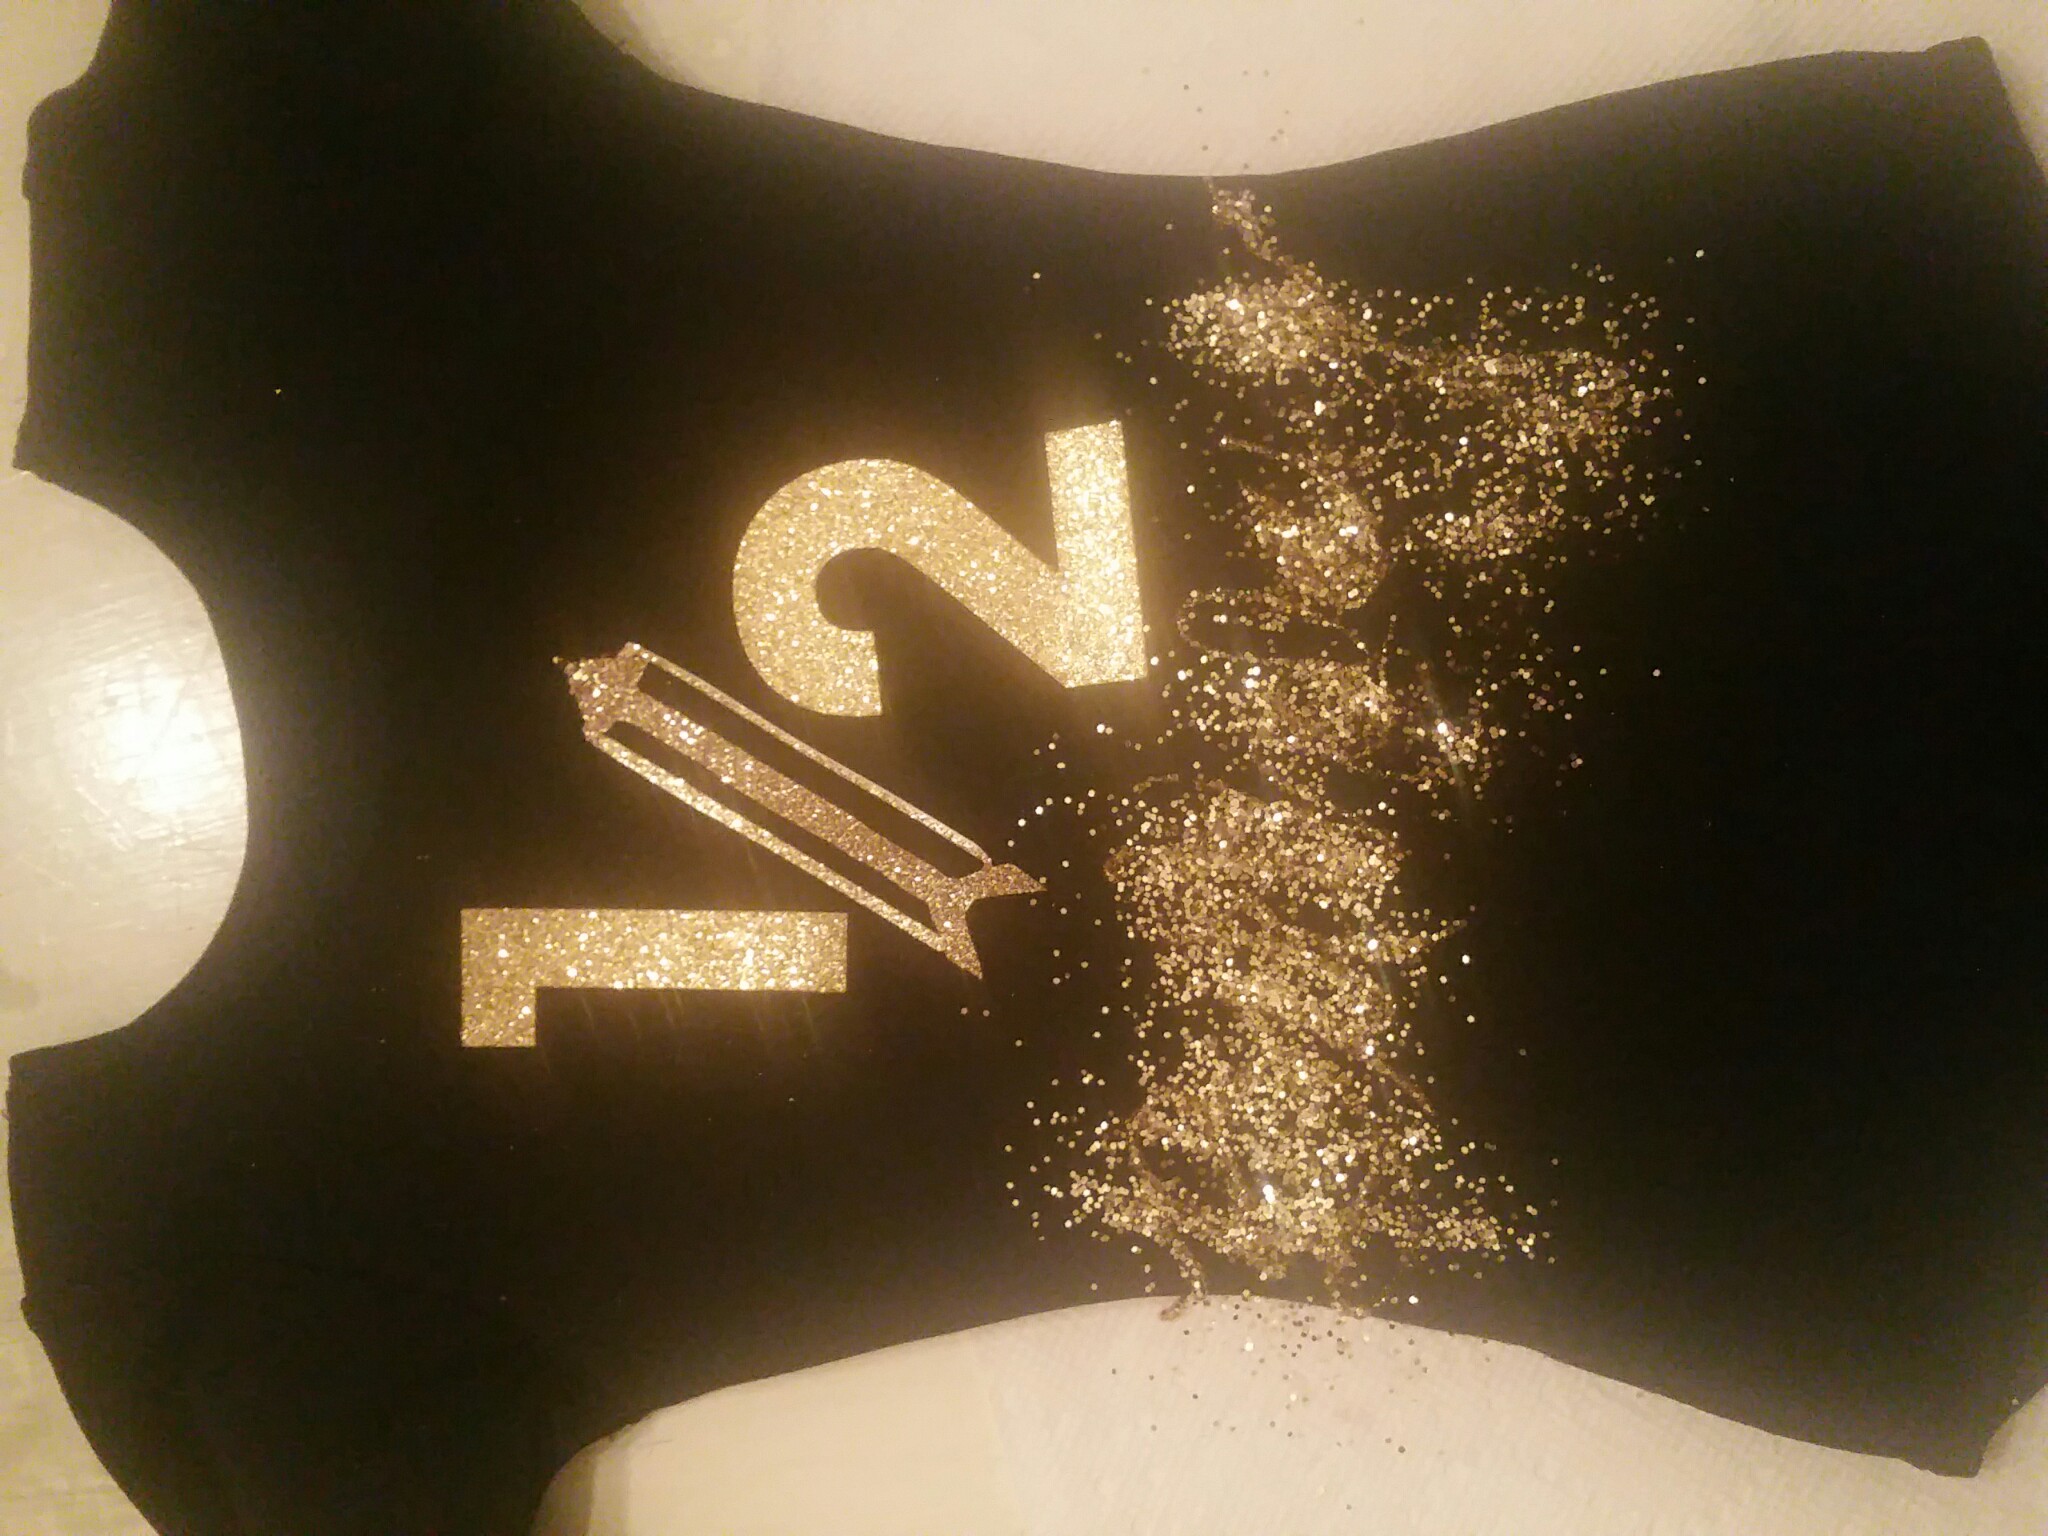
Lay Flat as pictured. Here I started to make for the slash in the half the outline of the lower case letter l. I than realized as I started to work that I had an extra gold arrow and changed it later.
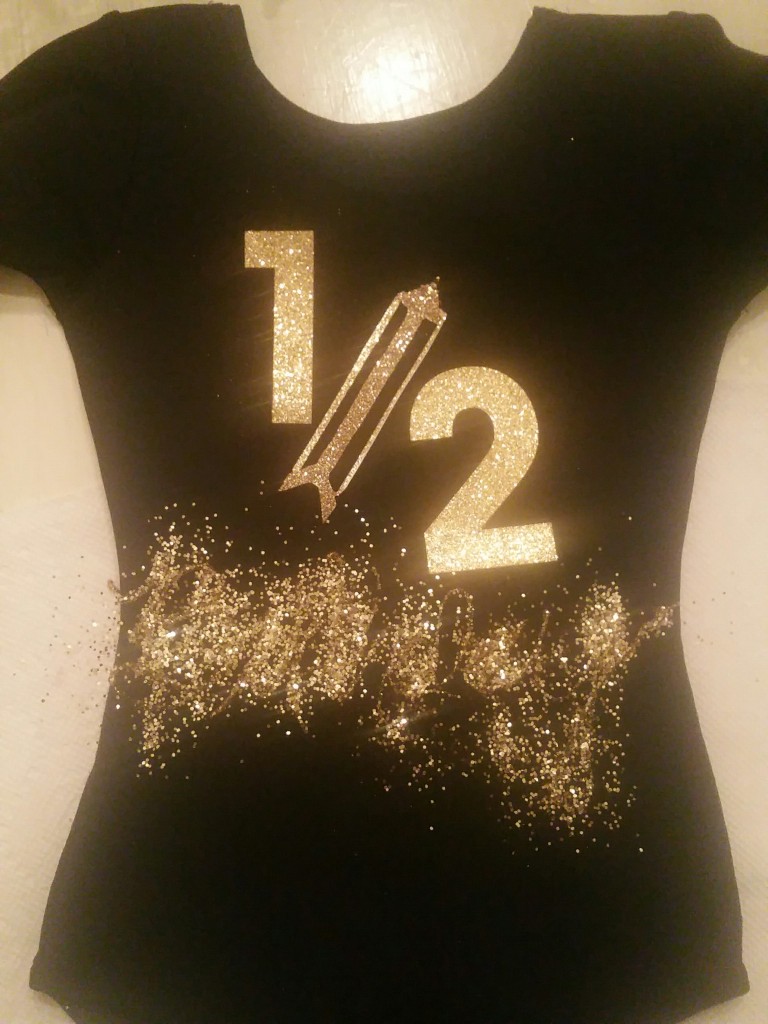
I than used Elmer’s glue and wrote in script “Birthday”
Shake off excess glitter and dry overnight. Voila – Your done!
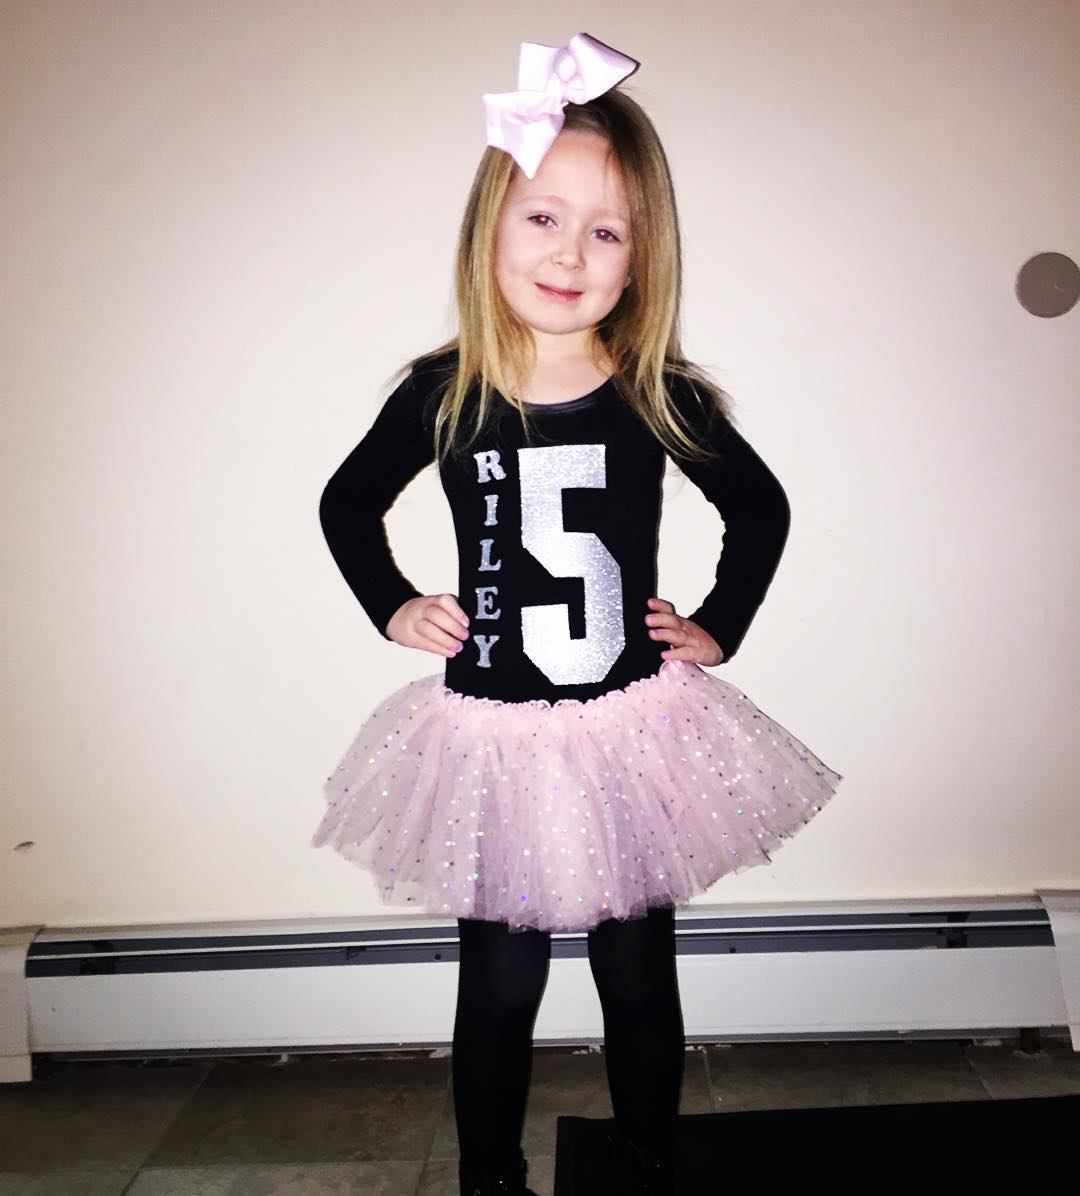
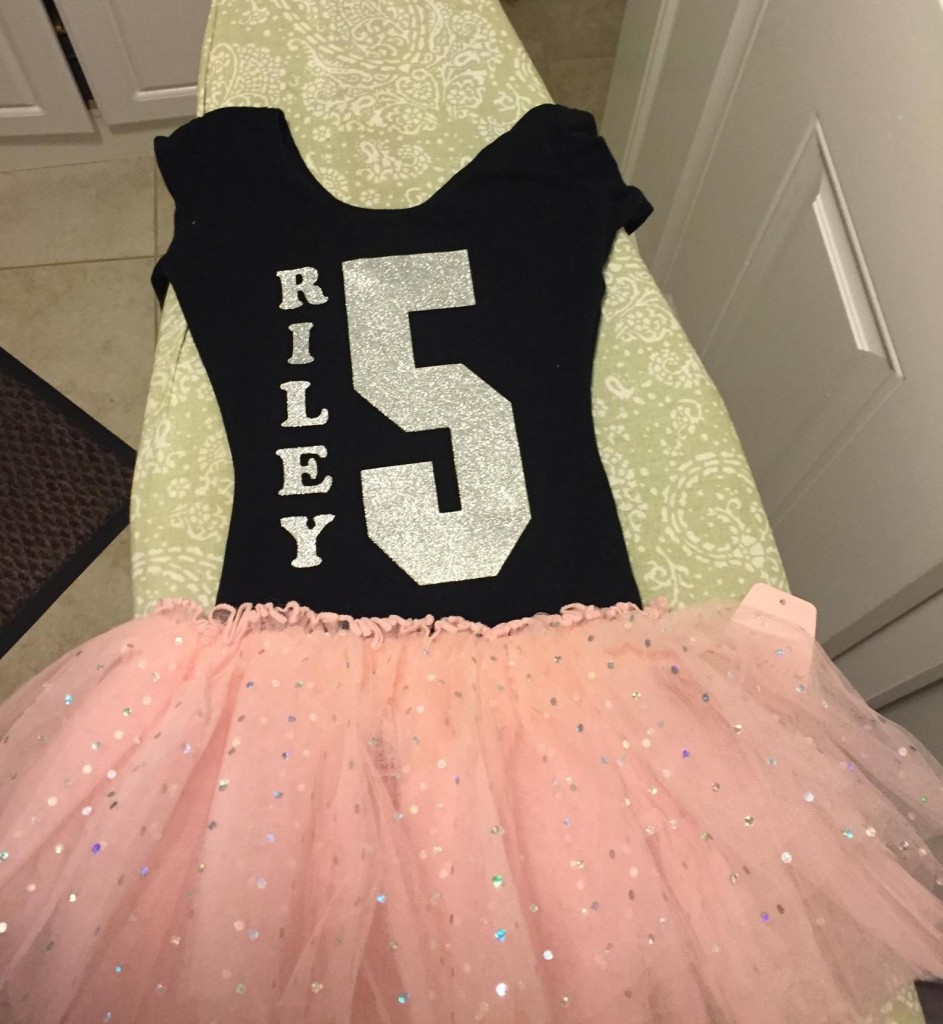
Below I gave another friend of ours the idea of DIY for our friends birthday. She swore she couldn’t do it. I assured her she could and make it fabulous. Only this was not a half Birthday but Riley’s actual Birthday!
Mom went to Michael’s as I suggested, got some iron on numbers and letters found a sparkle tutu and was the talk of the town for the day. Kudos’s to Riley’s Mom! Great job. Glad I was able to inspire you! Keep following me for great tips and tricks I have another one coming this week. Promise 😉


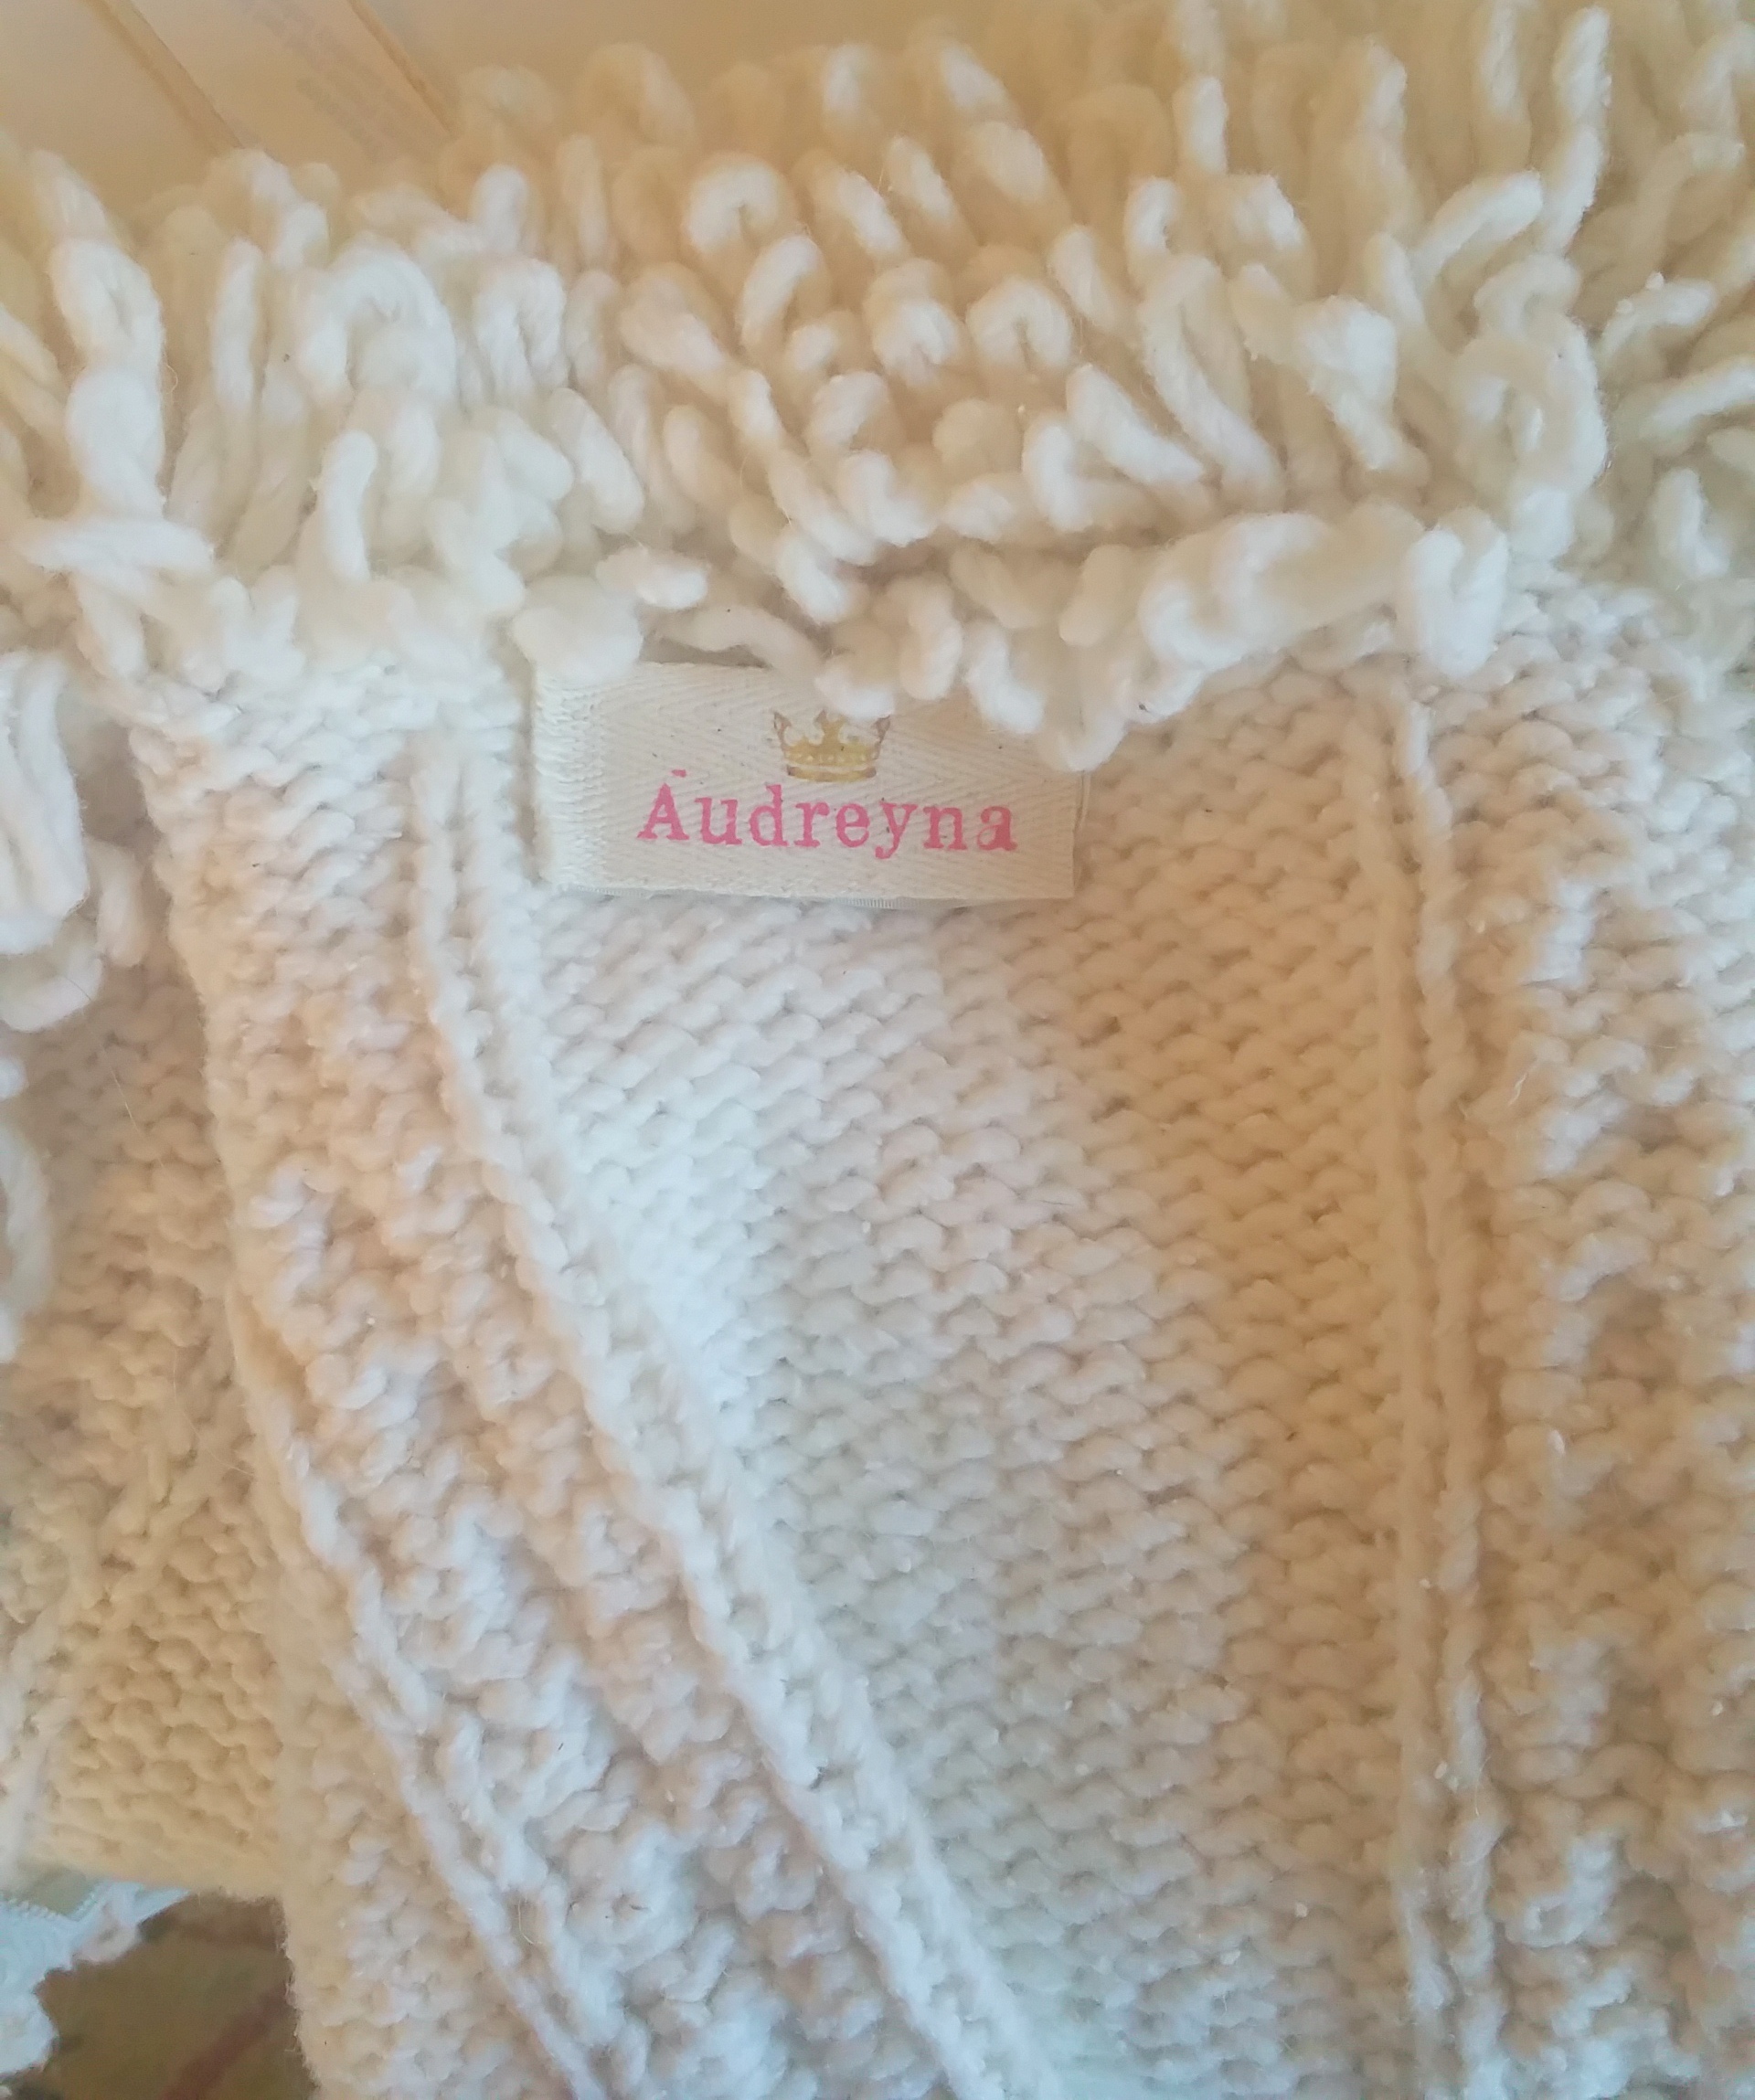
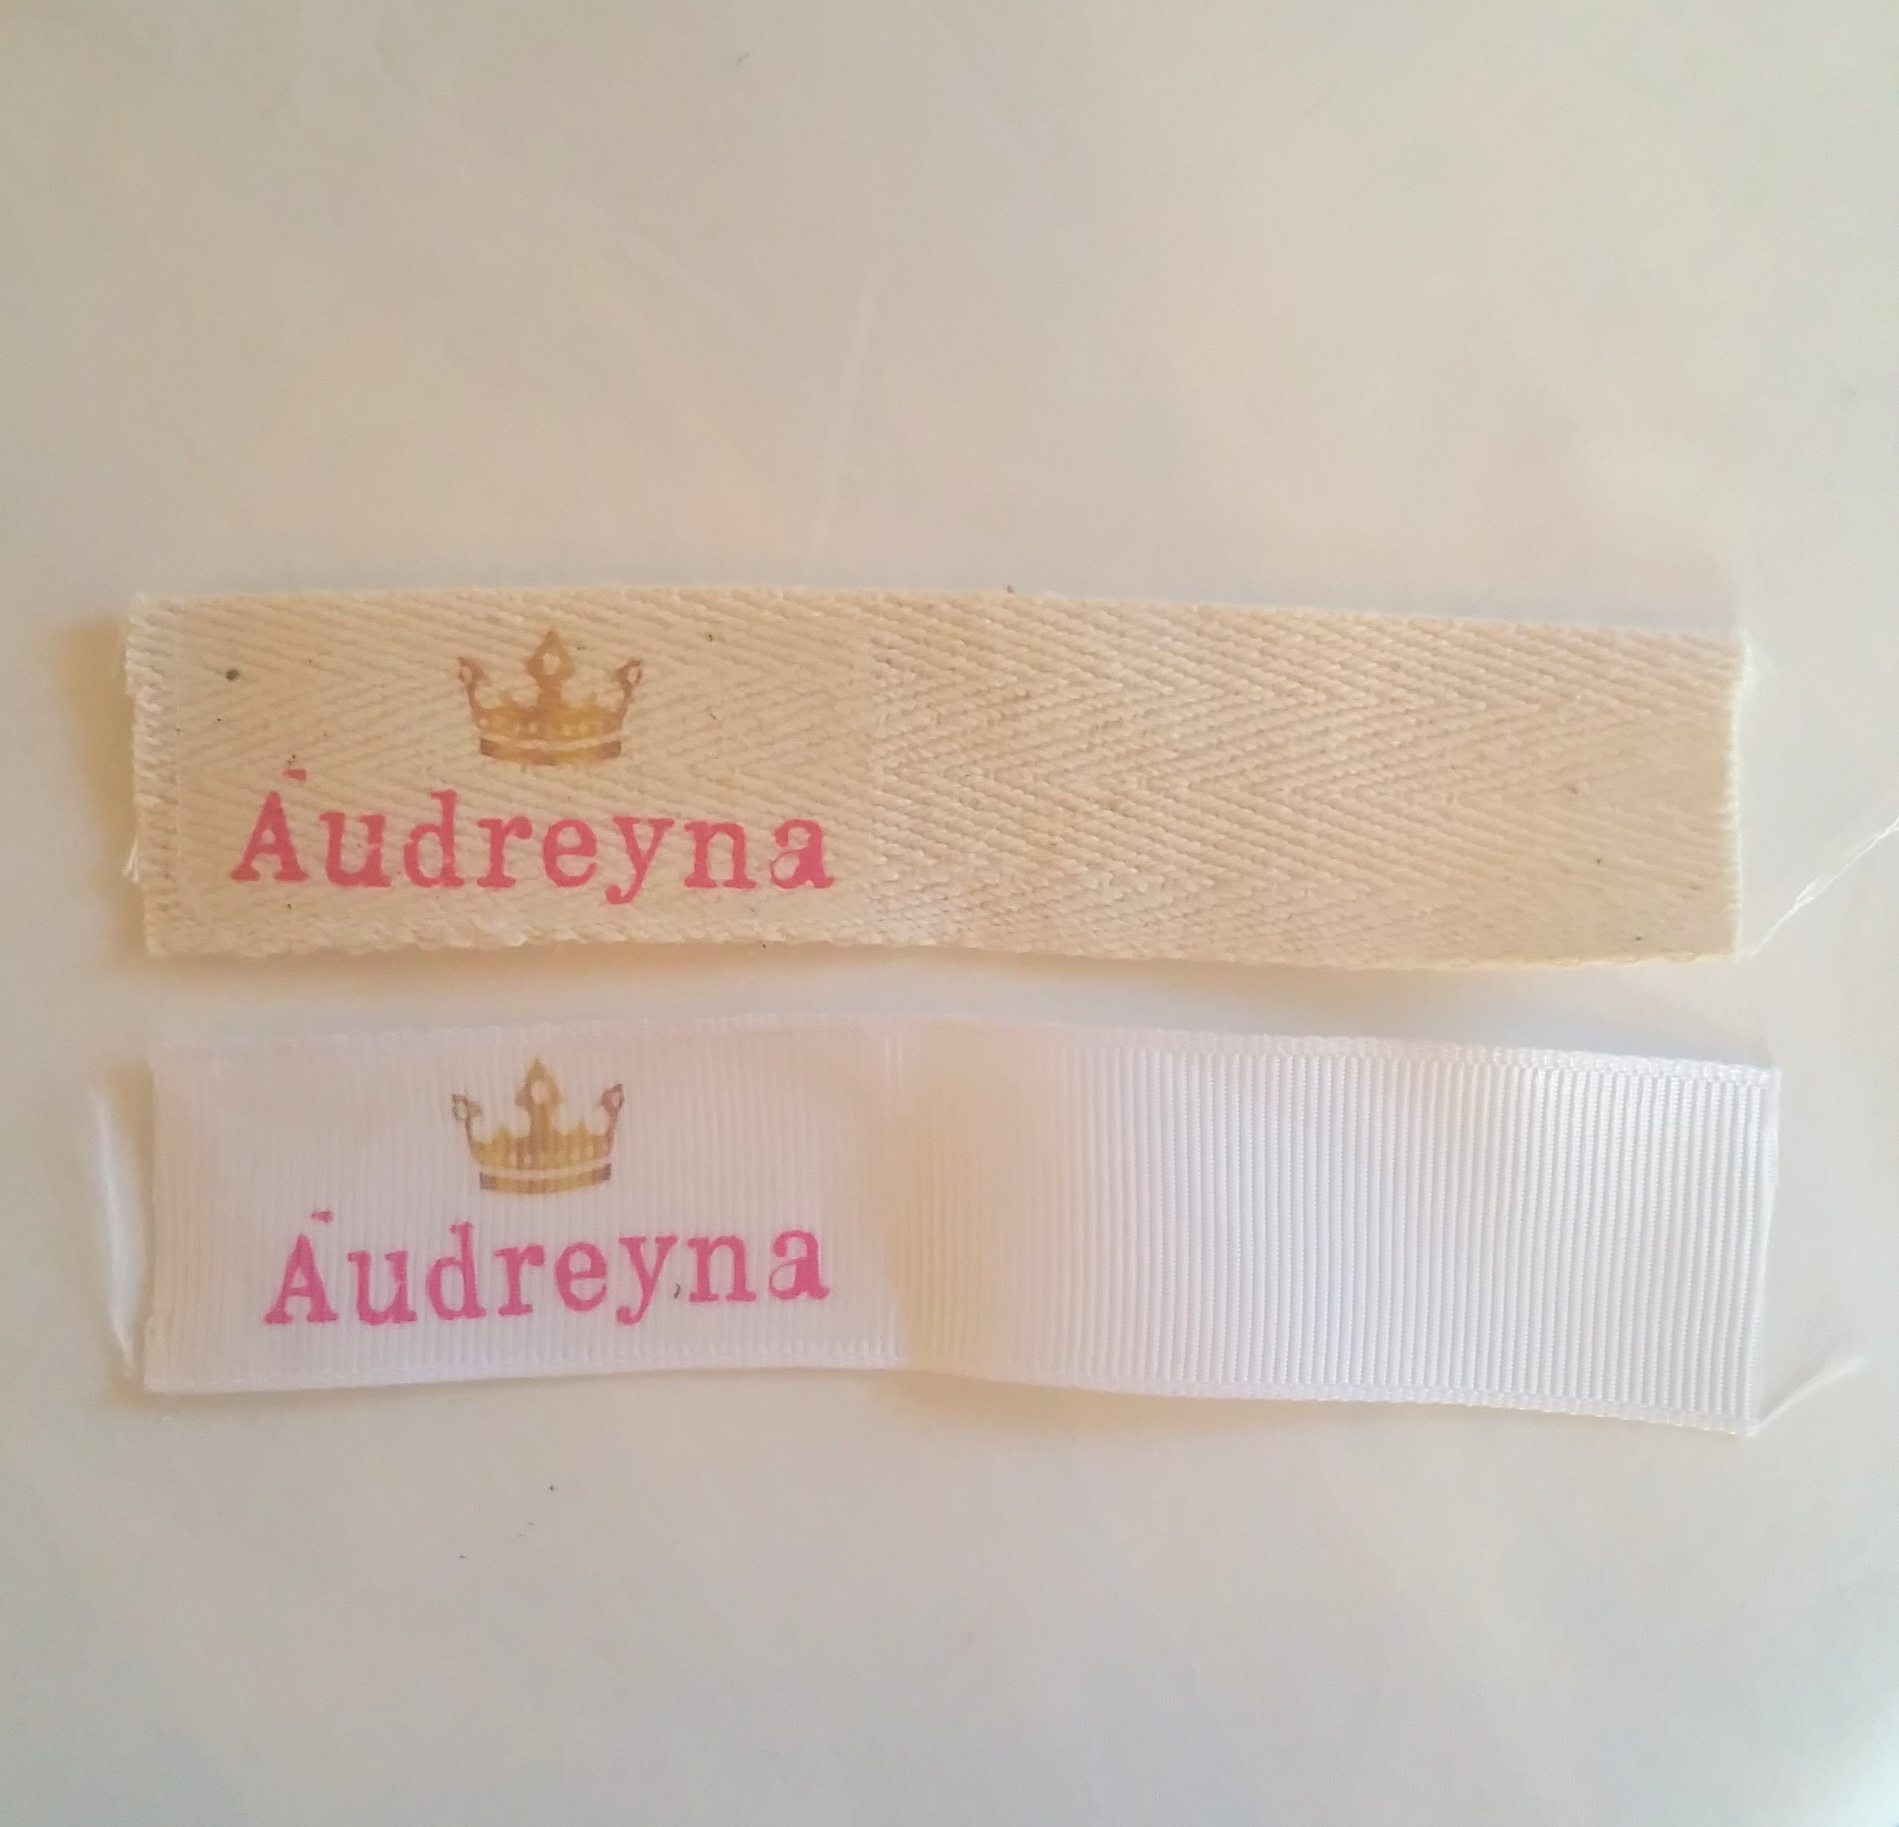
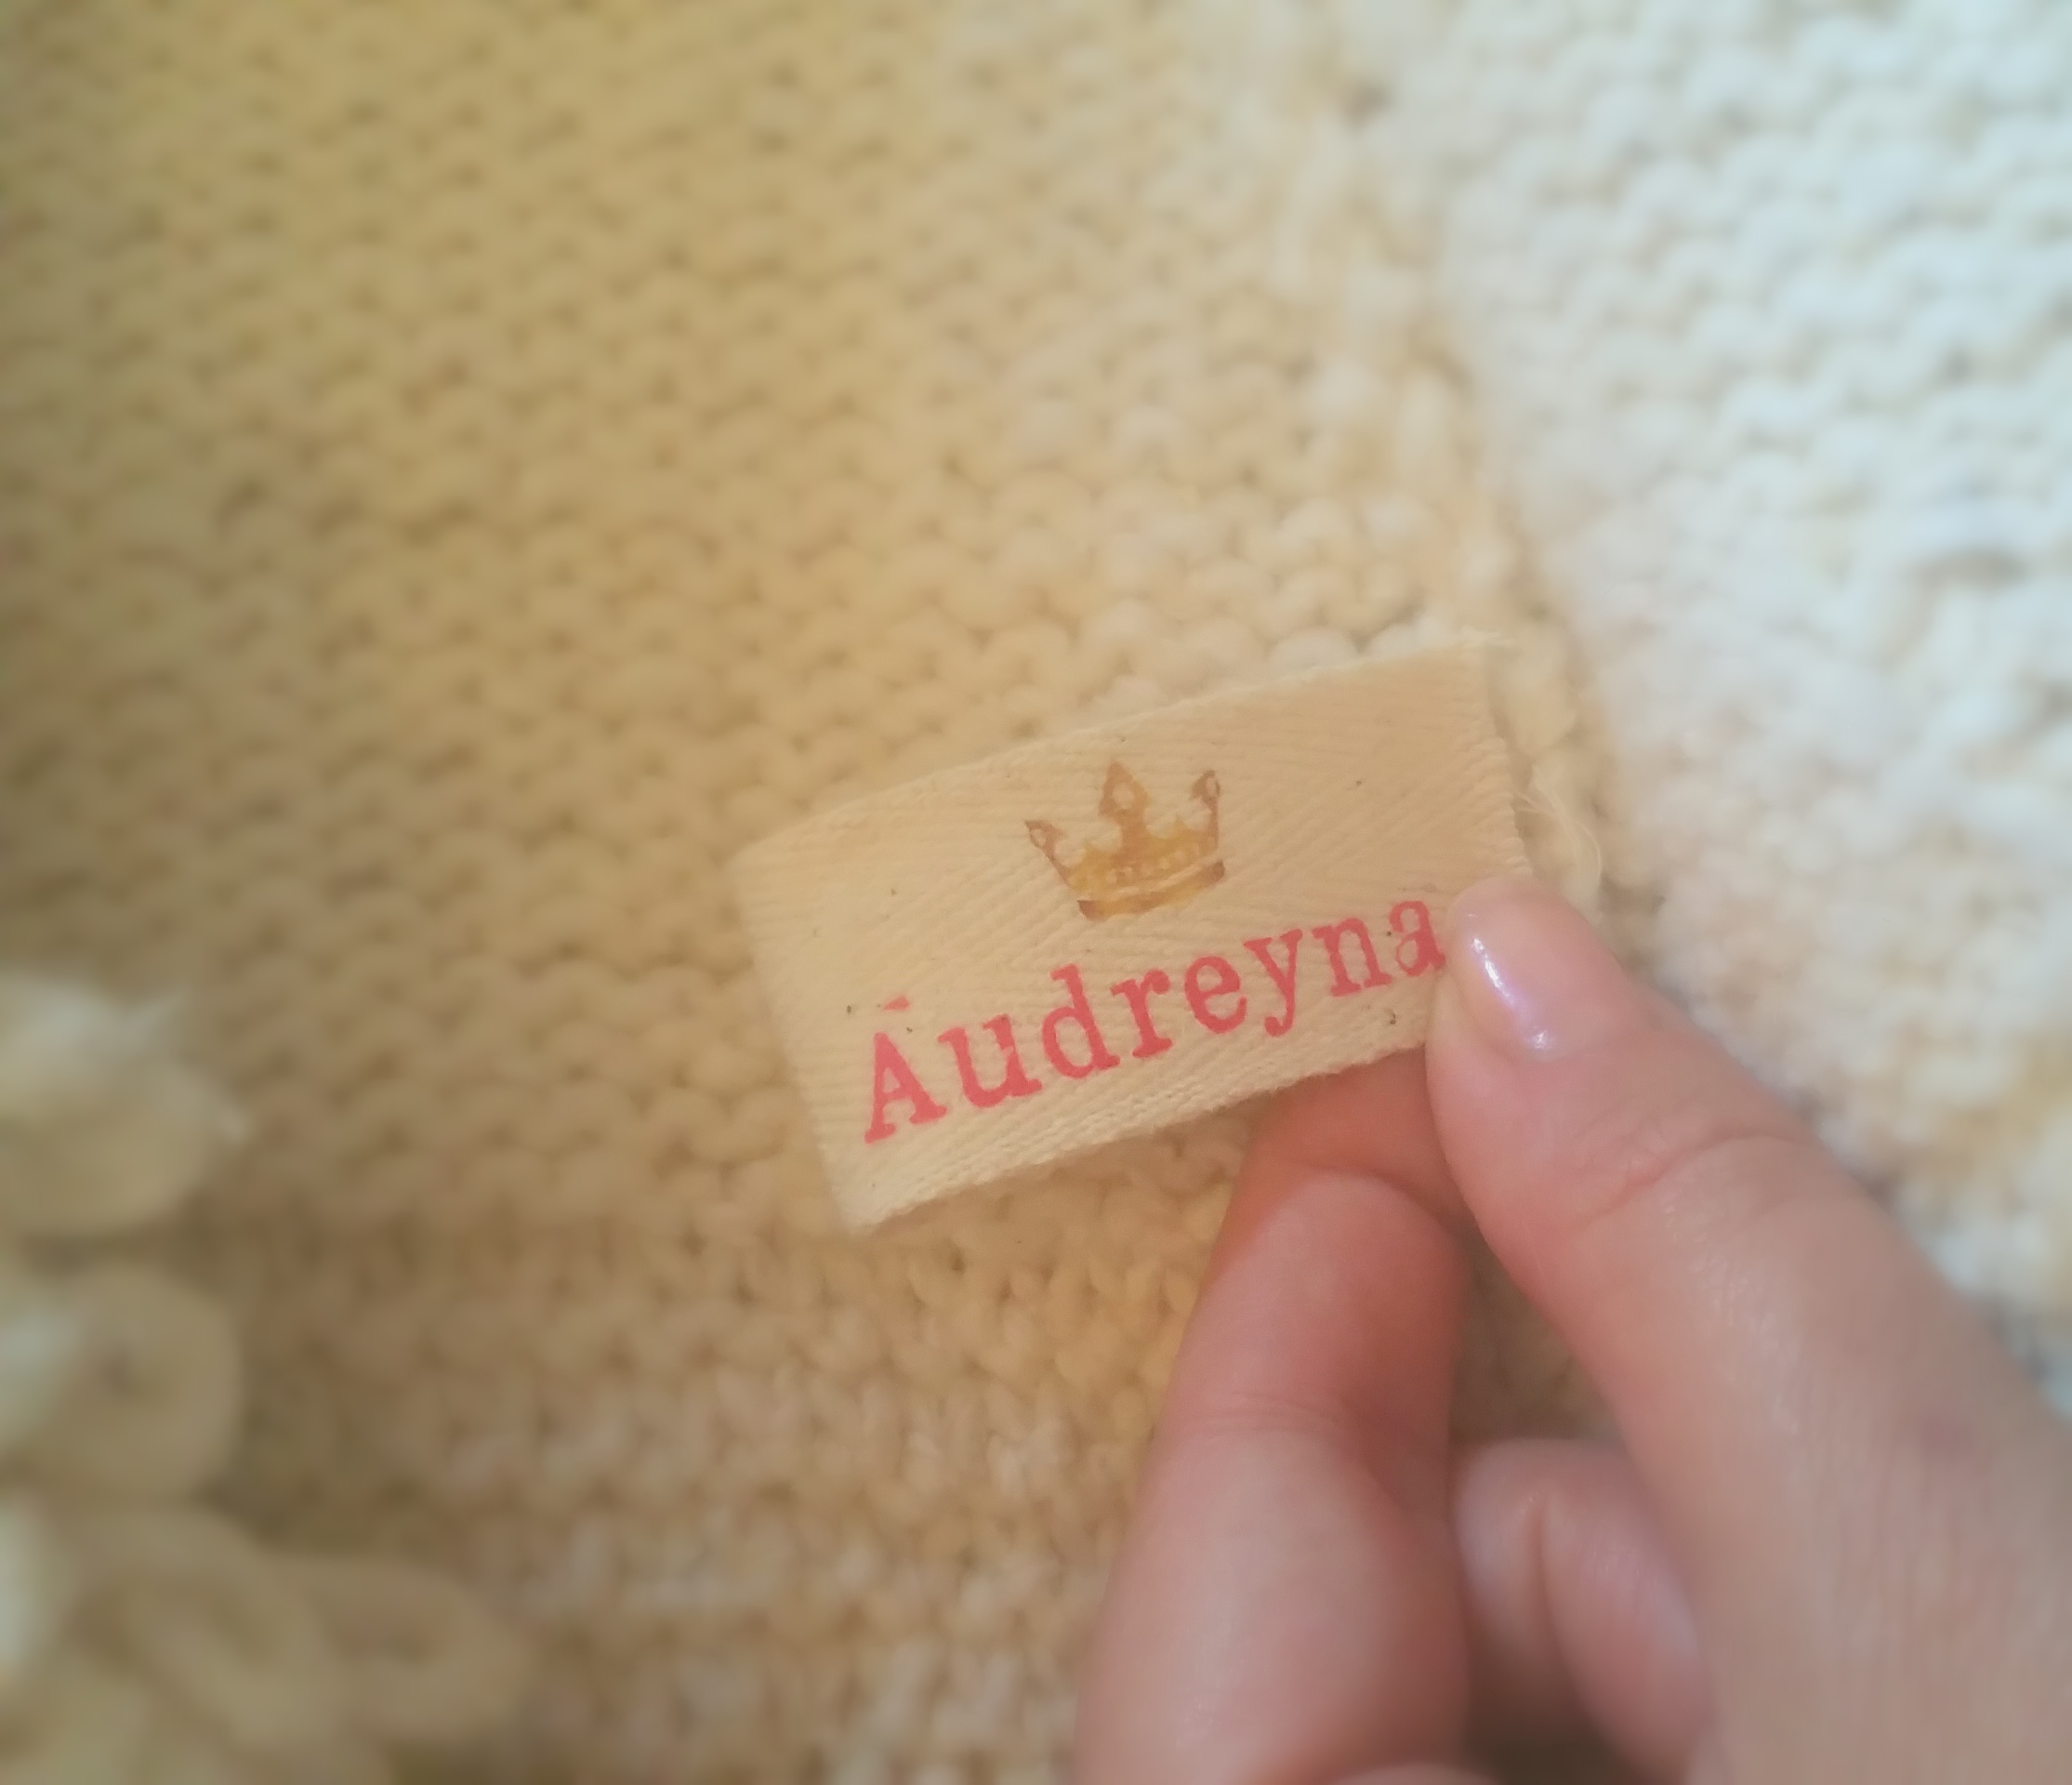
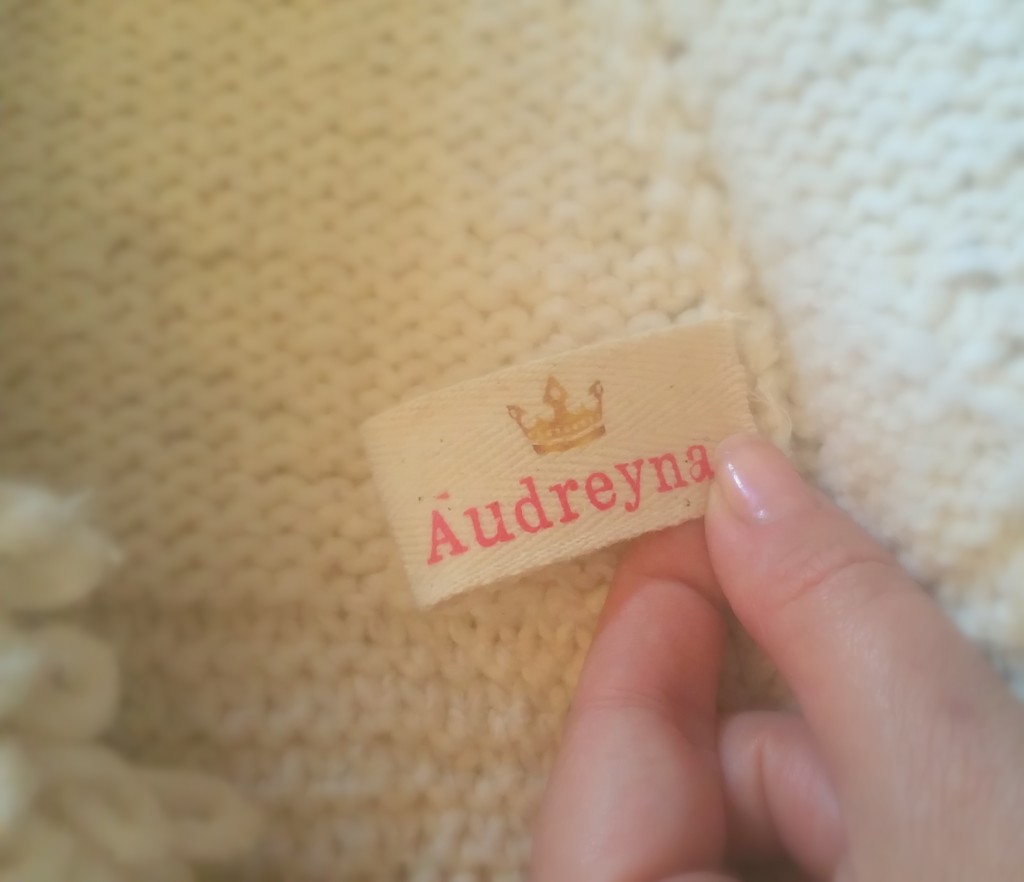
Here we are late September and finally in Pre-K. I received some papers in my daughters backpack from the teachers and it was requested that all outerwear should be labeled. I thought back to my Mom taking a black sharpie and making a graffiti like name and or initials on my jackets and truly thought I have to do better than this. How could I make a label that would not destroy her beautiful clothes with an updated look? Than it came to me…
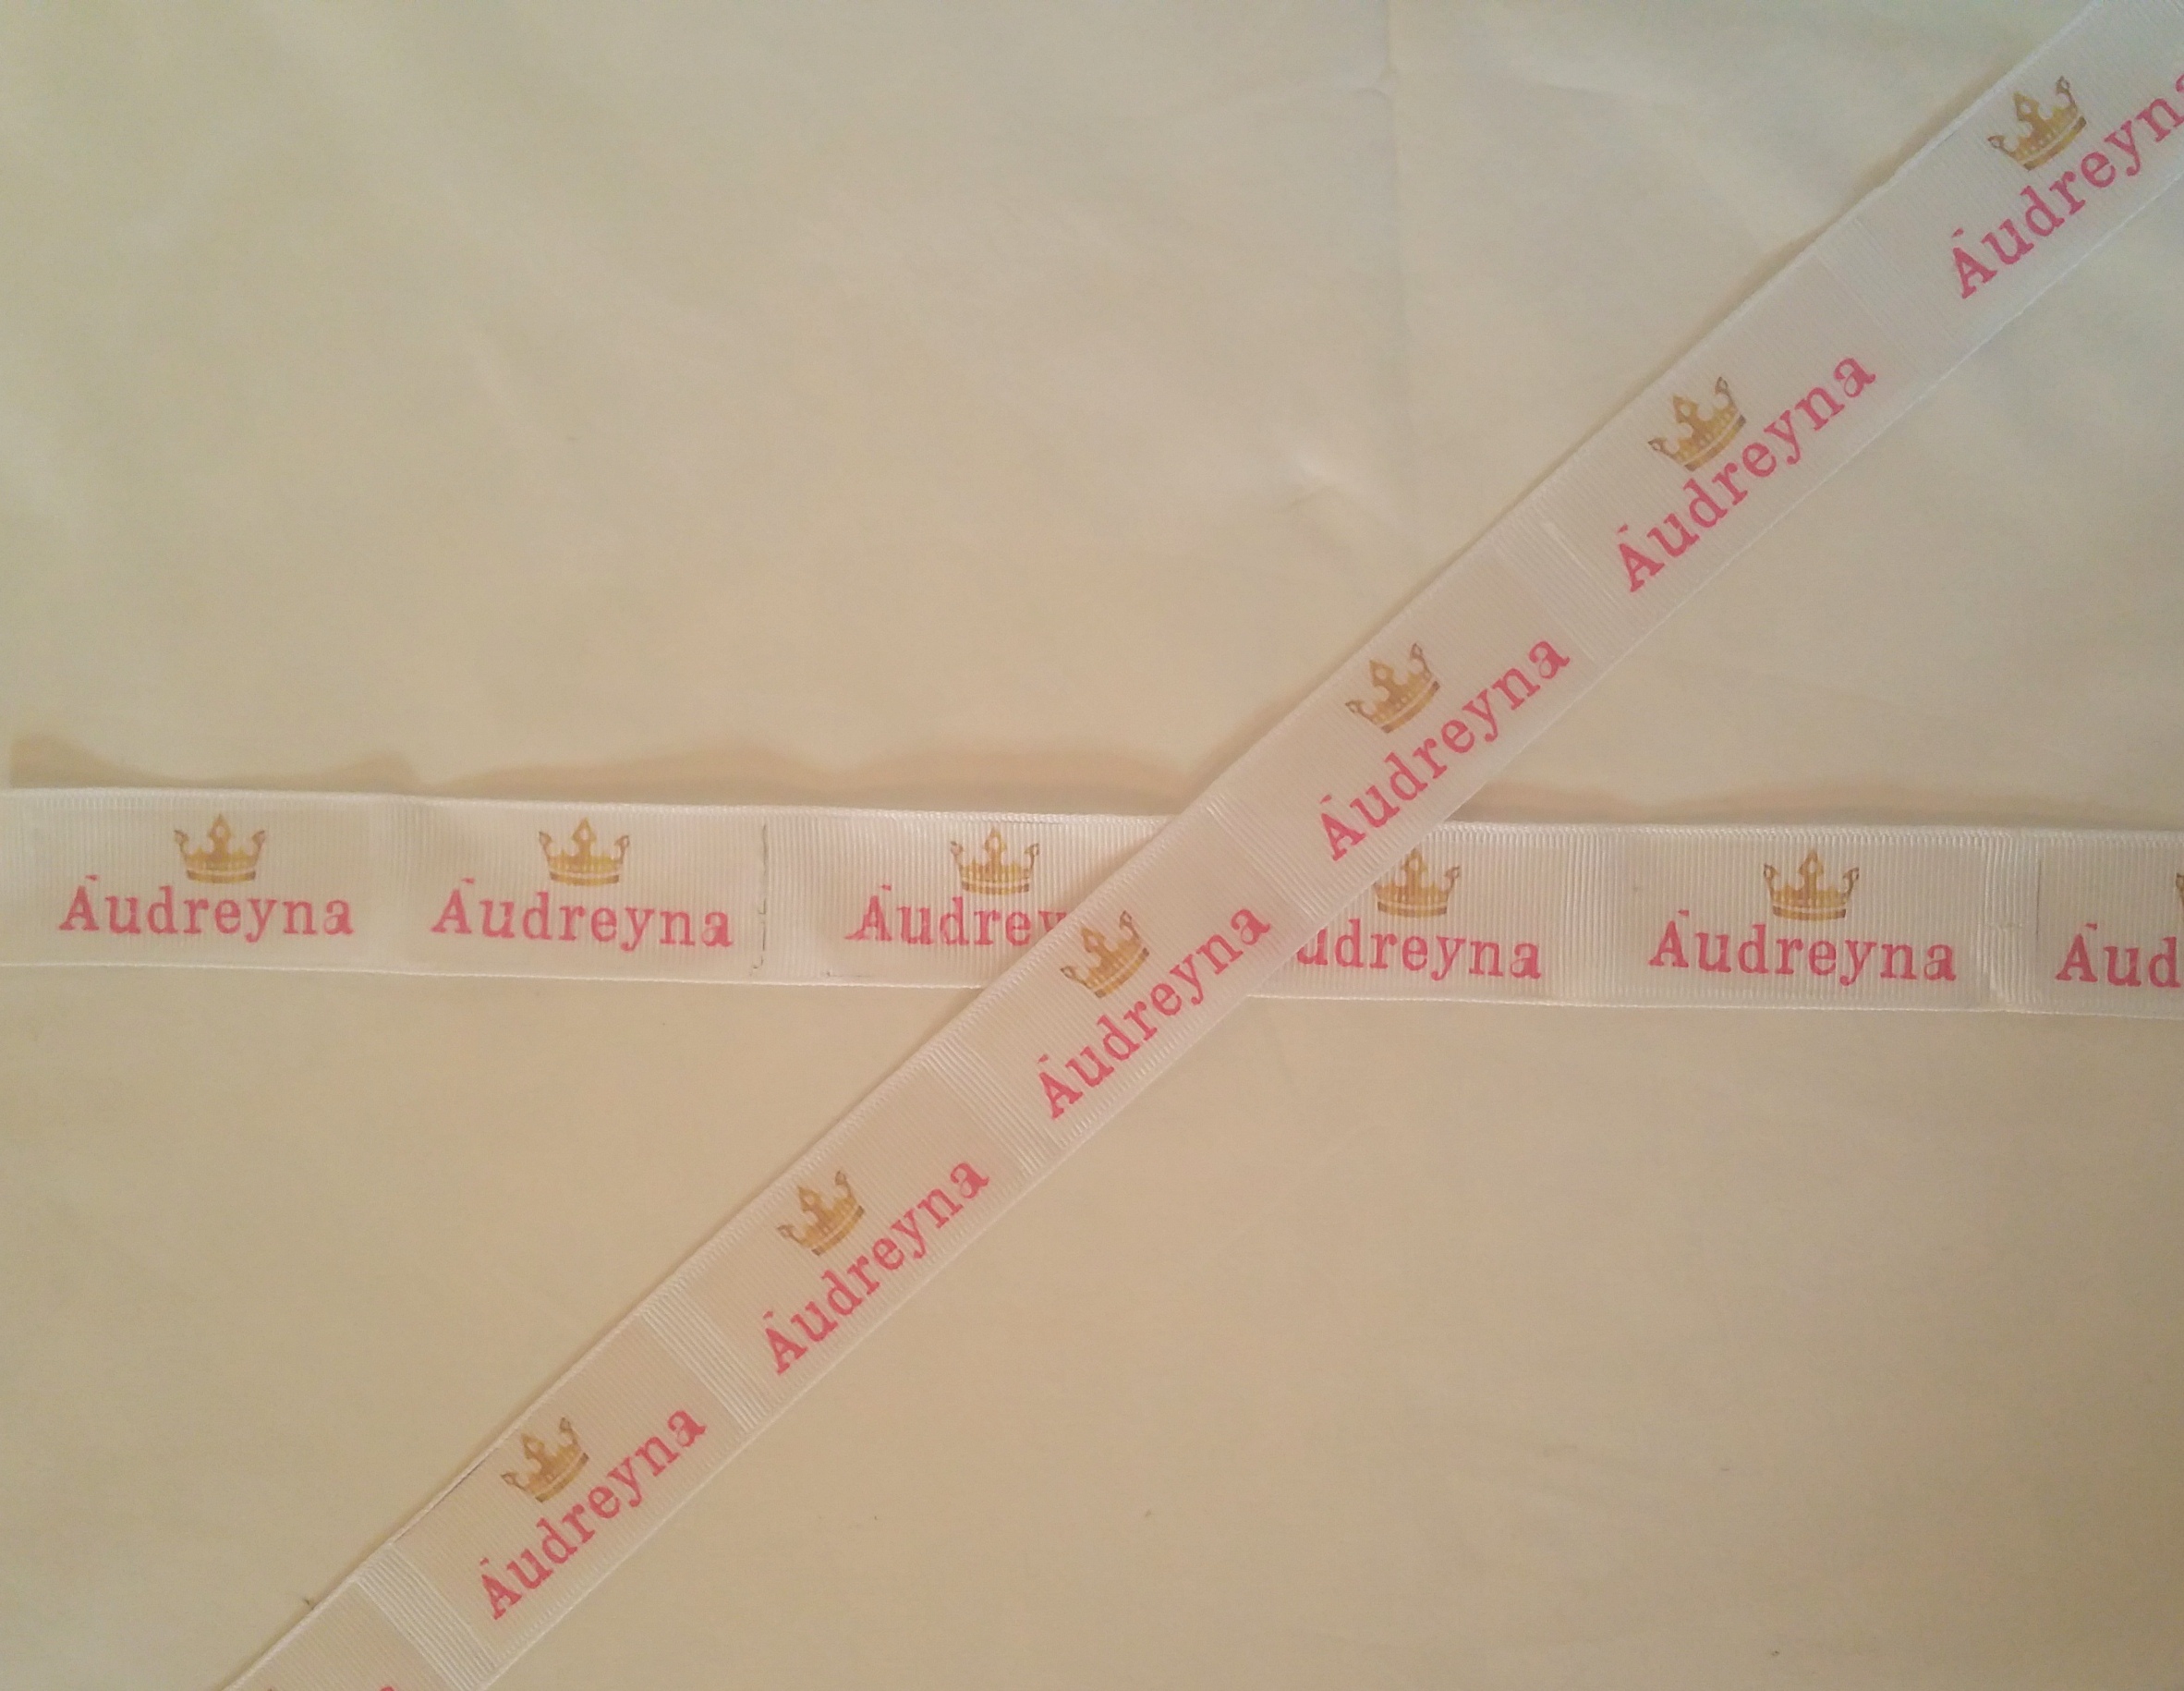
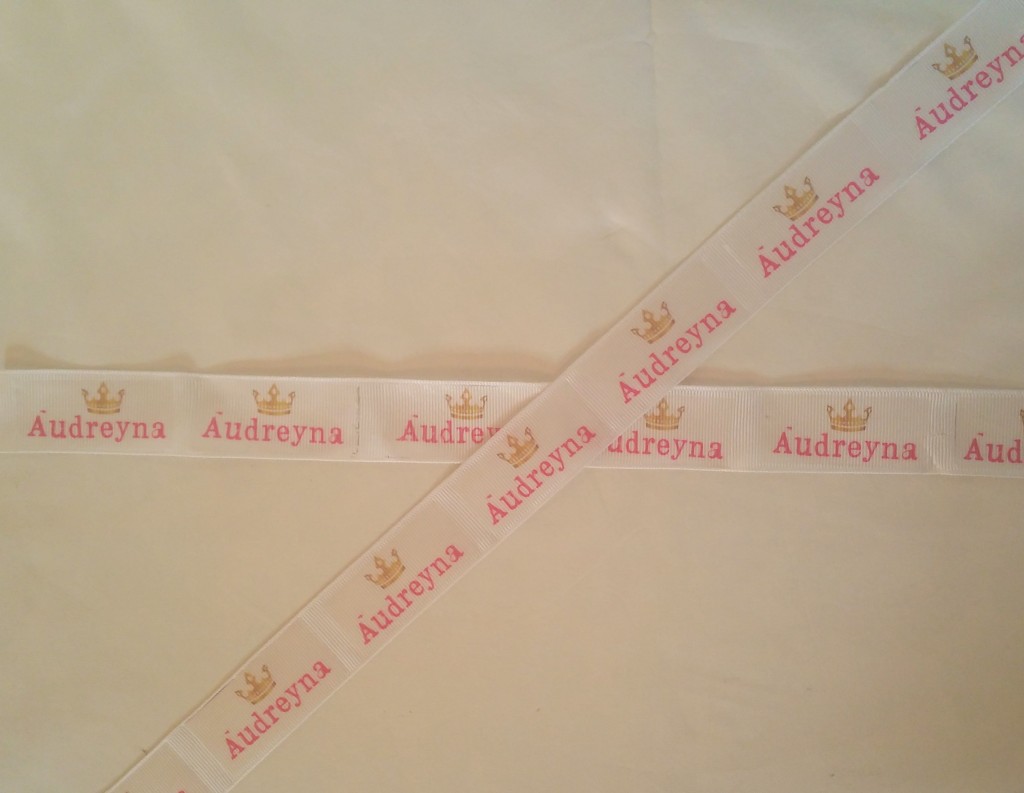
Solution – Iron on ribbon labels. These came out simply adorable and my ‘princess’ really enjoyed the customization that I put into it.
What you will need:
Iron on transfers by Avery
Inkjet printer
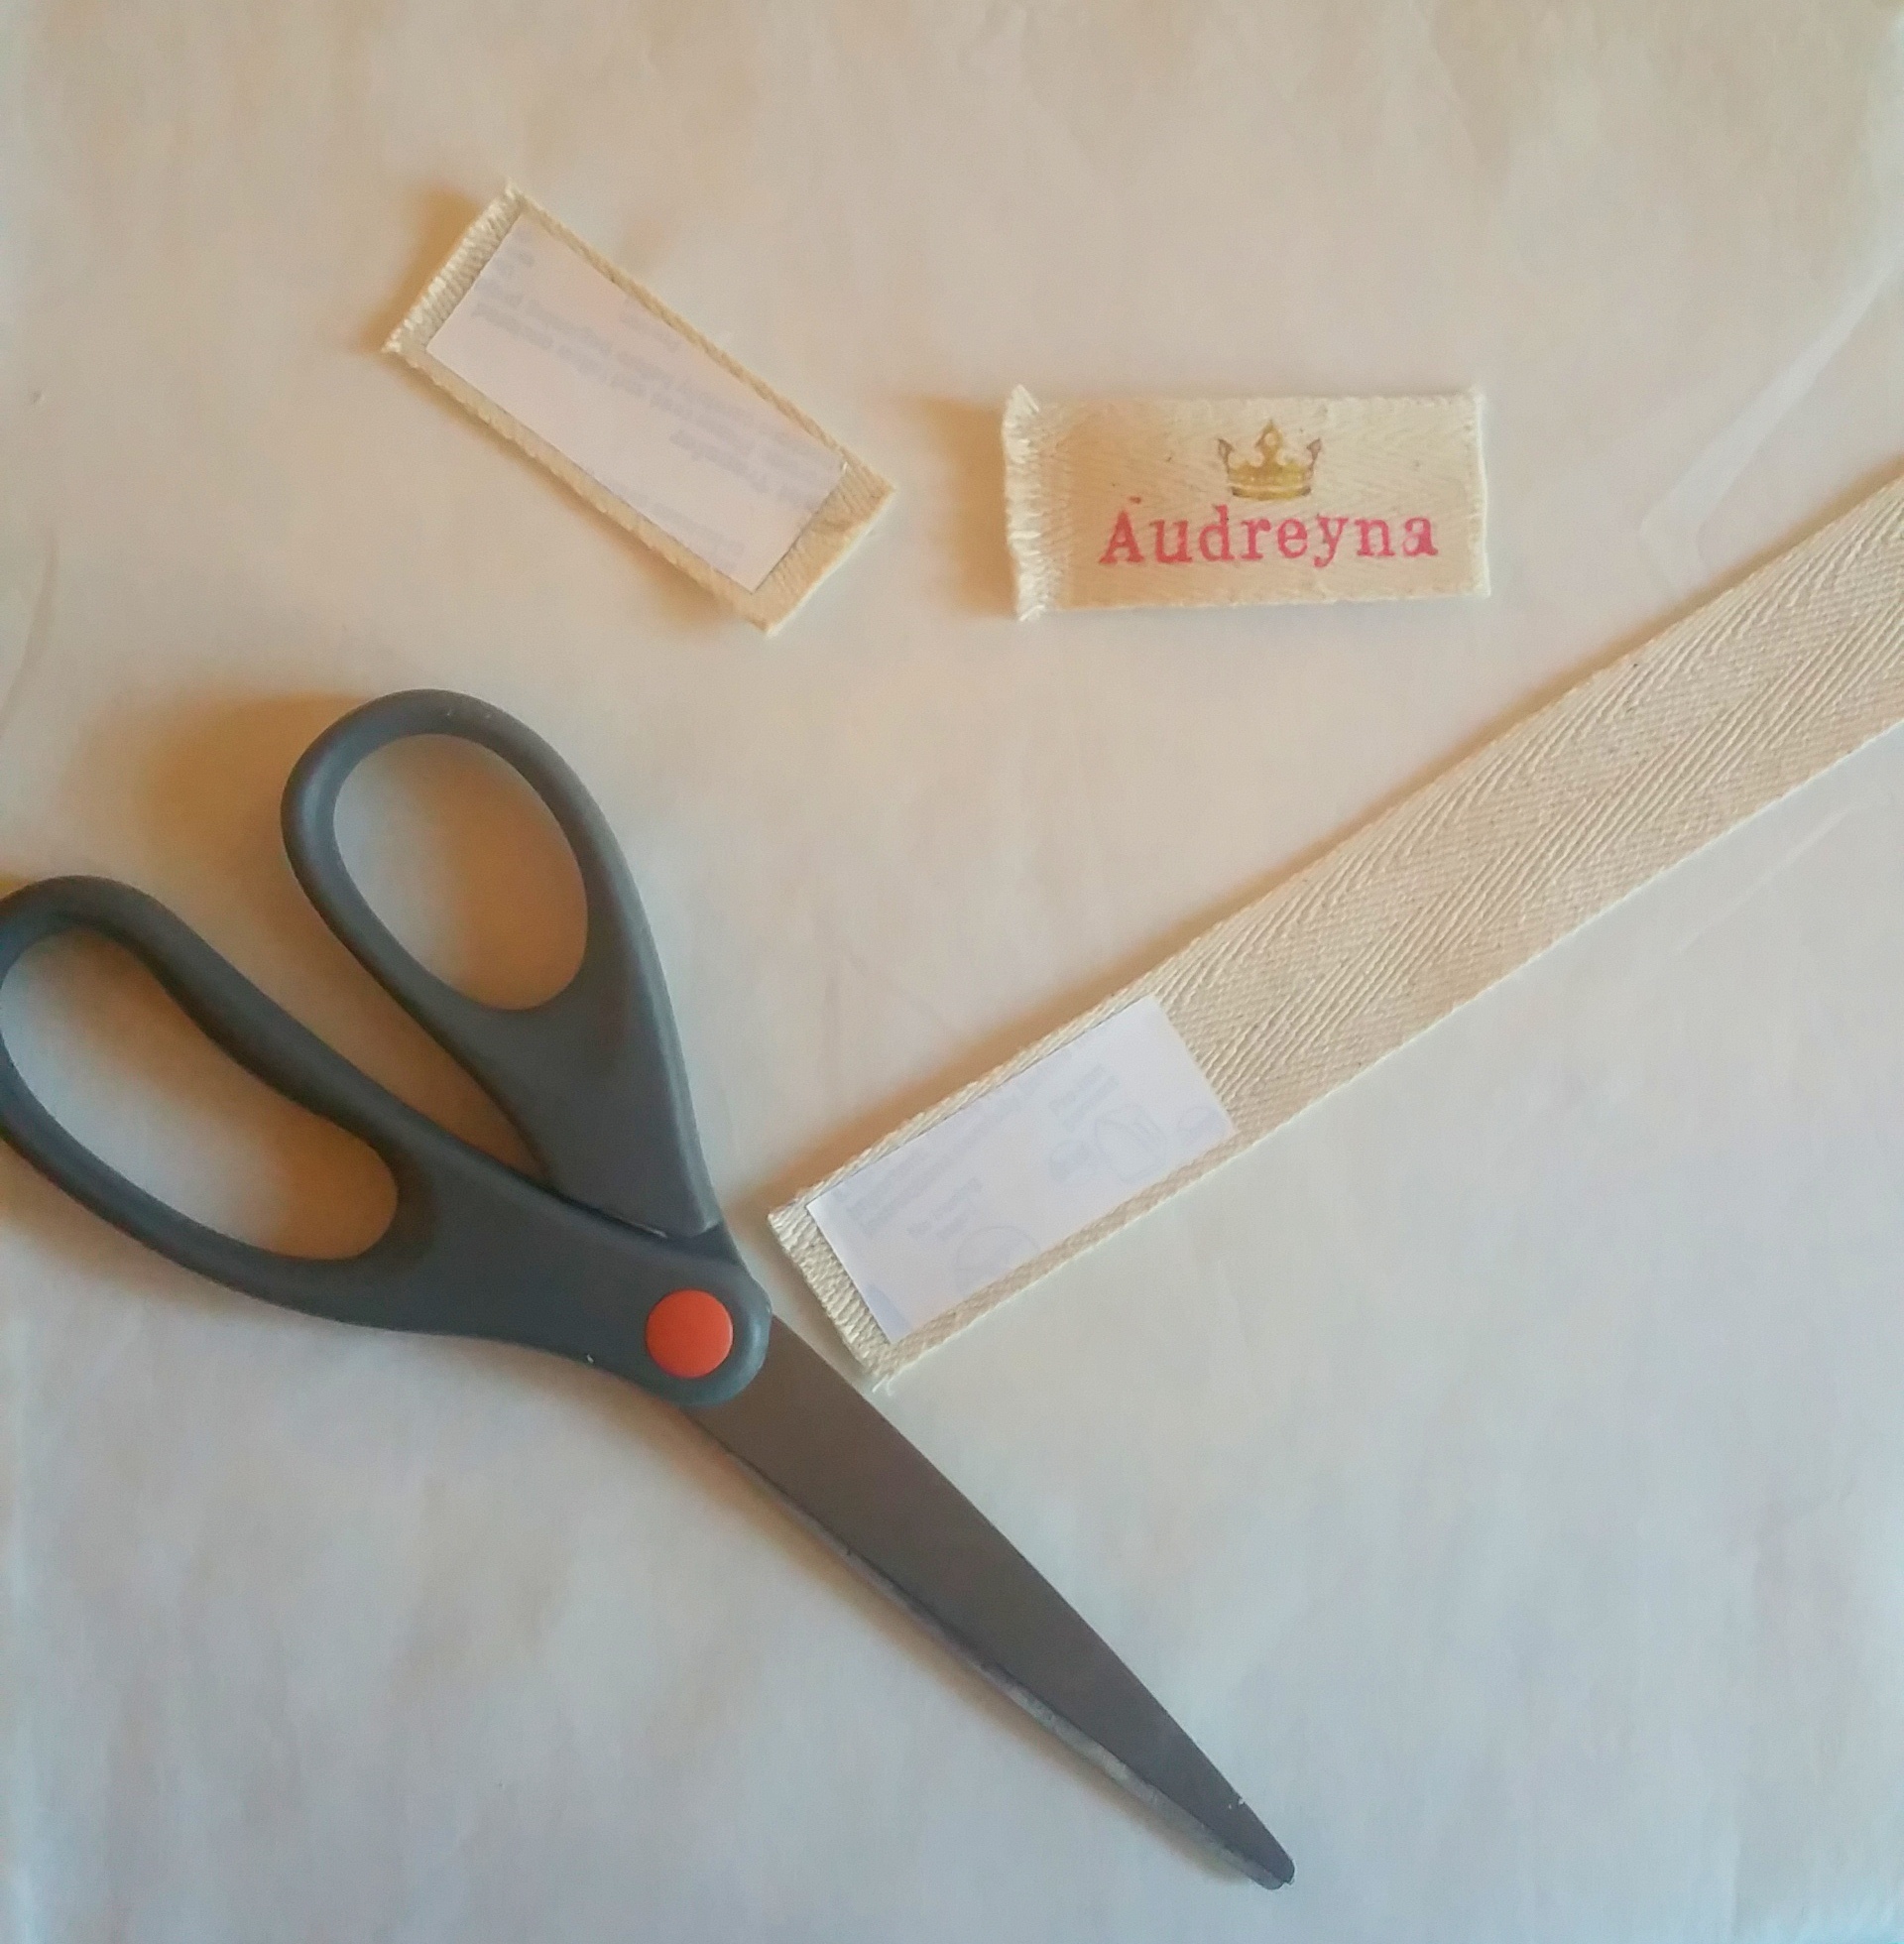
Scissors
Any ribbon that is 1.5 x 4″
*My template crownribbontemplate
Photoshop or use keynote
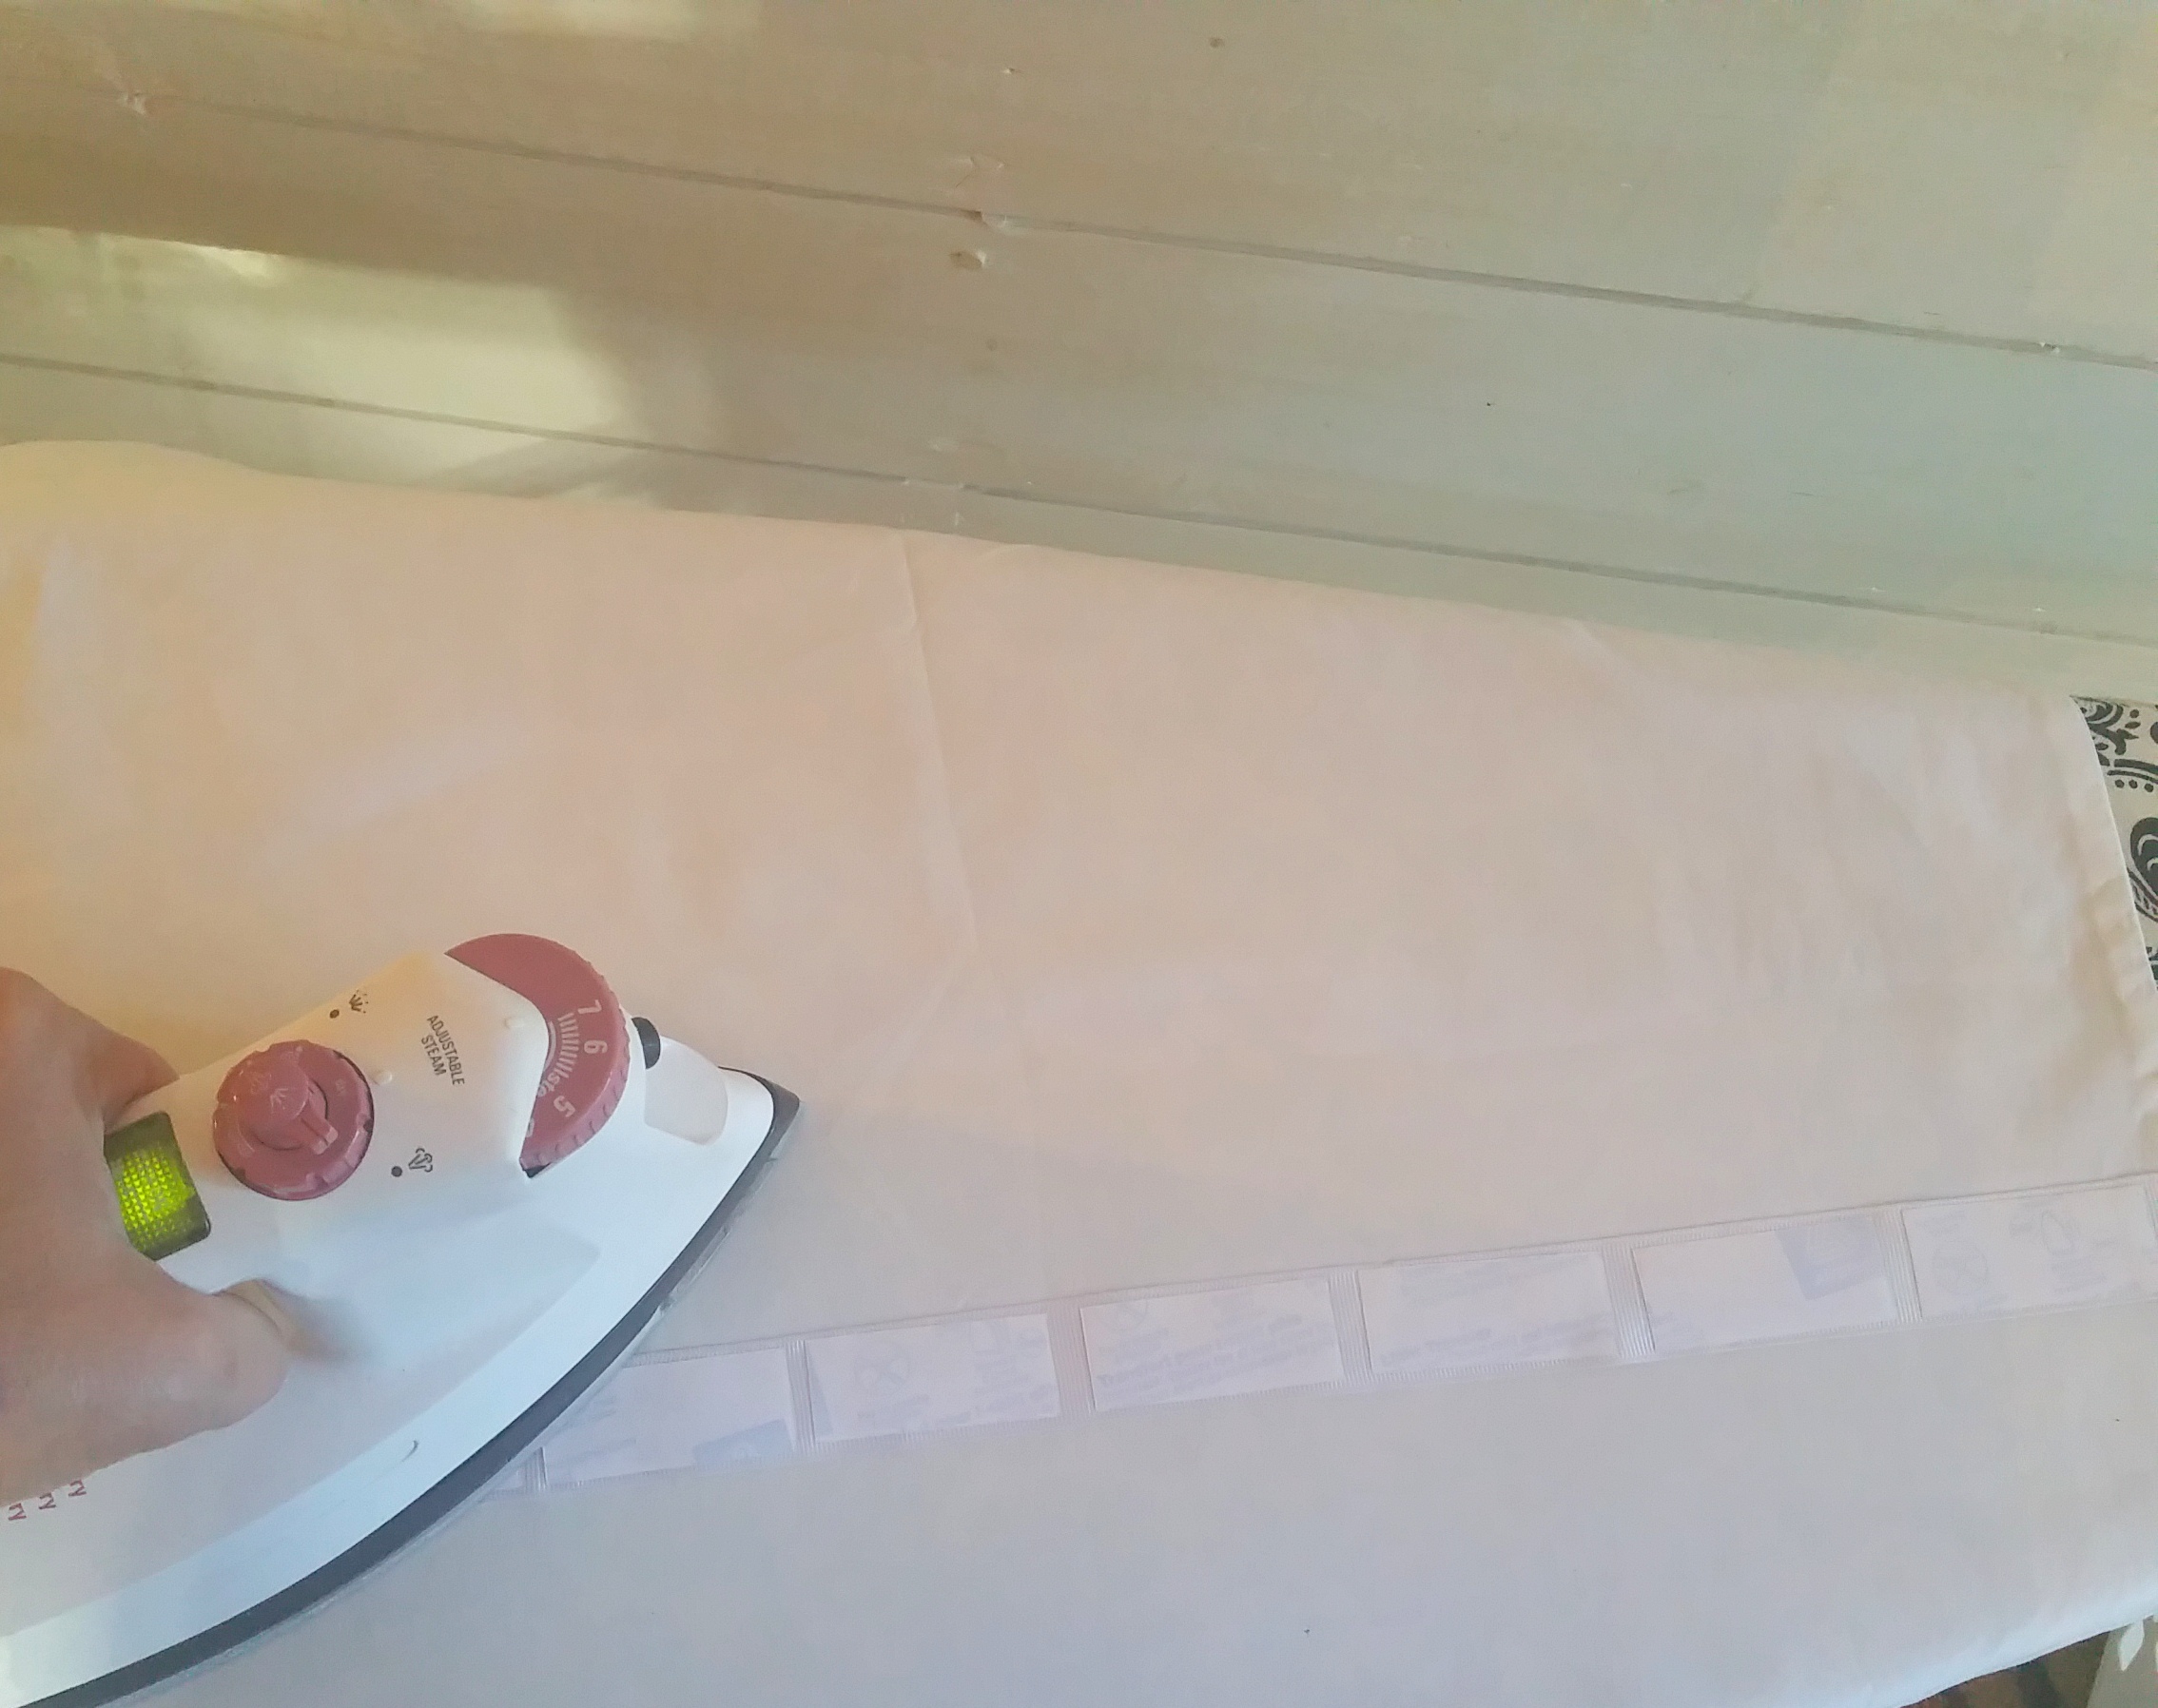
Iron
Needle and thread
optional (clip art)

I started by creating my template in Photoshop, than I used the “place” tool for the crown. I have made the template now available for my fans here 🙂 So you can now open it up and just type in the name you want with custom font for your princess or prince. You can also take out the crown and add your own clip-art with the “place” tool.
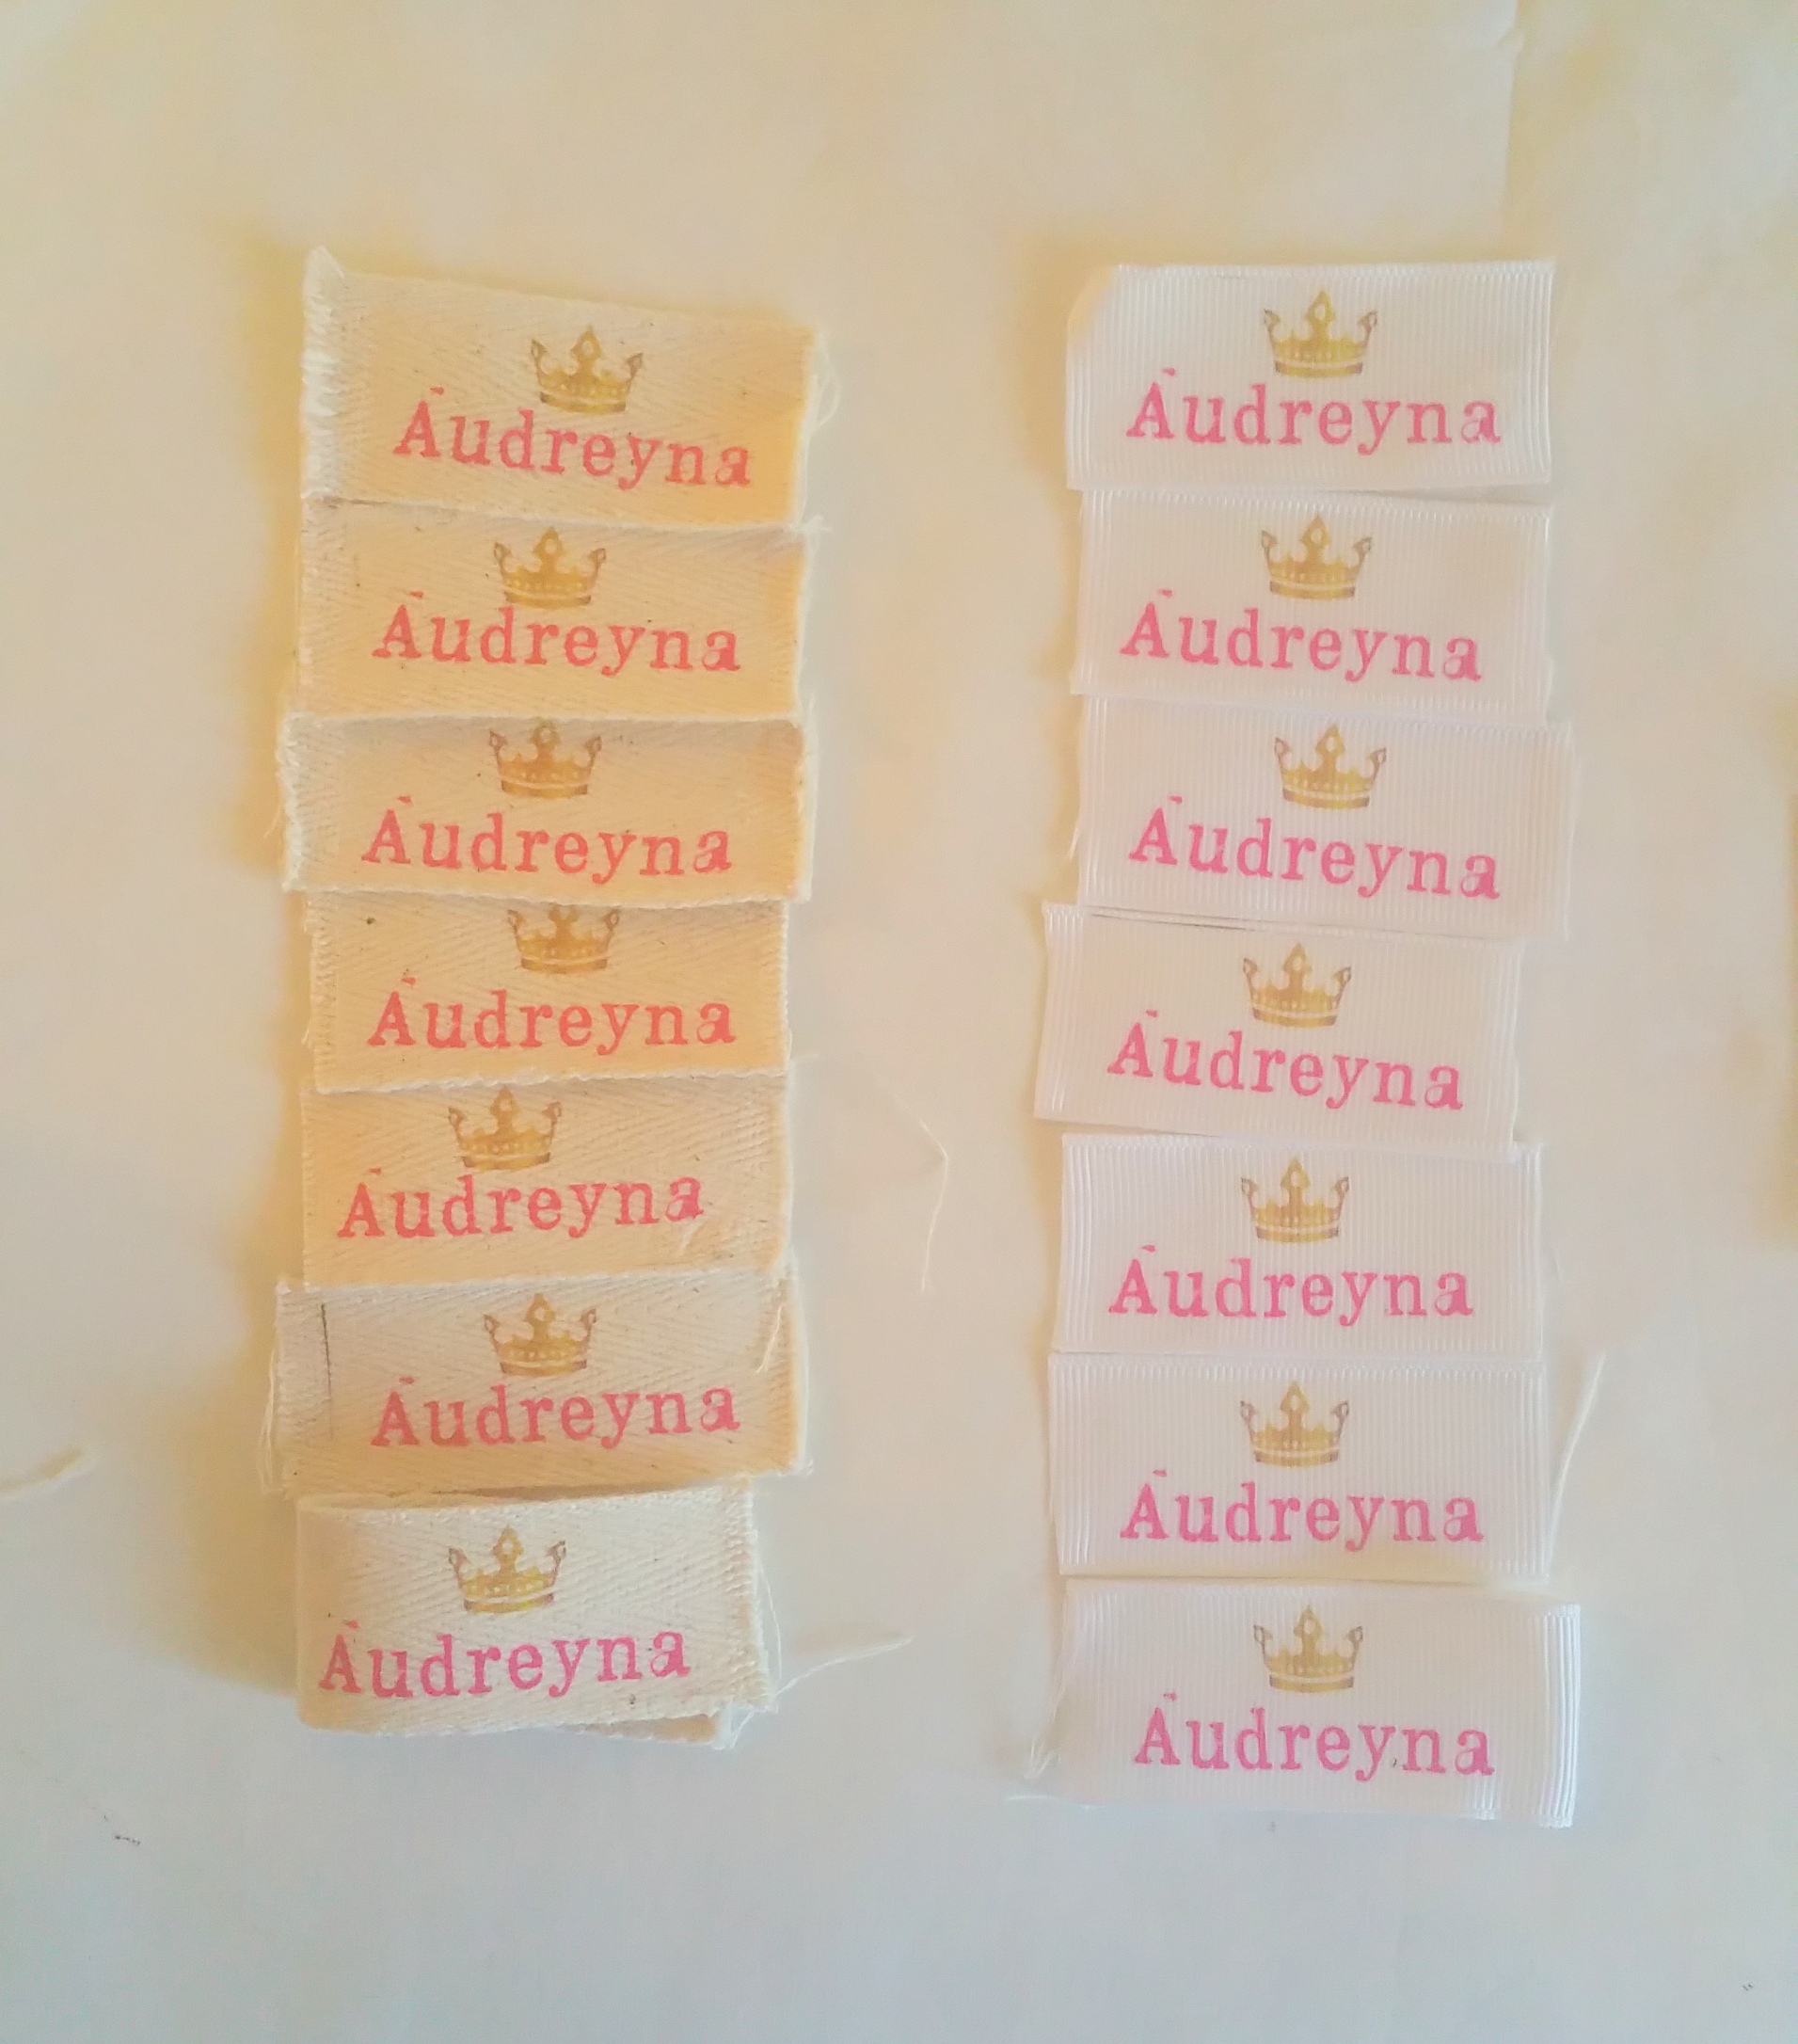
After I printed the template I cut to fit the ribbon strips. Now, because I am a thriftier and save all scraps of ribbons I was able to use natural colored heavy ribbon and some white silk ribbon that came with some napkins I purchased – SCORE! Therefore that eliminated the purchase of a roll of ribbon for this project. Follow the Avery instructions for iron on transfer and it’s important to wait for the cool time. You can even leave the back of the strips on and peel when your ready to use them.

Some tips –
- Make sure you use your ‘free transform tool’ to flip your font to horizontal for that mirror image.
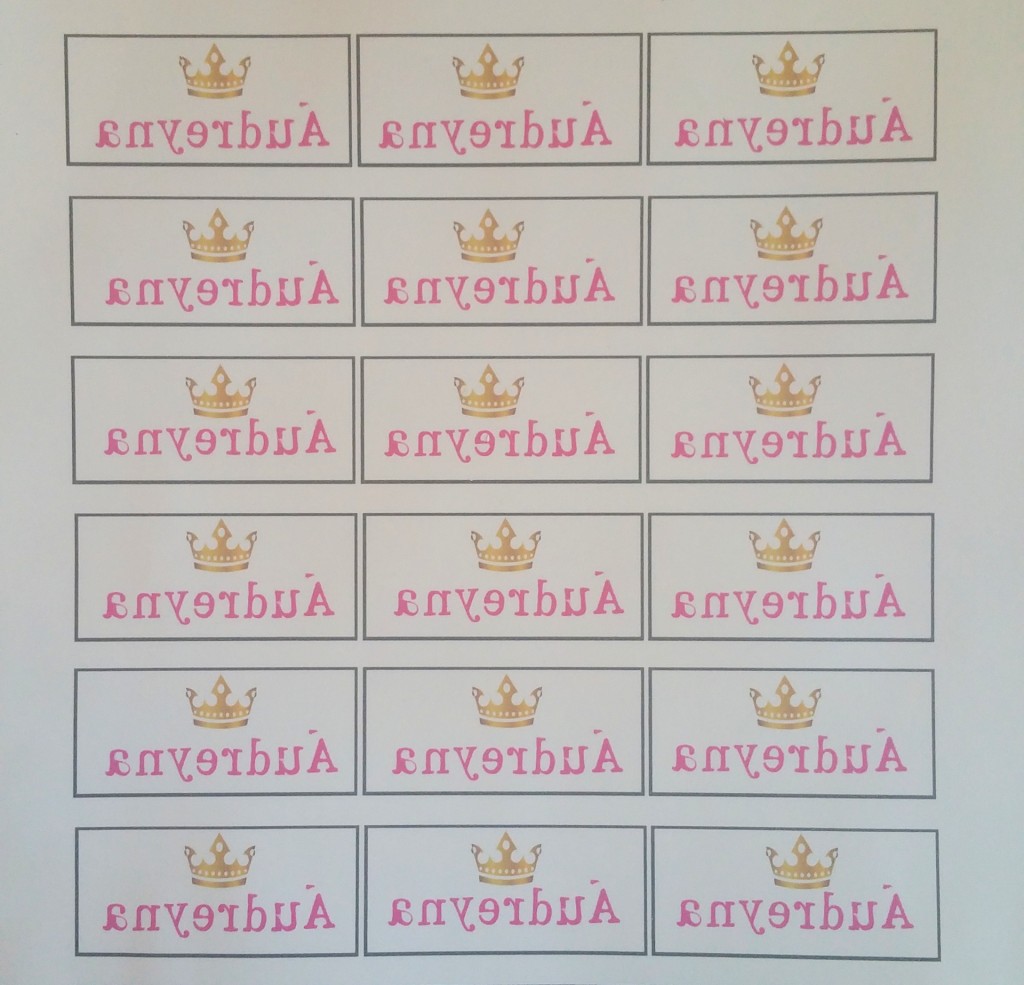
- Just be sure that when you cut the template you cut off all the black as I made the mistake of missing some and it ended up on my design. (take note to the first column on the lft side on the bottom you will note the black on the ribbon)

You can attach on the back or make them like a tab for the sides of the garment.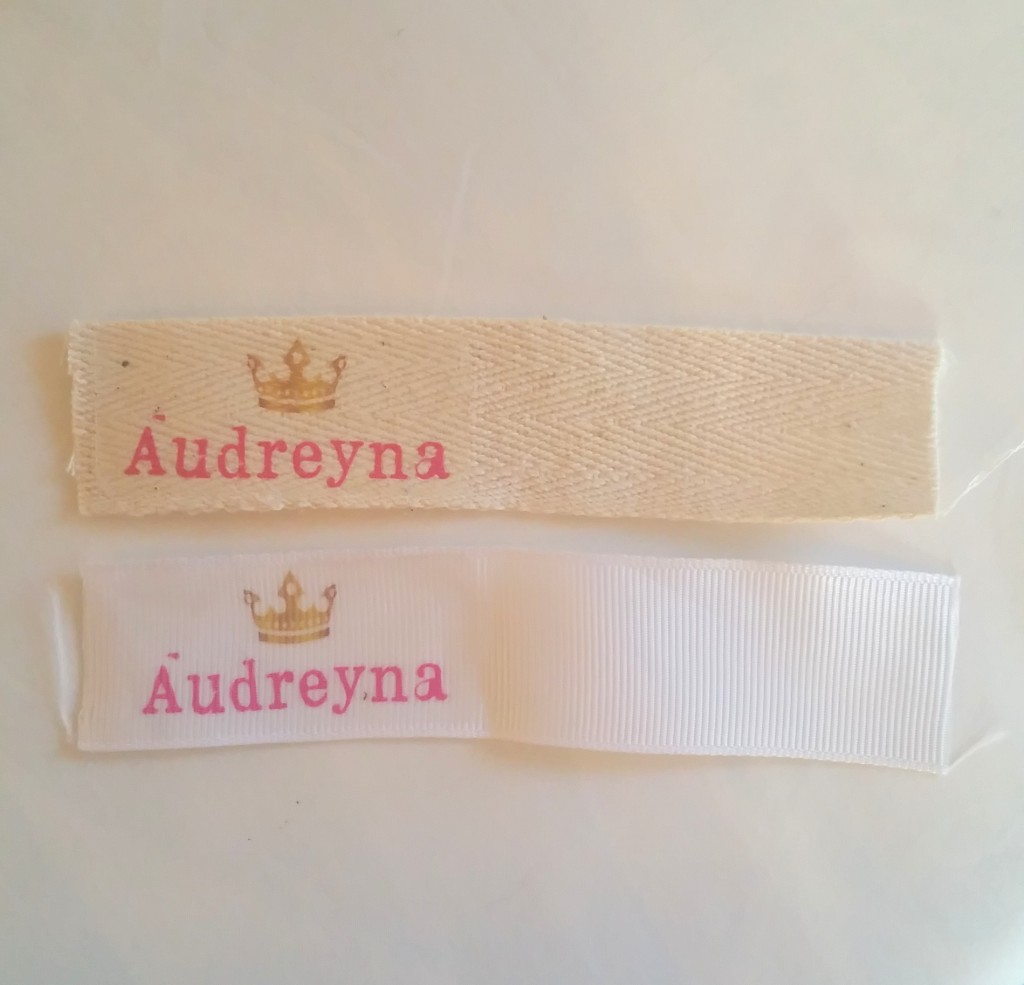
I hope you enjoy my free template I created for you little pretties and feel free to comment and let me know how yours turned out. 🙂
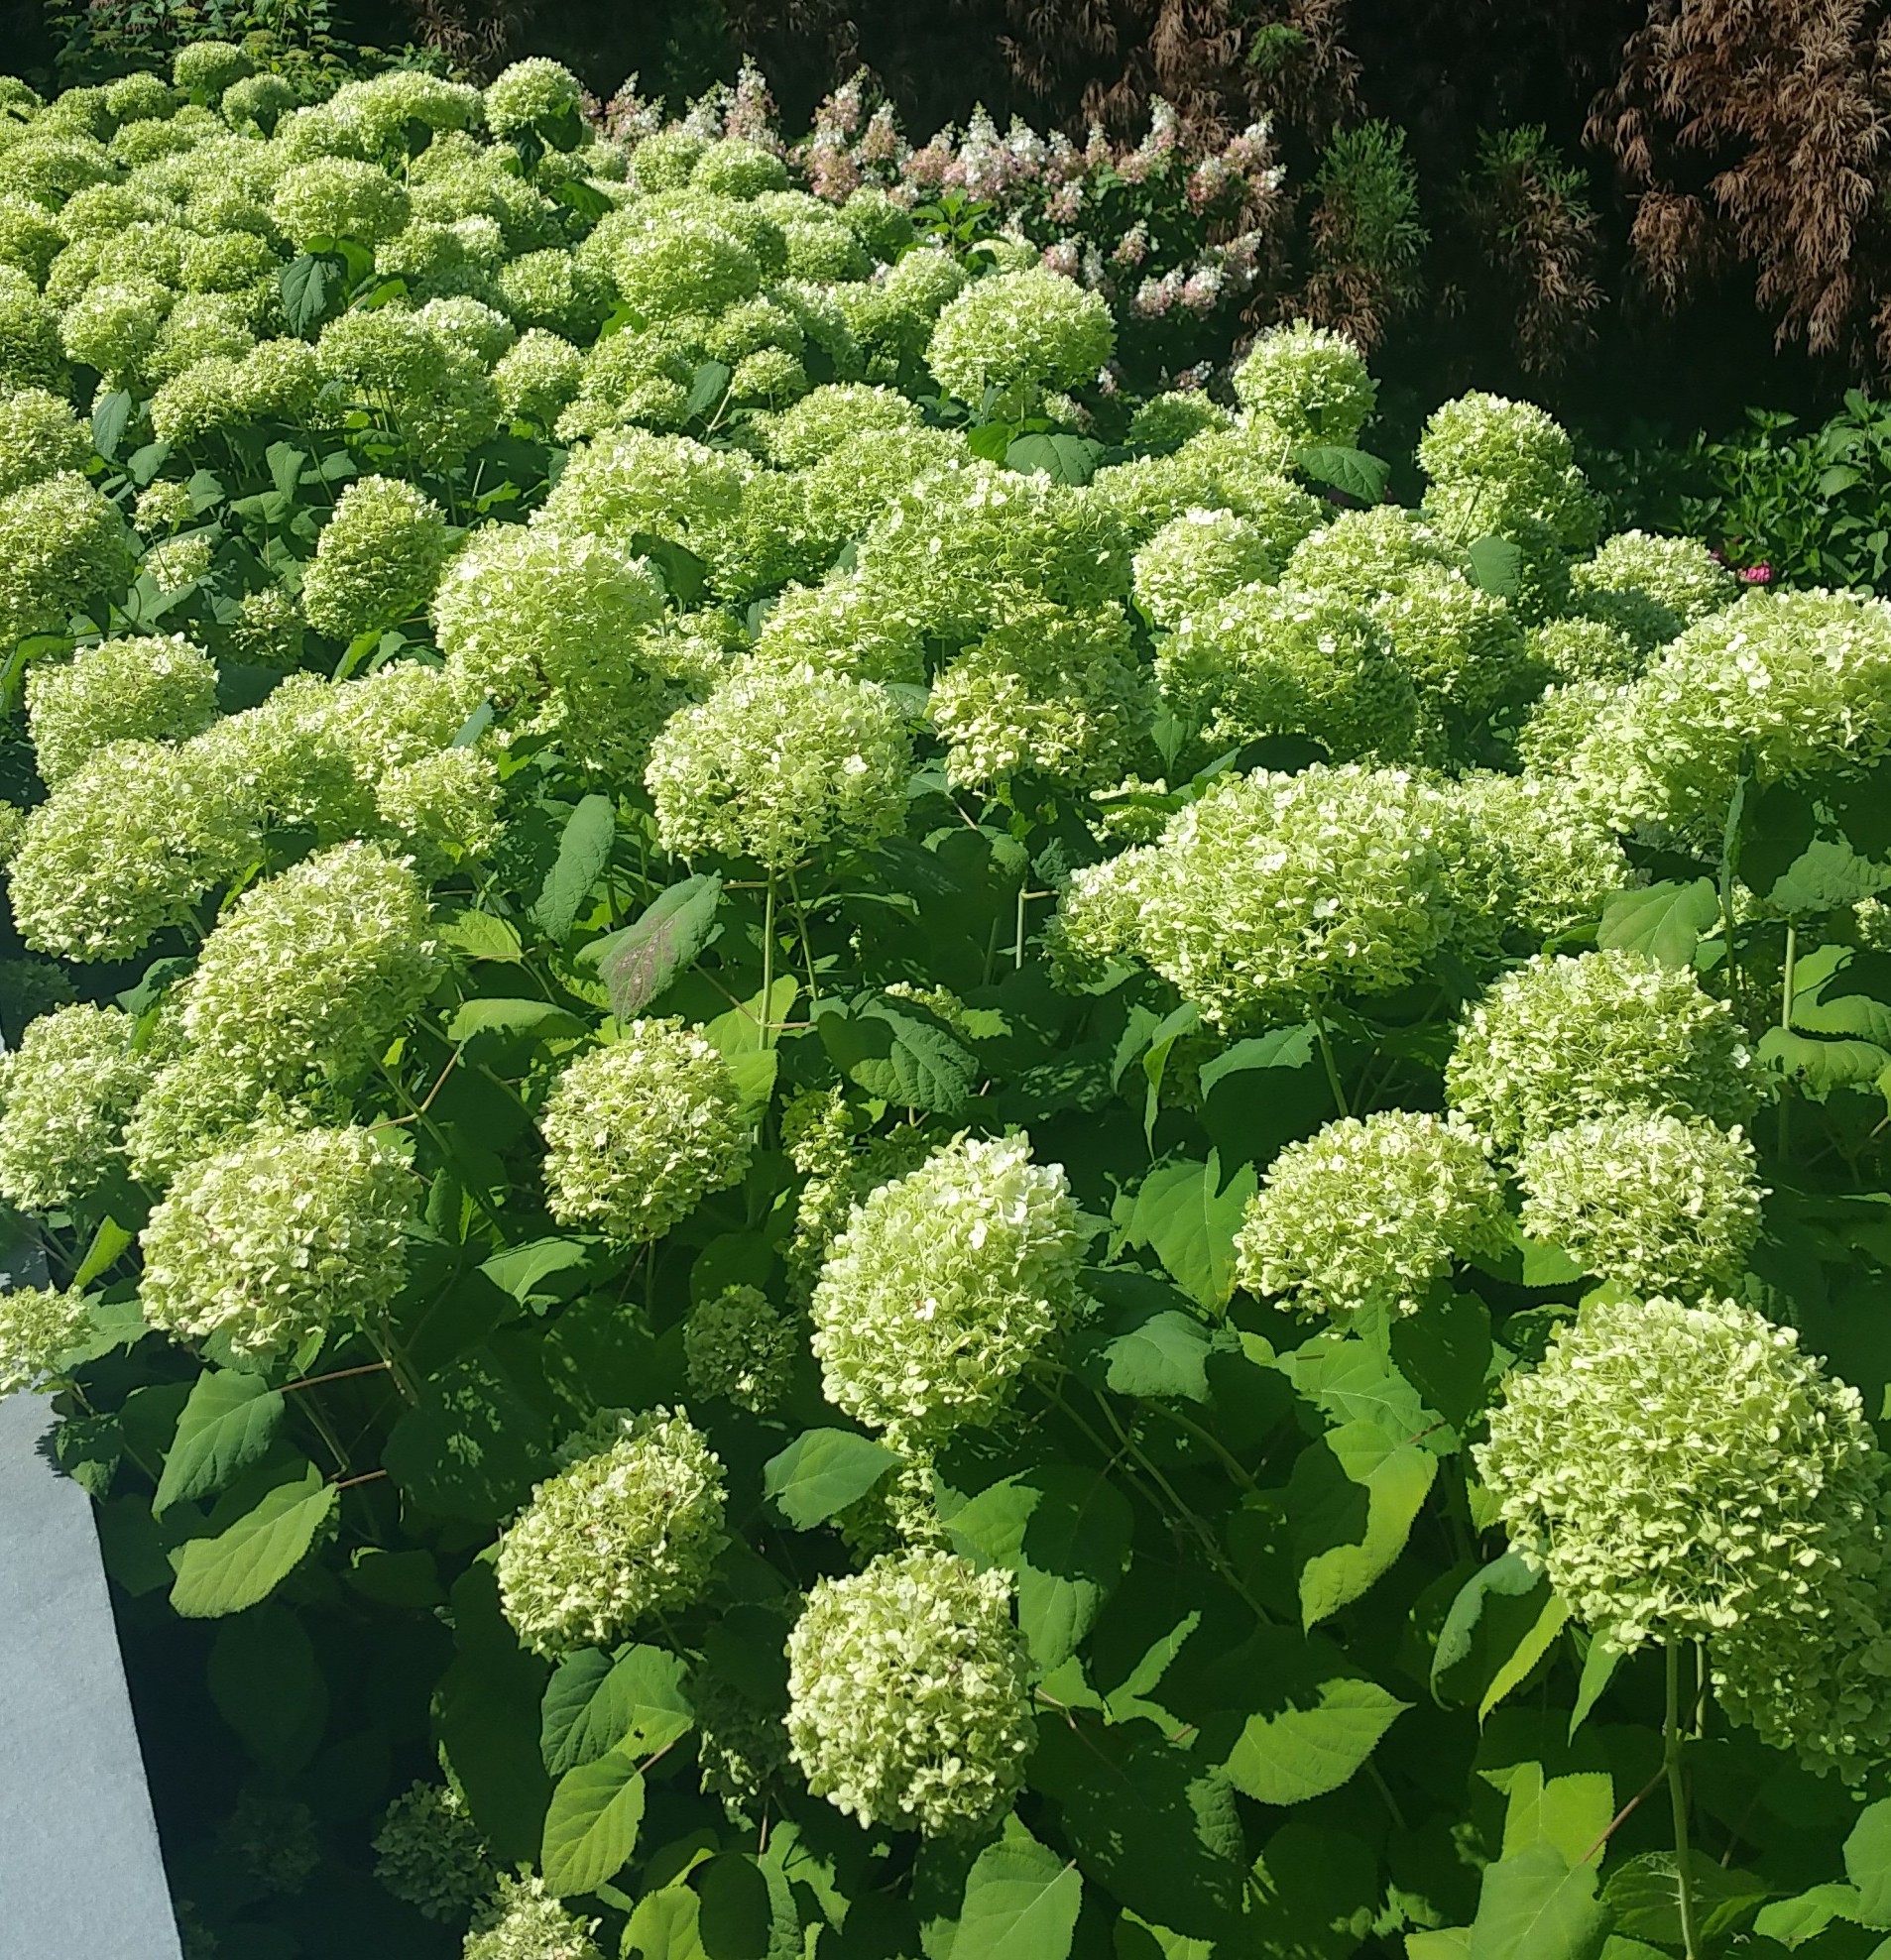
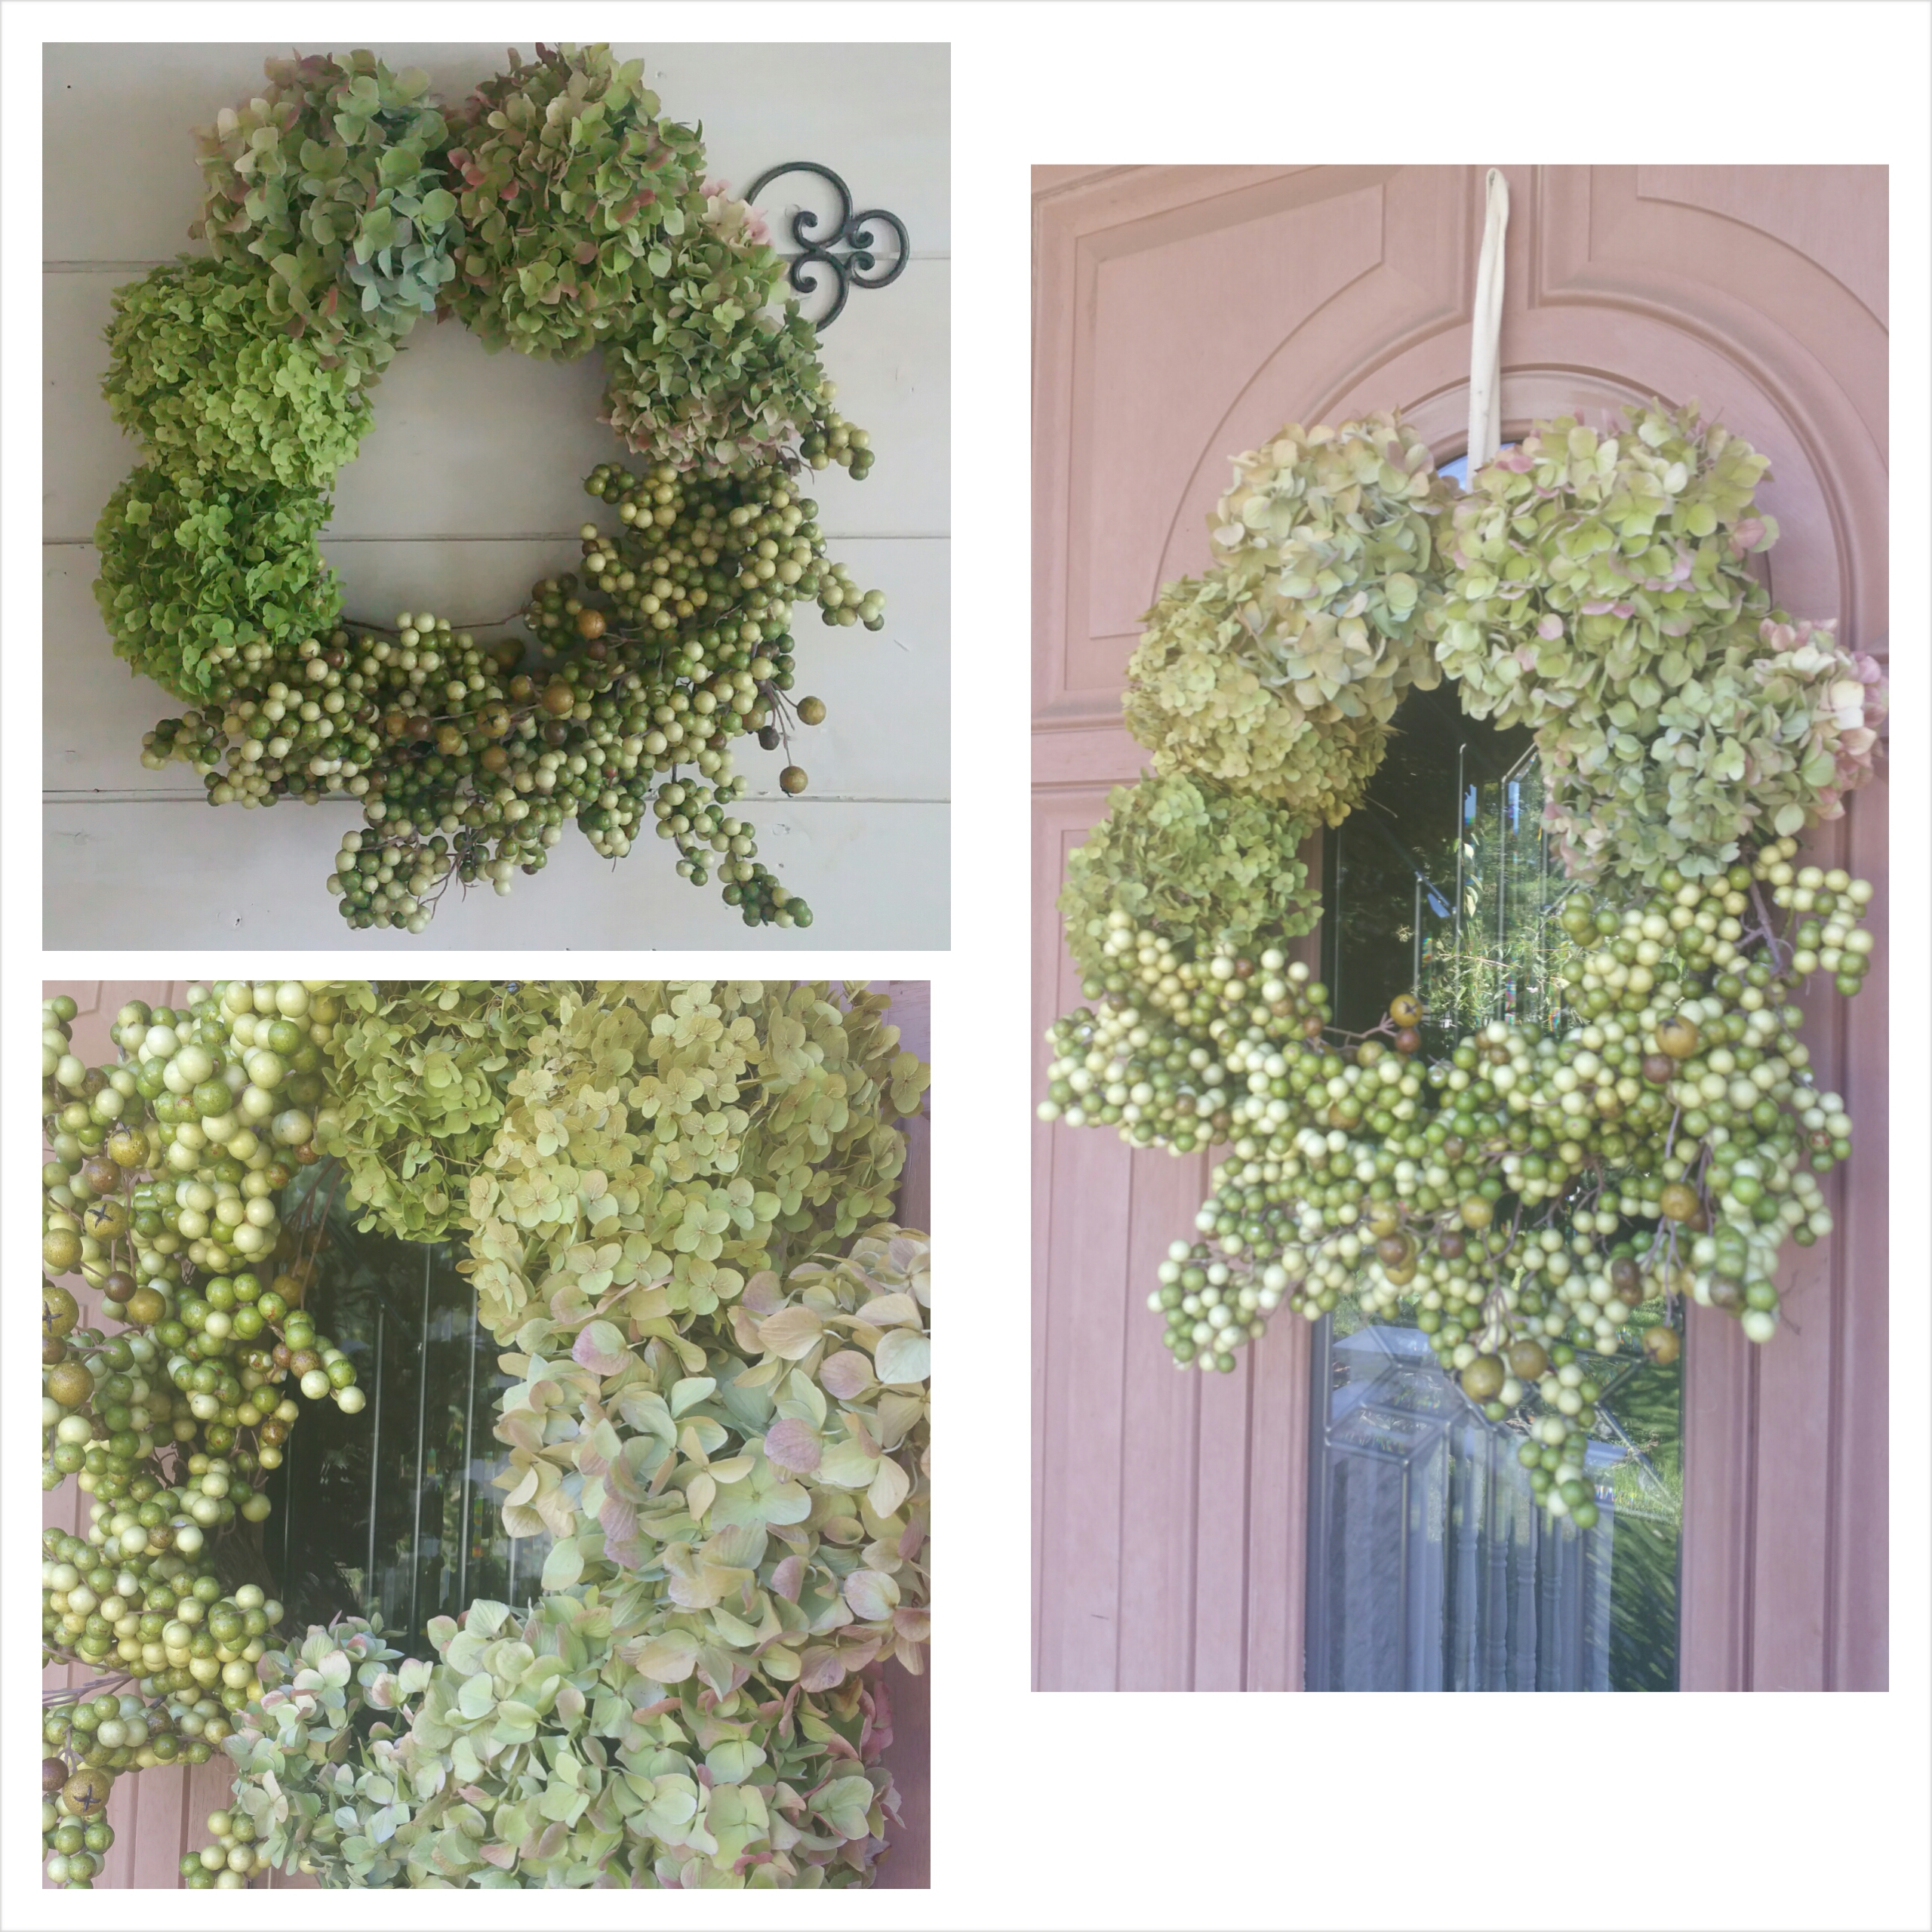
Each year during the summer months I get the privilege to pick and collect beautiful hydrangea’s from my neighbors property. This year I felt it was long overdue that I should repay my sweet friends with creating a wreath with drying the hydrangea’s. I also was lucky enough to grab enough to make a smaller wreath arrangement for myself. 😉

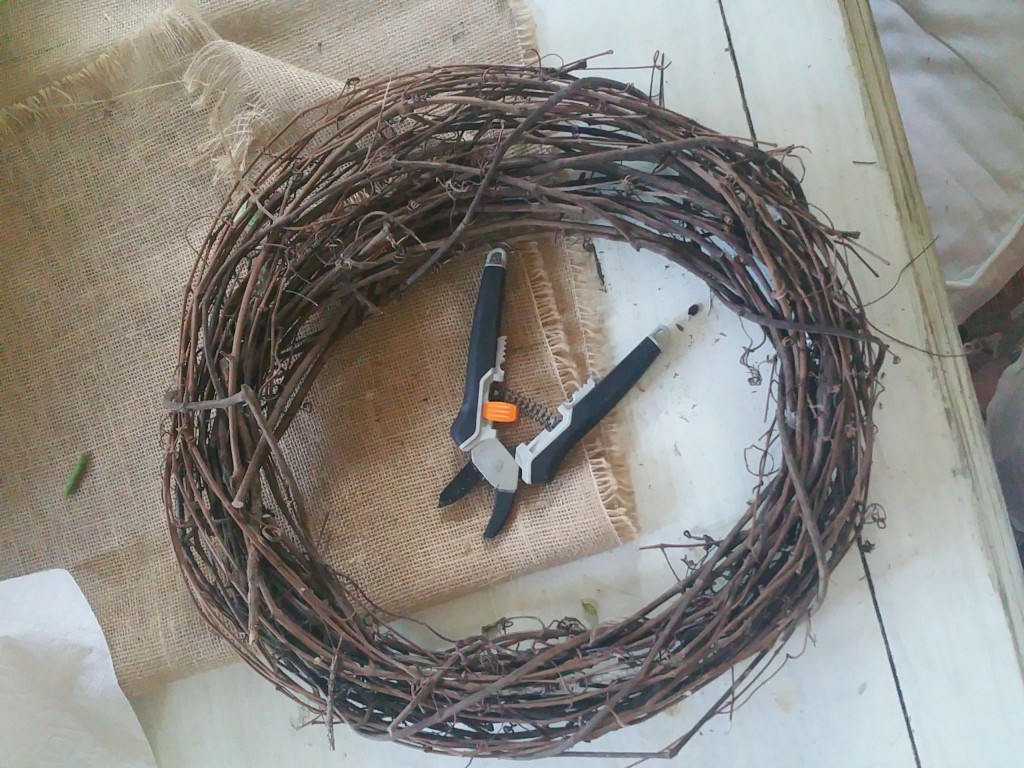
What you will need:
1 branch twig vine from any craft store
1 pair of clippers
*optional – faux berry stems as seen in images
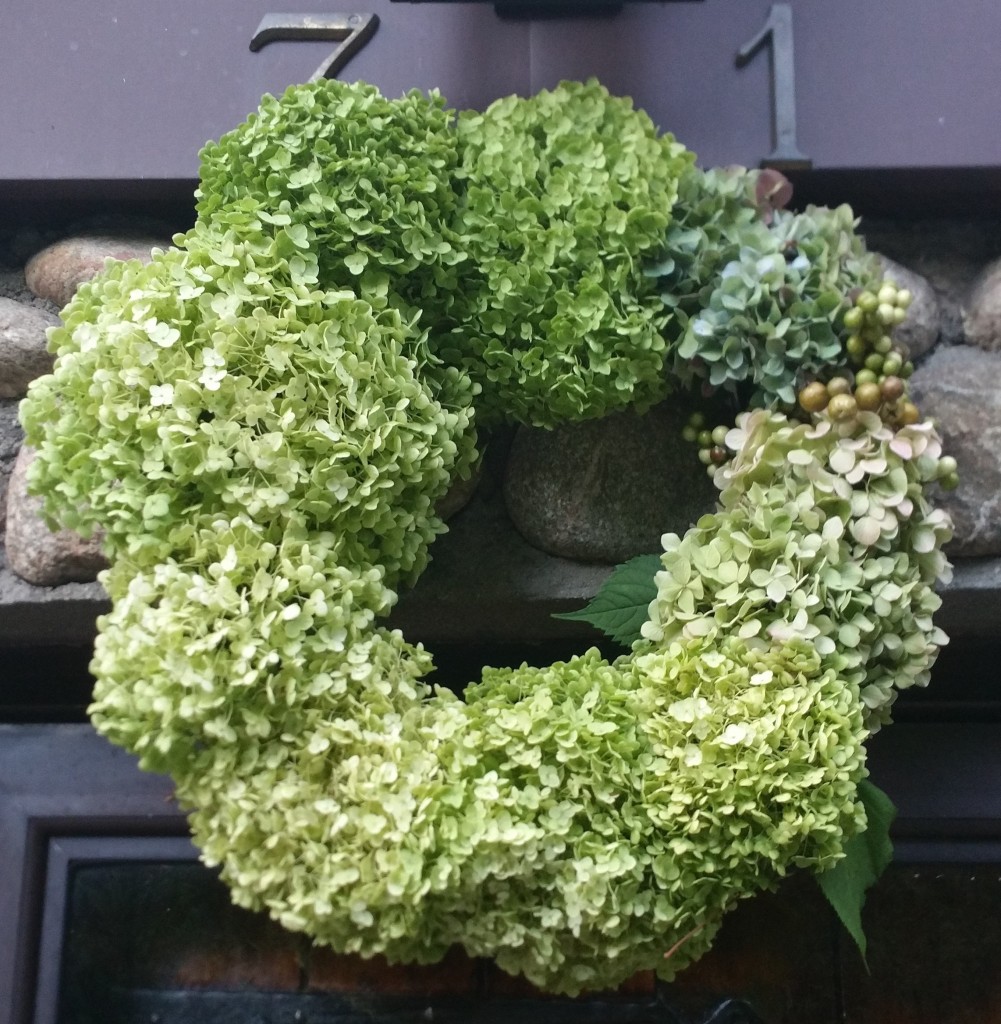
To make this wreath I cut the hydrangea to approx 5″ on the steam.
I than started to arrange each hydrangea in order of size and color going from darkest to lightest to create a ombre feel.
I stuck the stems in and twisted them around the back to secure.
I than decided to add some faux green berries I had lying around from a wreath that was falling apart to create texture as well as interest .
.
Viola !
Wreath 1
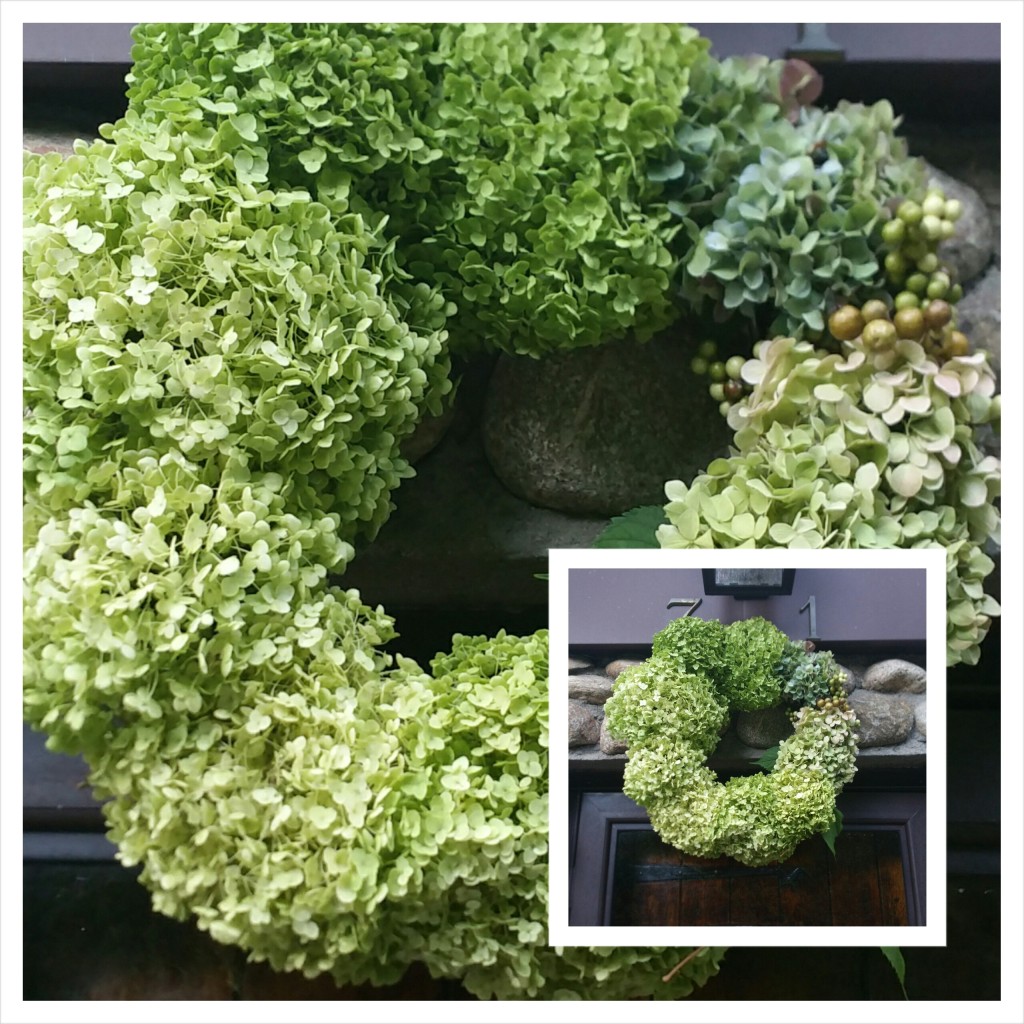
Wreath 2

The best part about these wreaths is they will last all year round remaining the same in color. Happy picking!