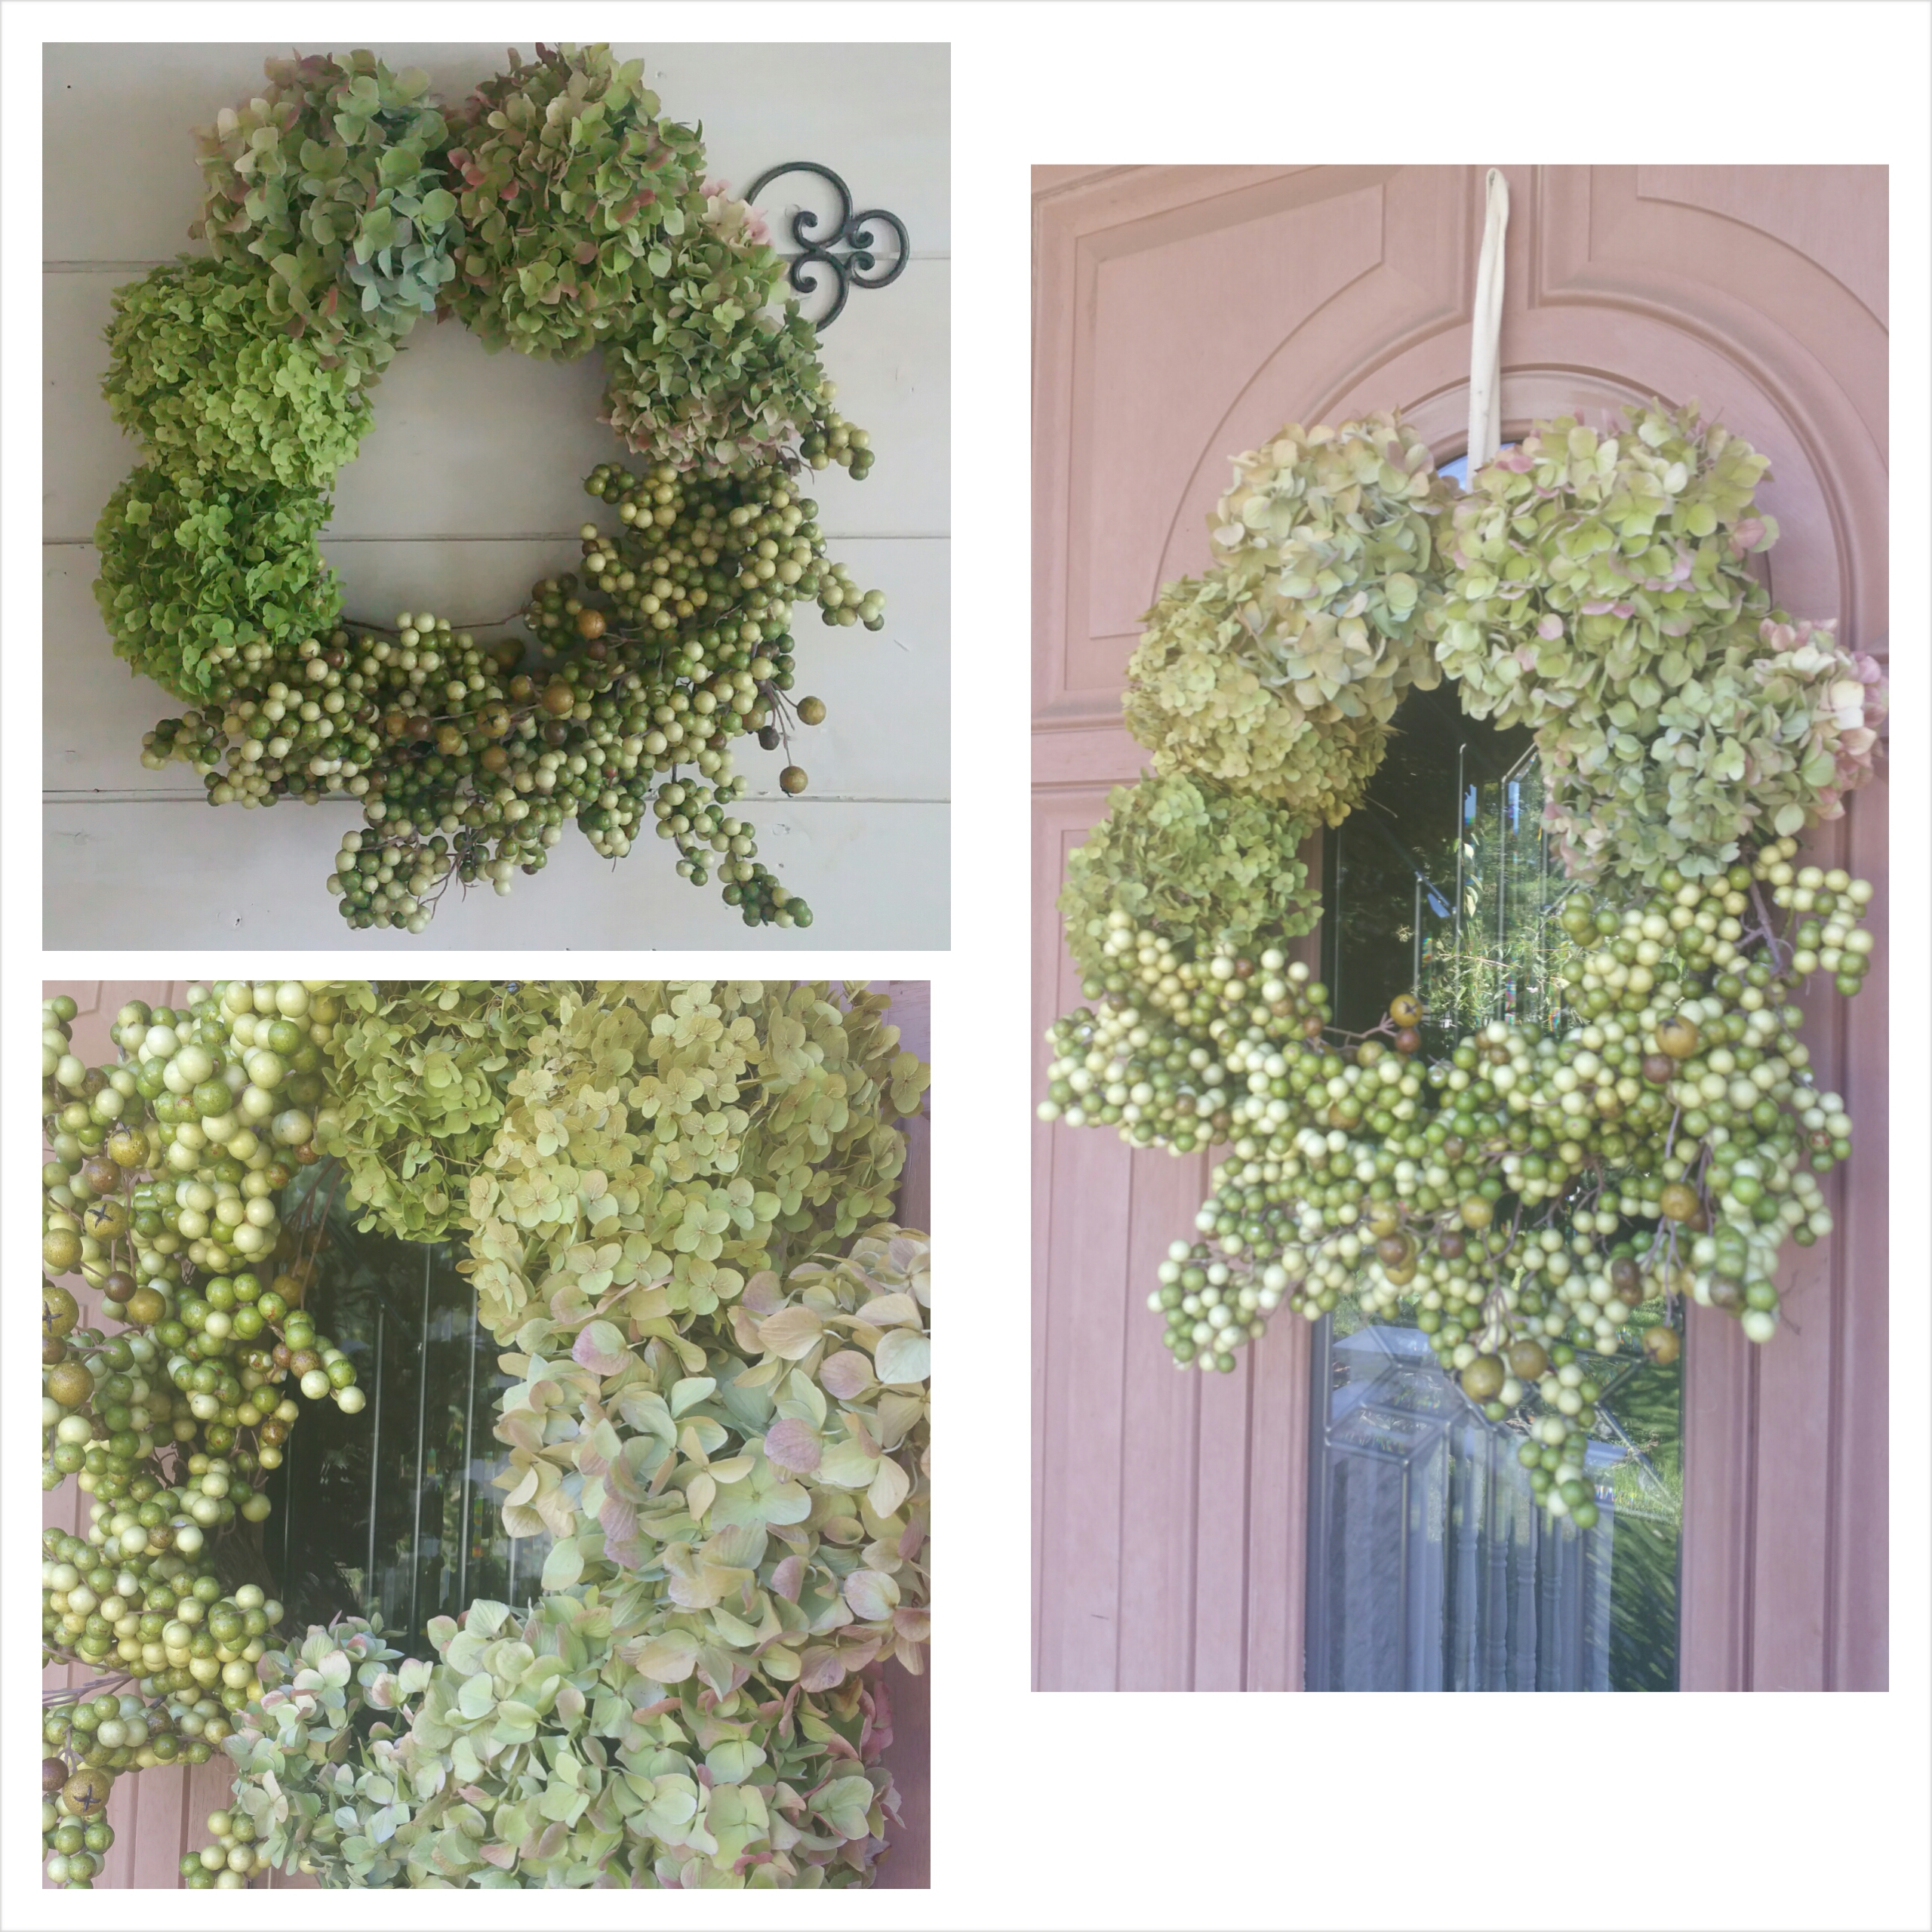
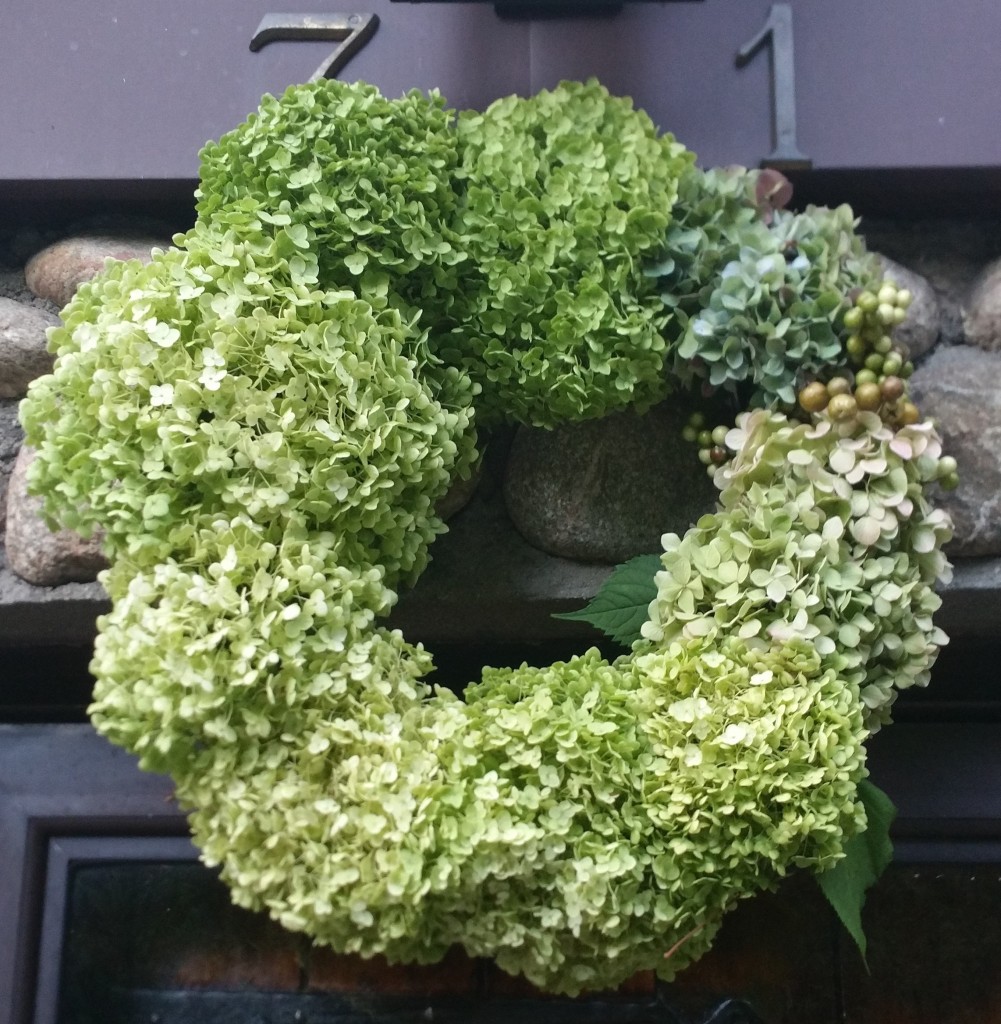
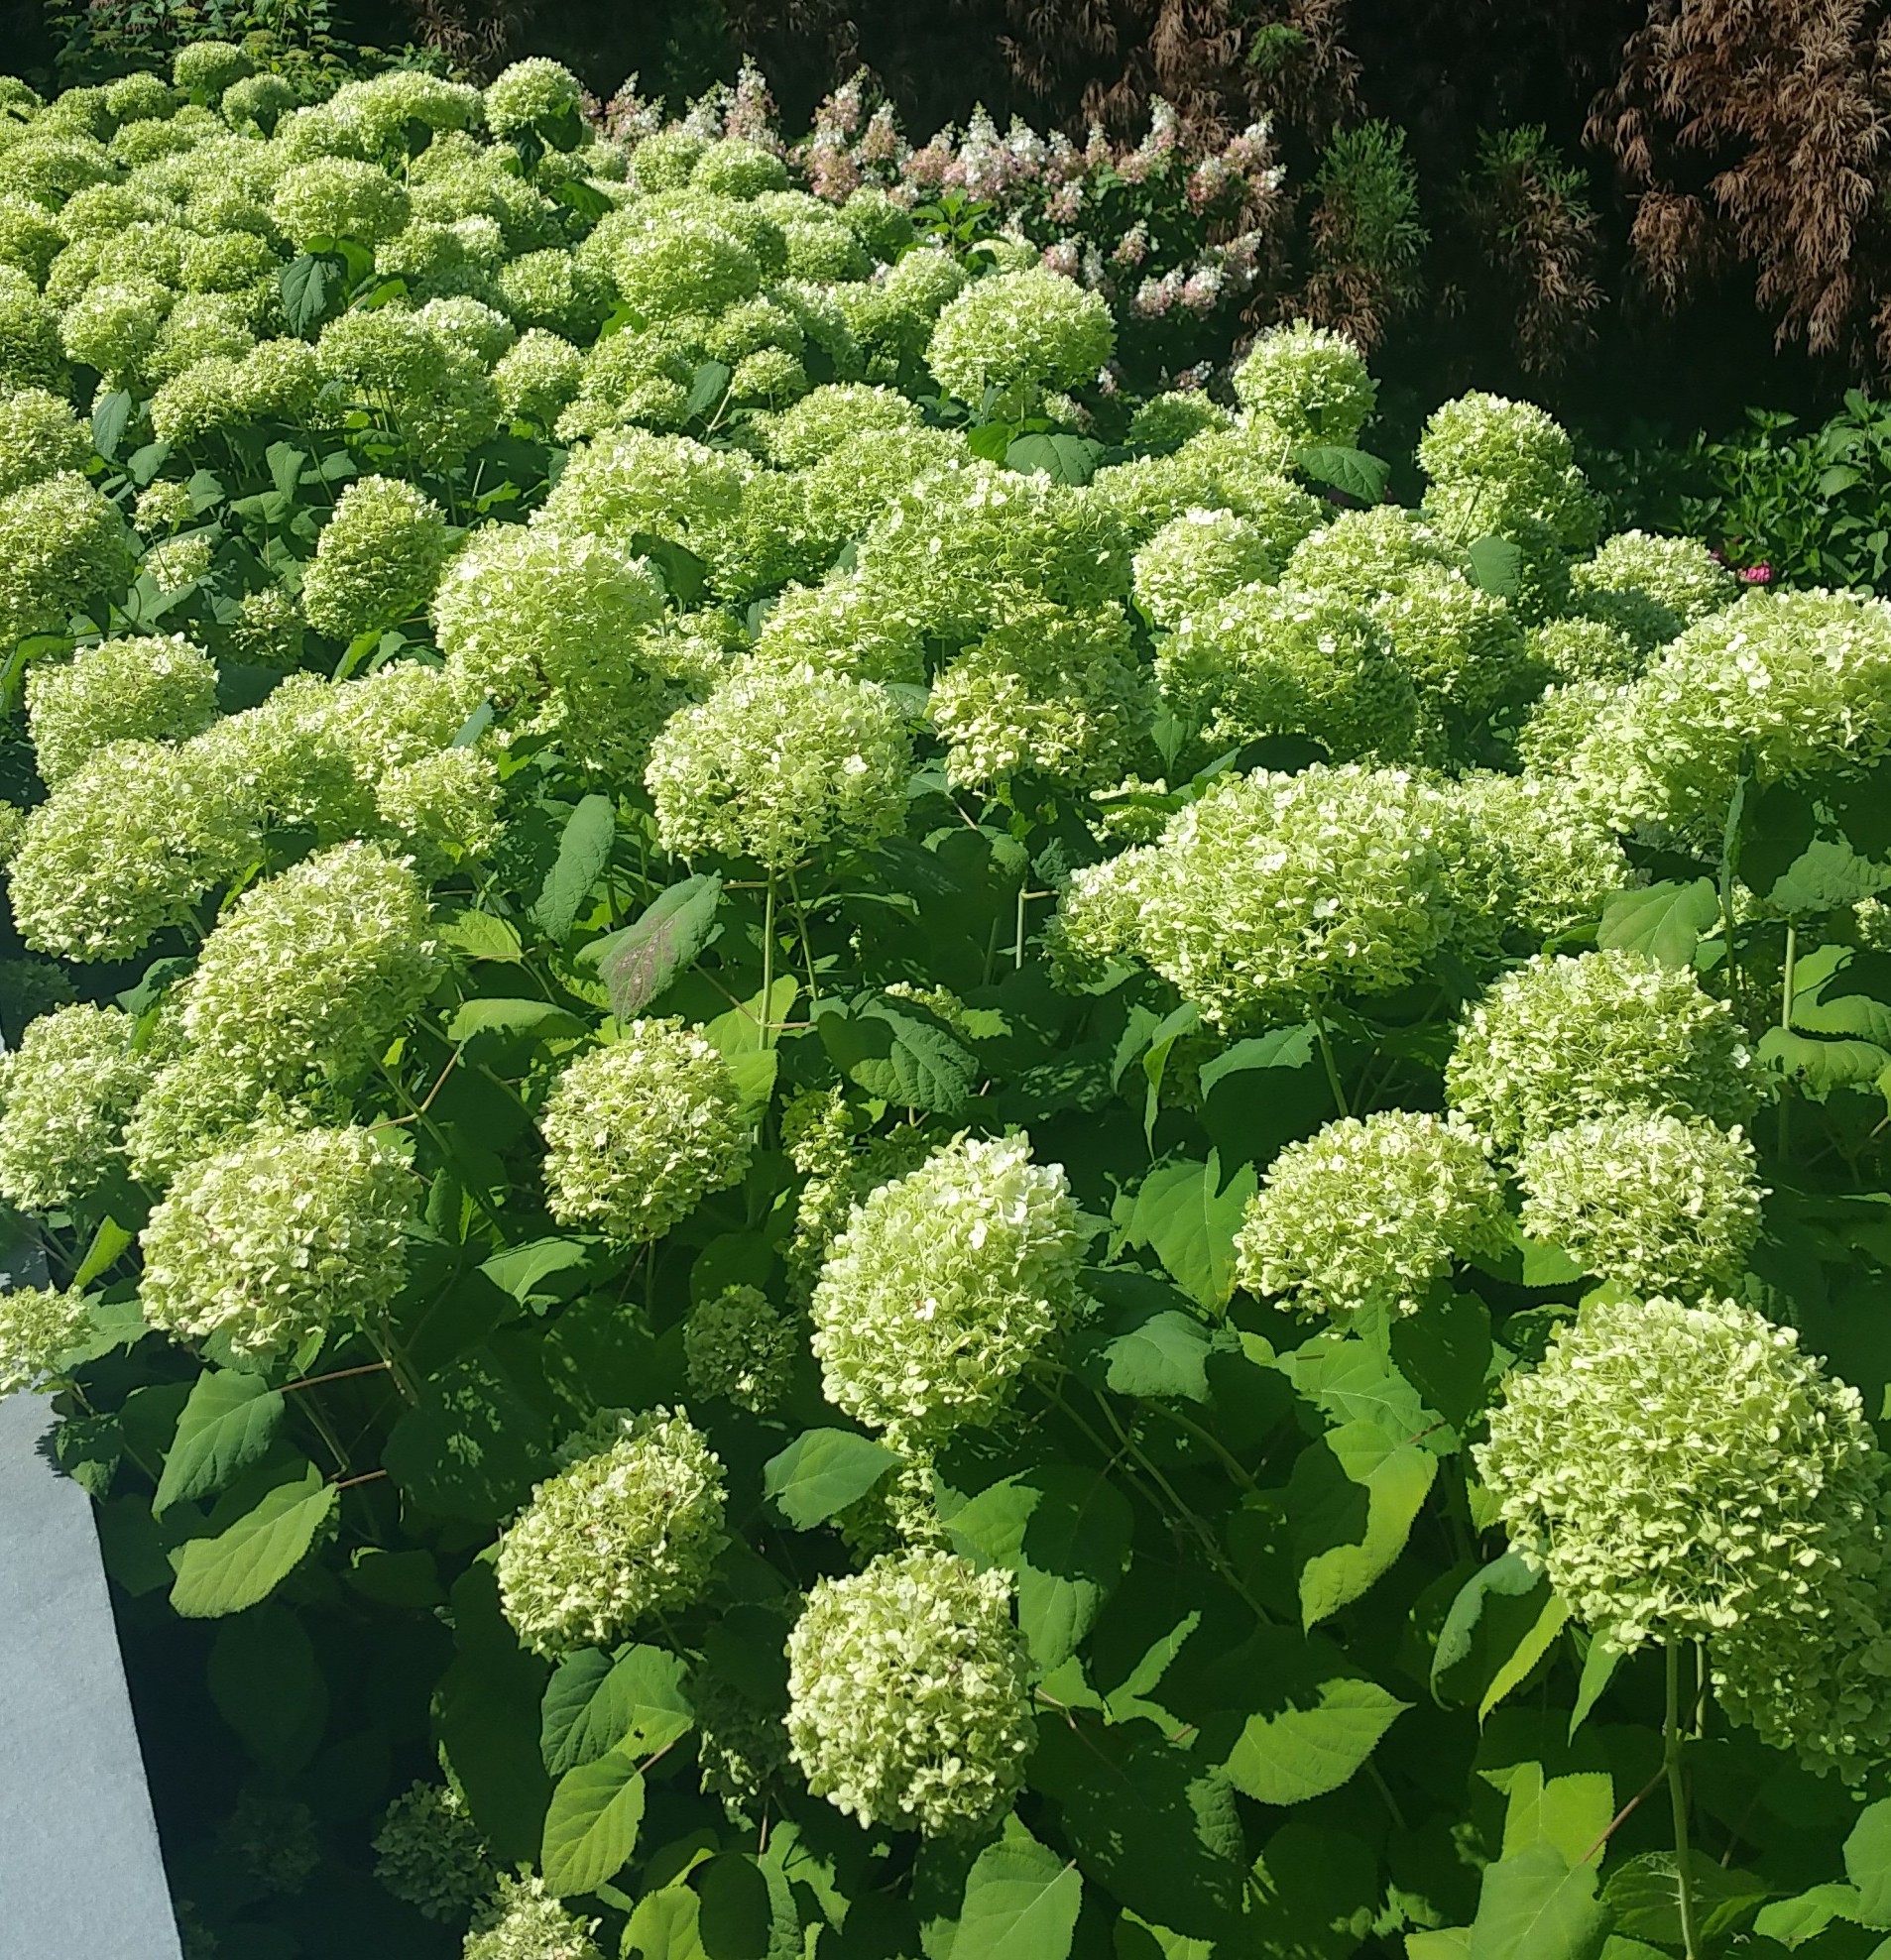
Each year during the summer months I get the privilege to pick and collect beautiful hydrangea’s from my neighbors property. This year I felt it was long overdue that I should repay my sweet friends with creating a wreath with drying the hydrangea’s. I also was lucky enough to grab enough to make a smaller wreath arrangement for myself. 😉

What you will need:
1 branch twig vine from any craft store
1 pair of clippers
*optional – faux berry stems as seen in images
To make this wreath I cut the hydrangea to approx 5″ on the steam.
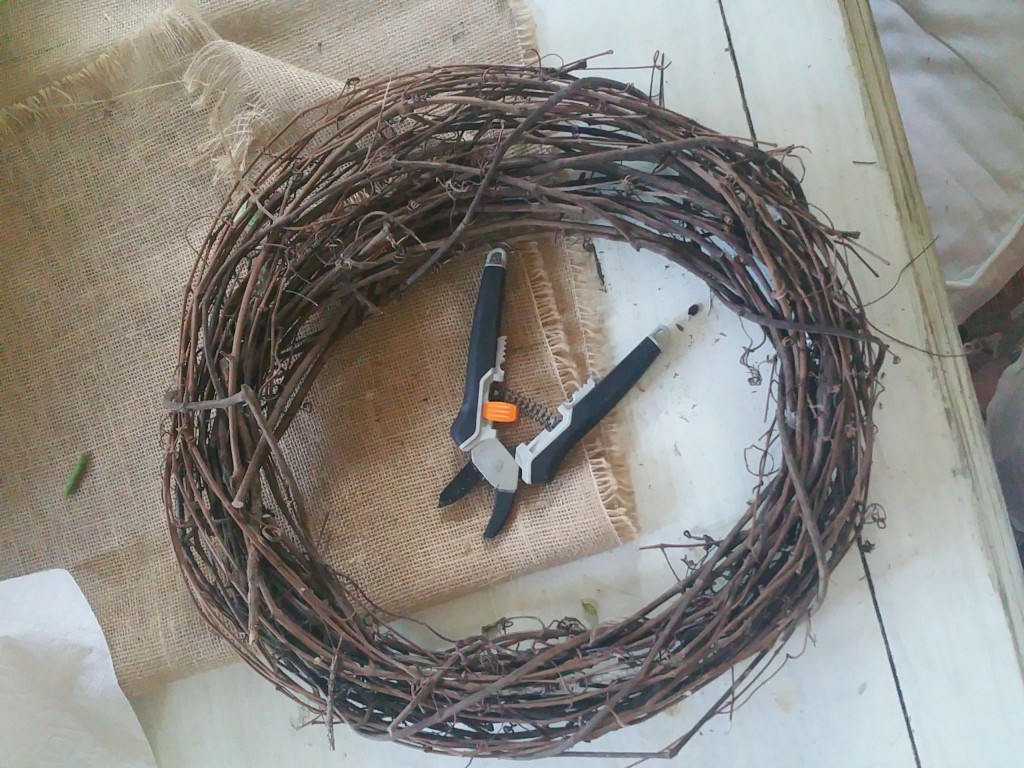
I than started to arrange each hydrangea in order of size and color going from darkest to lightest to create a ombre feel.
I stuck the stems in and twisted them around the back to secure.
I than decided to add some faux green berries I had lying around from a wreath that was falling apart to create texture as well as interest .
.
Viola !
Wreath 1
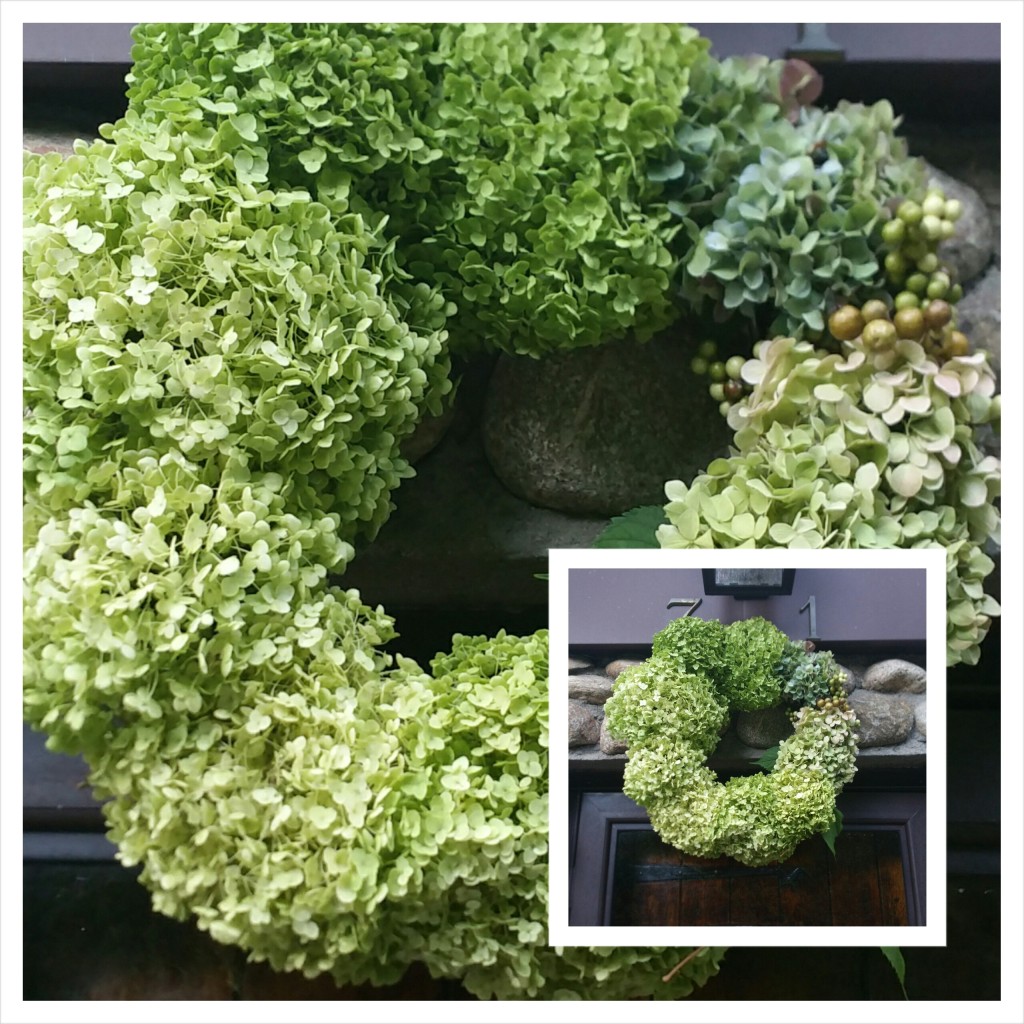
Wreath 2

The best part about these wreaths is they will last all year round remaining the same in color. Happy picking!


Sweetapolita is always inspiring me by either making these little pretties myself or to create events with cakes similar to what my eyes lay fest on. I found this Gem just in time before summer ends. I decided am going to attempt this for our neighborhood block party in the next week. I will let you all know how it turns out.
In the meantime enjoy this recipe from Sweetapolita.

Classic, light as air, moist pink angel food cake topped with billowy swirls of pink marshmallow frosting and rainbow sprinkles.
Ingredients
For the cake:
- 1 cup plus 3 tablespoons (140 g) cake flour
- 1 cup plus 3 tablespoons (150 g) confectioners’ sugar
- 1/2 teaspoon salt
- 2 cups (13-14 egg whites), room temperature (left out about 1 hour)
- 1 1/2 teaspoons cream of tartar
- 3/4 cup plus 2 tablespoons (180 g) superfine sugar (see Sweetapolita’s Notes)
- 1/2 teaspoon vanilla bean paste (or pure vanilla extract)
- 1/8 teaspoon almond extract
- Few drops pink soft gel paste food color (see Notes)
For the pink marshmallow frosting:
- 6 egg whites (180 g)
- 1 3/4 cups plus 2 tablespoons (390 g) granulated sugar
- 2 tablespoons (45 g) light corn syrup
- 1/4 teaspoon cream of tartar
- Pinch of salt
- 1 teaspoon vanilla bean paste (or pure vanilla extract)
- Few drops pink soft gel paste food color (see Notes)
- Rainbow nonpareils, optional
Instructions
Make the pink angel food cake:
- Arrange oven rack to the lower third of the oven. Preheat the oven to 350°F (180°C). Sift the cake flour, confectioners’ sugar and salt together 4 times. Set aside.
- Wipe the bowl and whisk attachment of an electric mixer with paper towel and lemon juice, to remove any trace of grease. Add the egg whites and beat on the lowest speed until they start to become frothy, about 30 seconds. Stop the mixer and sprinkle the cream of tartar over the egg whites. Beat on medium speed until the egg whites thicken just slightly and you can see swirl lines in the mixture from the whisk (very soft peaks), about 1 minute. Add the superfine sugar 1 tablespoon at a time and beat until the egg whites thicken and reach soft/medium, droopy (not stiff) peaks, 1-2 minutes. Beat in the vanilla and almond extract, and a few drops of the food colouring, if using.
- Remove the bowl from the mixer. Sift the dry ingredients 1/4 at a time on top of the meringue and fold gently but thoroughly with a rubber spatula. Gently transfer the batter to an ungreased 10″ angel food cake pan and smooth the top with a small offset spatula. Bake on the lower rack of the oven until the top of the cake springs back when touched lightly, and when a skewer inserted into the cake comes out clean, about 35 minutes. Don’t check the cake before 35 minutes, or you could deflate your cake, but also try not to over-bake.
- Remove the cake from the oven and invert the whole pan onto a wire rack so it cools upside down. Let cool for one hour and then loosen sides around the center and outside of the cake using a thin metal spatula or knife. Gently coax the cake out of the pan onto the wire rack and let cool completely.
Make the marshmallow frosting:
- Wipe the bowl and whisk attachment of an electric mixer with paper towel and lemon juice, to remove any trace of grease. Add egg whites, sugar, corn syrup, cream of tartar and salt and simmer over a pot of water (not boiling), whisking constantly but gently, until temperature reaches 130°F (54°C) on a candy thermometer.
- Return the bowl to the stand mixer and beat on low speed for 2 minutes, then increase the speed to medium and beat for 2 more minutes. Increase the speed to high and beat until it is very thick and glossy, about 5 minutes. Add vanilla and food colour, if using, and beat to combine. Best used right away (for best texture to apply frosting to the cake–after that it’s best enjoyed up to 1-2 days at room temperature).
Frost the cake:
- Place the cake wide end down onto a cake plate, board or pedestal. Pile the frosting on top of the cake and use a metal spatula to spread the frosting from the top down. Create swirls using the back of a spoon and sprinkle with rainbow nonpareils). Slice cake using a serrated knife in a gentle sawing motion. Cake keeps at room temperature for up to 2 days. Best enjoyed day 1 (the cake stays very moist for days, but marshmallow frosting is best enjoyed sooner than later).


all images are from
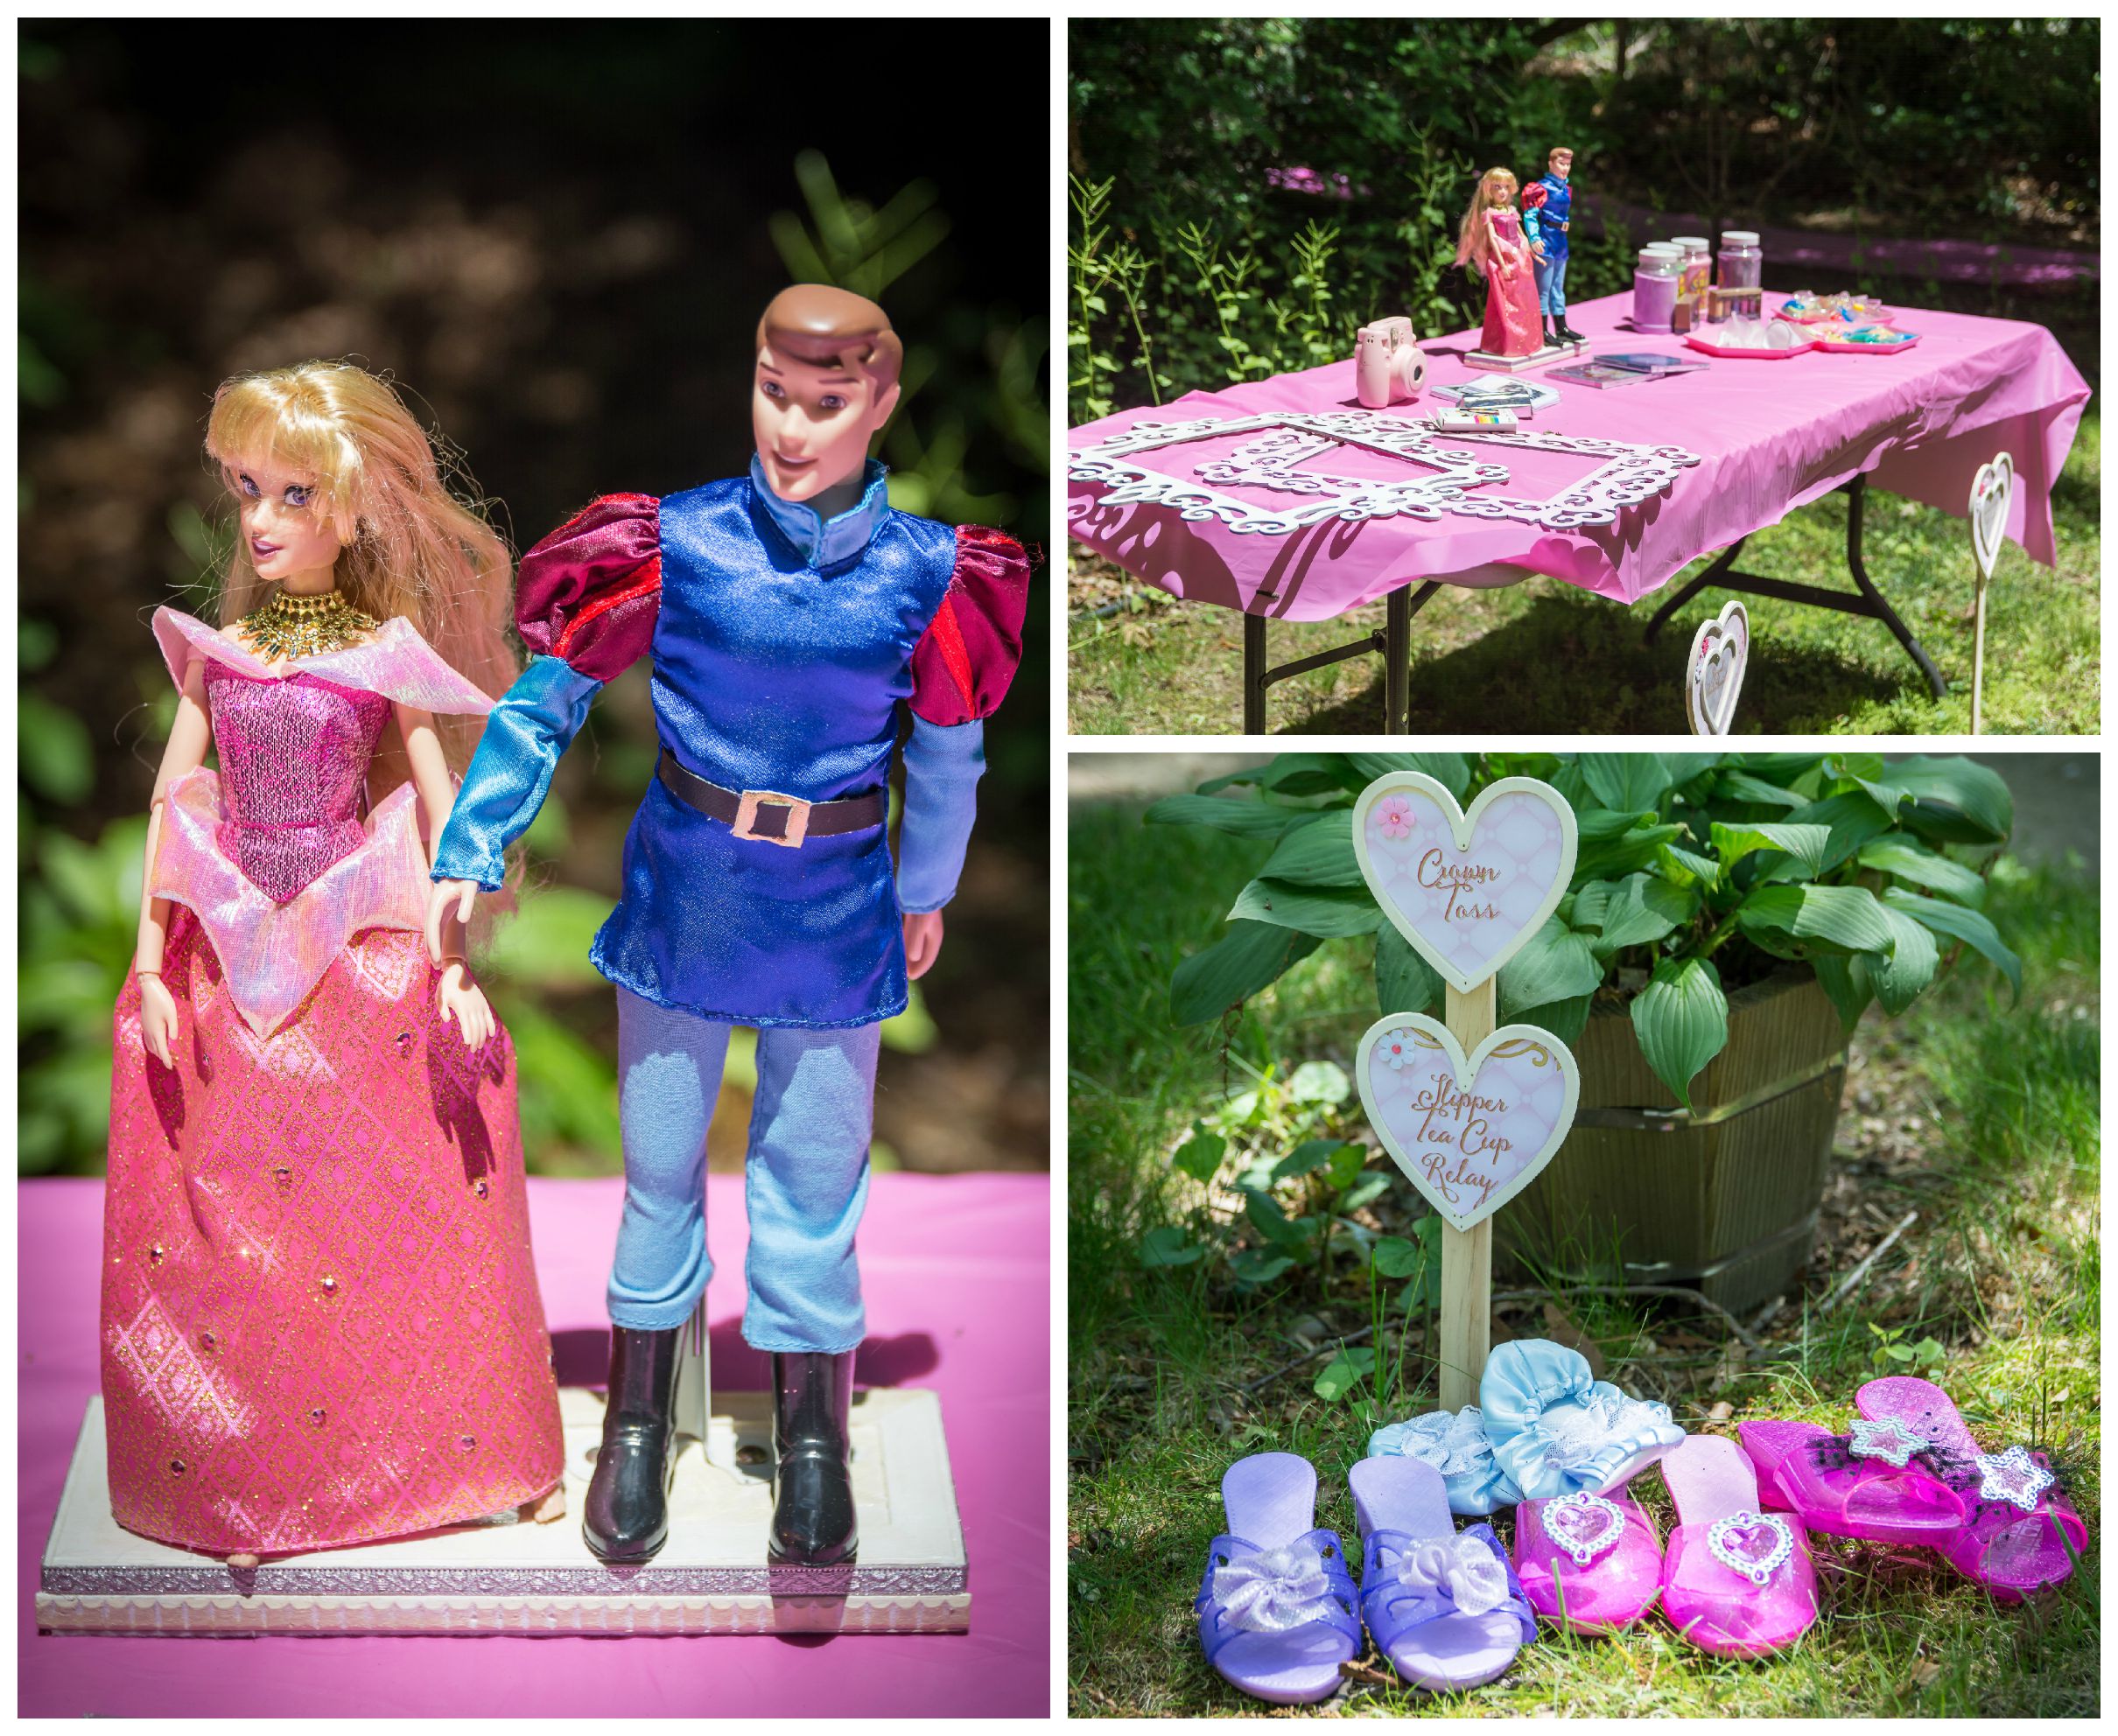
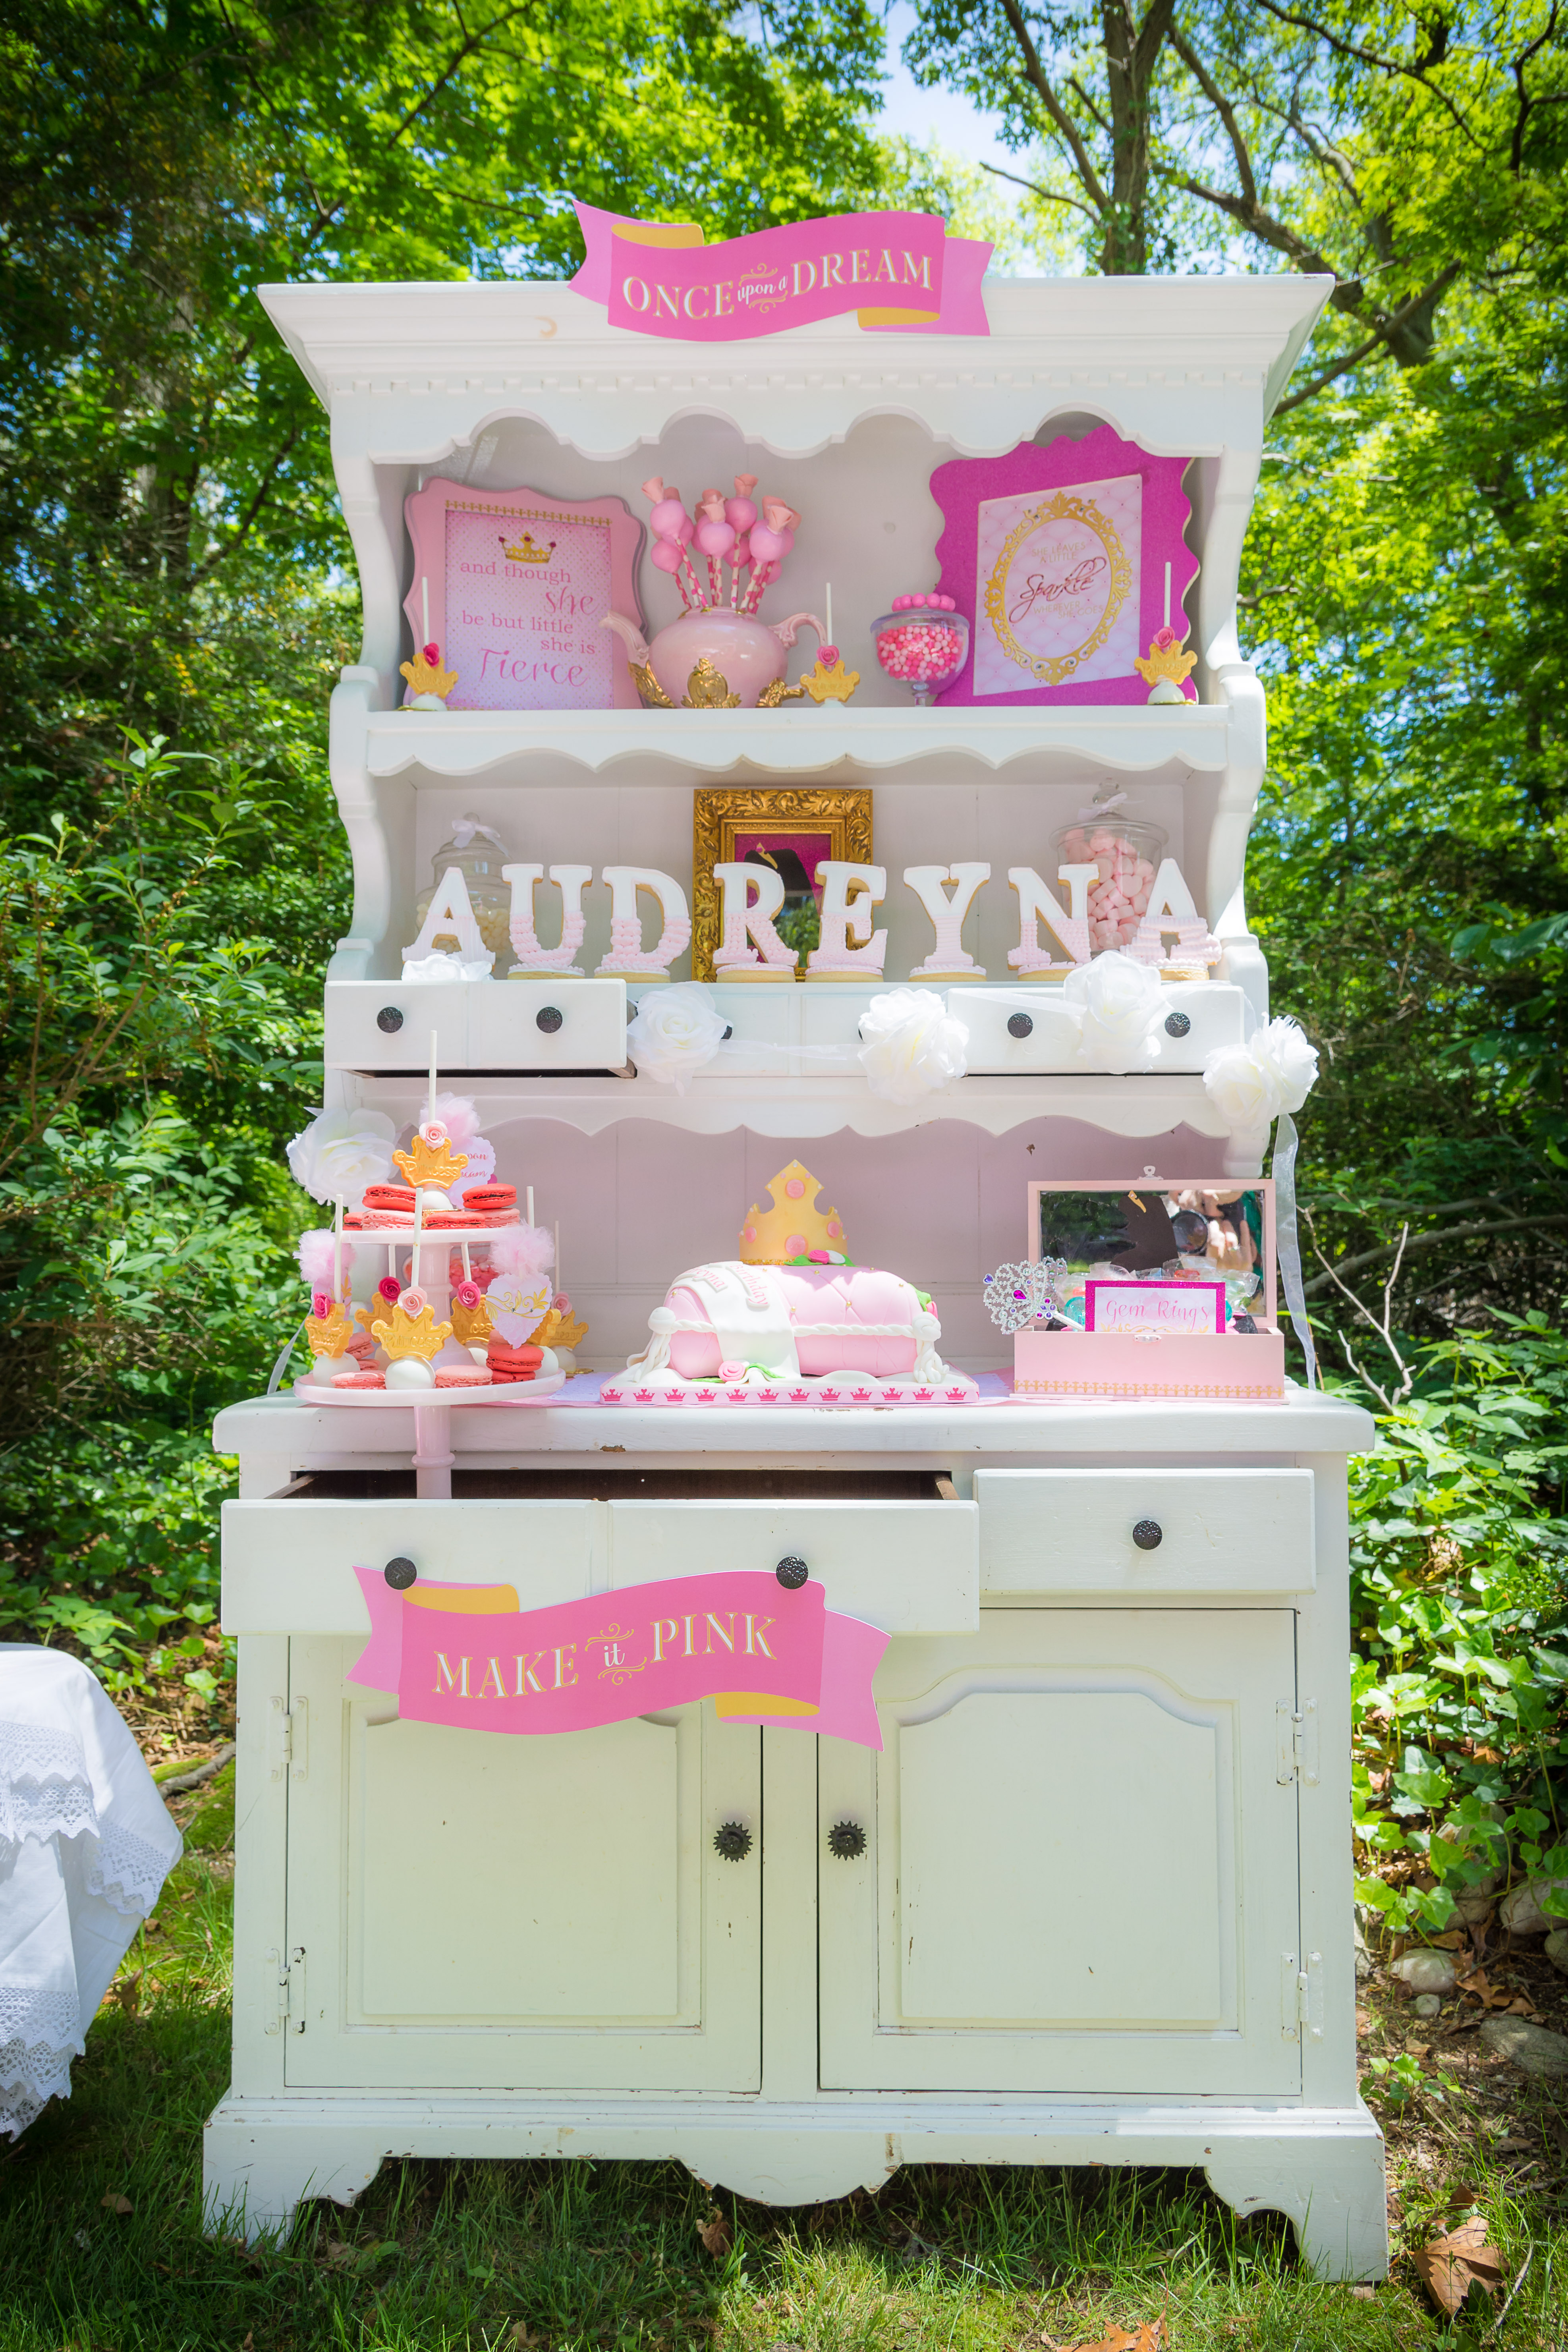
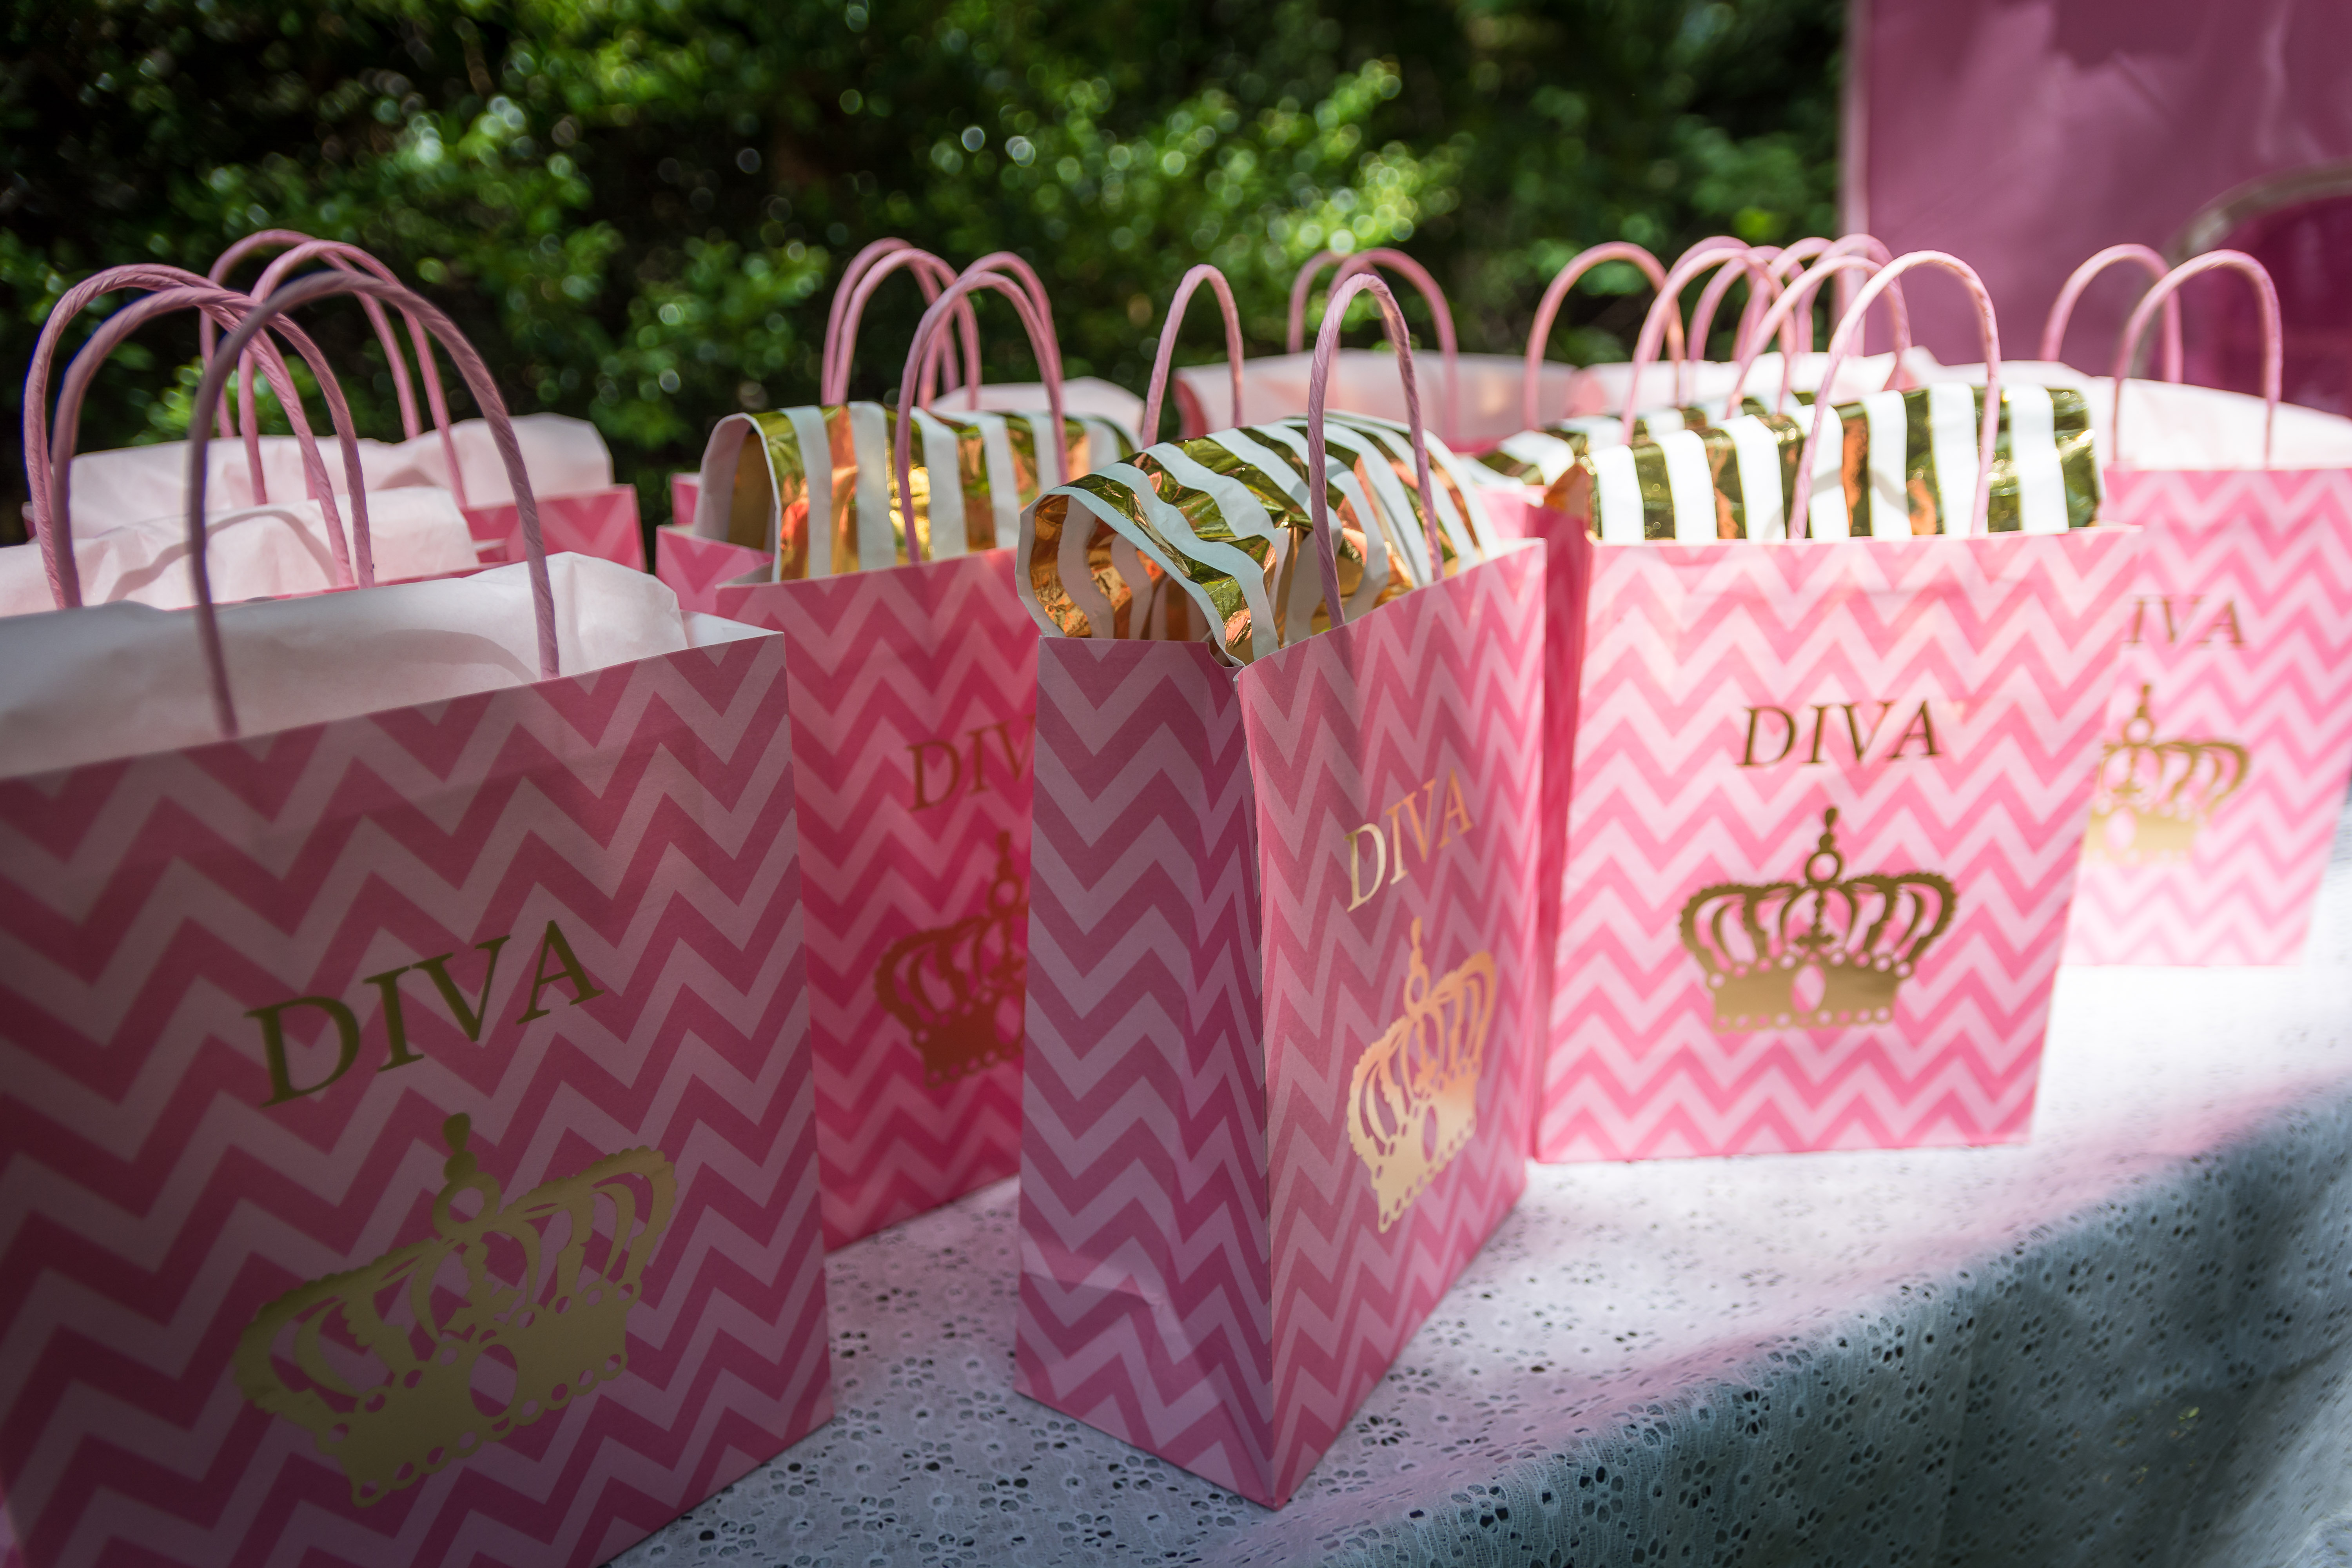
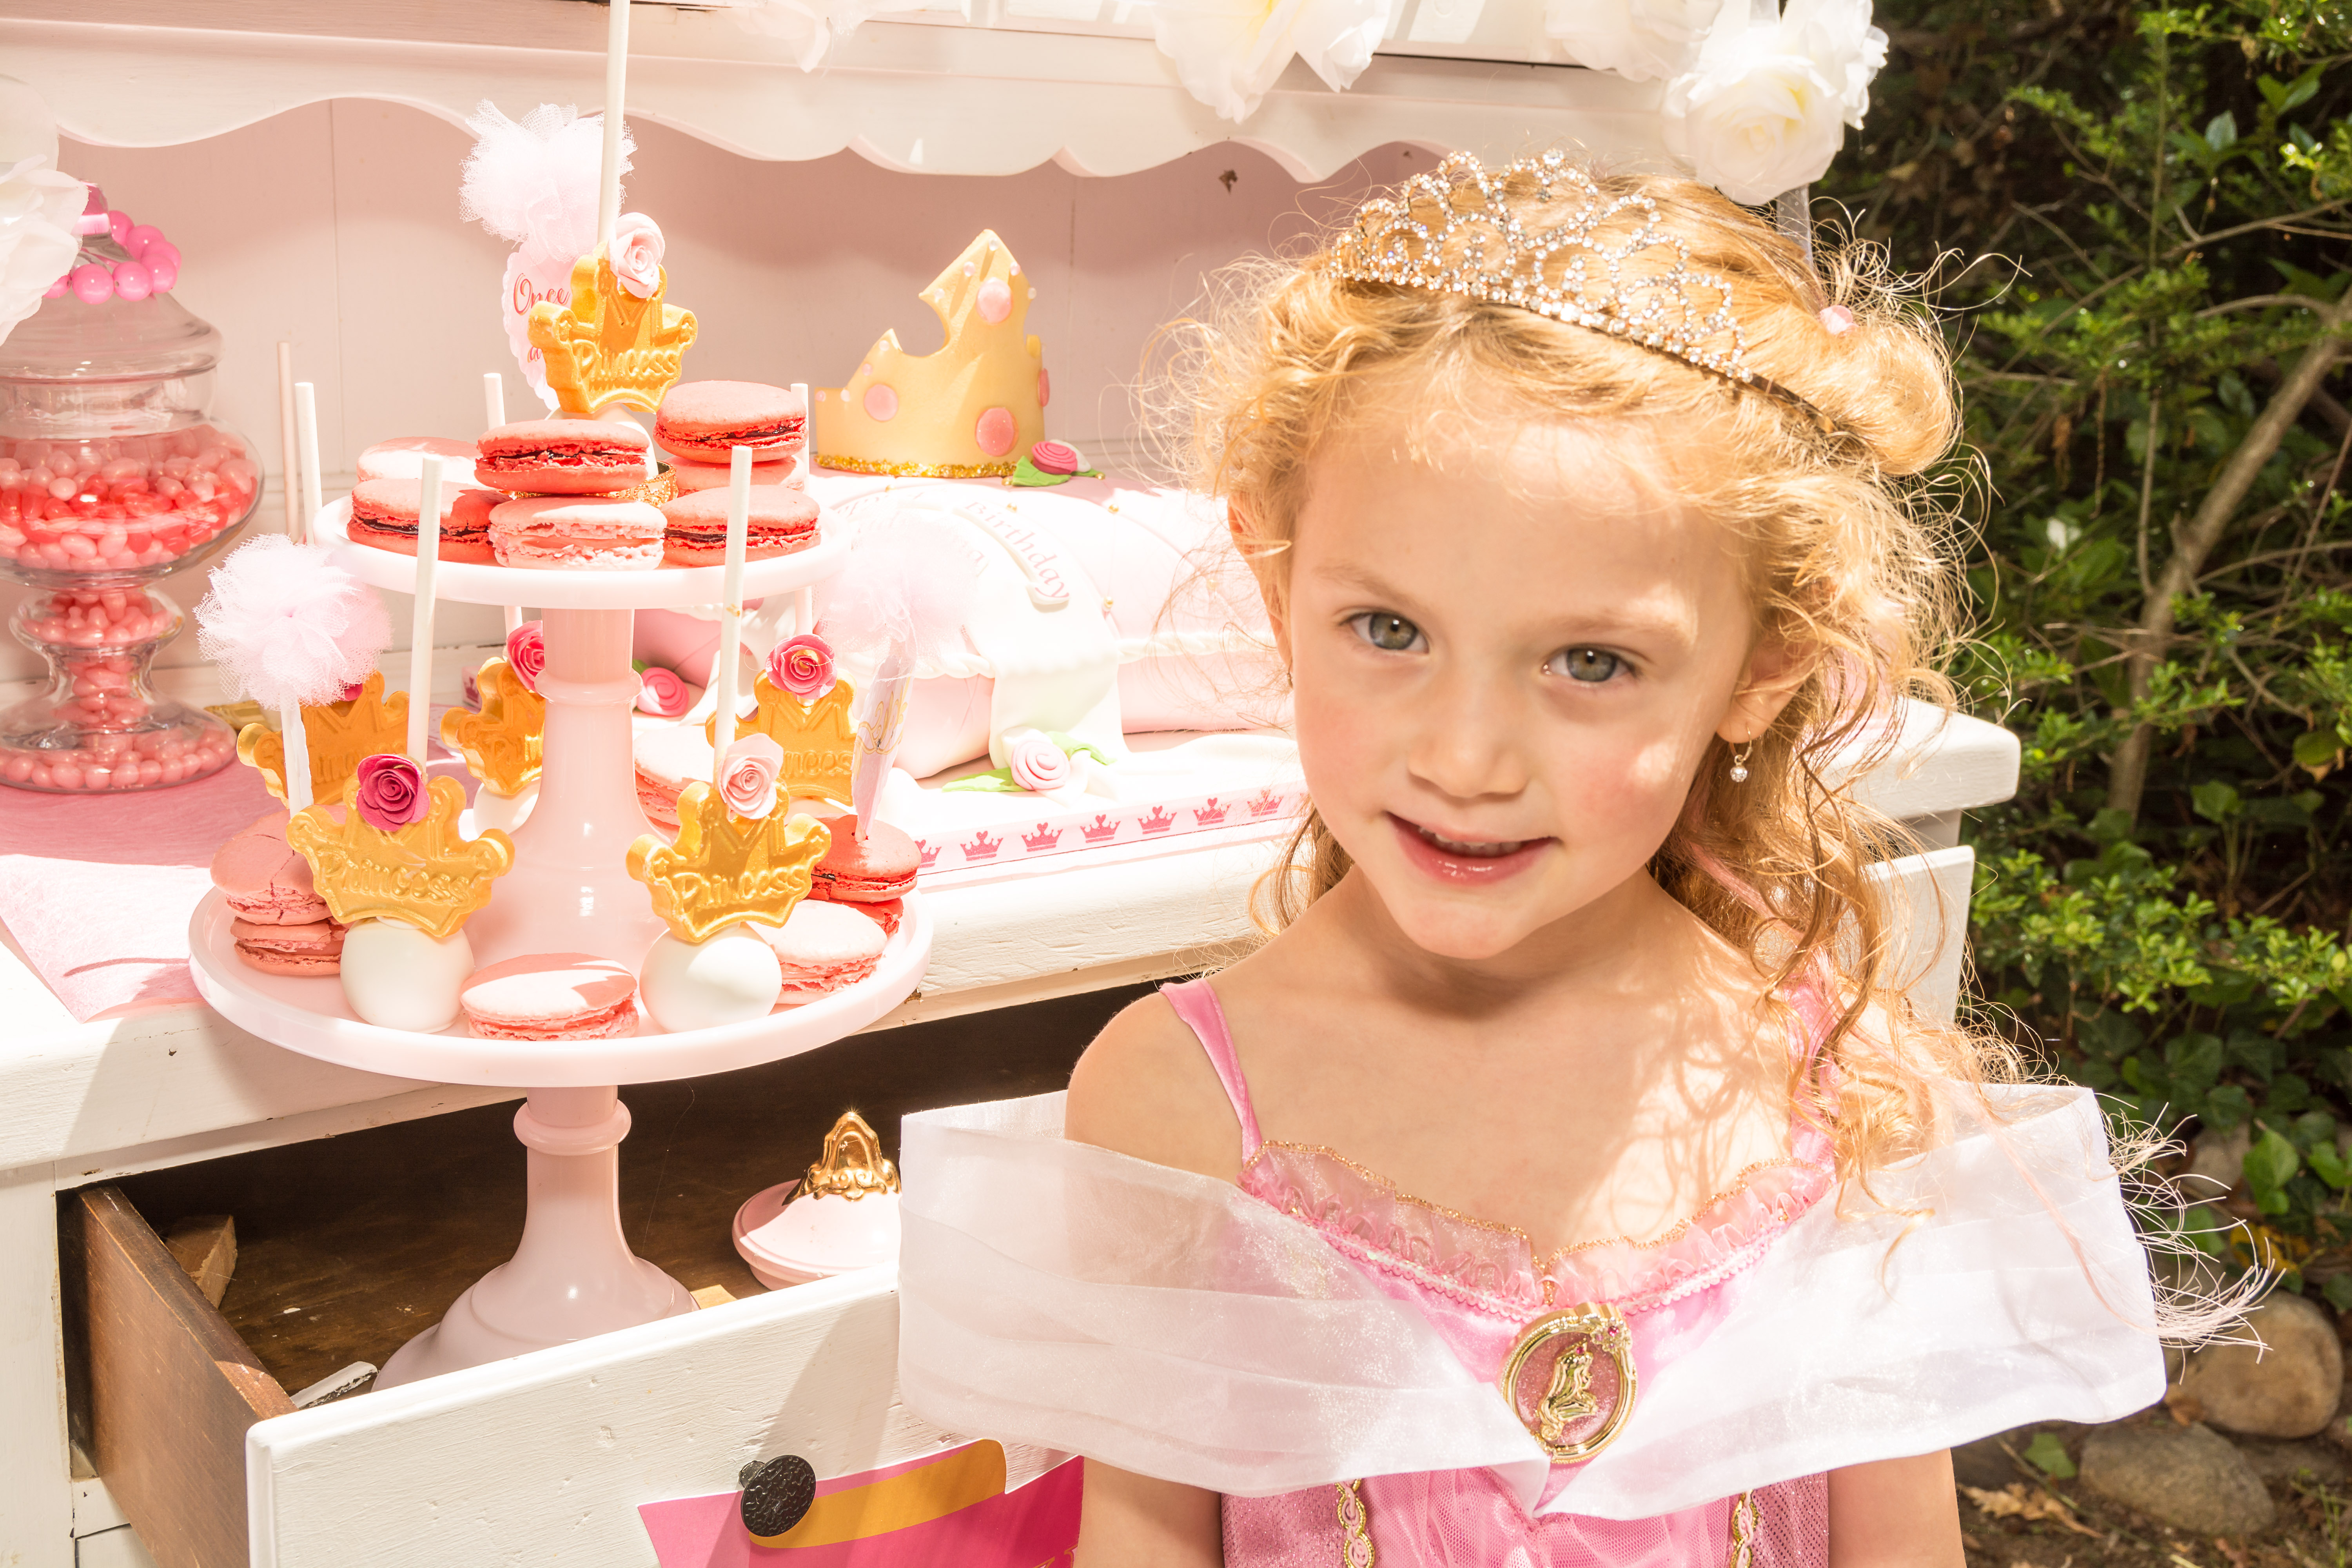
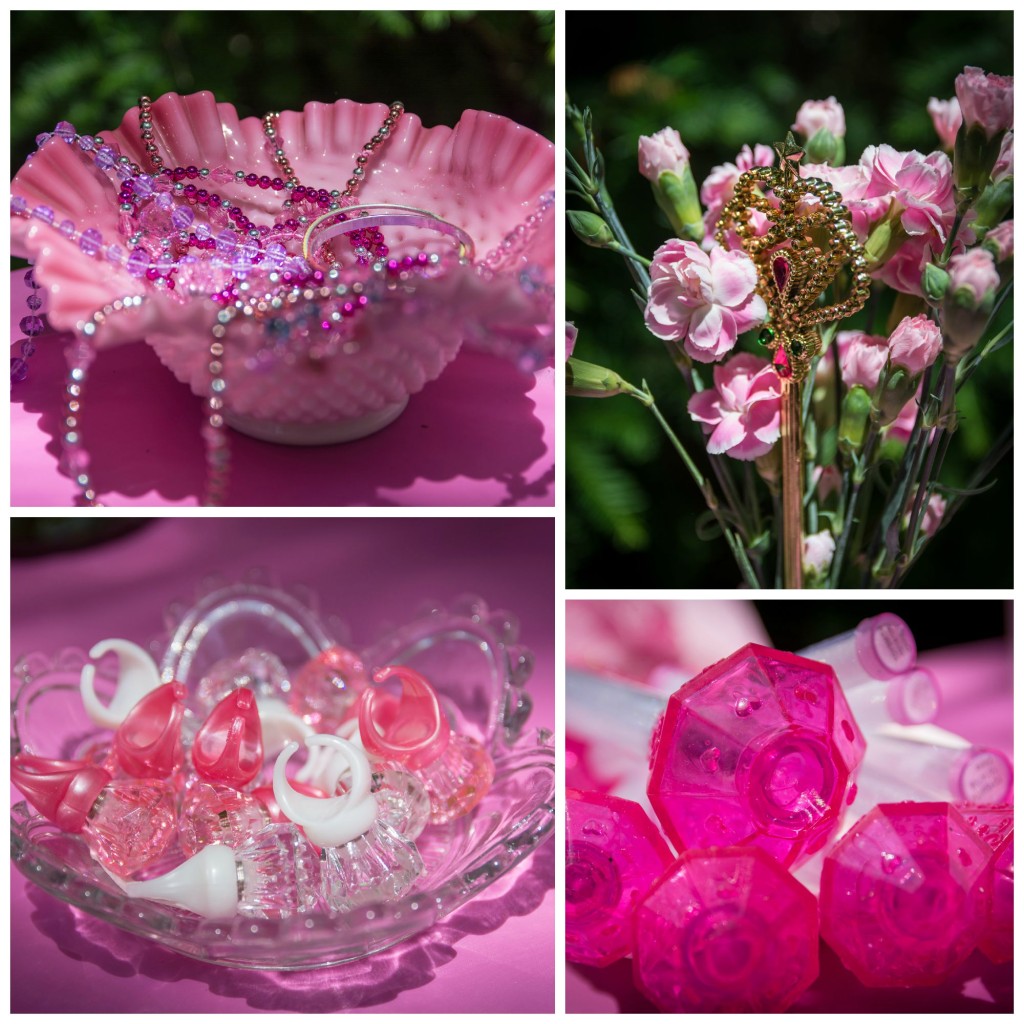
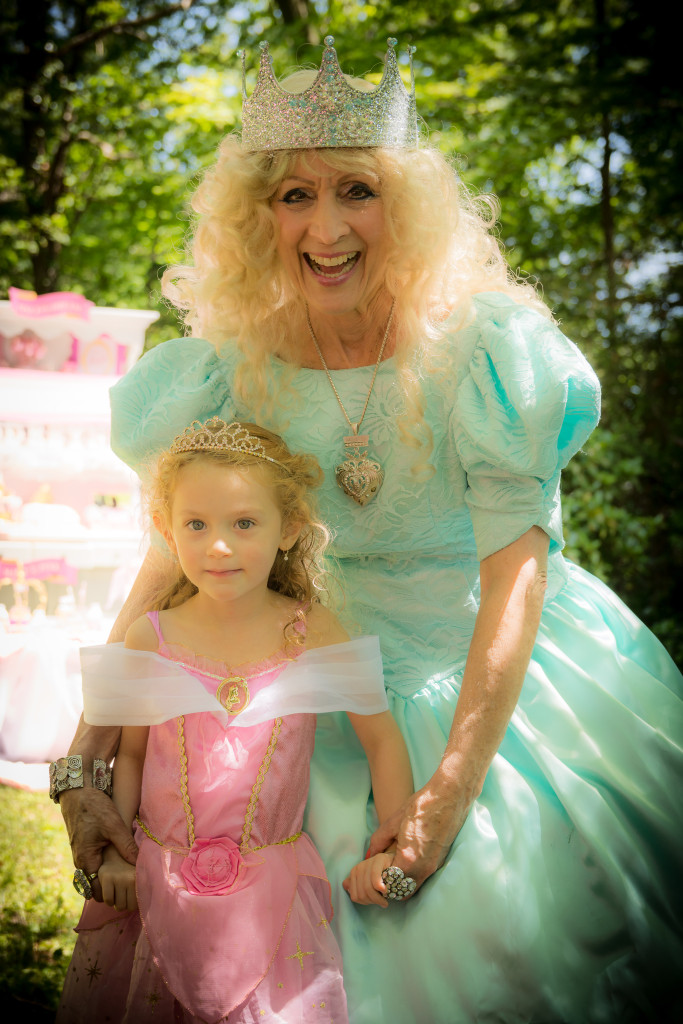
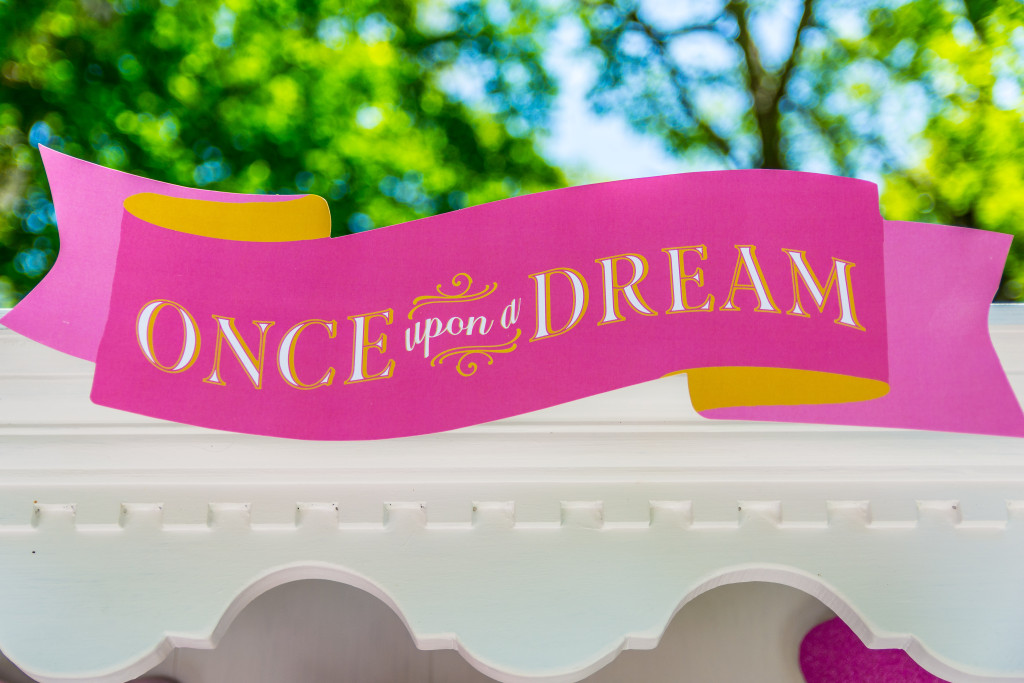
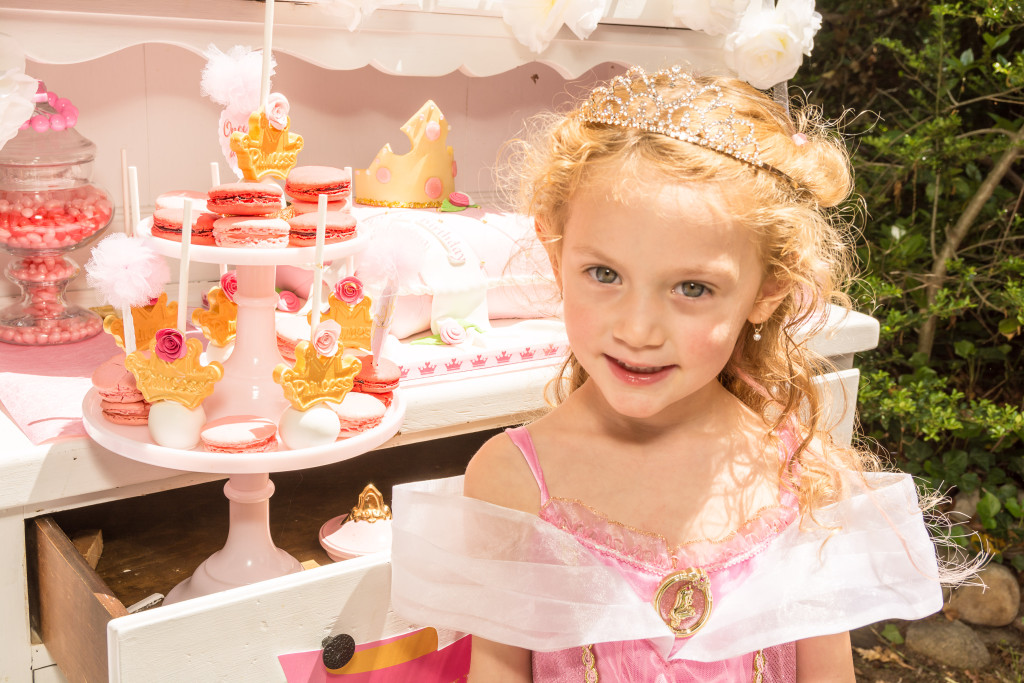
The Princess Dreams…
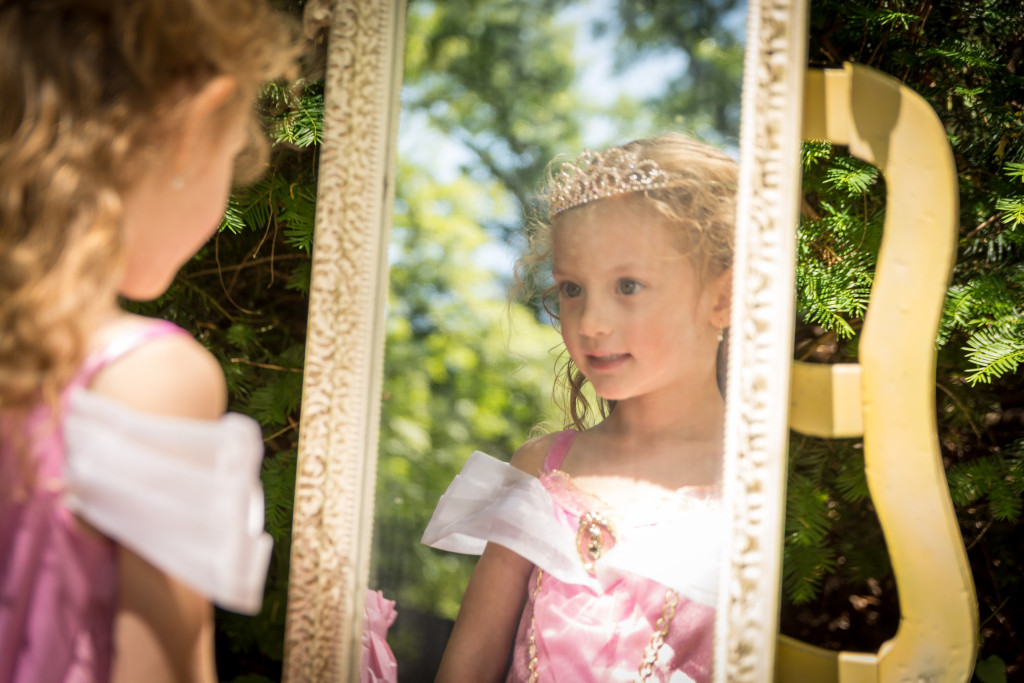
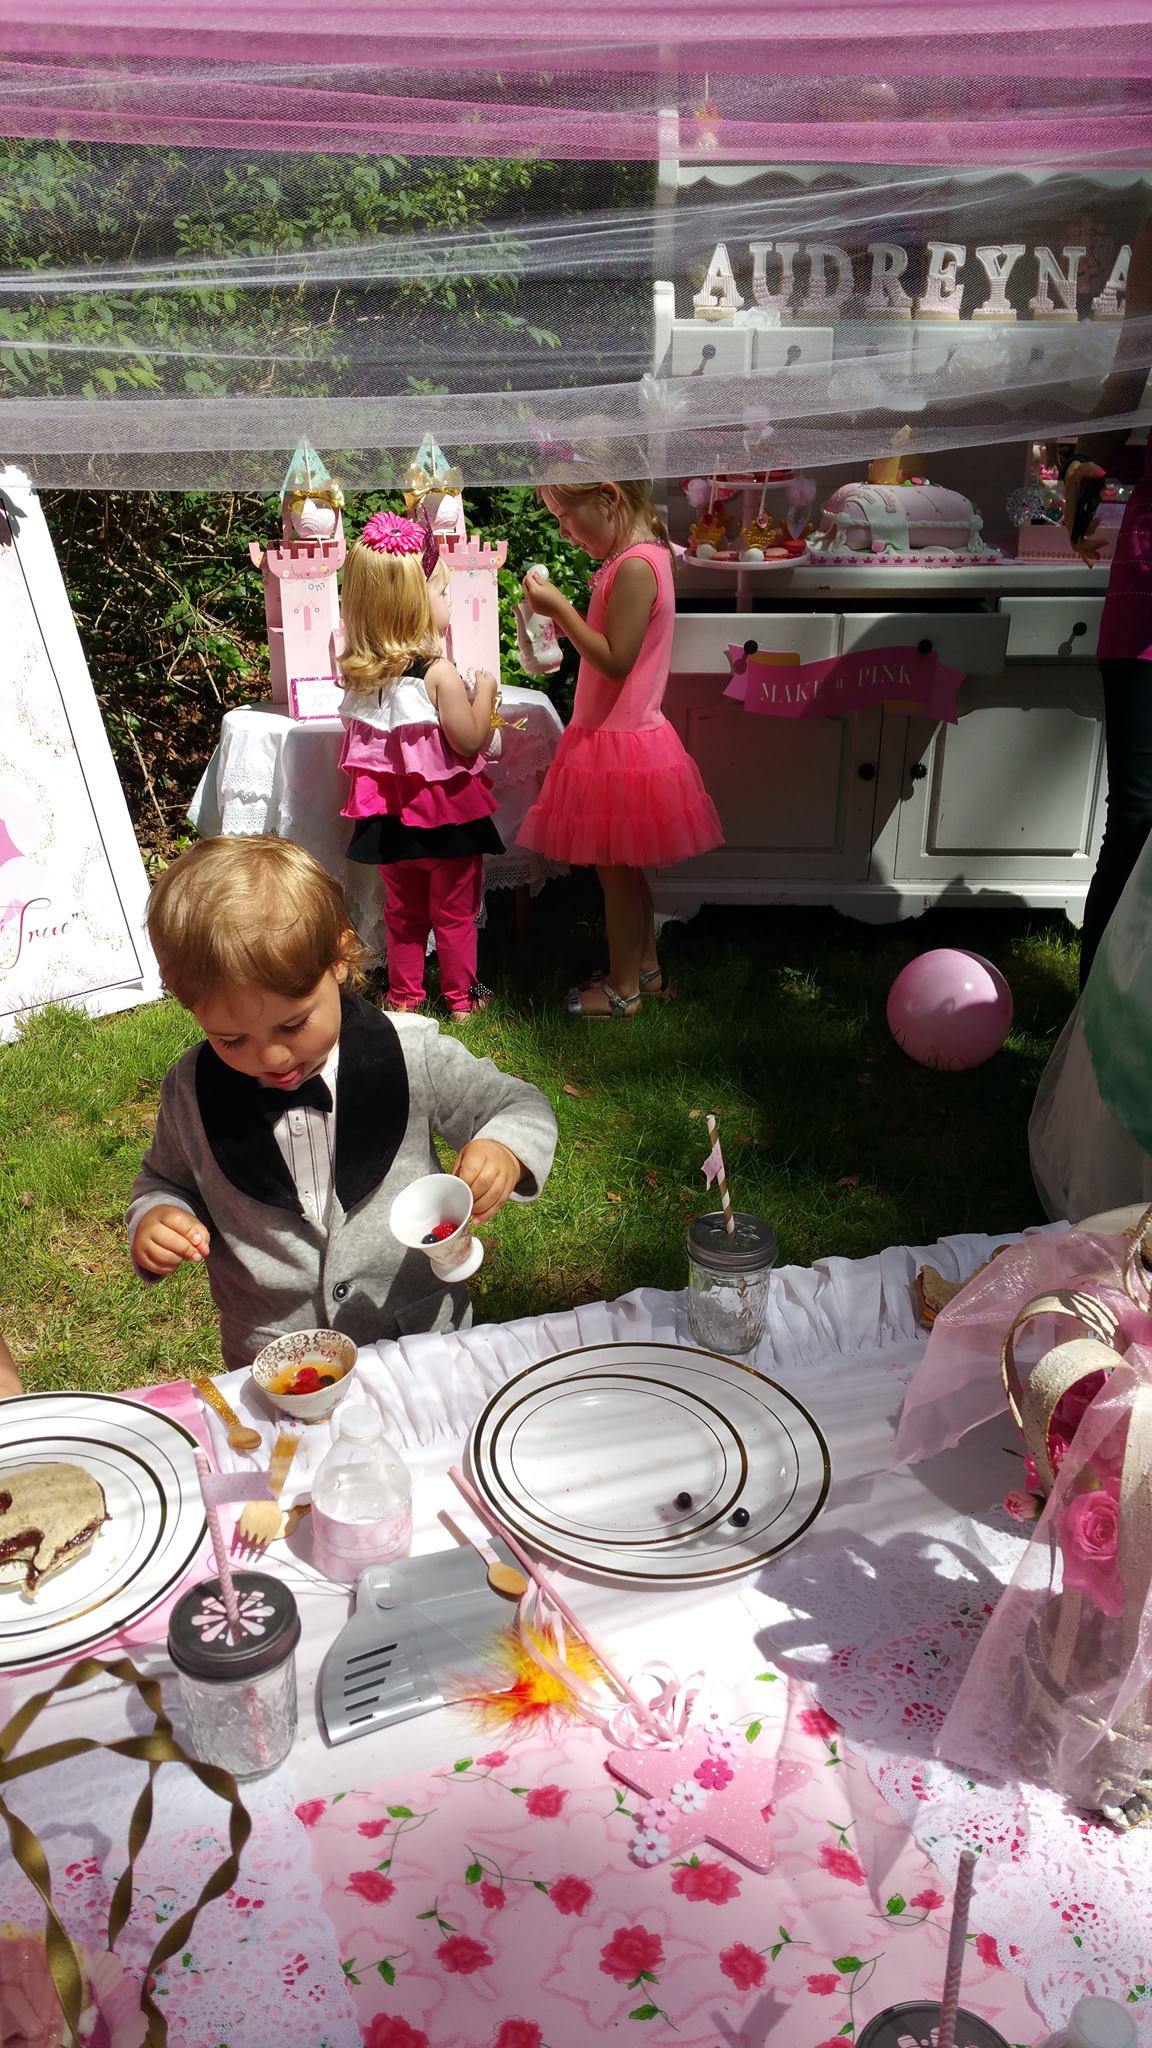
And Mommy makes them come true! Before I knew it the ripe age of FOUR closed in on me pretty quickly, and without further adieu my daughter dictated the theme before I could blink my eyes. Of course it had to be no other than an Aurora Sleeping beauty tea party. The problem: the boys. How was I going to incorporate this event where it could work for both genders? With some deliberation I figured out that I would make it so our list of boys that would be invited will decide if they will be a Prince or a Knight for the day. Problem solved.
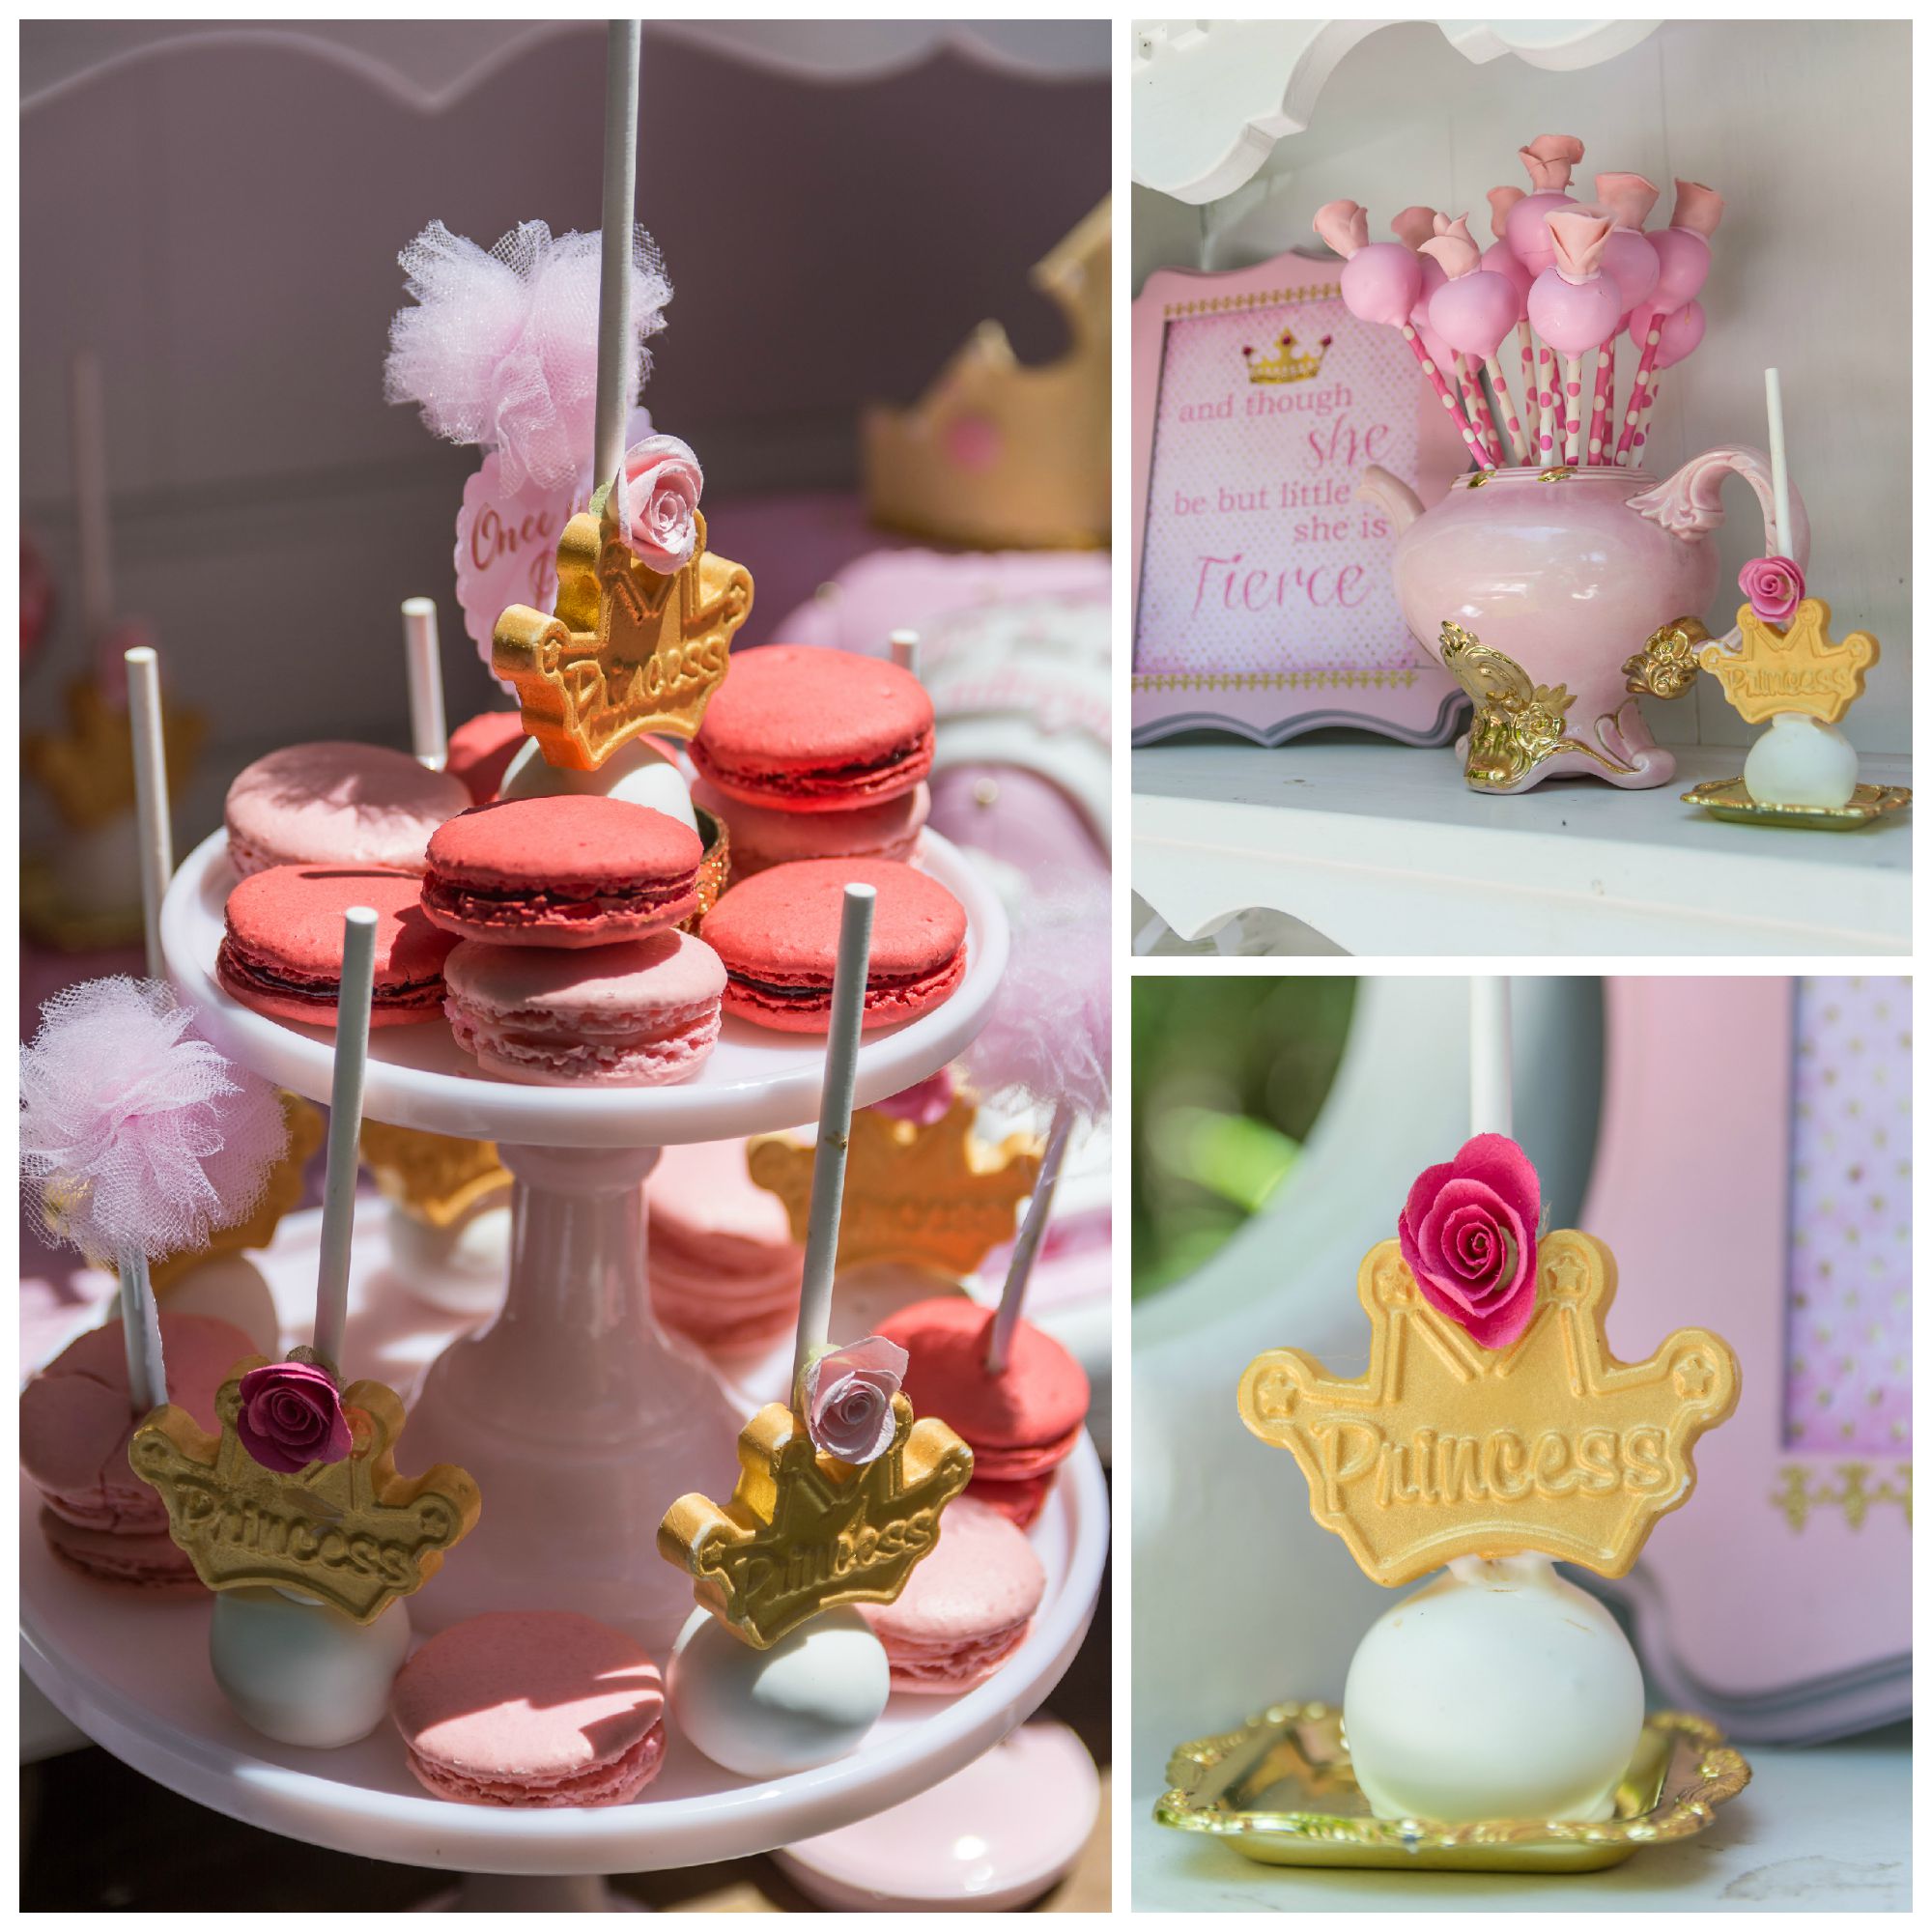
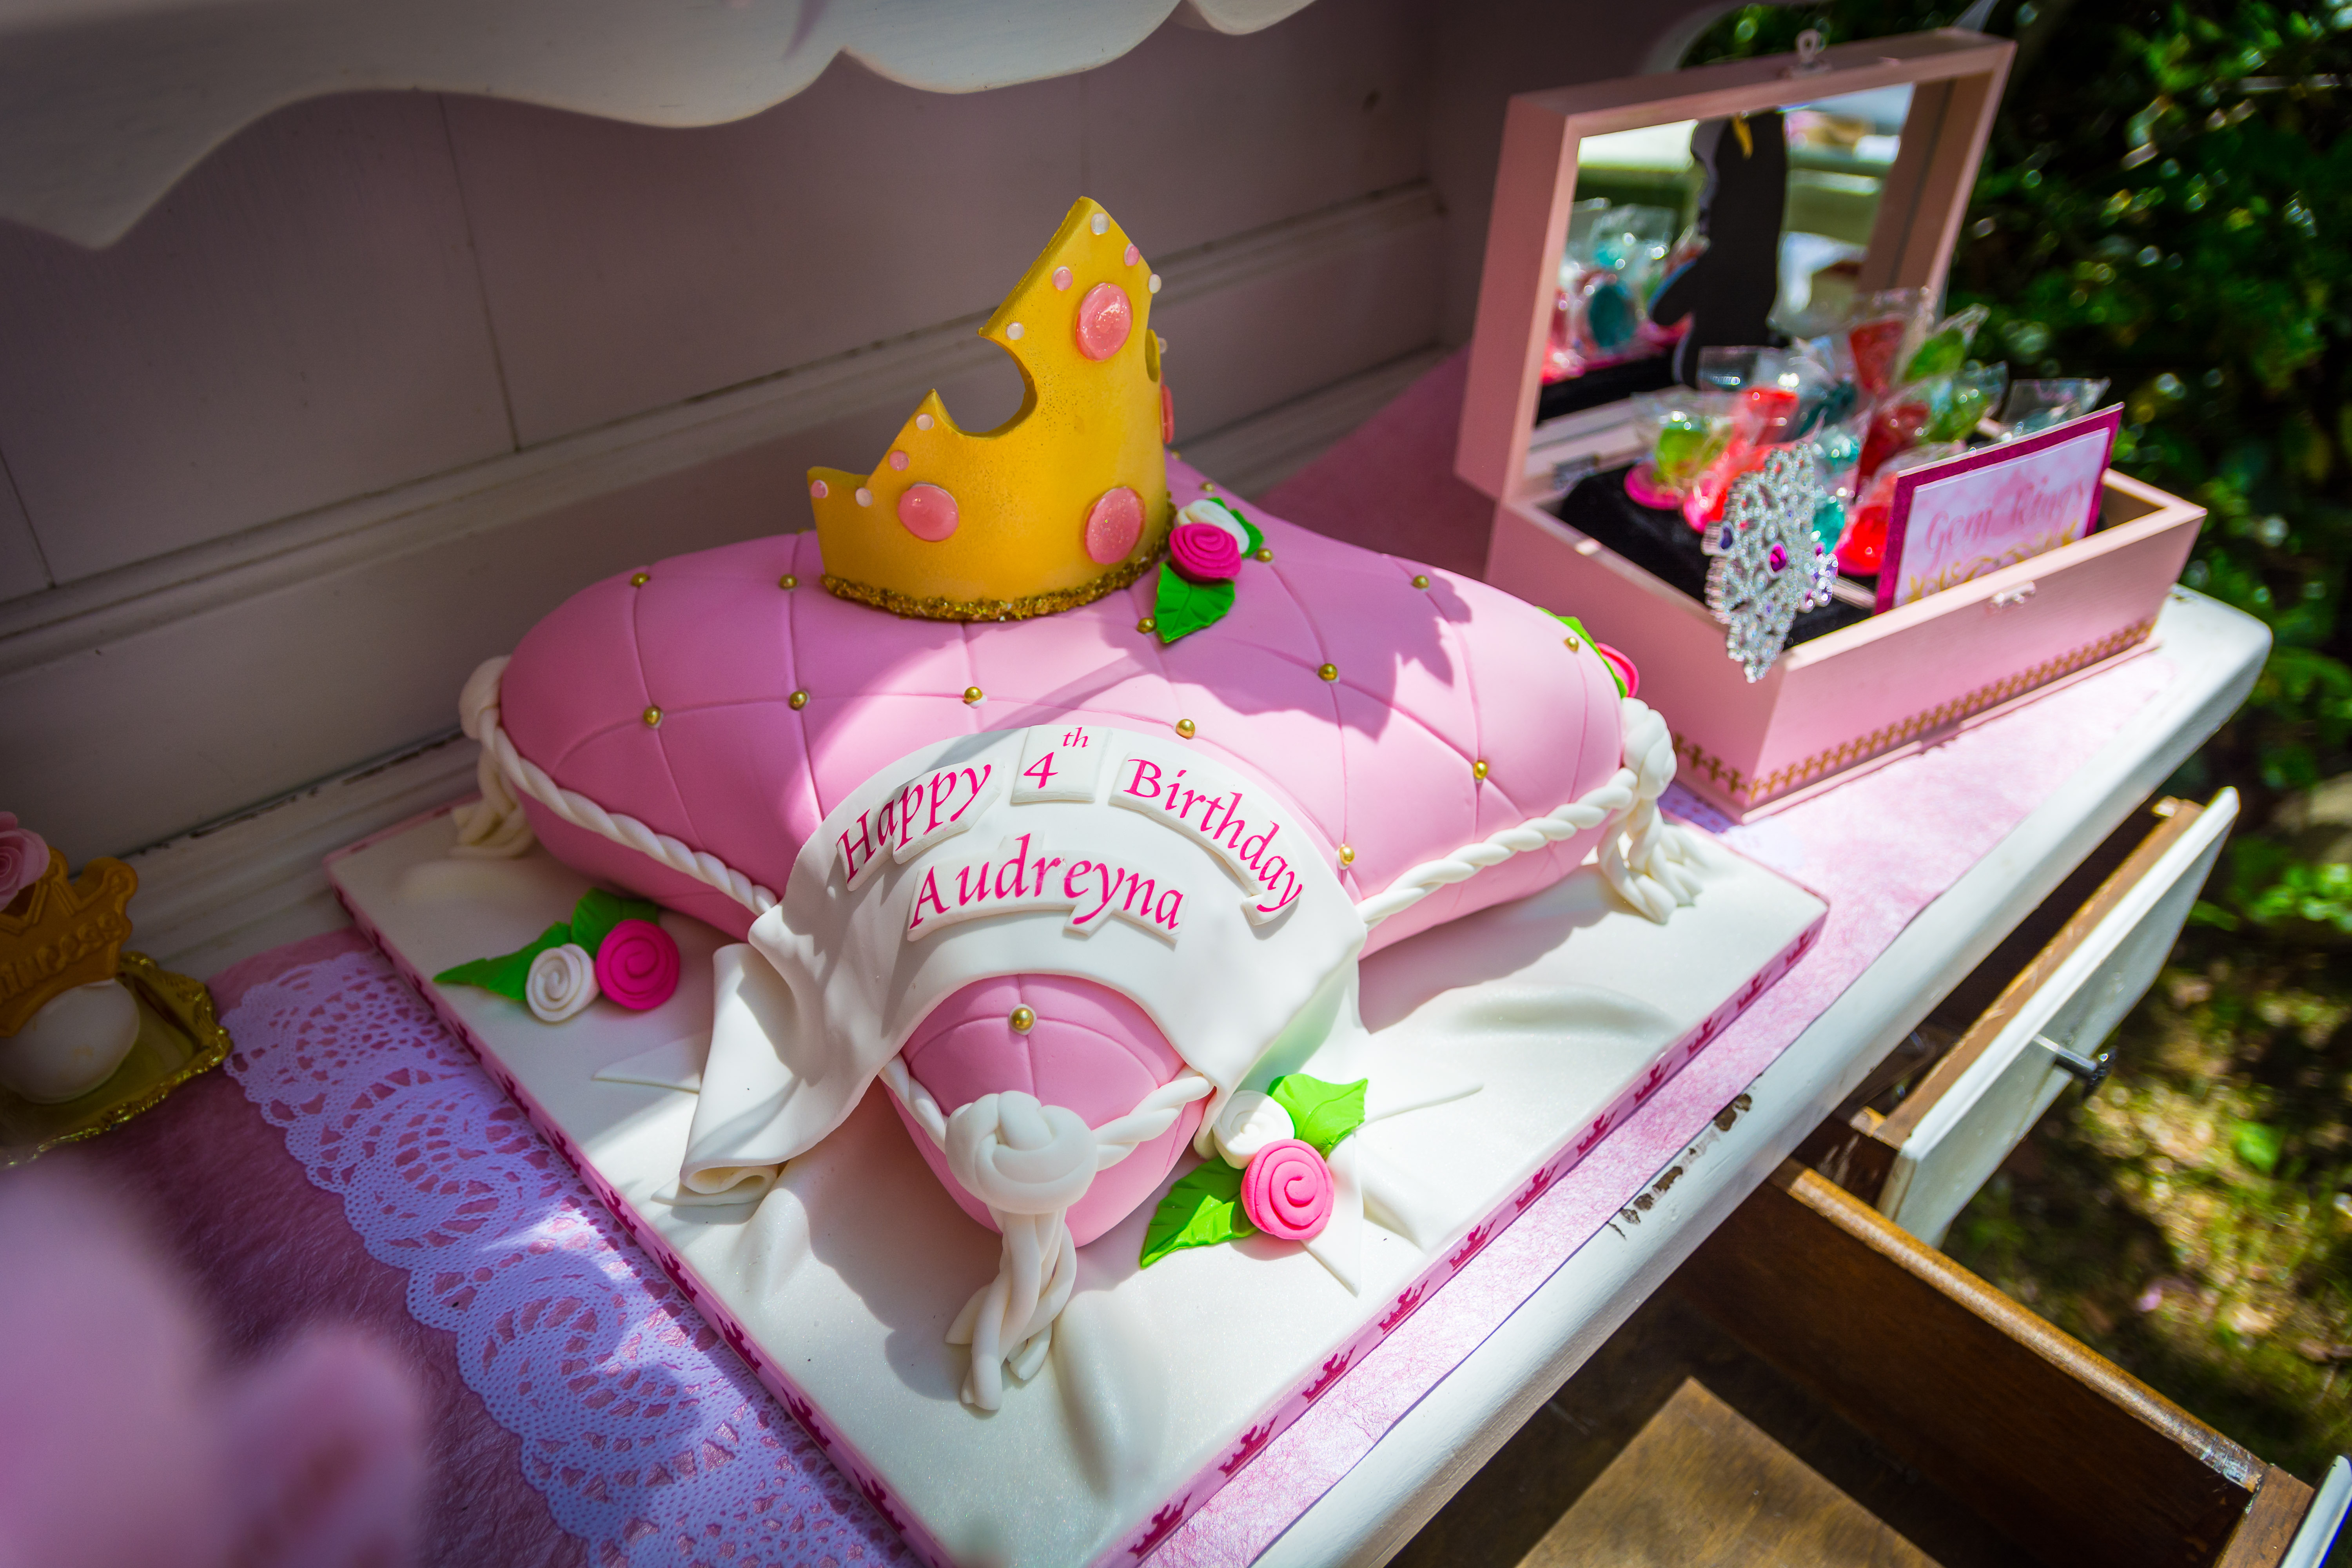
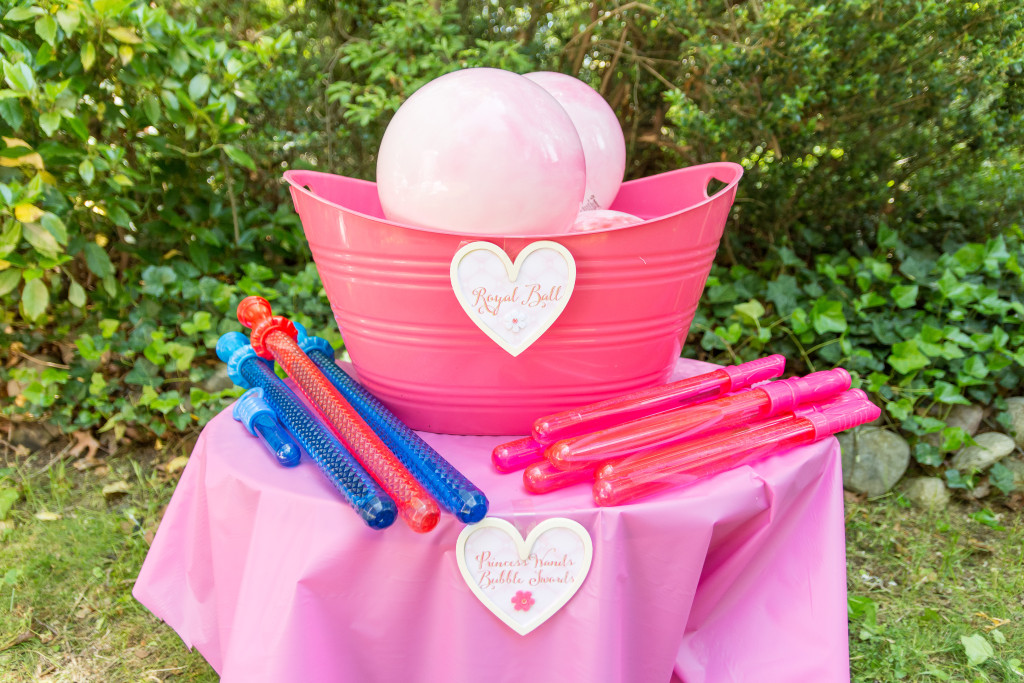
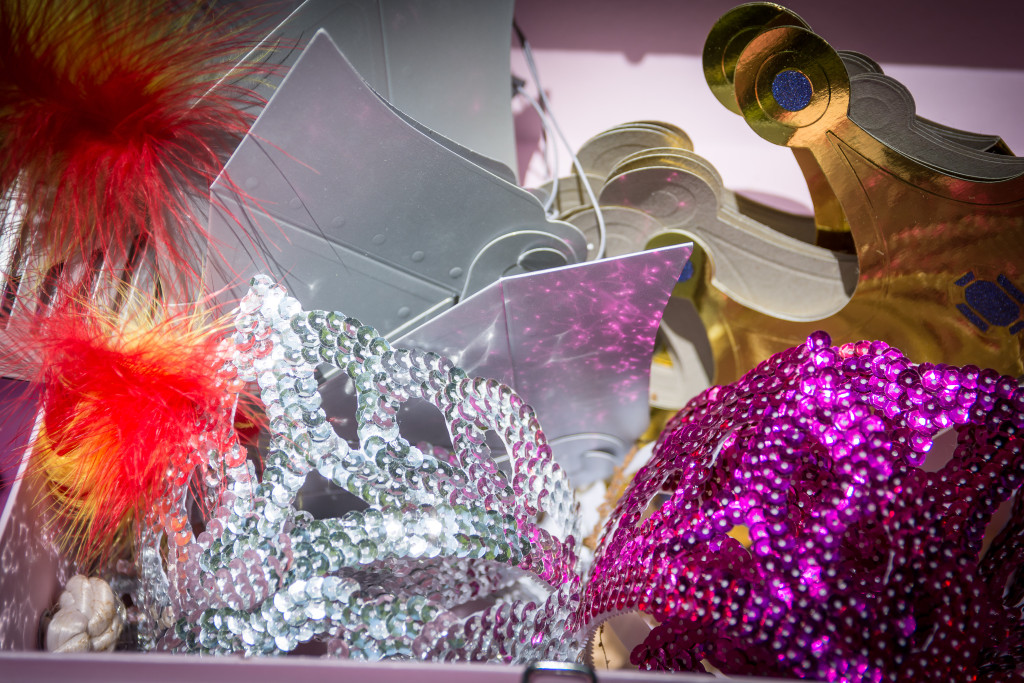
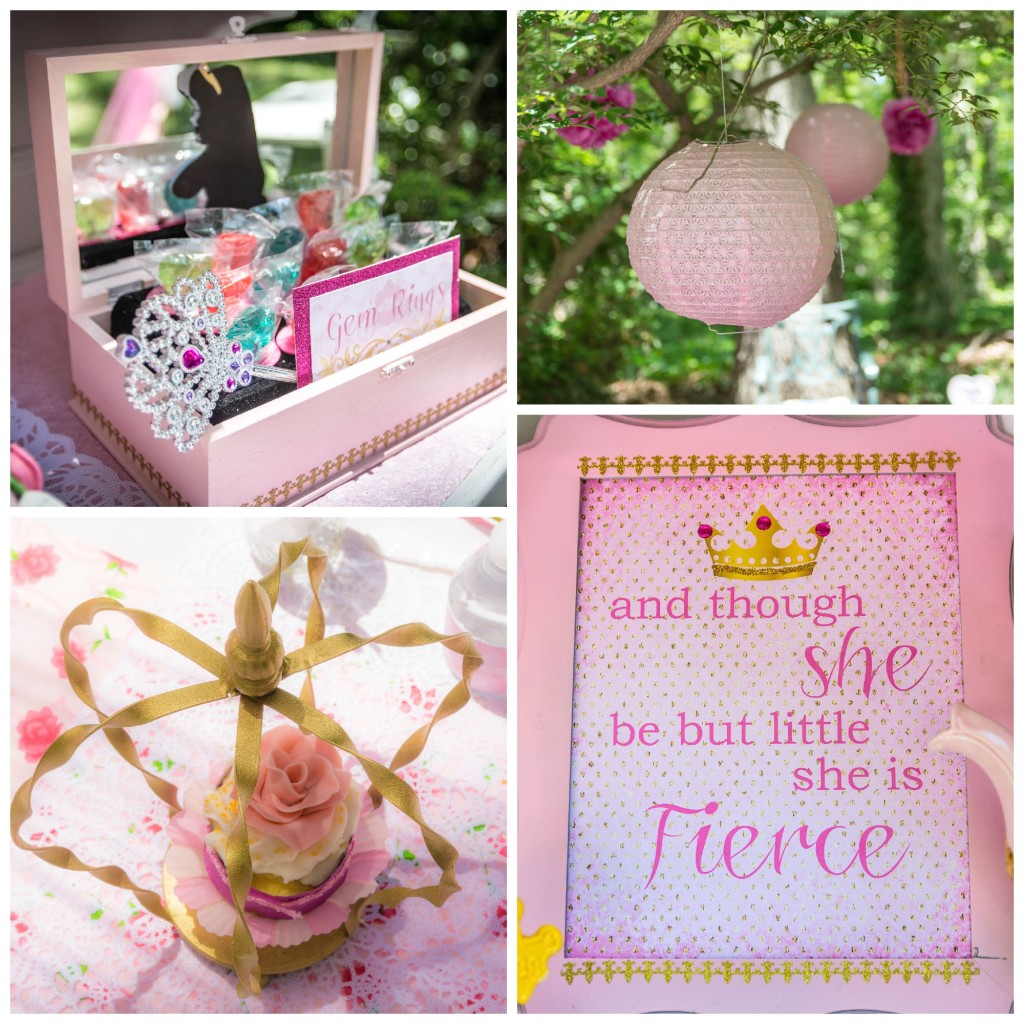
Many fun games like Royal ball and Knight bubbles would keep our little knights and both Prince’s entertained as the girls got dolled up at the Beauty Bar with nothing else but the royal makeup from our latest Disney Trip at the Bippity boppity boo Salon. Each little princess sparkled with jewelry and light up rings and wands that was given. Gems for the face , Tierra’s, Crowns for the Prince and Knight Masks were more of the fun accessories for the day for these little cuties.
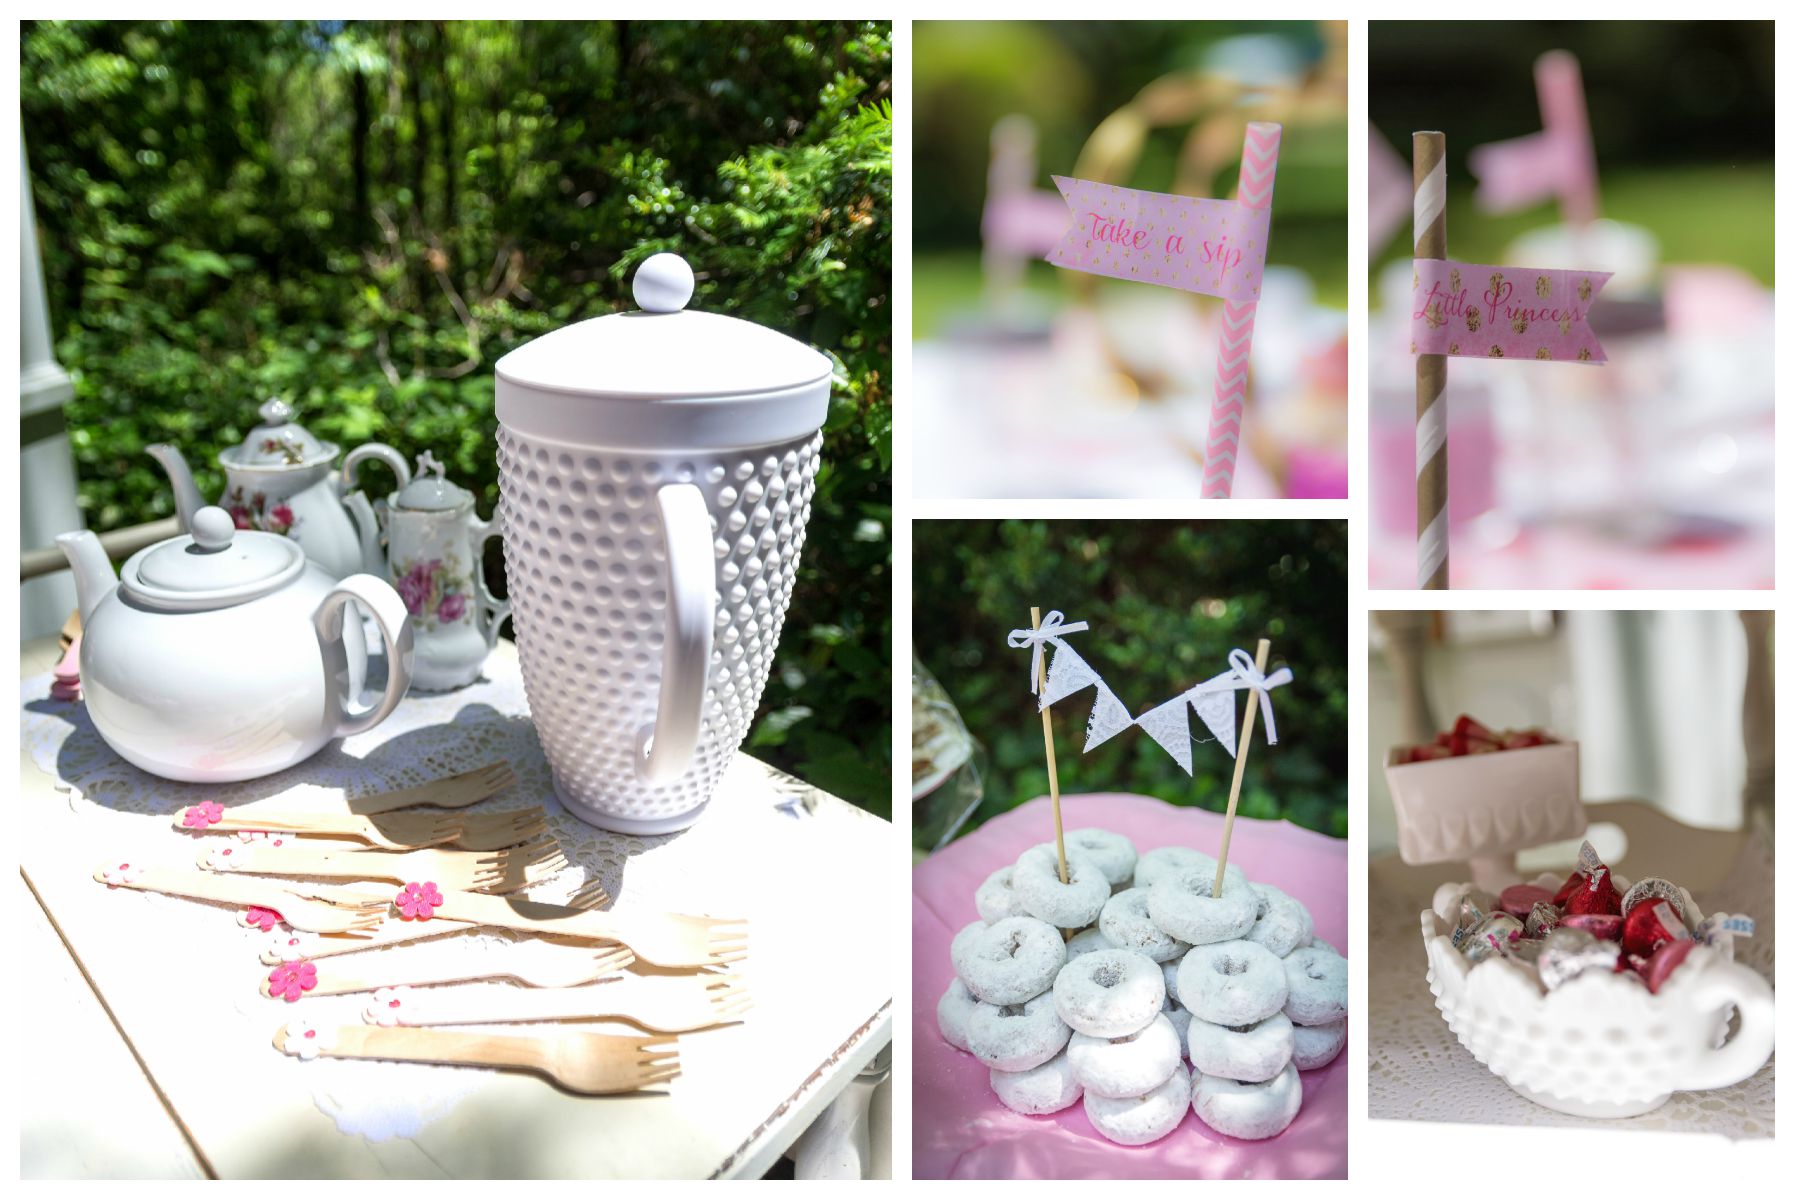
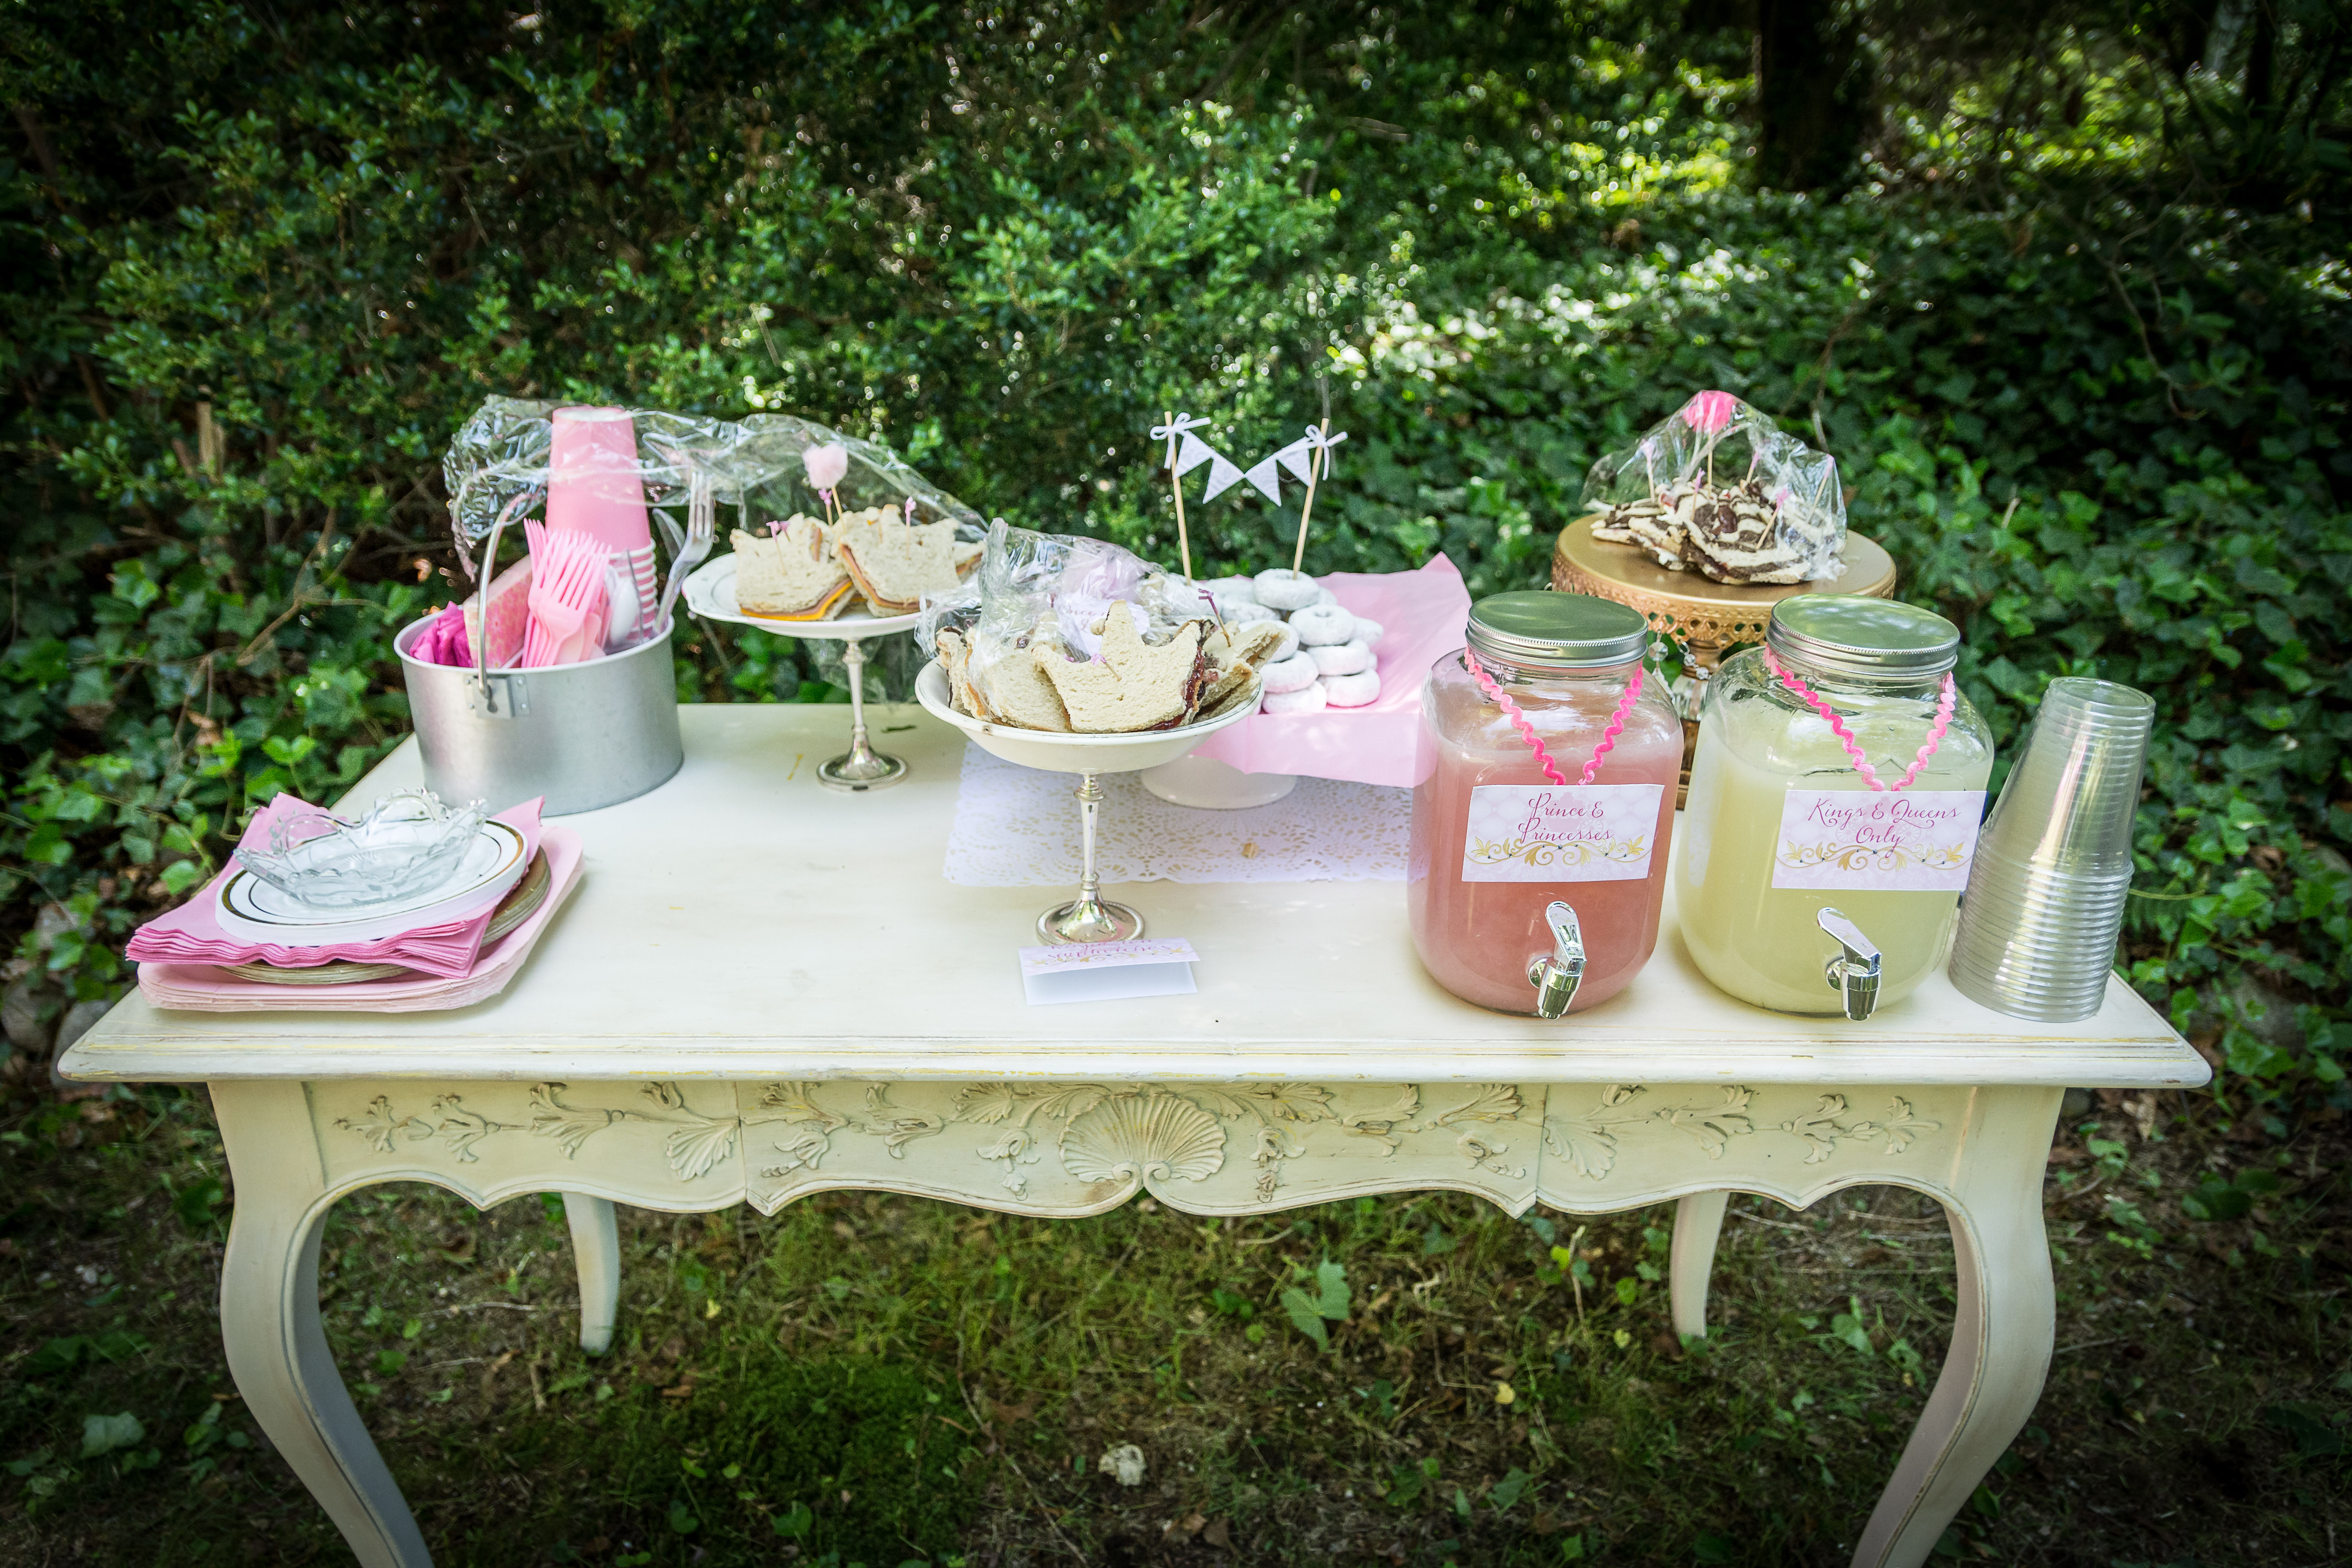
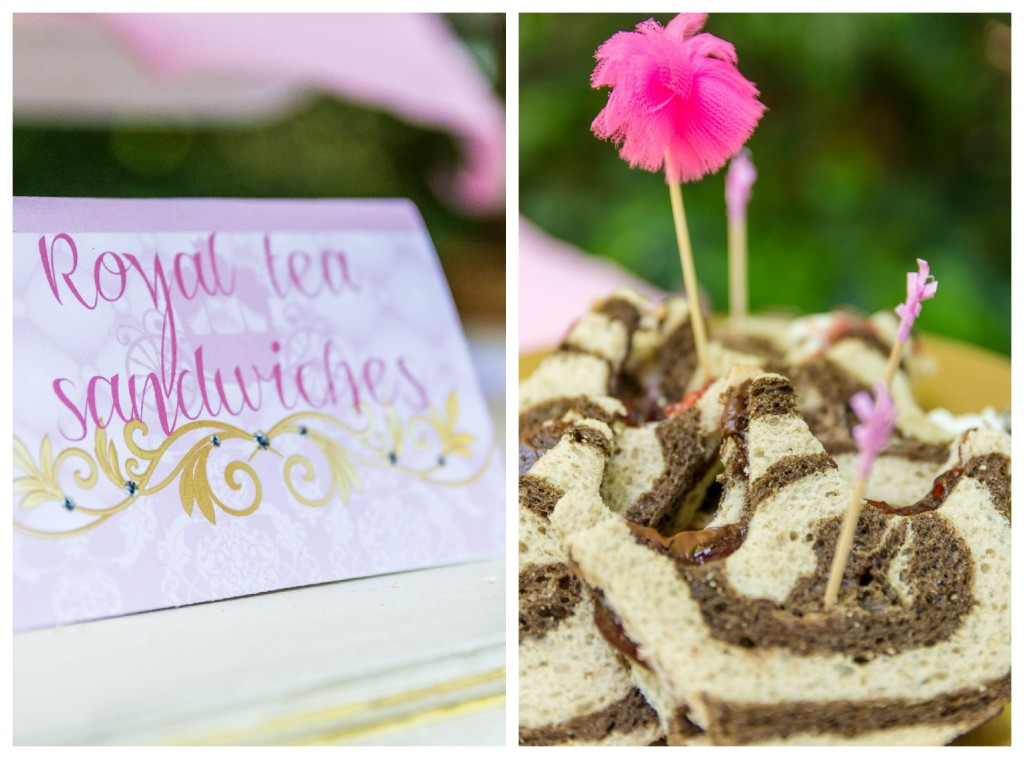
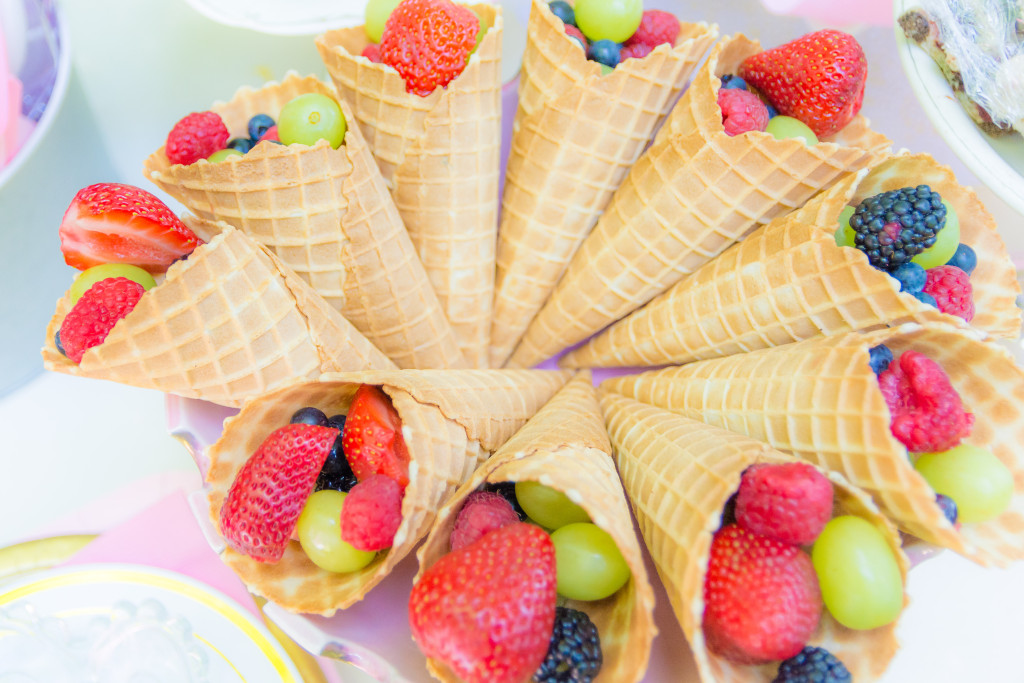
Surprisingly enough the boys even got into pouring the tea and adding fruit into the cups and china plates…

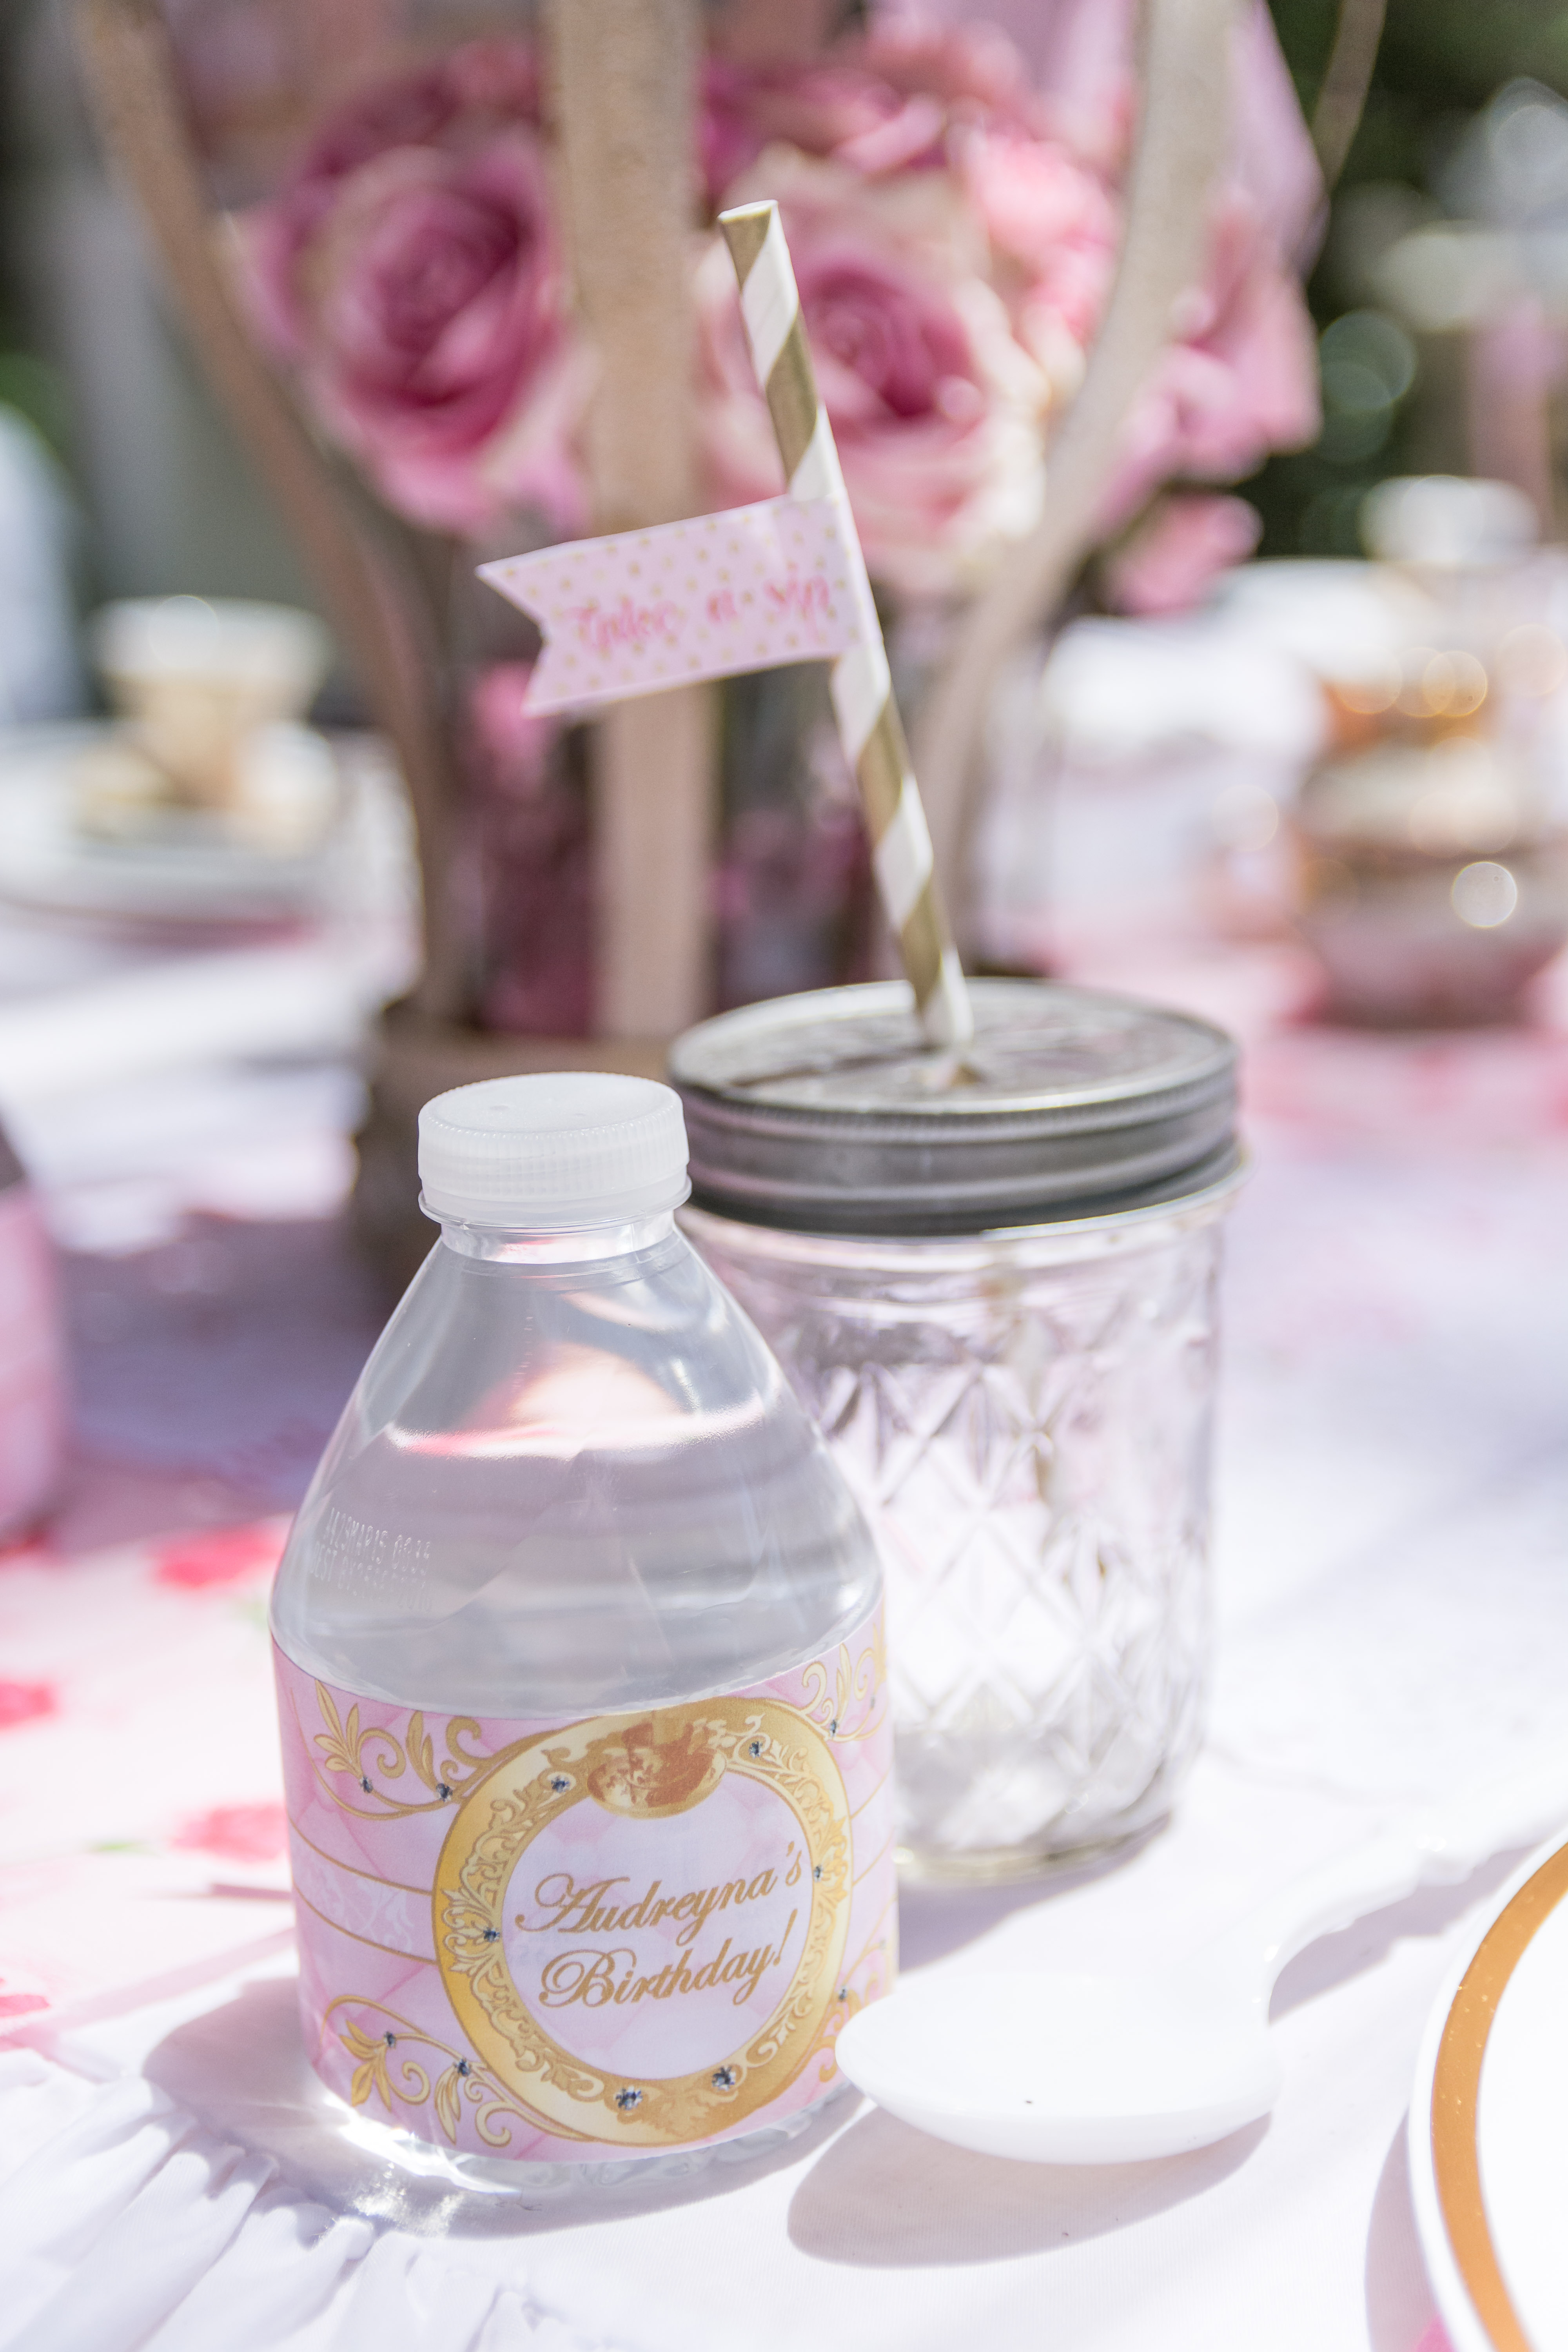
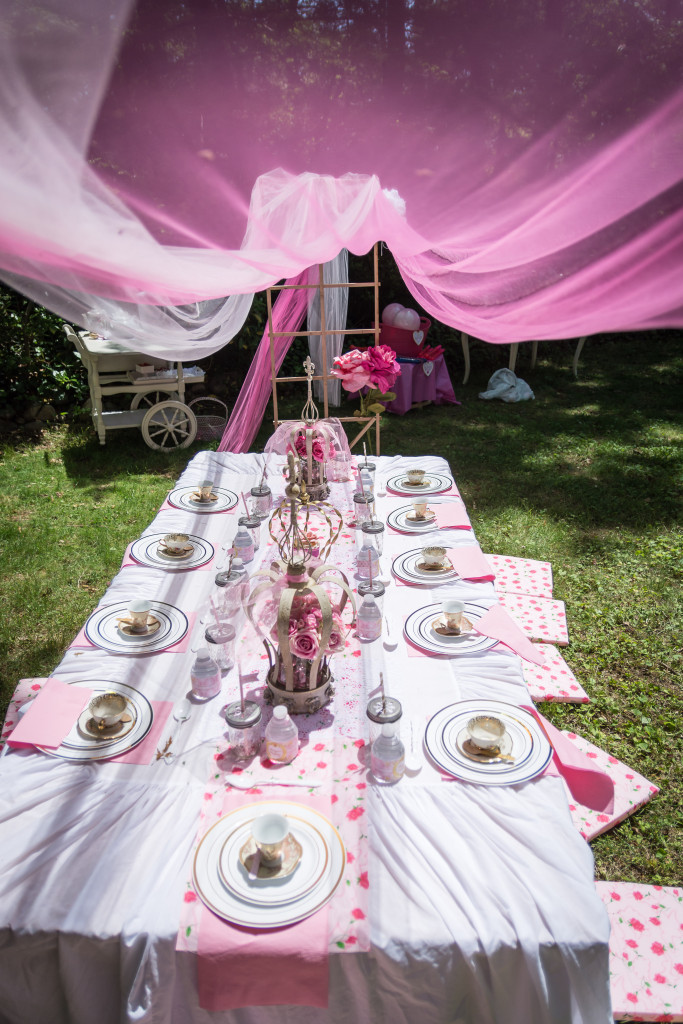
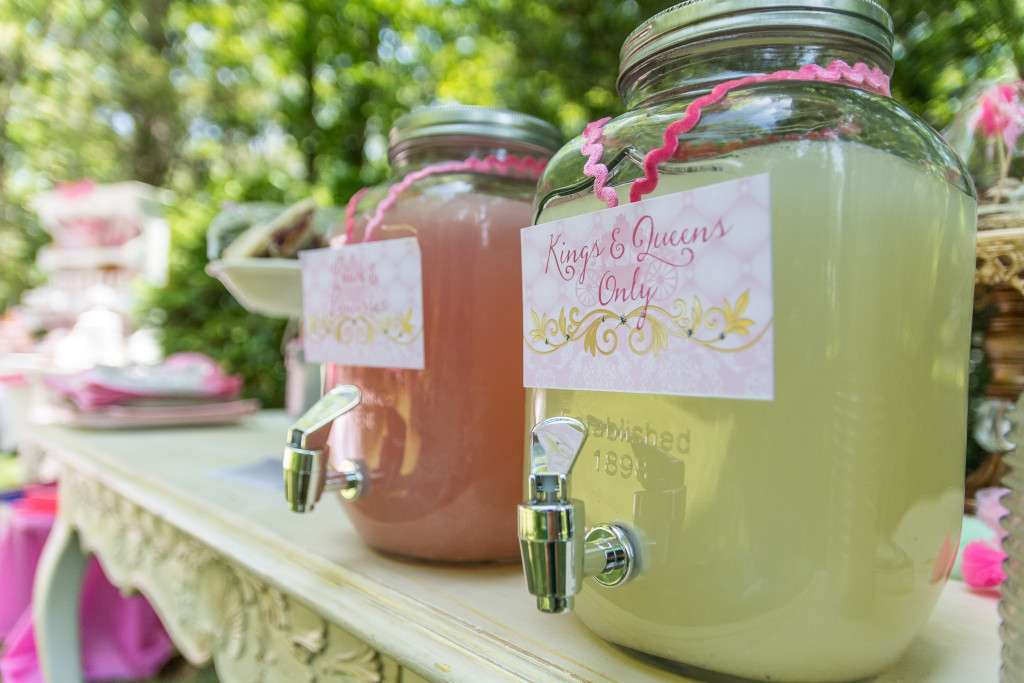
Only Secretly Mommy took a heart attack every time I watched the passing of the tea take place, not because the tea was hot. (No – I am not that stupid, it was all different flavors of organic chamomile iced tea) it was because I bought vintage teacups. My original thought was to buy all mismatched cups I would not care about, but than the control person that I am couldn’t have mismatched colors since my daughter insisted on “MAKE IT PINK”!
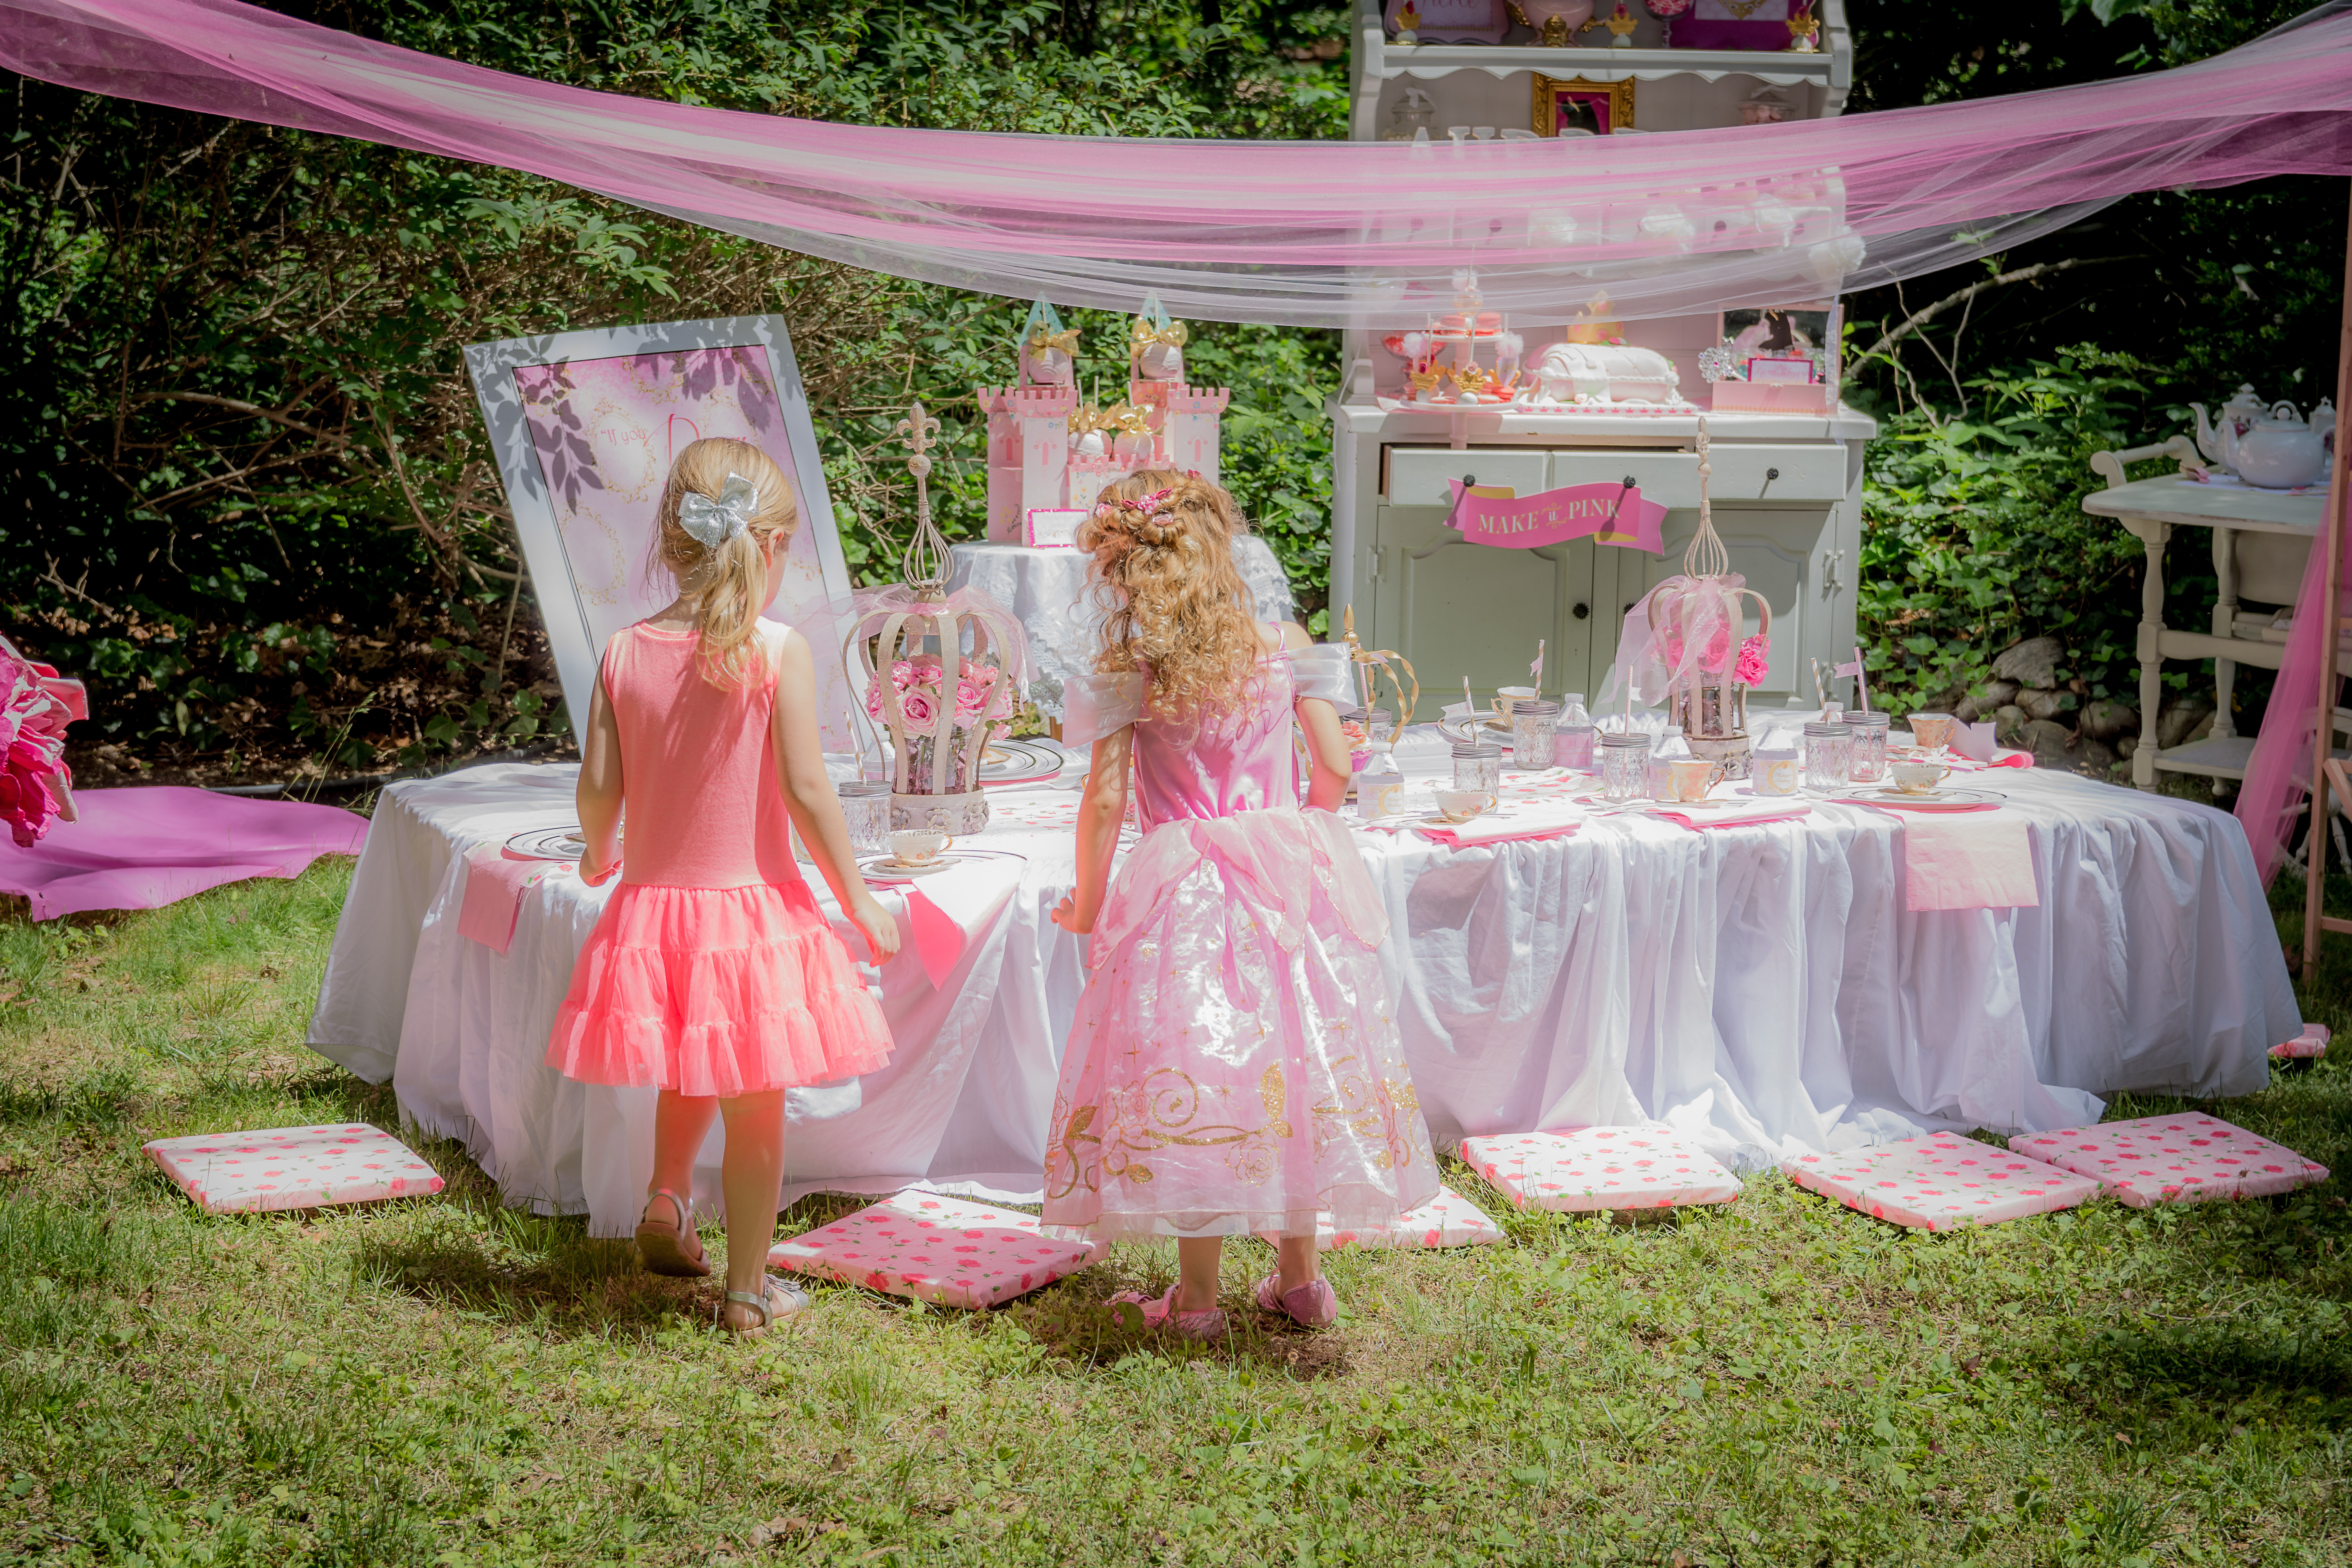
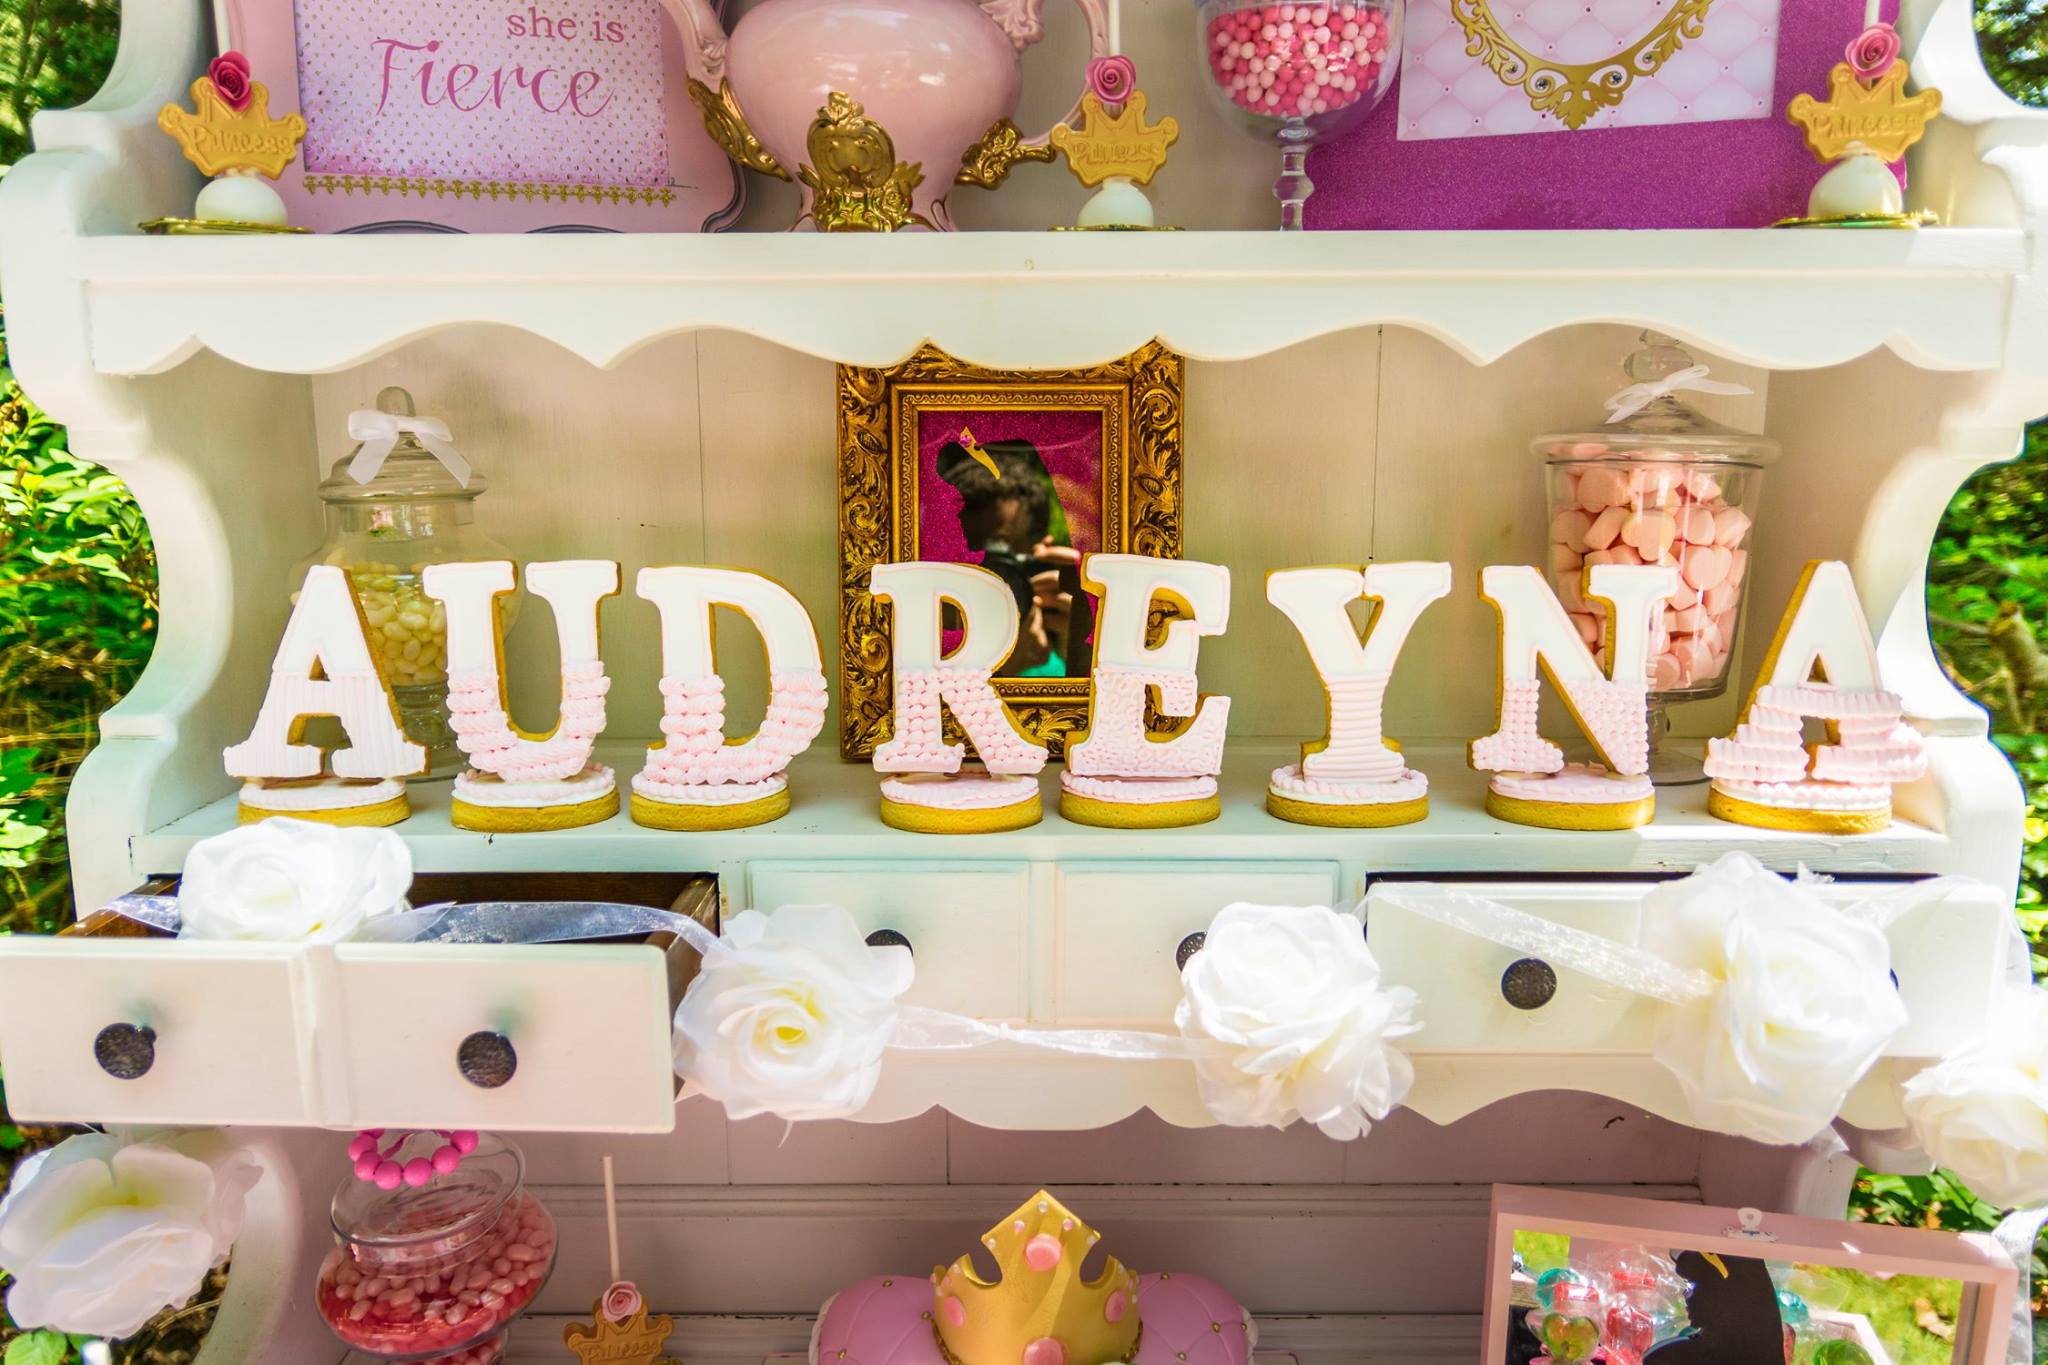
Everything for the event had to be shades of pink, “no blue allowed”, said the Birthday Princess. Such high opinions for such a little age don’t cha’ think? 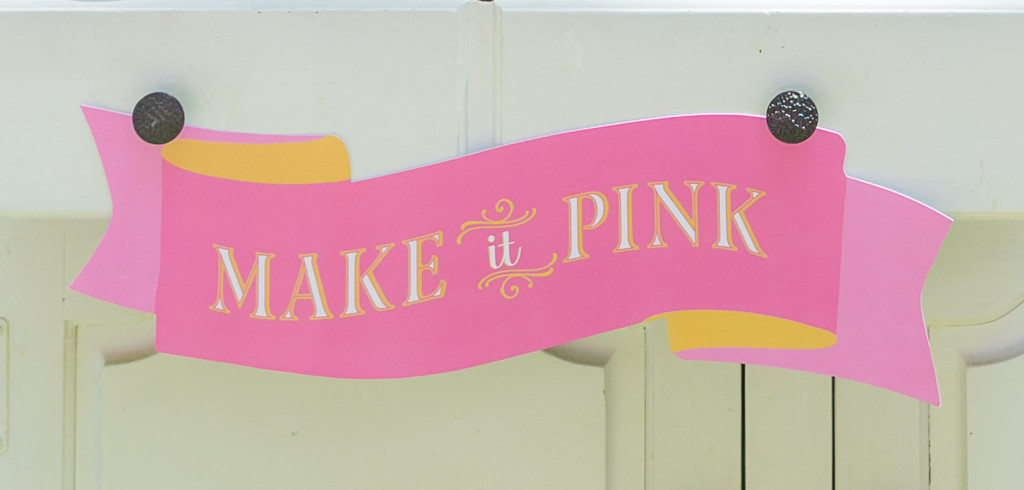
So the purchase of the Vintage china tea set happened at a local tag sale.
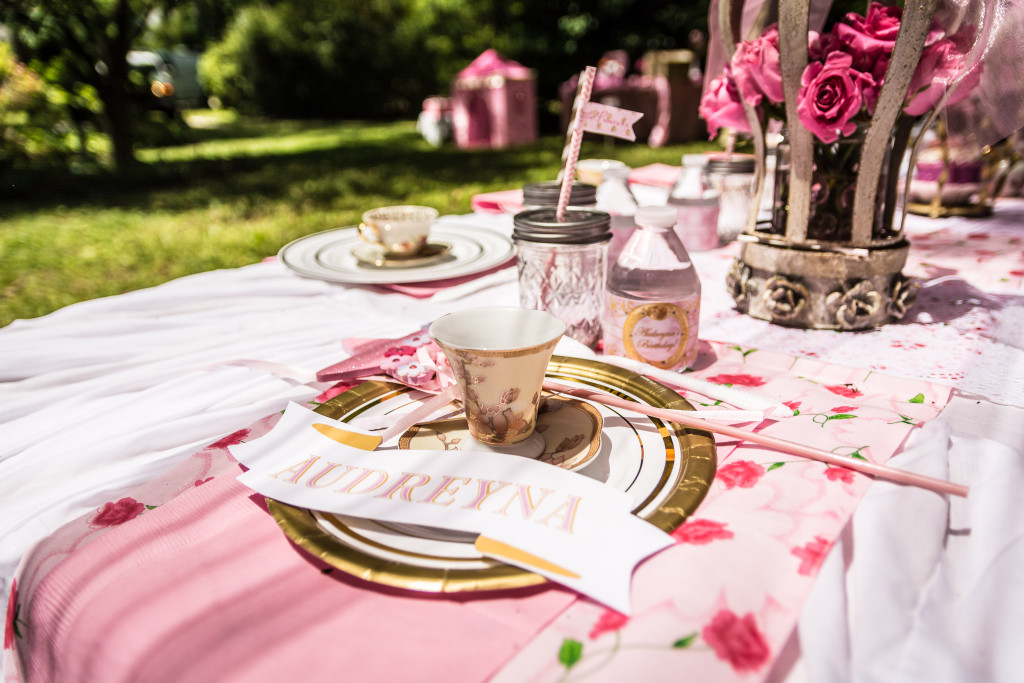
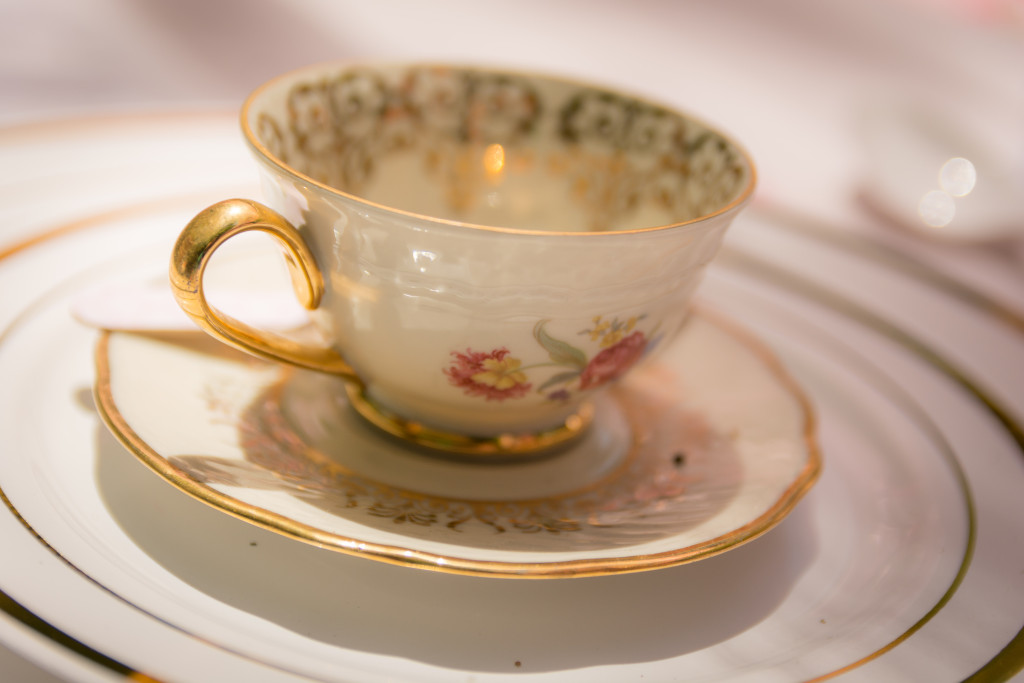
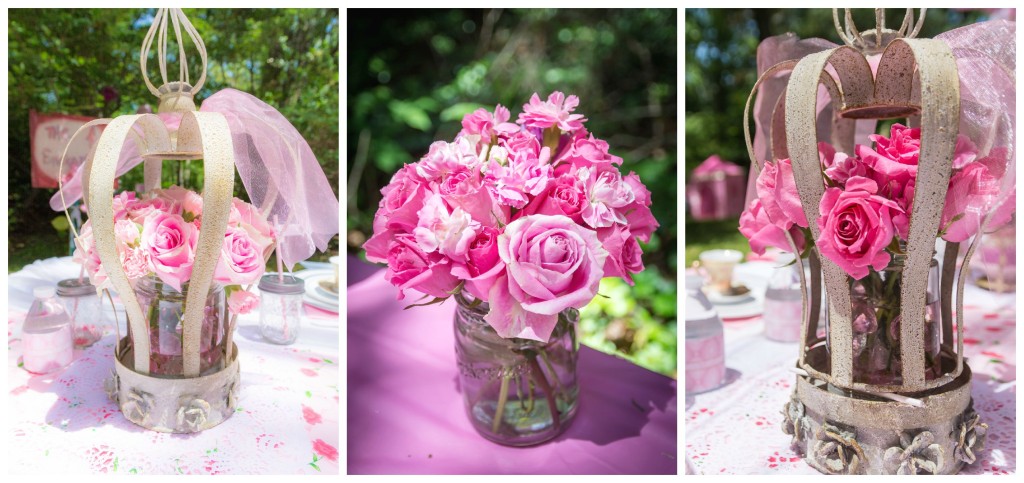
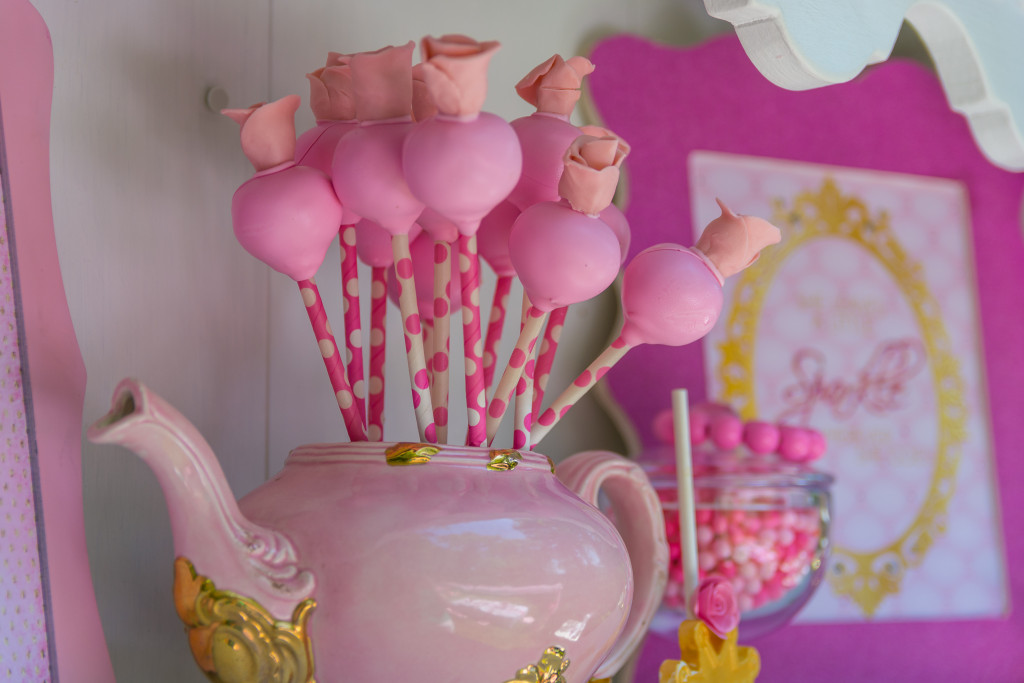
The set I got lucky to stumble across had lovely dark pink roses and gold trim. It seemed so fitting since Sleeping Beauty’s nick name is ‘Rose’ – mixed and matched also with a light pink and gold demitasse set that I was so lucky to acquire from a beautiful bridal shower I attended some years ago. Accented with a pretty pink runner with a rose print and cushions to match was a last minute touch in the fabric store’s scrap isle.


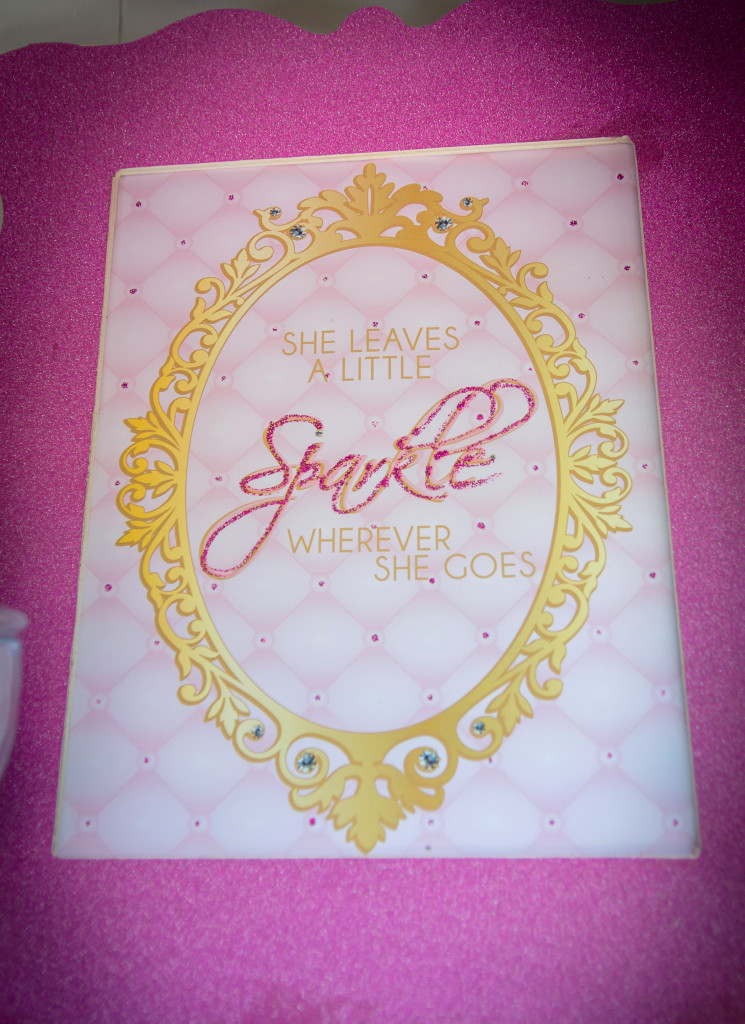
I thoroughly enjoyed putting this princess tea party together . It really was a perfect fit for our little sleeping beauty and nothing was more gratifying watching the reaction of our Birthday Princess upon arrival along with all of her friends as they took in all the details of this Enchanted Princess Tea Party. The mini table that my Husband and Father put together the night before was a perfect fit to sit and sip tea on the rose DIY cushions.

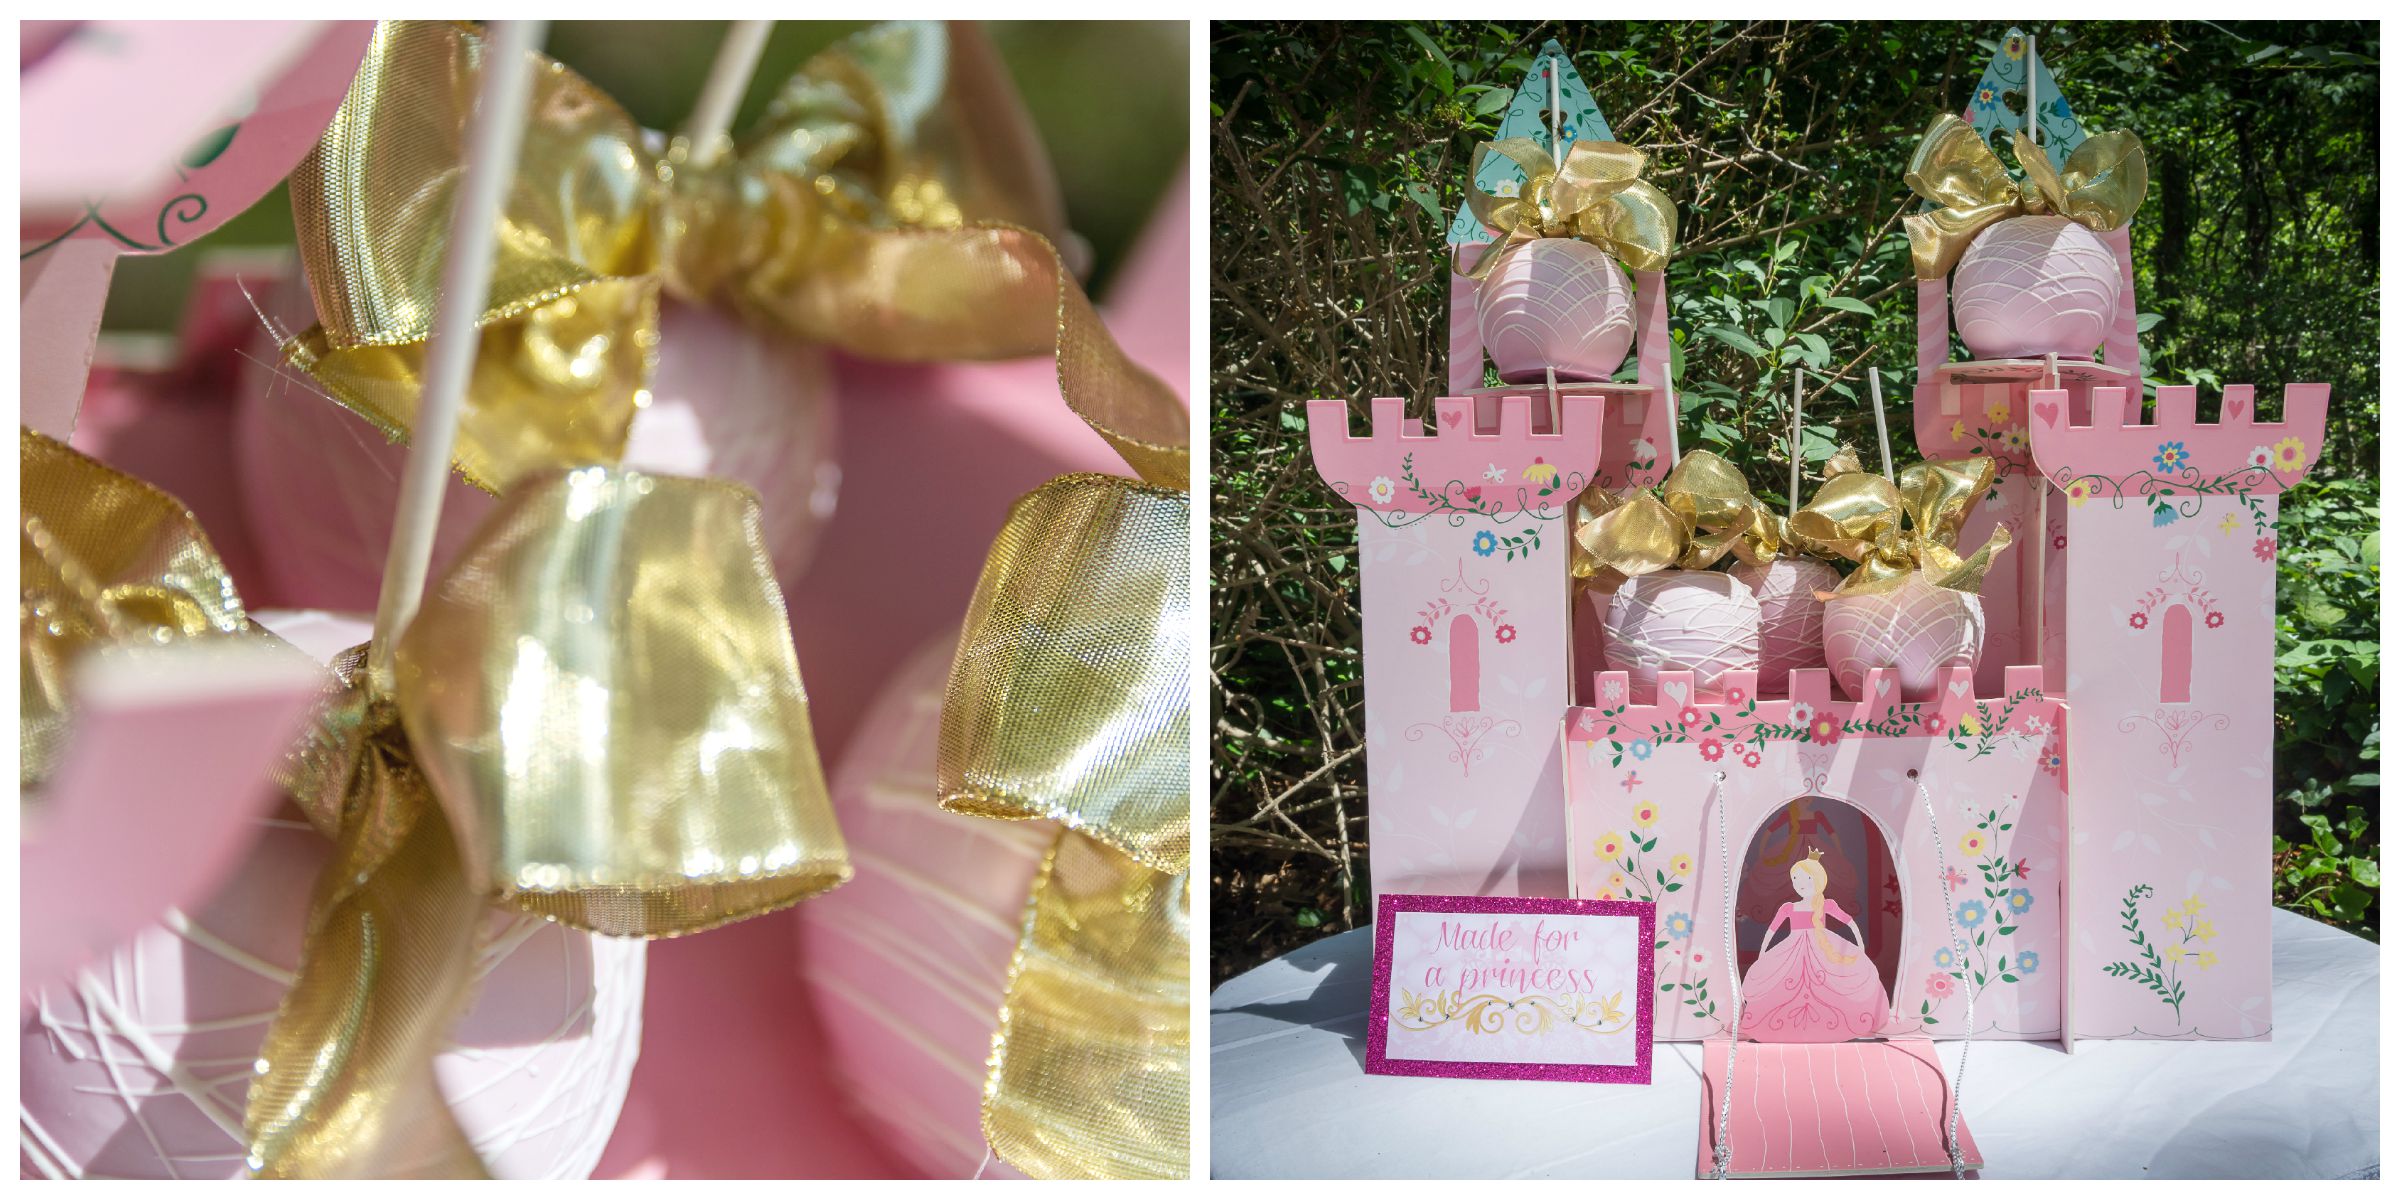
Party Highlights: Slipper Tea Cup Relay, Sand Castle Necklace Crafting
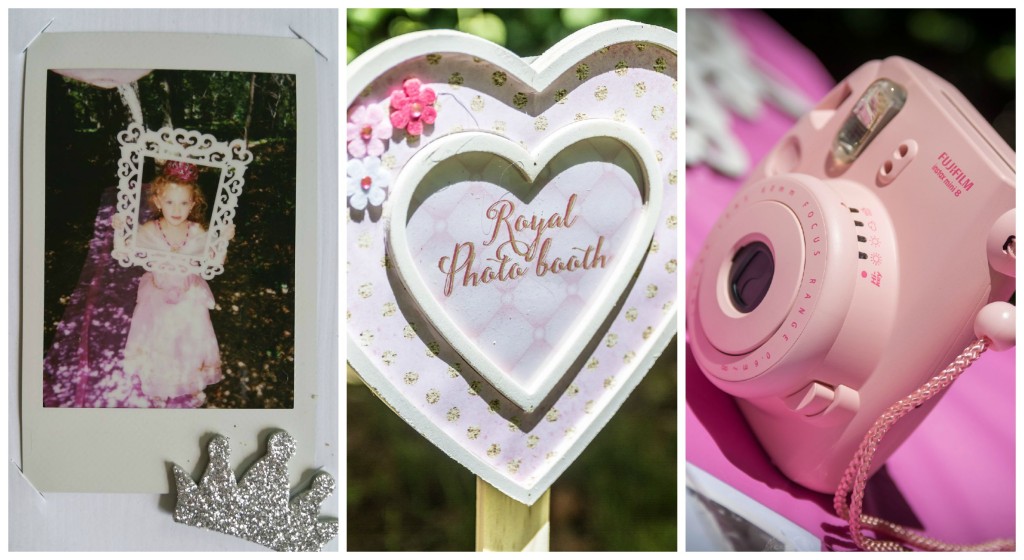
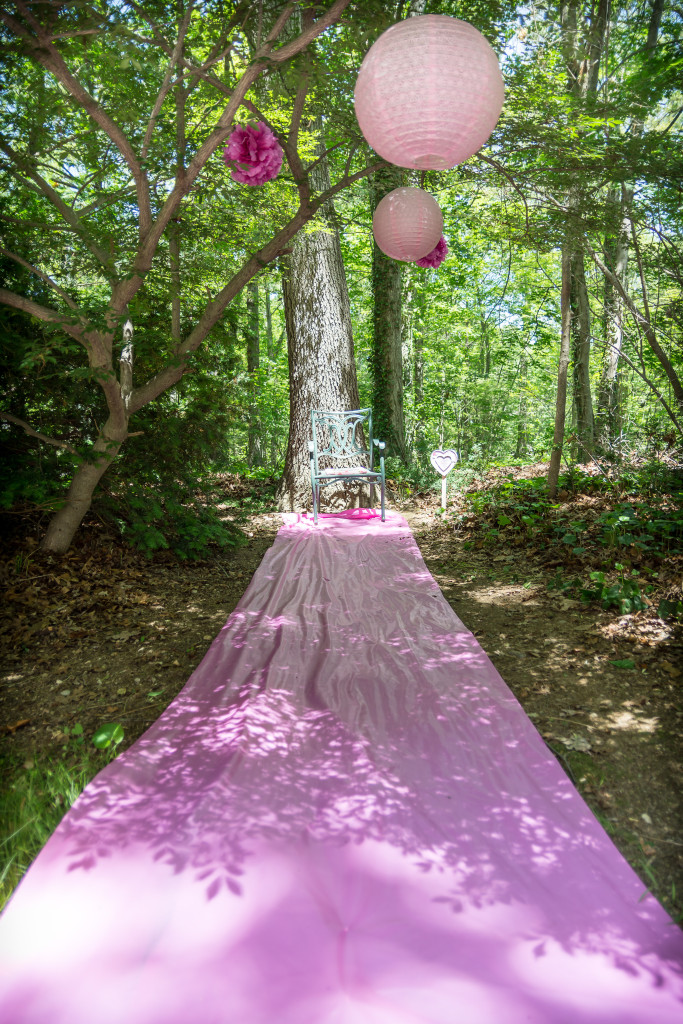
Royal Photo booth and a Fairy Godmother who told Story time in the Enchanted Woods.


“If you dream a thing more than once it’s sure to come true” ~ Aurora
VENDOR CREDITS:
– event design, planning & styling: dear jeni
– name sugar cookie, cake pops, candy apples & cupcakes: Rhapsody Cakes
-cake: Shari Rosenblatt
-graphic art: Metro Events
-signs , name banner & custom stickers: Loralee Lewis
-gold dessert tray frames: Maison du Bonbon
-flowers: dearjeni
-macarons & sugar cones: Rocking horse
-I am a Princess Centerpiece: Meri Meri
-Photography: Kelvin Light Photography


 .
.