I ran across some adorable crayon melt projects. Truthfully, I had a hard time deciding which project we would attempt from social media sites like pinterest, facebook and youtube. After much deliberation I finally made my decision and we used this one here. From Katarina’s Paperie.
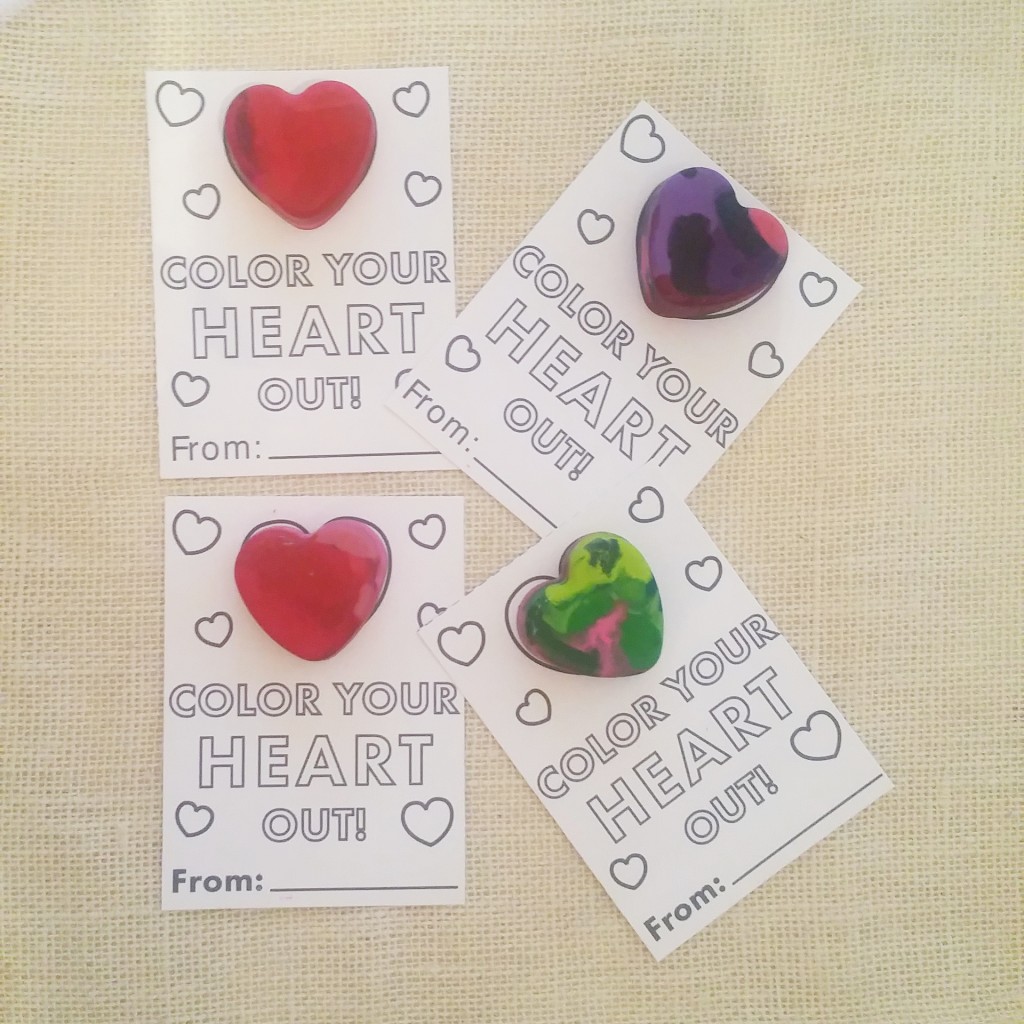
Valentine card for print here.
The only difference in my post here that you will not see in the link above is I will give you my tips for making this project go a little smoother for us 1st timers 😛
- Use an exact knife and cut the crayon labels straight down for easy removal when breaking crayons apart.
- Definitely make sure you over fill your Wilton heart molds with more crayons than less or your crayons will be shallow and smaller.
- Make sure you keep your oven on 225 and bake for 30 minutes ( I found a slow steady temperature makes a better crayon instead of cranking the heat up)
- Do NOT put them in the freezer , let them sit for 3 hours or more you will get bubbles in the crayons
- After your crayons are ready to be peeled and popped out of your tray you might experience a small sinking hole or some unevenness in the crayon heart , you may need a peeler as shown to make your crayon level for pasting onto the paper valentine.
- Use double sided heavy scotch tape with weight for 1.4 lbs to hold into place.
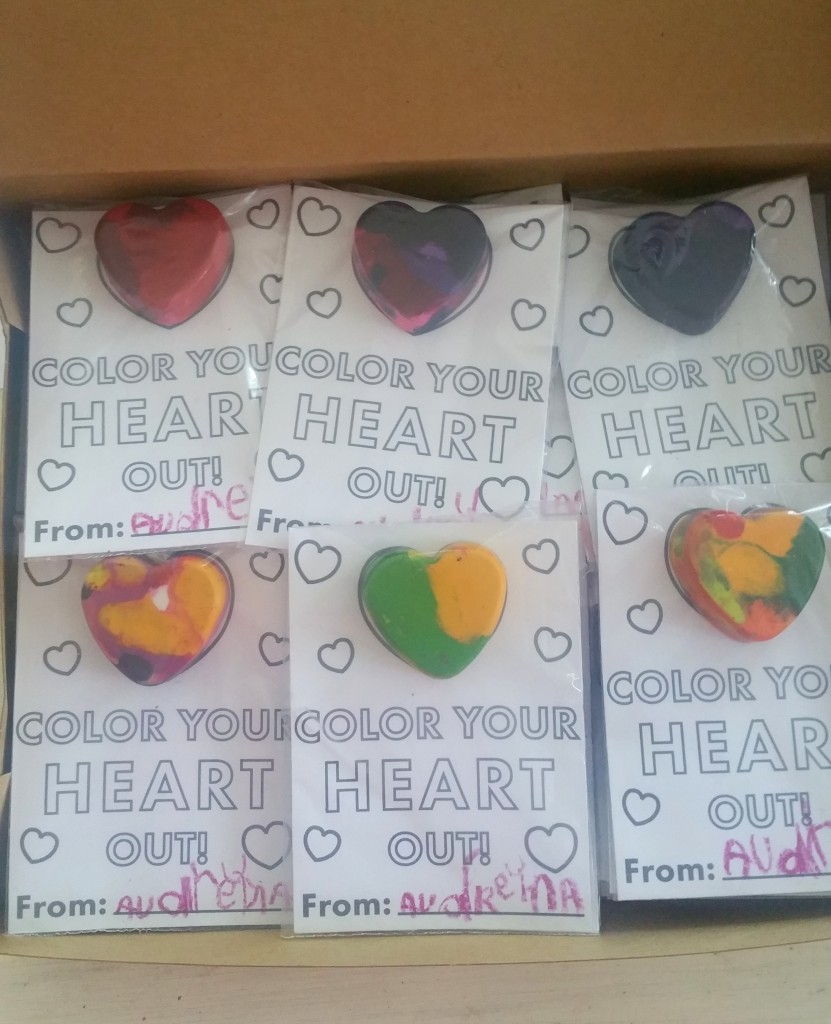
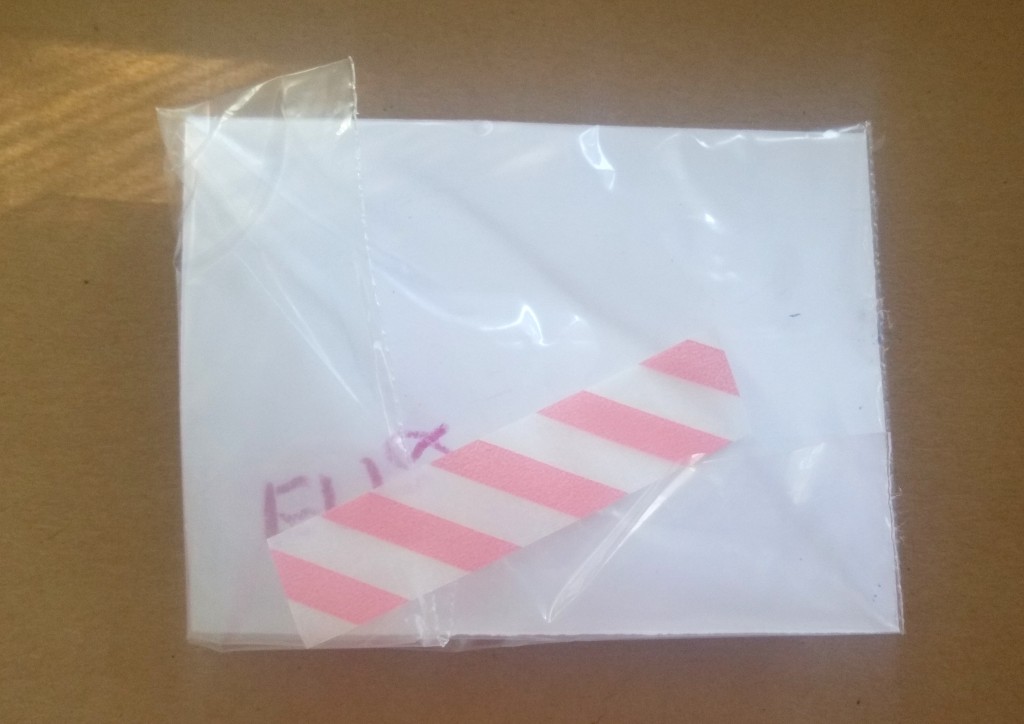
- Use zip-locks and cut them for a clear cello look or use cello envelopes and cut to shape. Fold over access and use decorative washi tape (as shown)
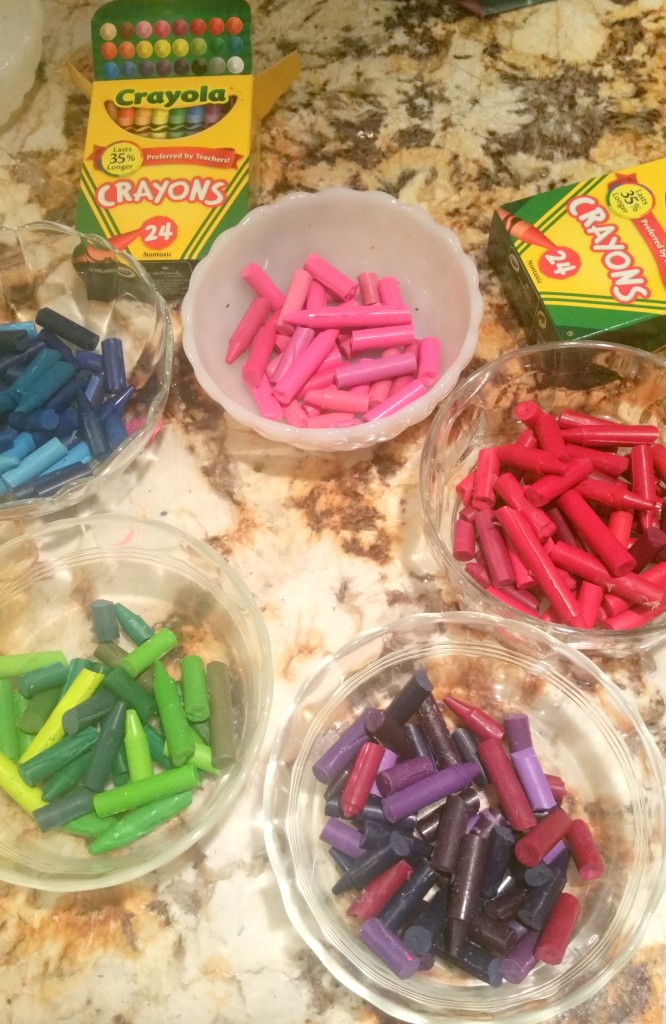
We separated by color.
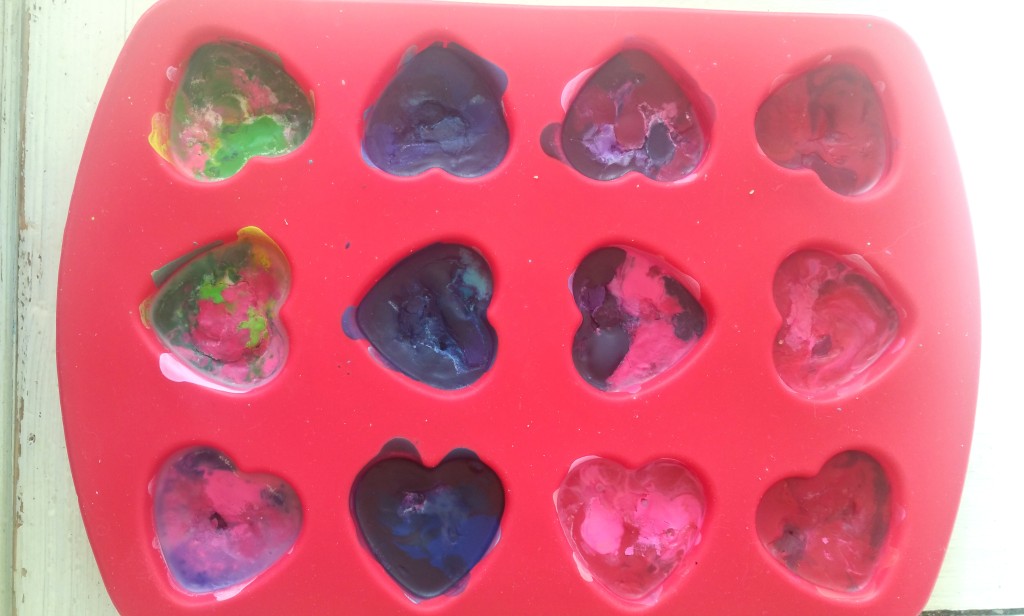
Pictured above is after our melt.
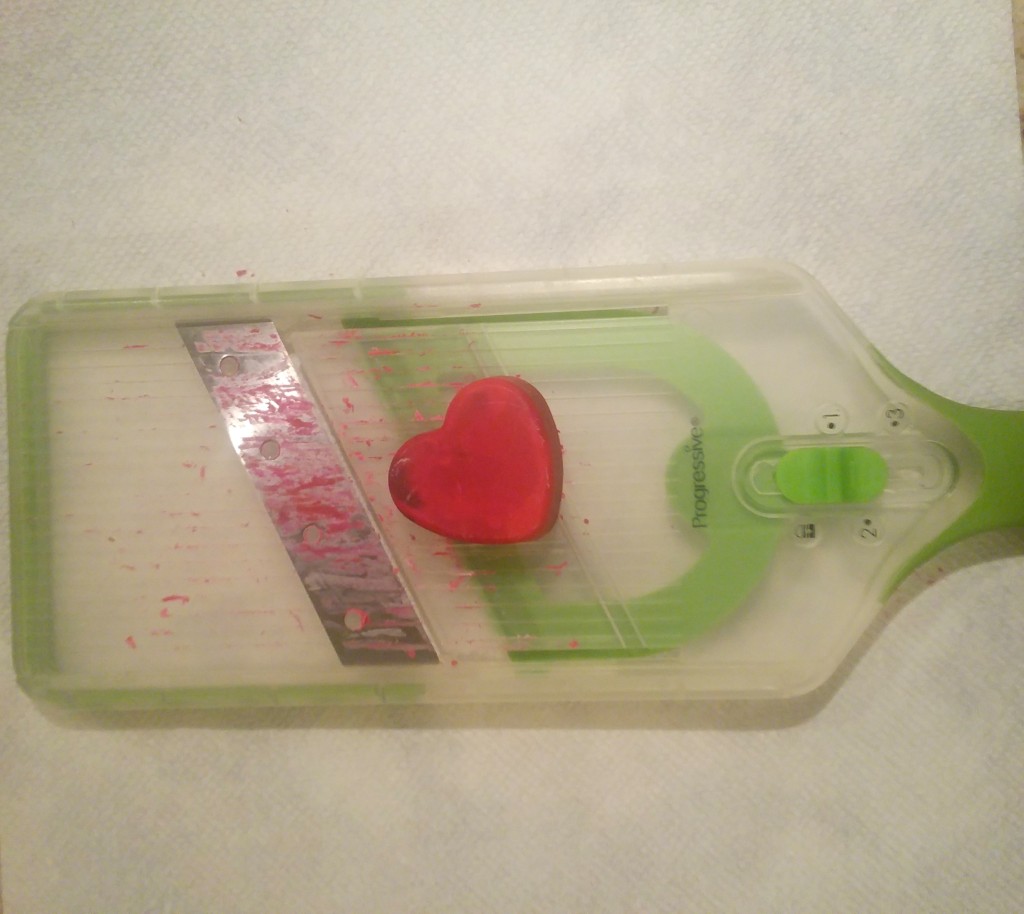
Here I shaved a section down to make even so it could adhere to the card evenly.
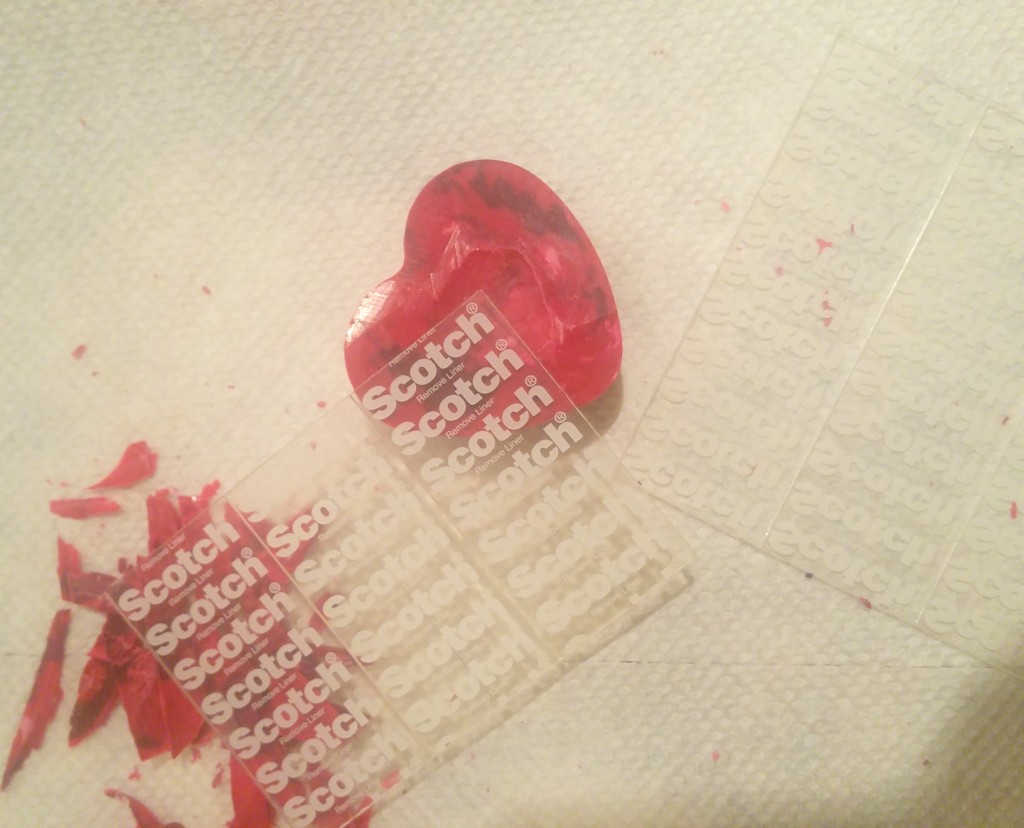
I recommend using scotch guard double sided tape for heavy weight or glue dots.

Result after colors were separated.
I found the clear cello or zip- lock give a nicer appearance than inserting into envelopes. It is also awkward when trying to close a regular envelope.
I hope your Valentines like them as much as we did making them!

This year as hard as it was for our family personally. We had a lot of losses this year so unexpected. I was not going to let that get in the way of traditional Thanksgiving. I still did our typical fixings and made my Spiced – Cured Turkey just as Martha explains here. It happens to be my favorite recipe. The only thing I do admittedly do with this recipe is I will cut back on the portion of the salt by almost 1/2 as I am not a lover of that and try not to avoid it at all costs.
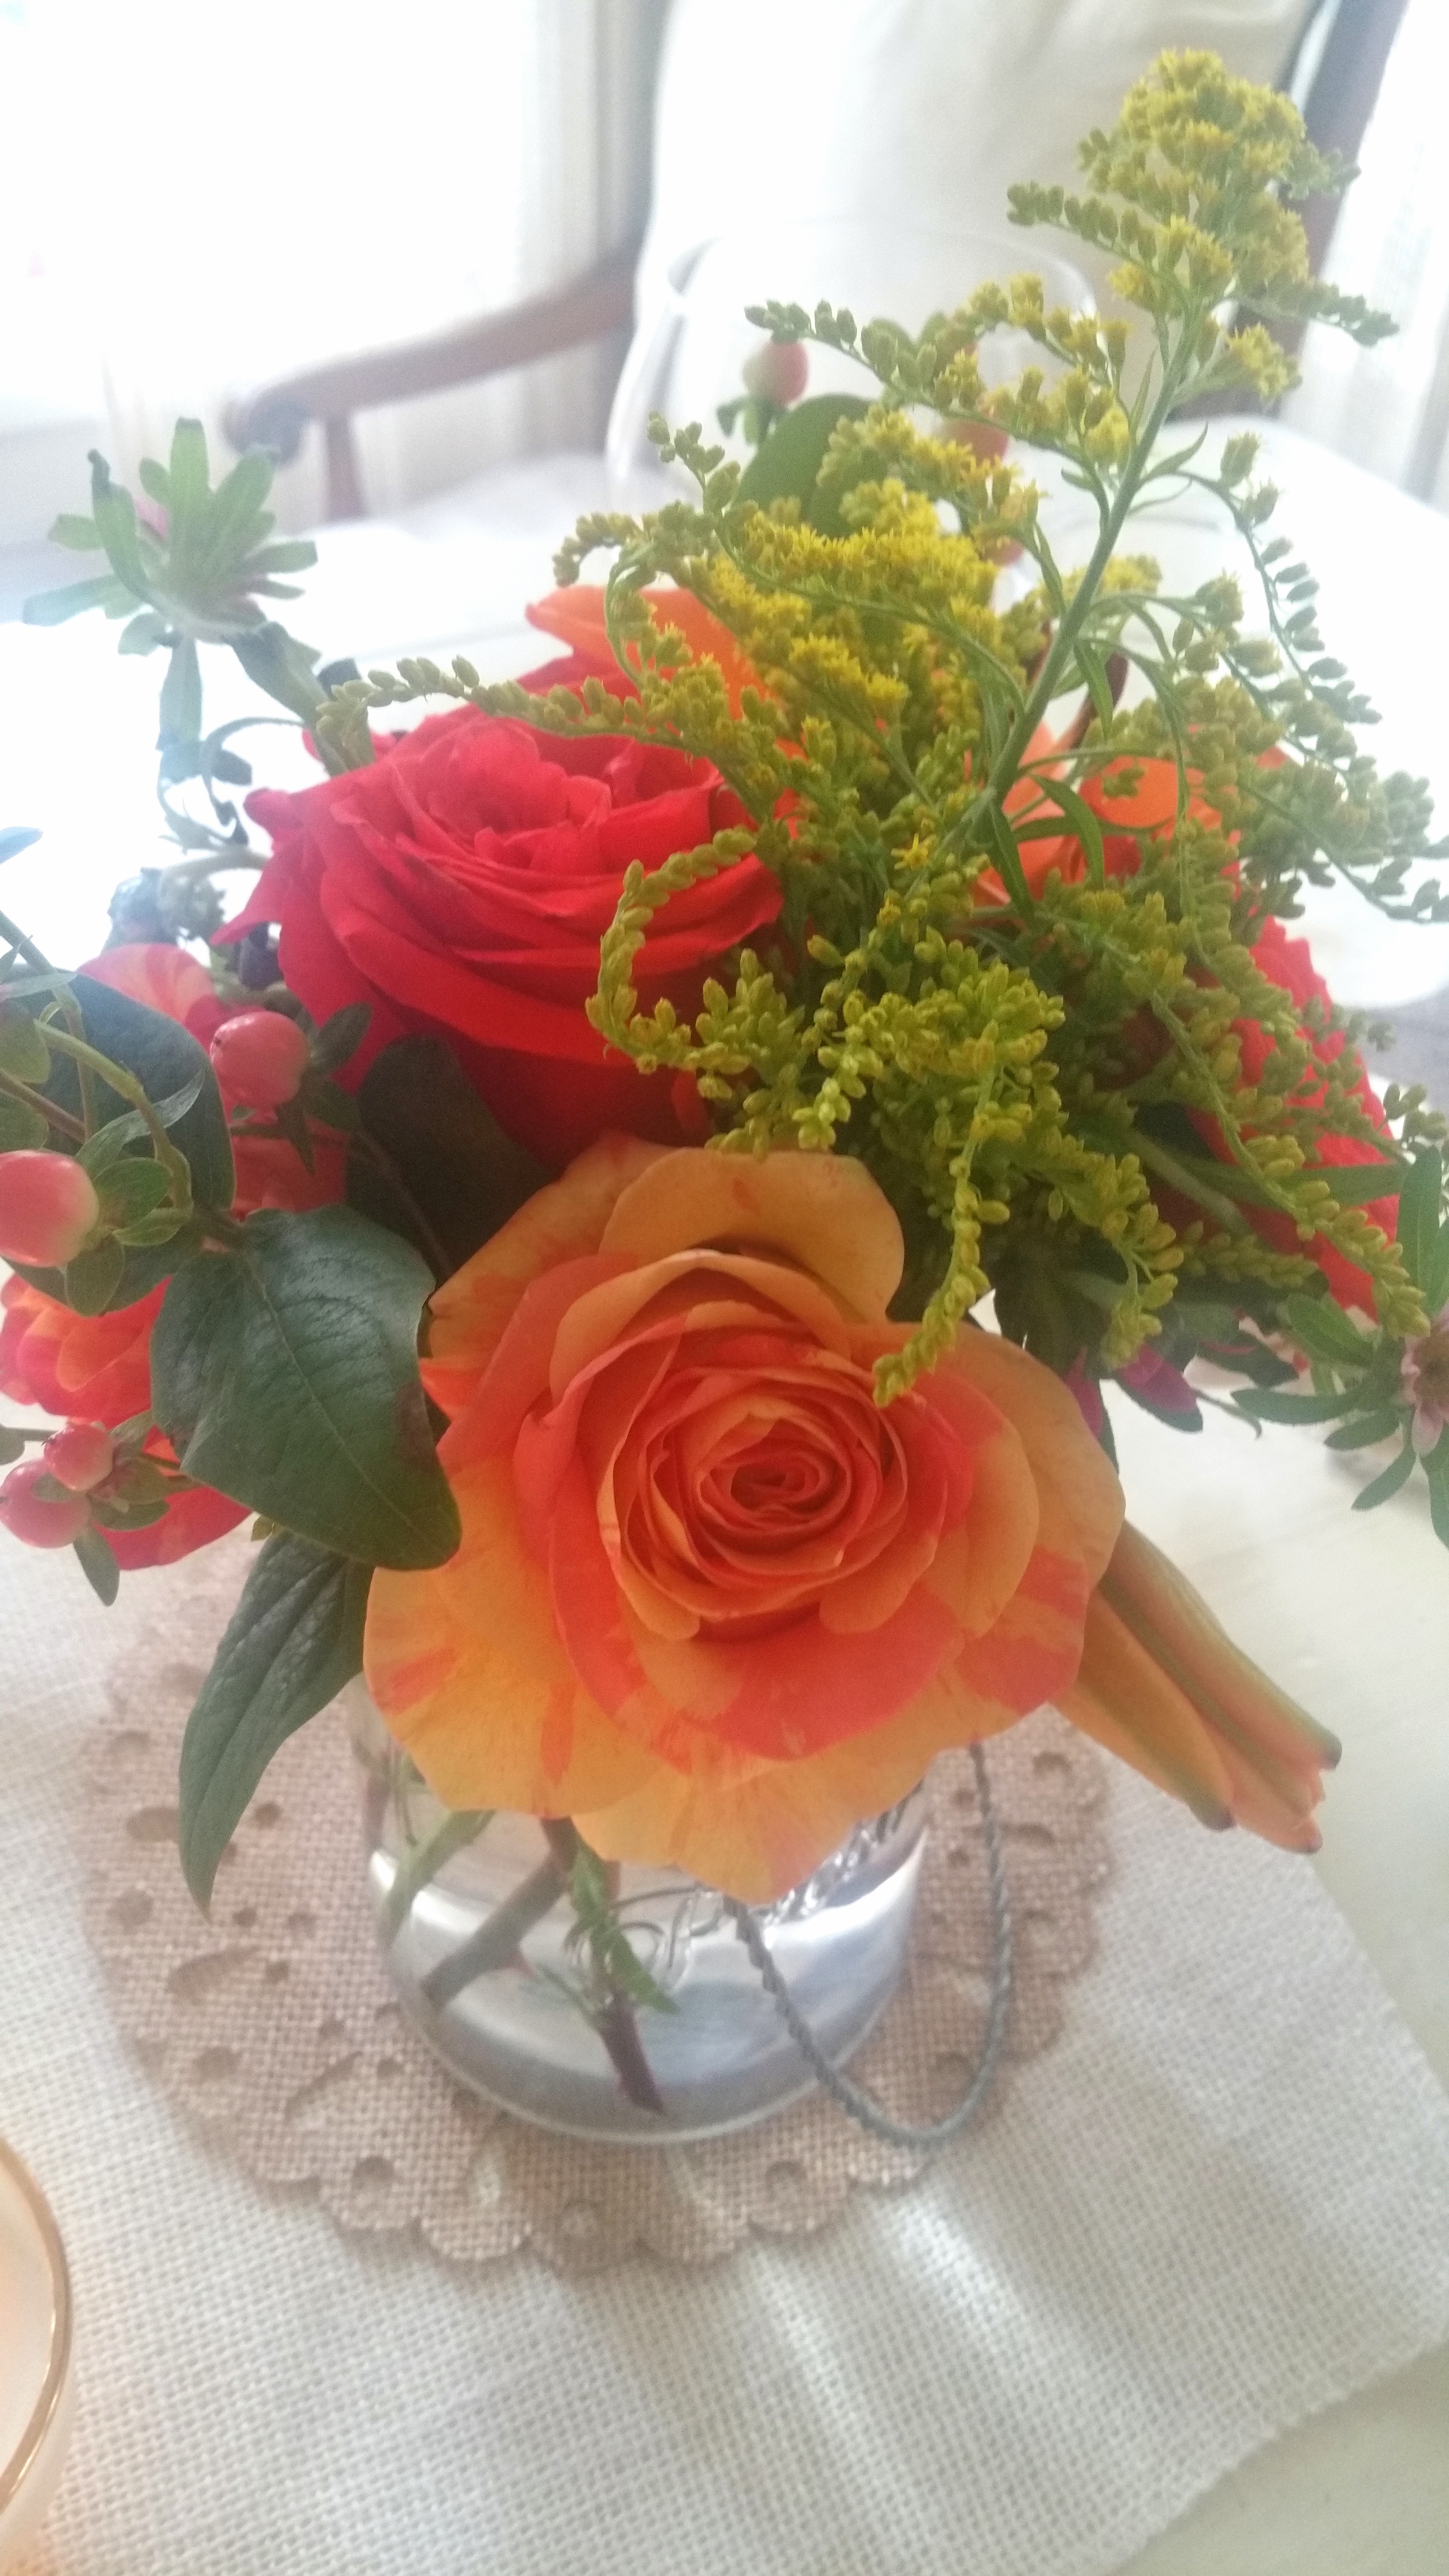
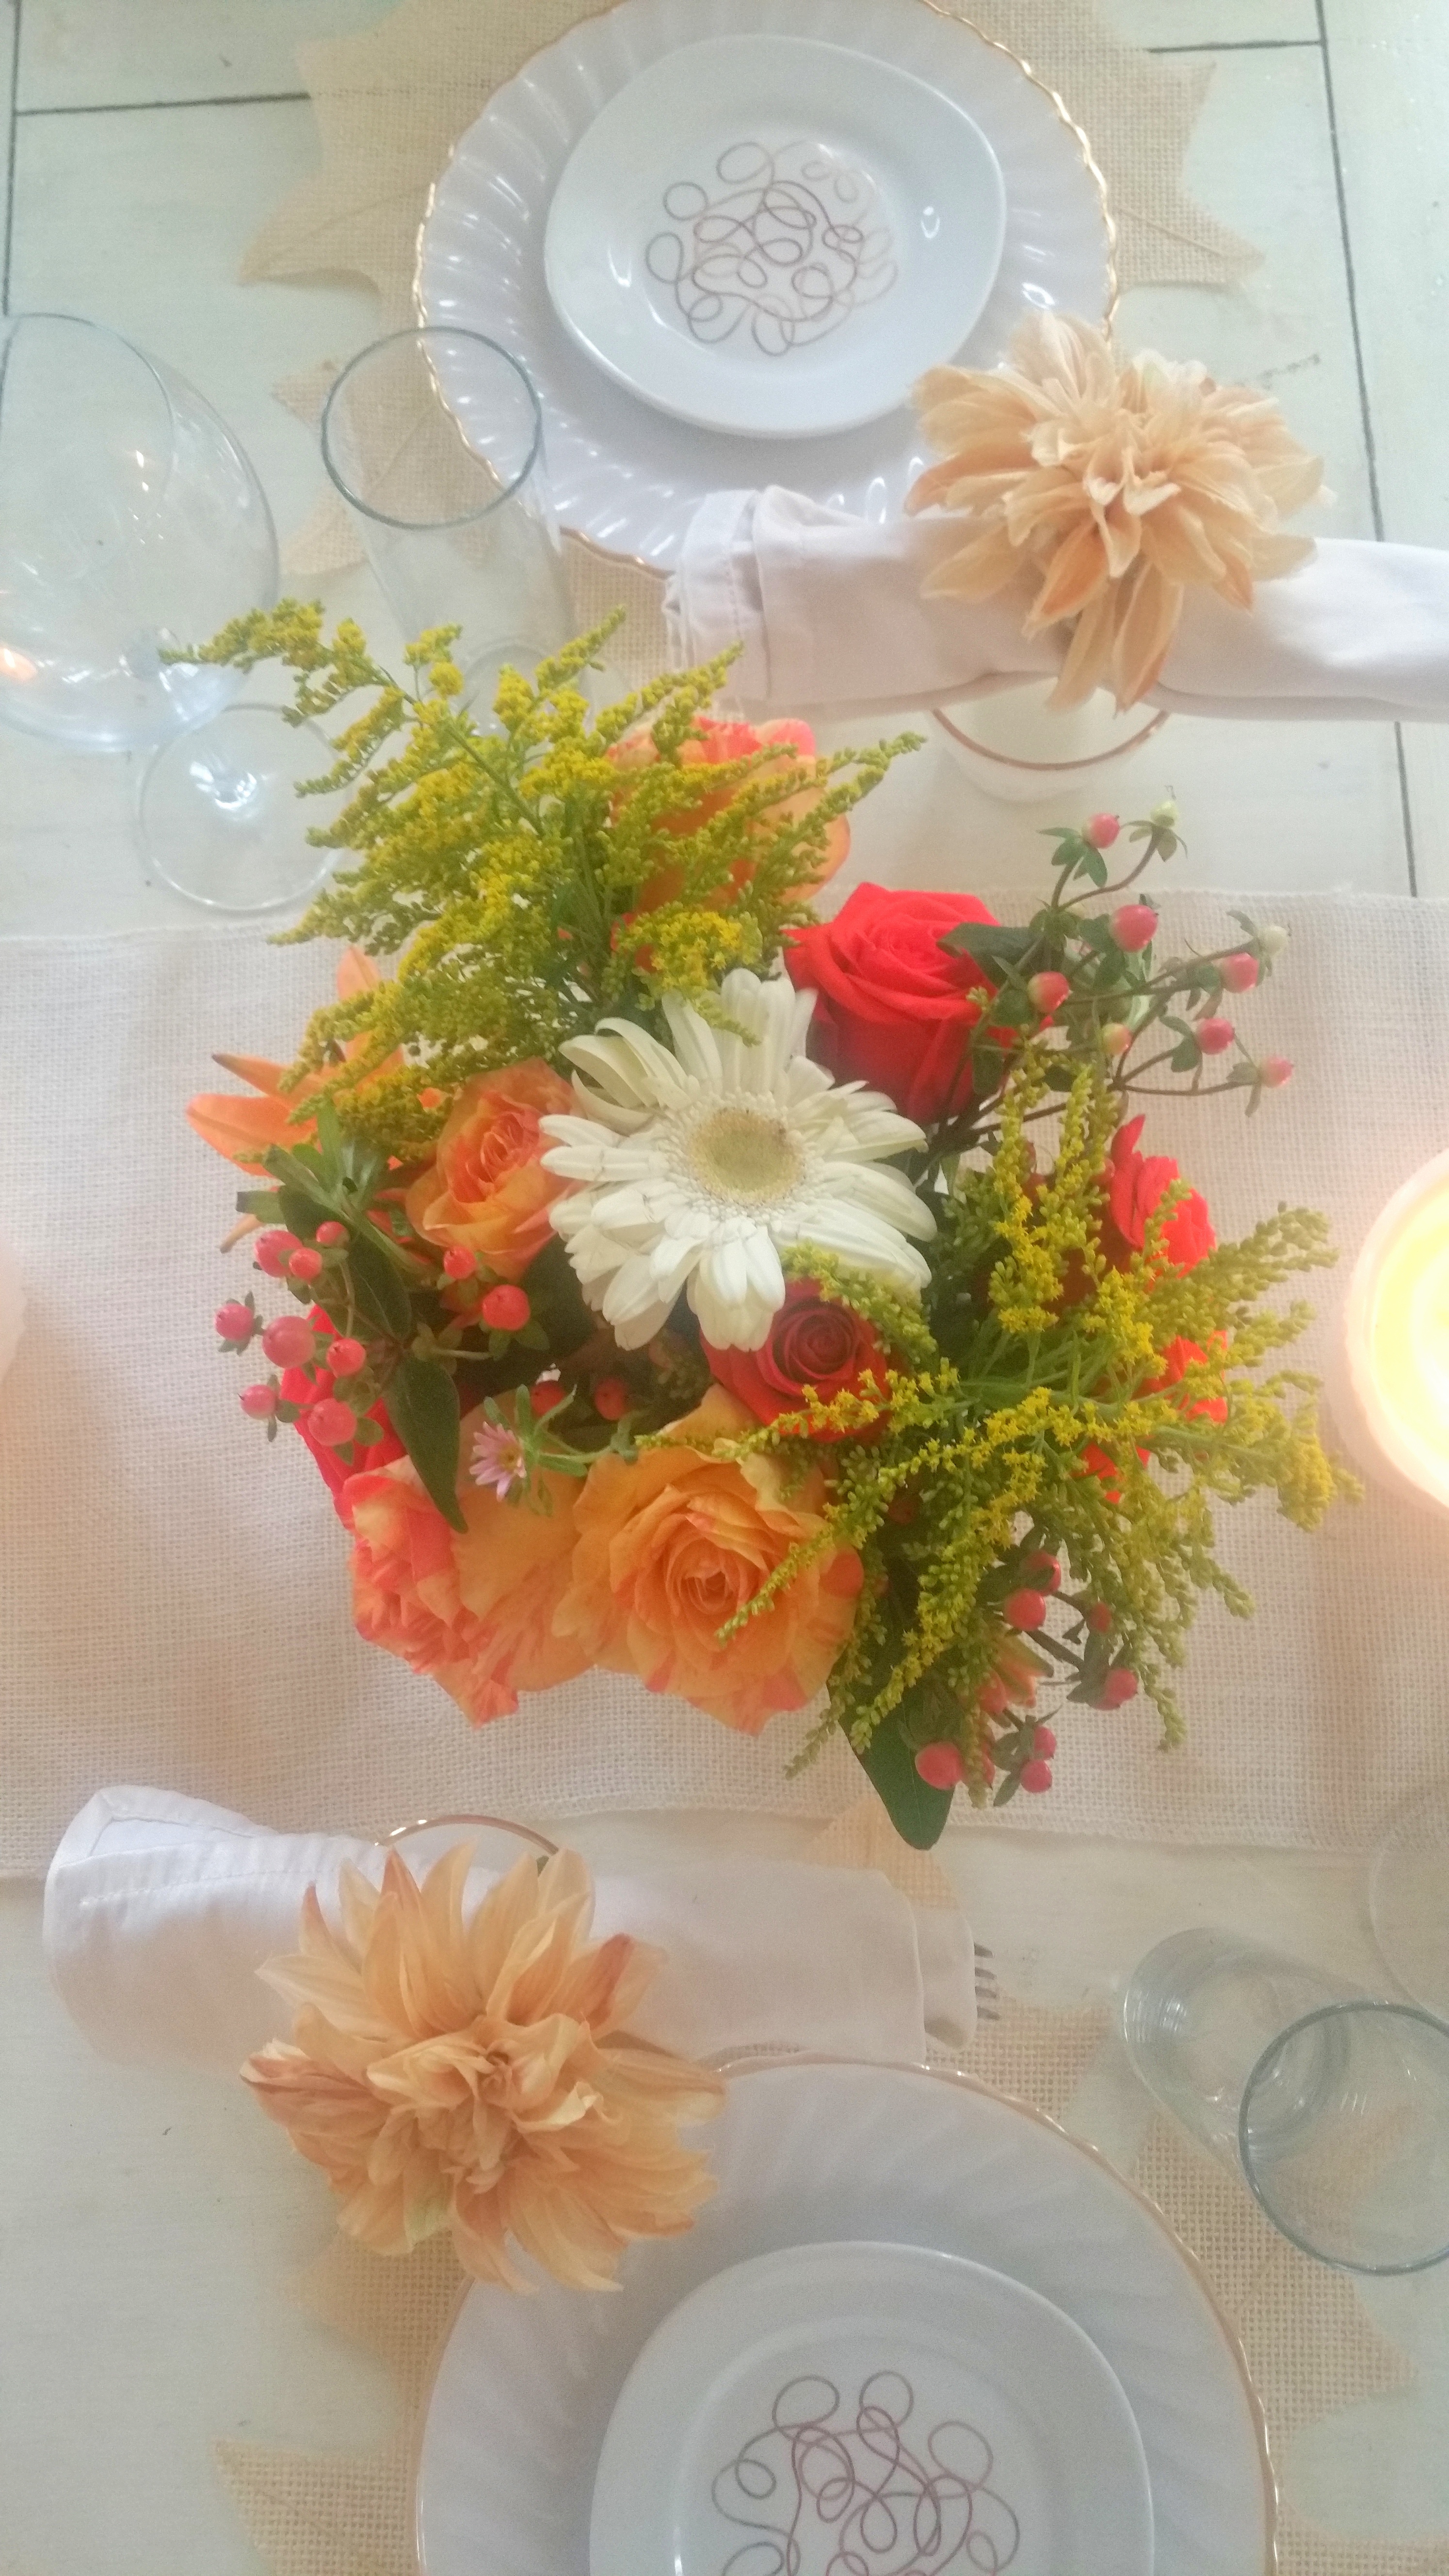
Our table definitely was not as elaborate as had in the previous years but it still was a pretty tablescape.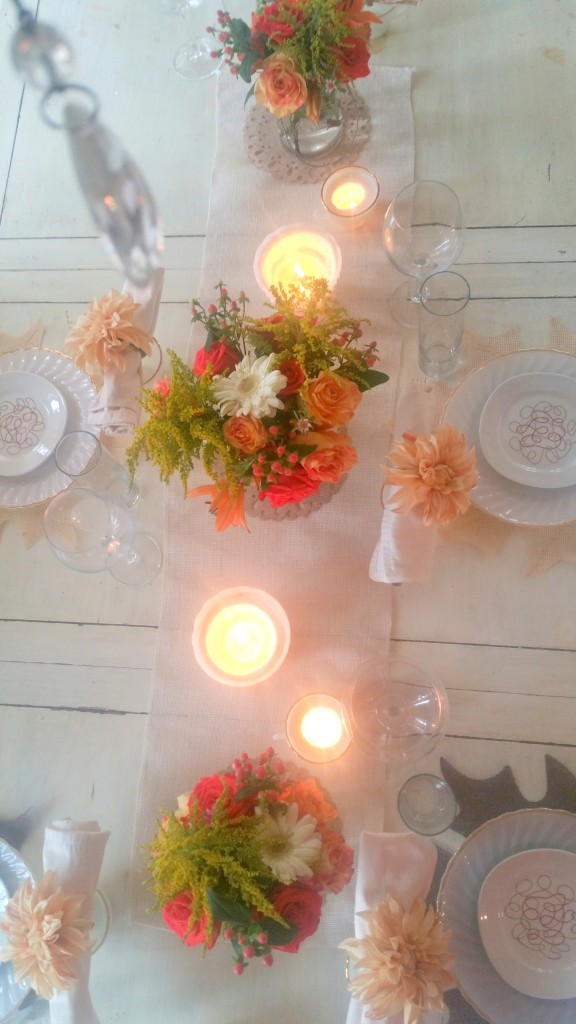


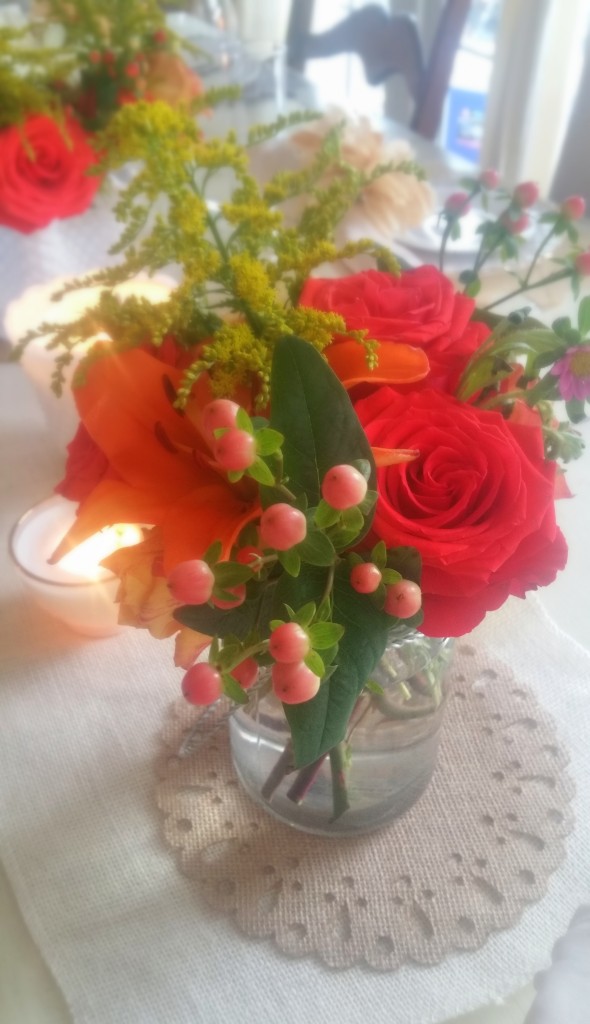
I never know what flower will strike my mood, I just walk into a florist see what flowers they have that I think will work and home come and create.

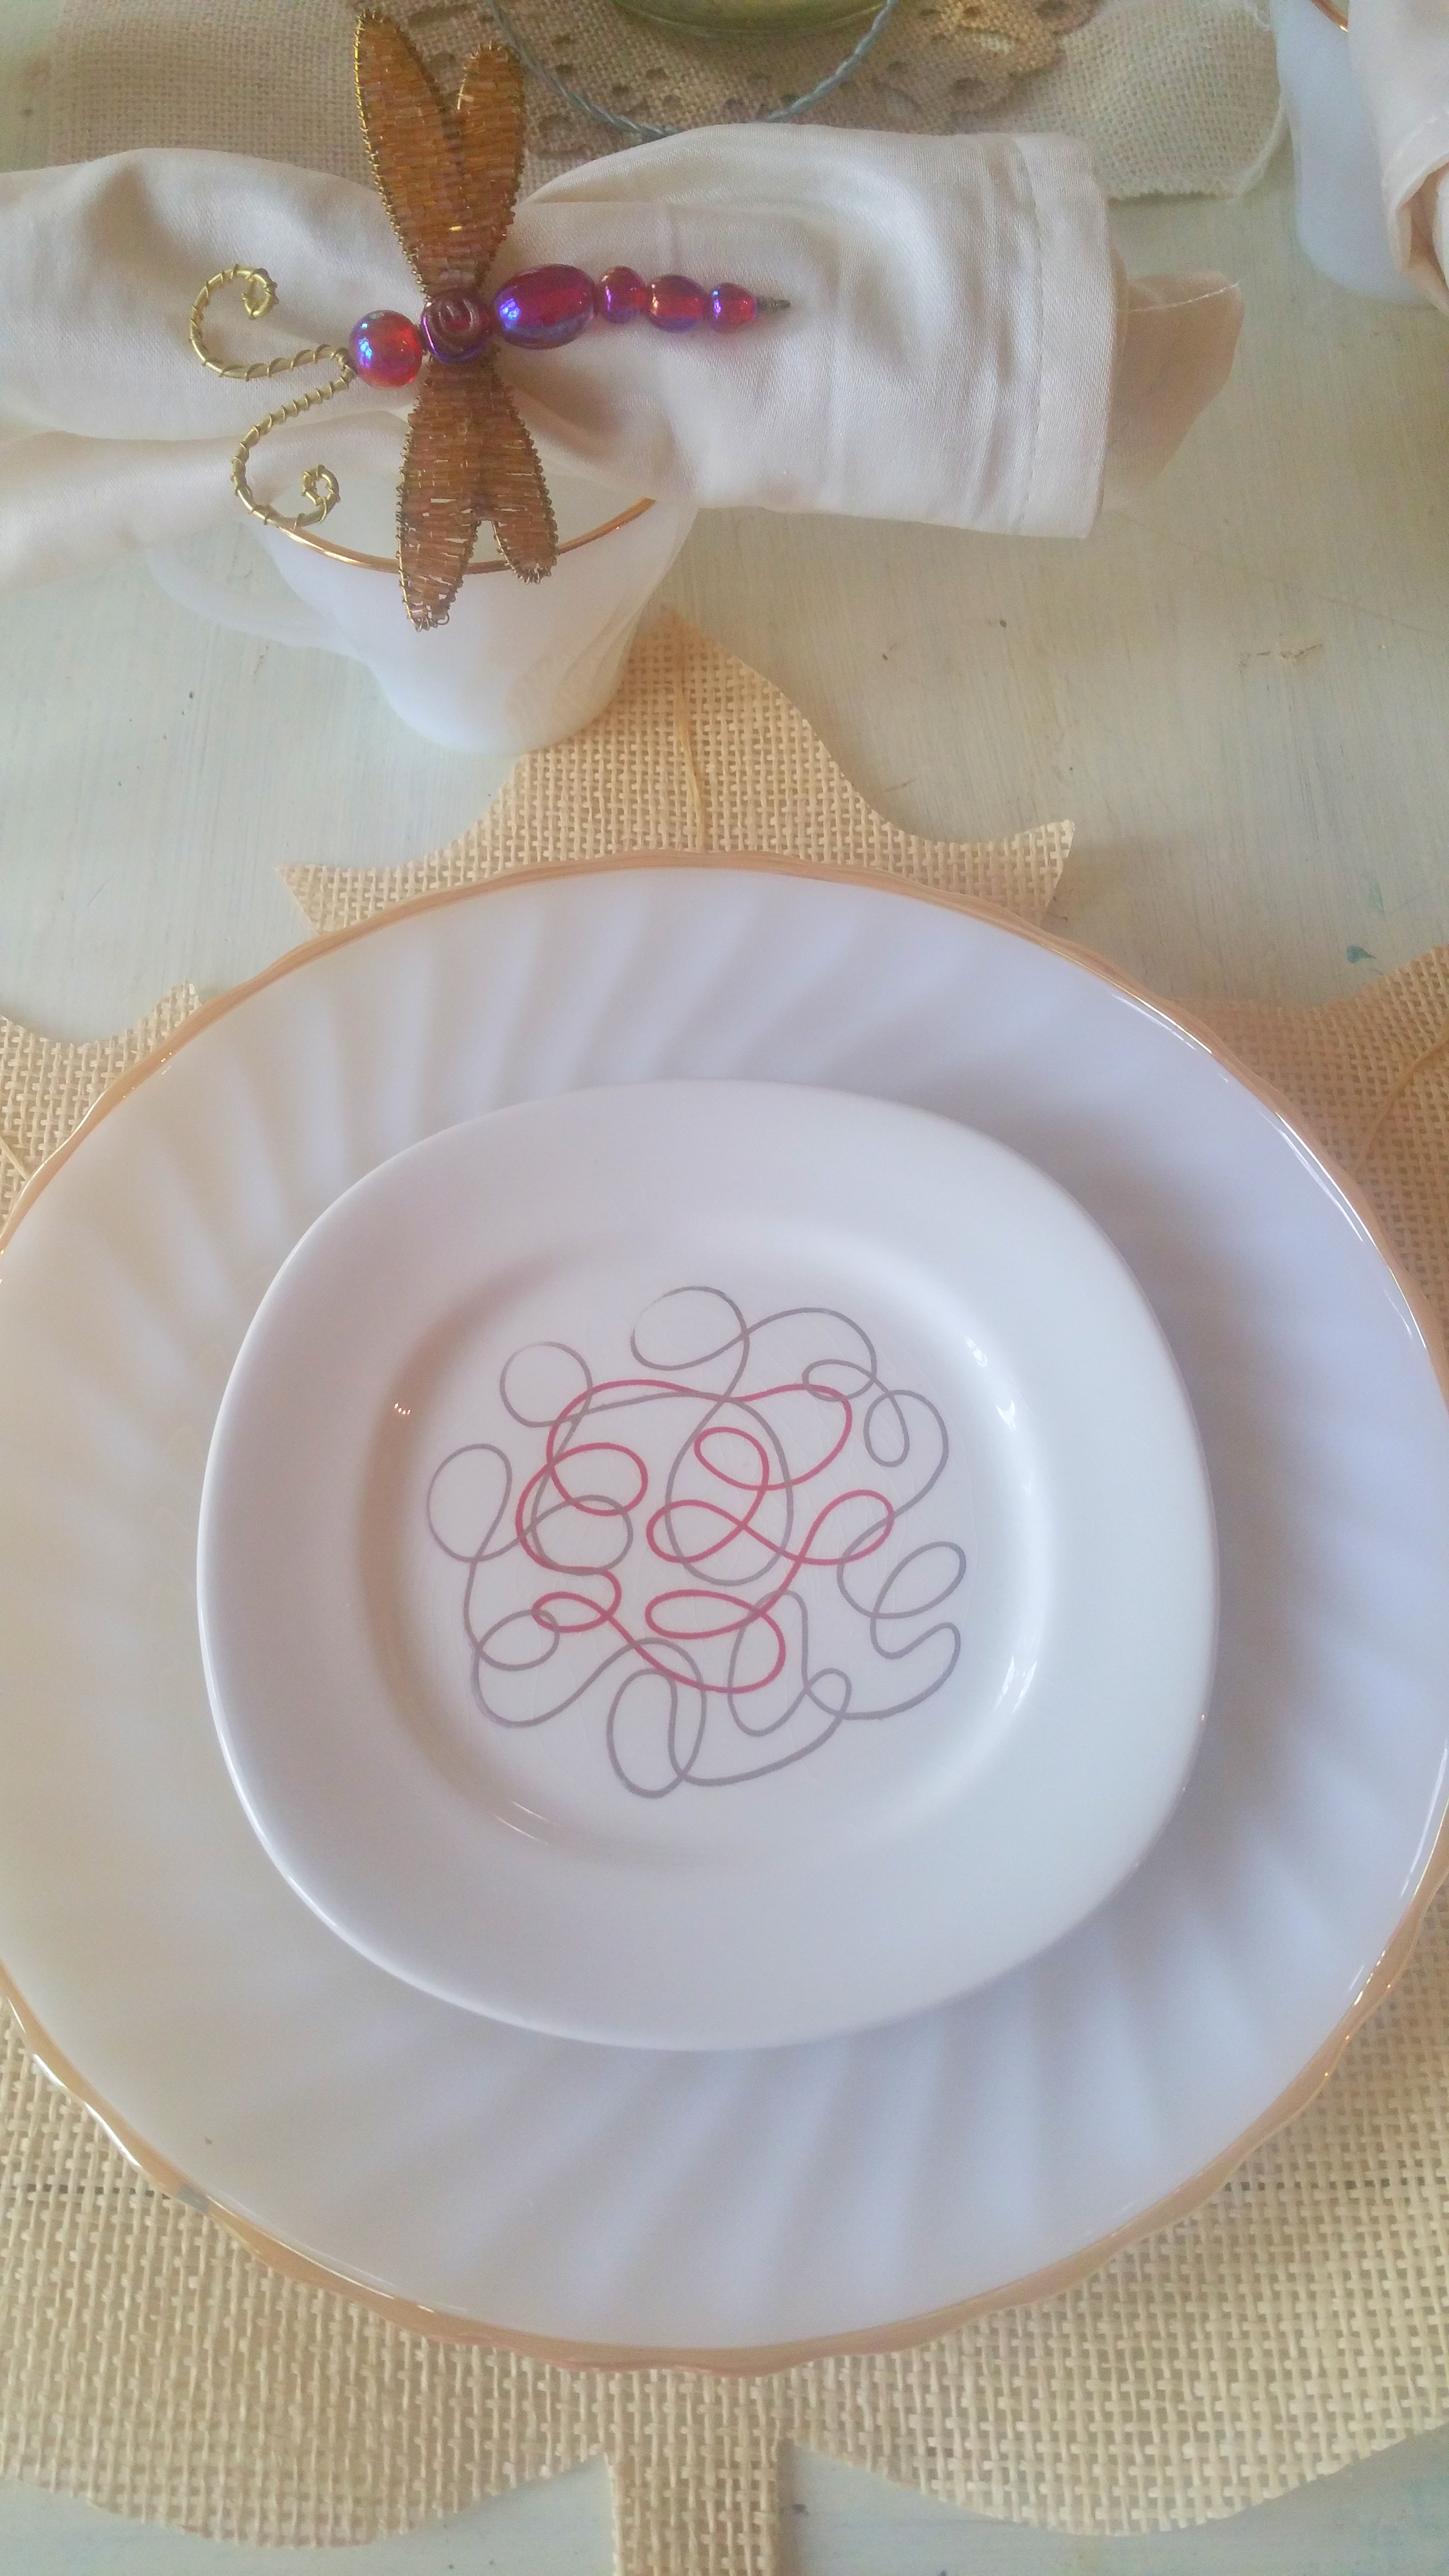
All of my dinnerware was found by antiquing and I have been by collecting by stalking craig’s list, IG accounts, ebay and thrift stores. This year’s find was the bread plate. The images are hard to see in the photograph but they were gold foil swirls. As luck would have it anything gold foil is trending. 
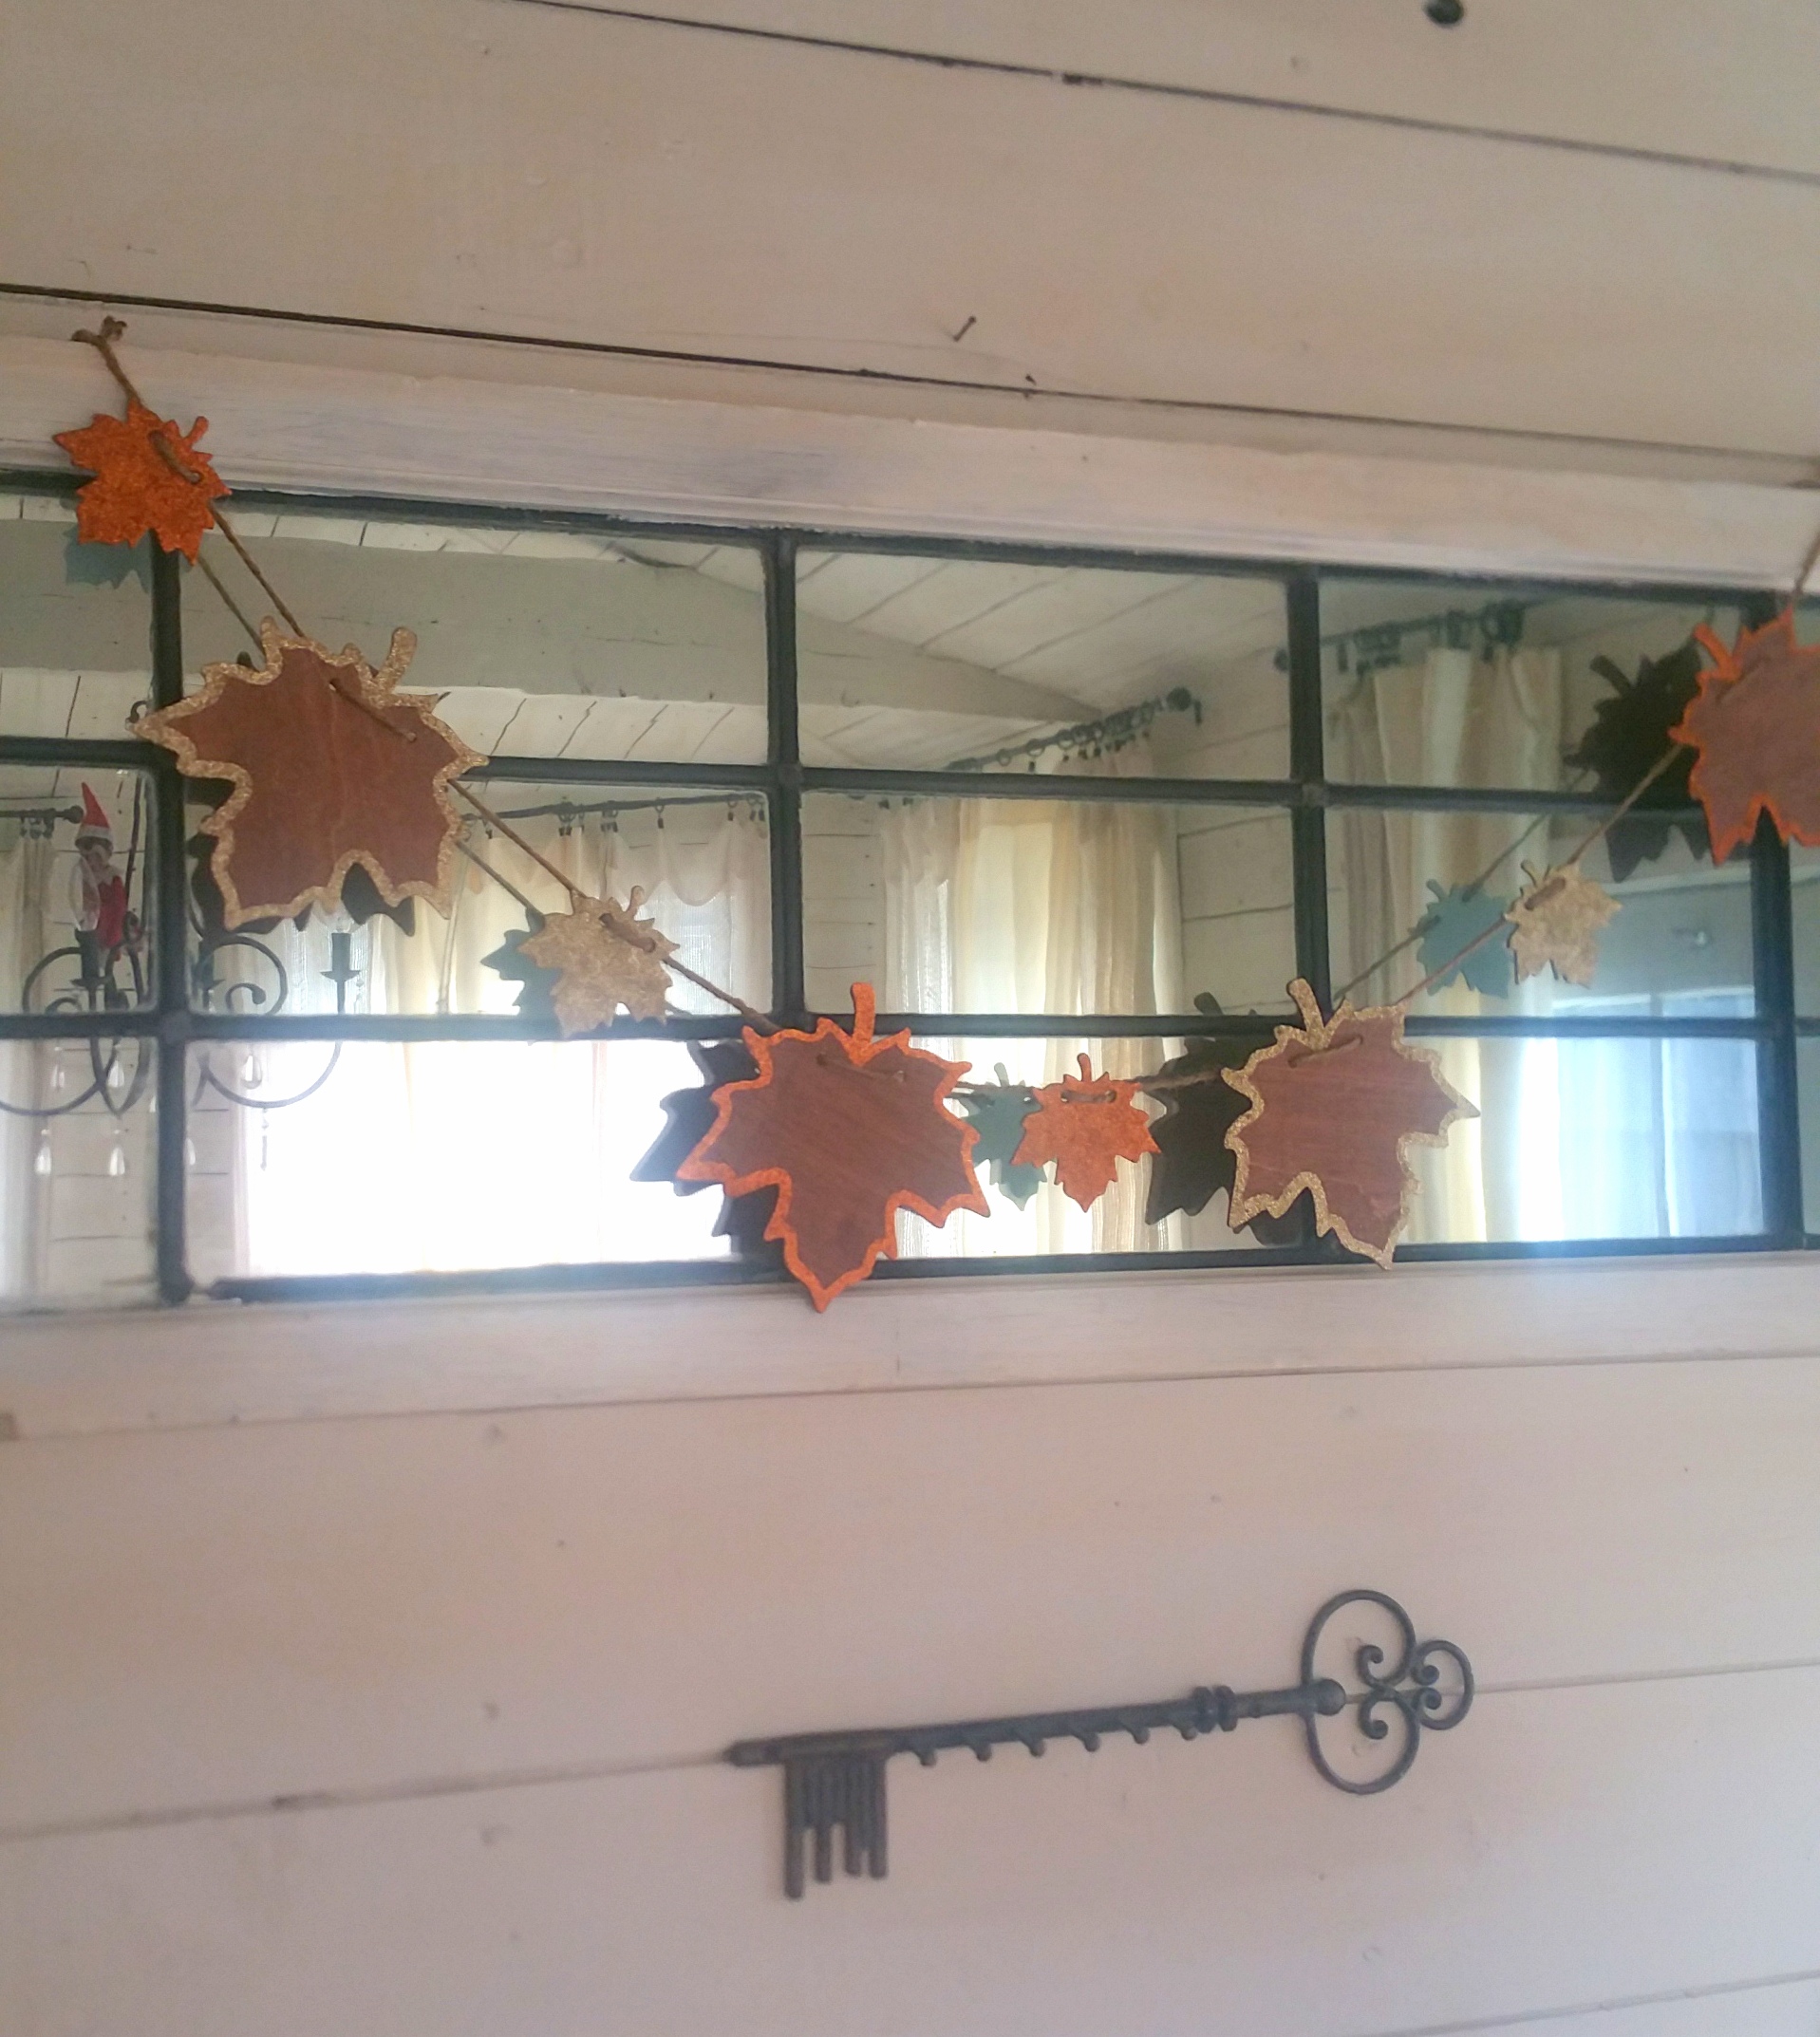
Ofcourse we cannot forget Ellie the Elf that comes out each year on Thanksgiving. Look closely to spot her 😉
I can still say we are truly blessed regardless of this years heartaches and loss. We have such wonderful support group from our family and friends. Our daughter is the Greatest gift of all and that is all I can ask for ♥ Happy Thanksgiving from Ours to Yours!

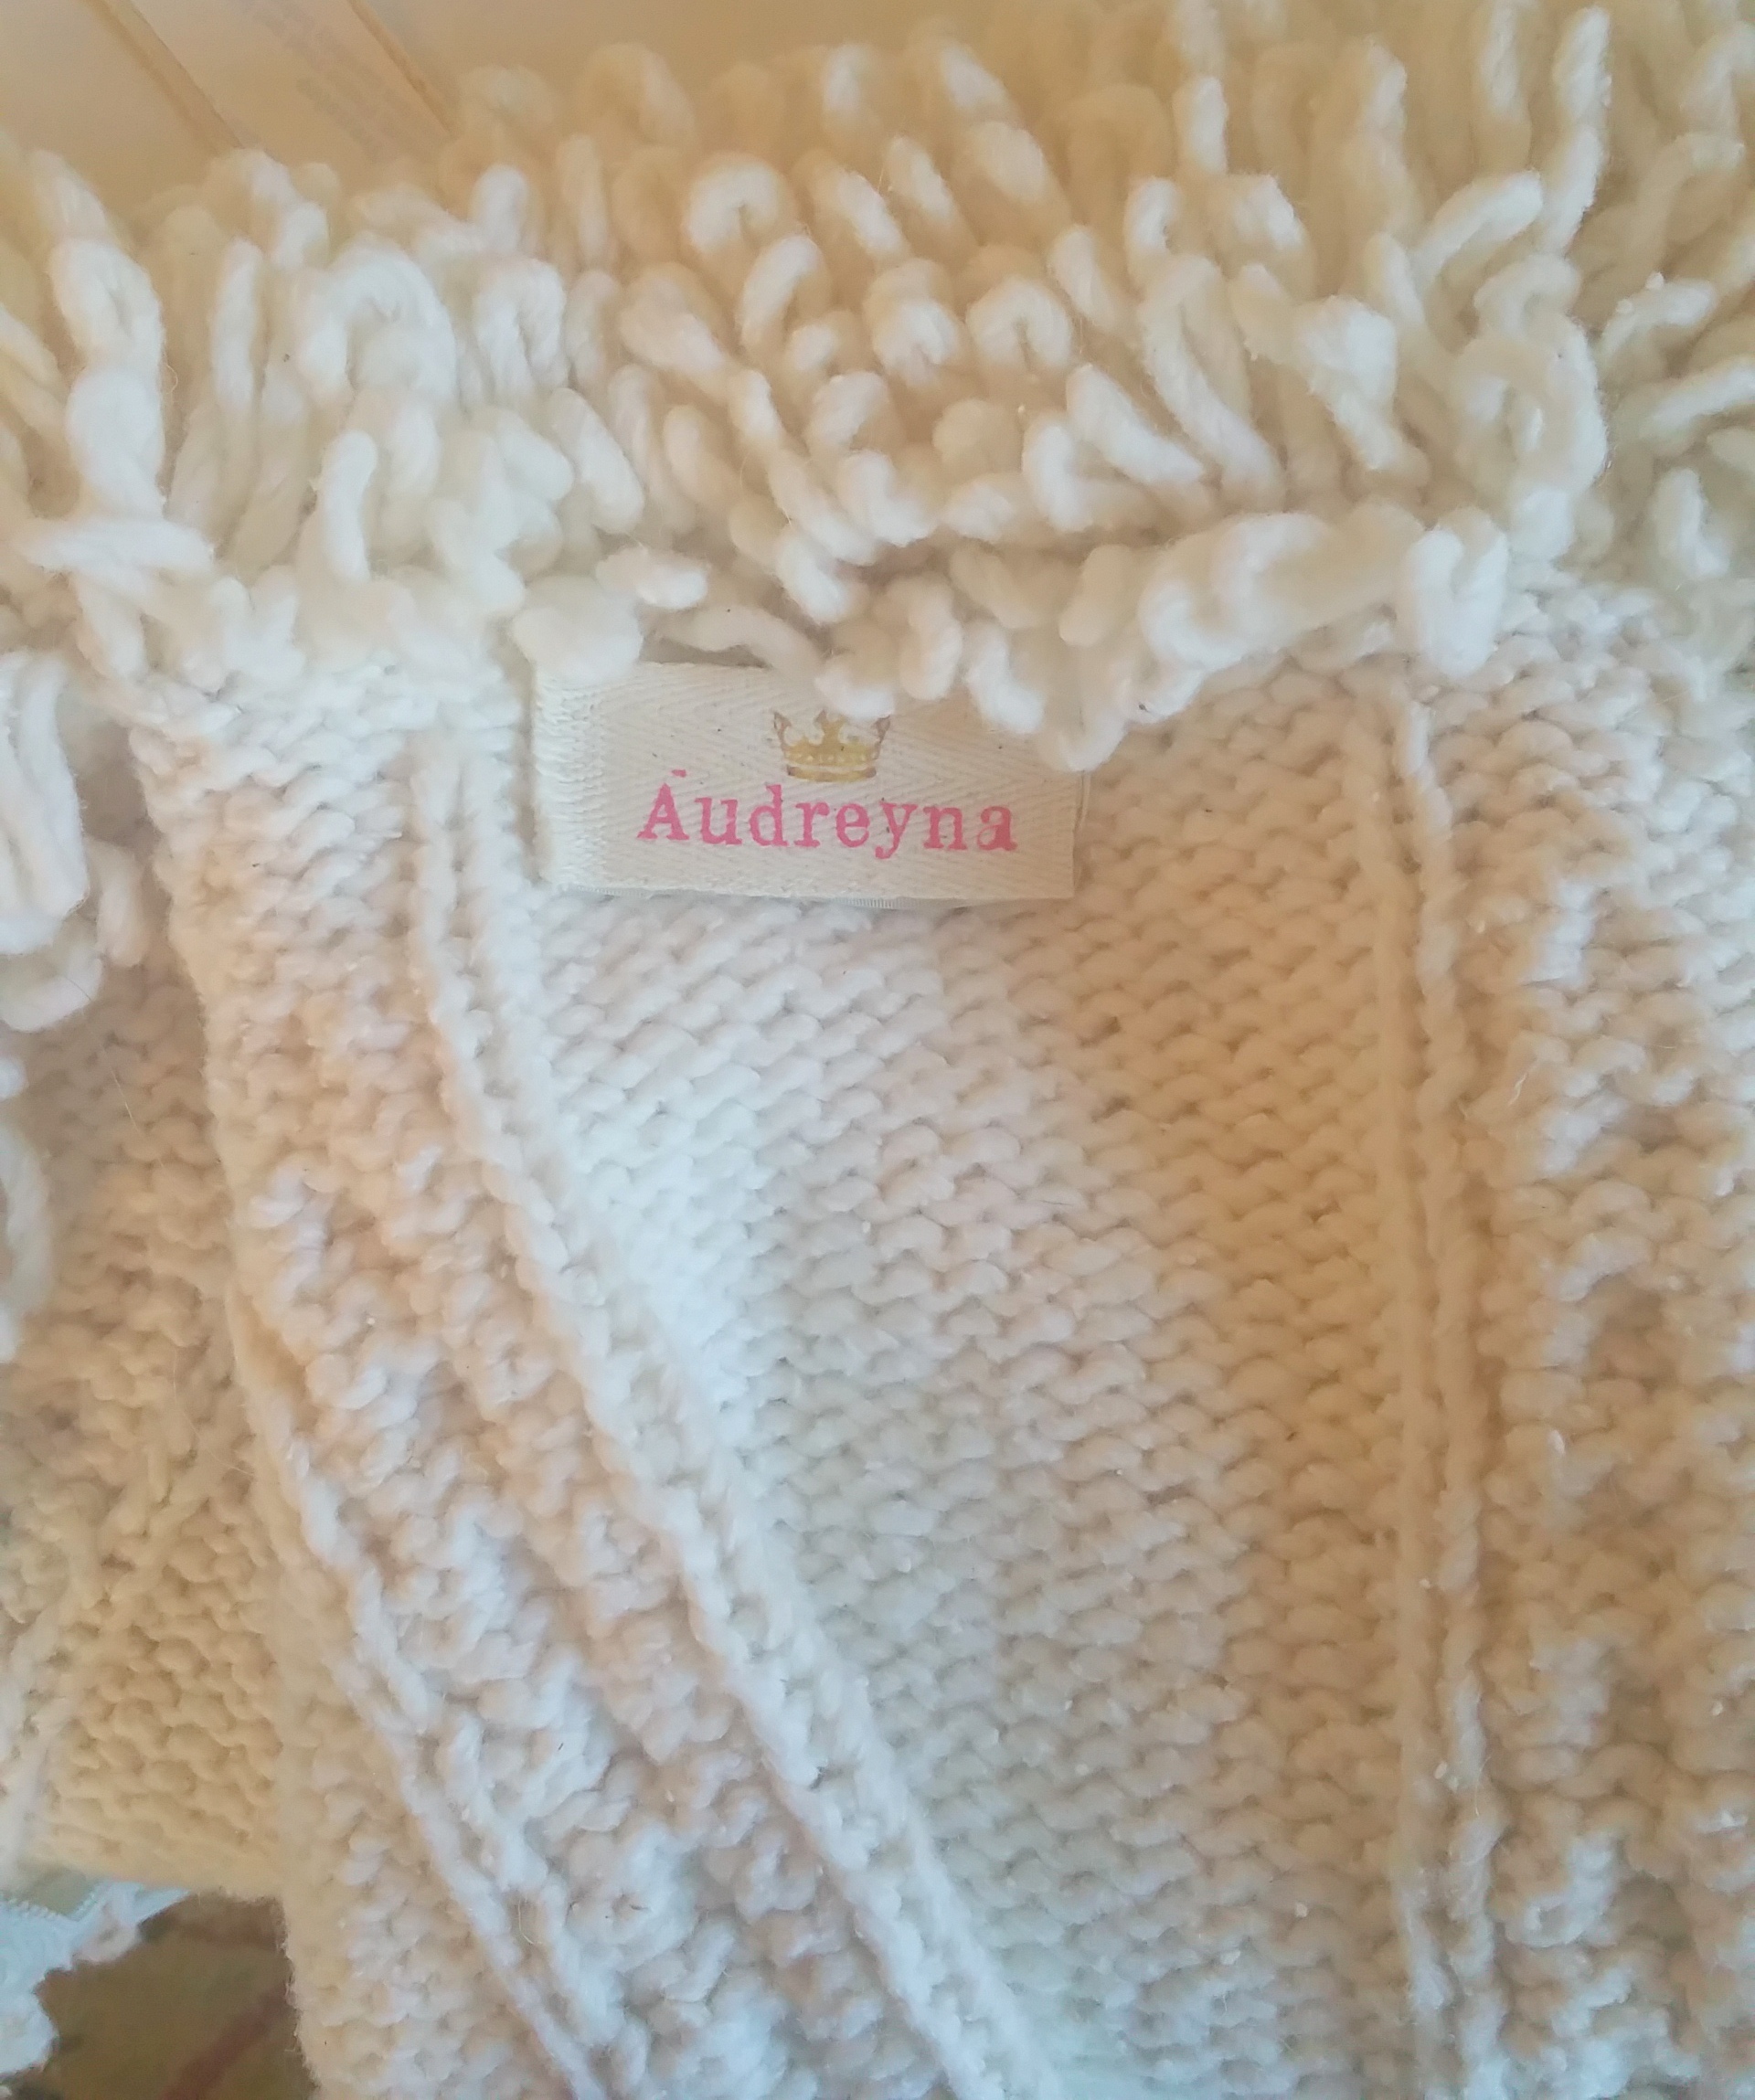
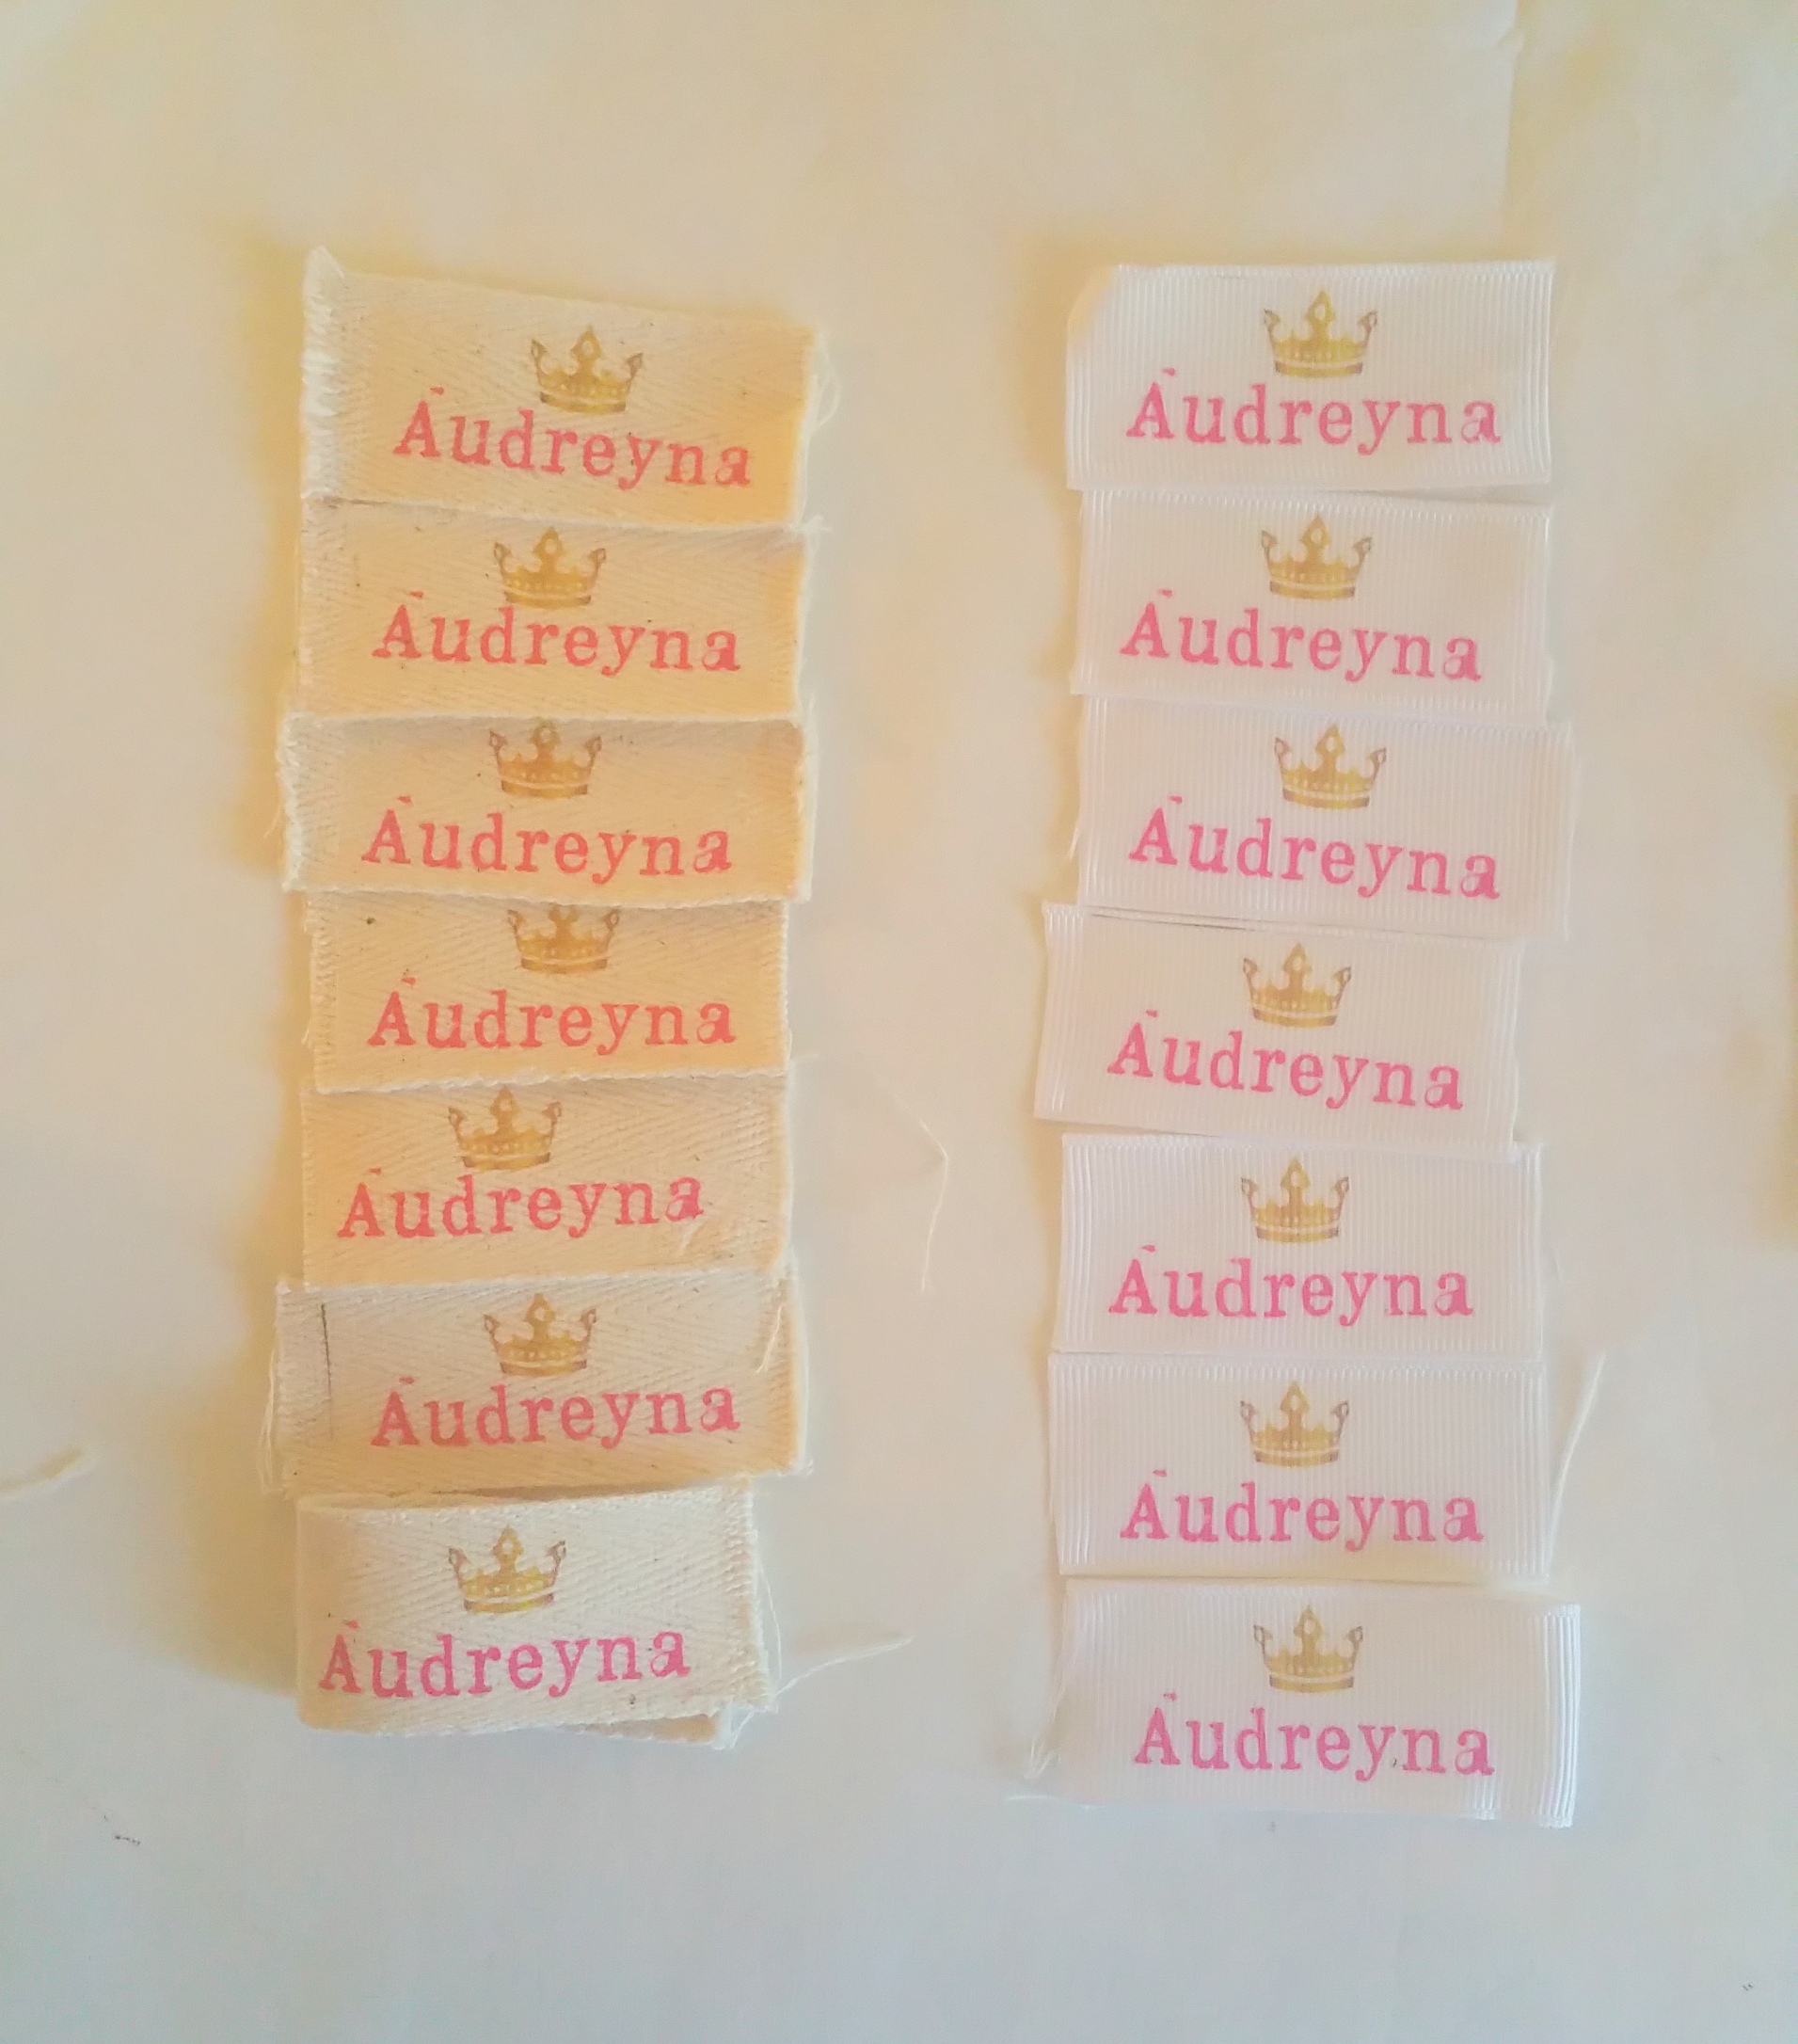
Here we are late September and finally in Pre-K. I received some papers in my daughters backpack from the teachers and it was requested that all outerwear should be labeled. I thought back to my Mom taking a black sharpie and making a graffiti like name and or initials on my jackets and truly thought I have to do better than this. How could I make a label that would not destroy her beautiful clothes with an updated look? Than it came to me…
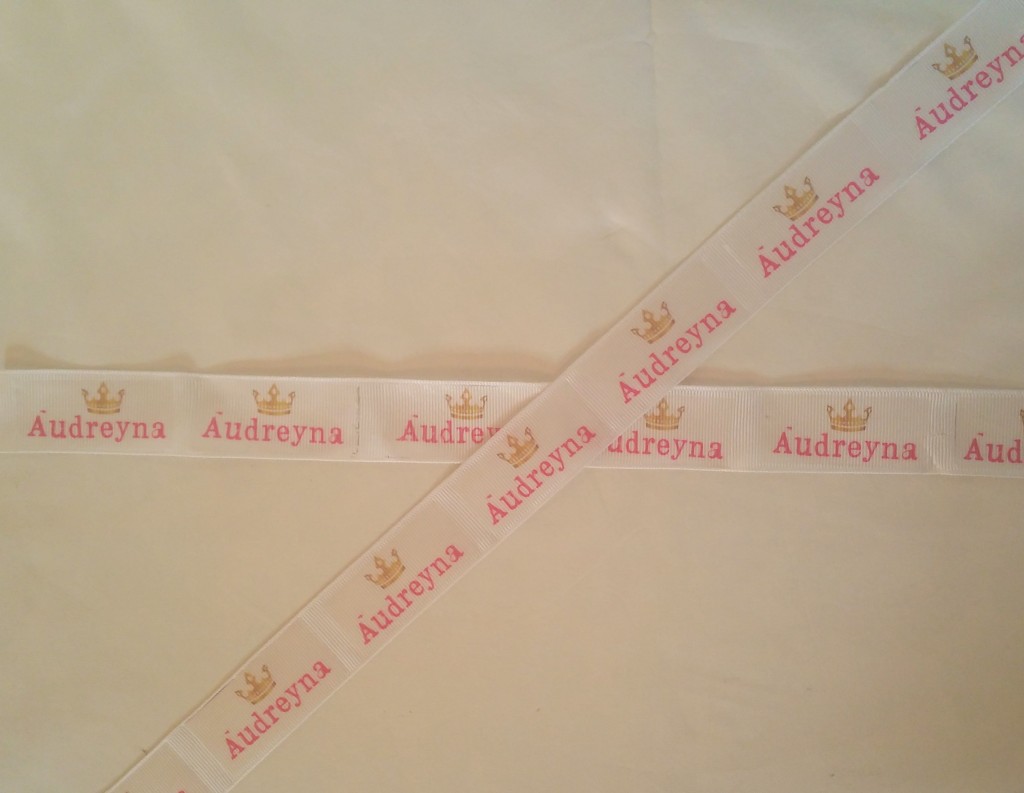
Solution – Iron on ribbon labels. These came out simply adorable and my ‘princess’ really enjoyed the customization that I put into it.
What you will need:
Iron on transfers by Avery
Inkjet printer
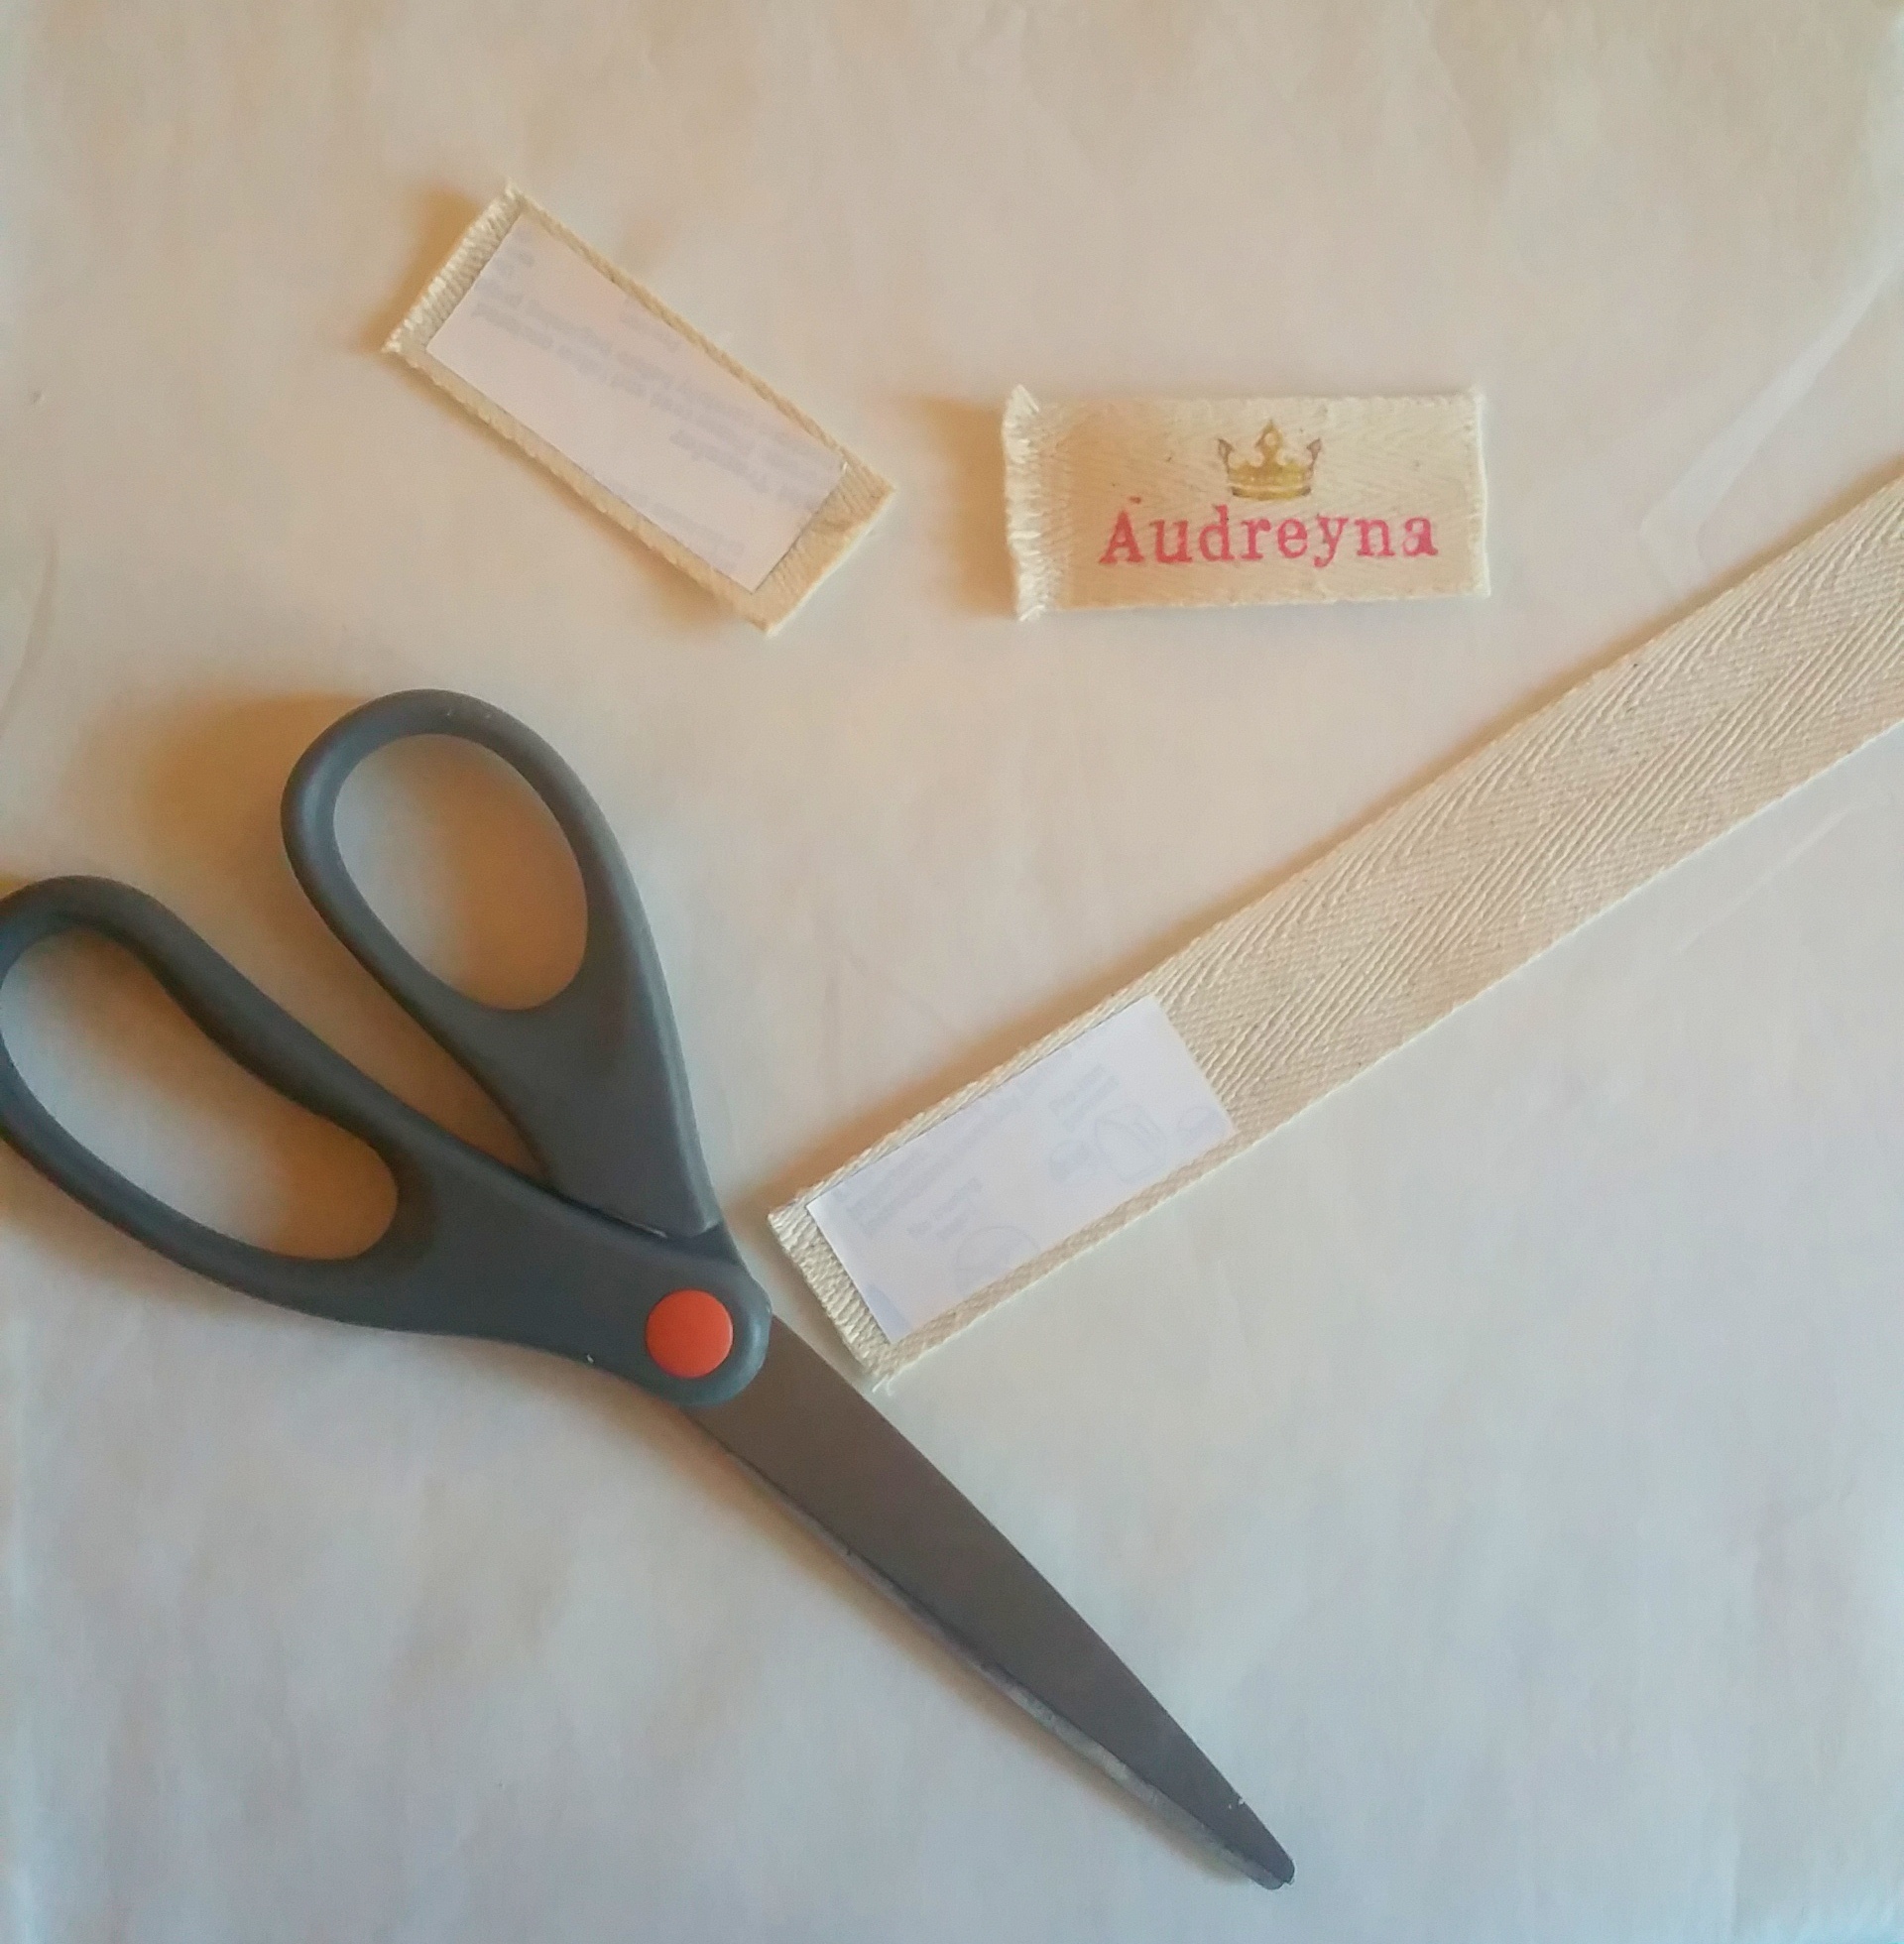
Scissors
Any ribbon that is 1.5 x 4″
*My template crownribbontemplate
Photoshop or use keynote
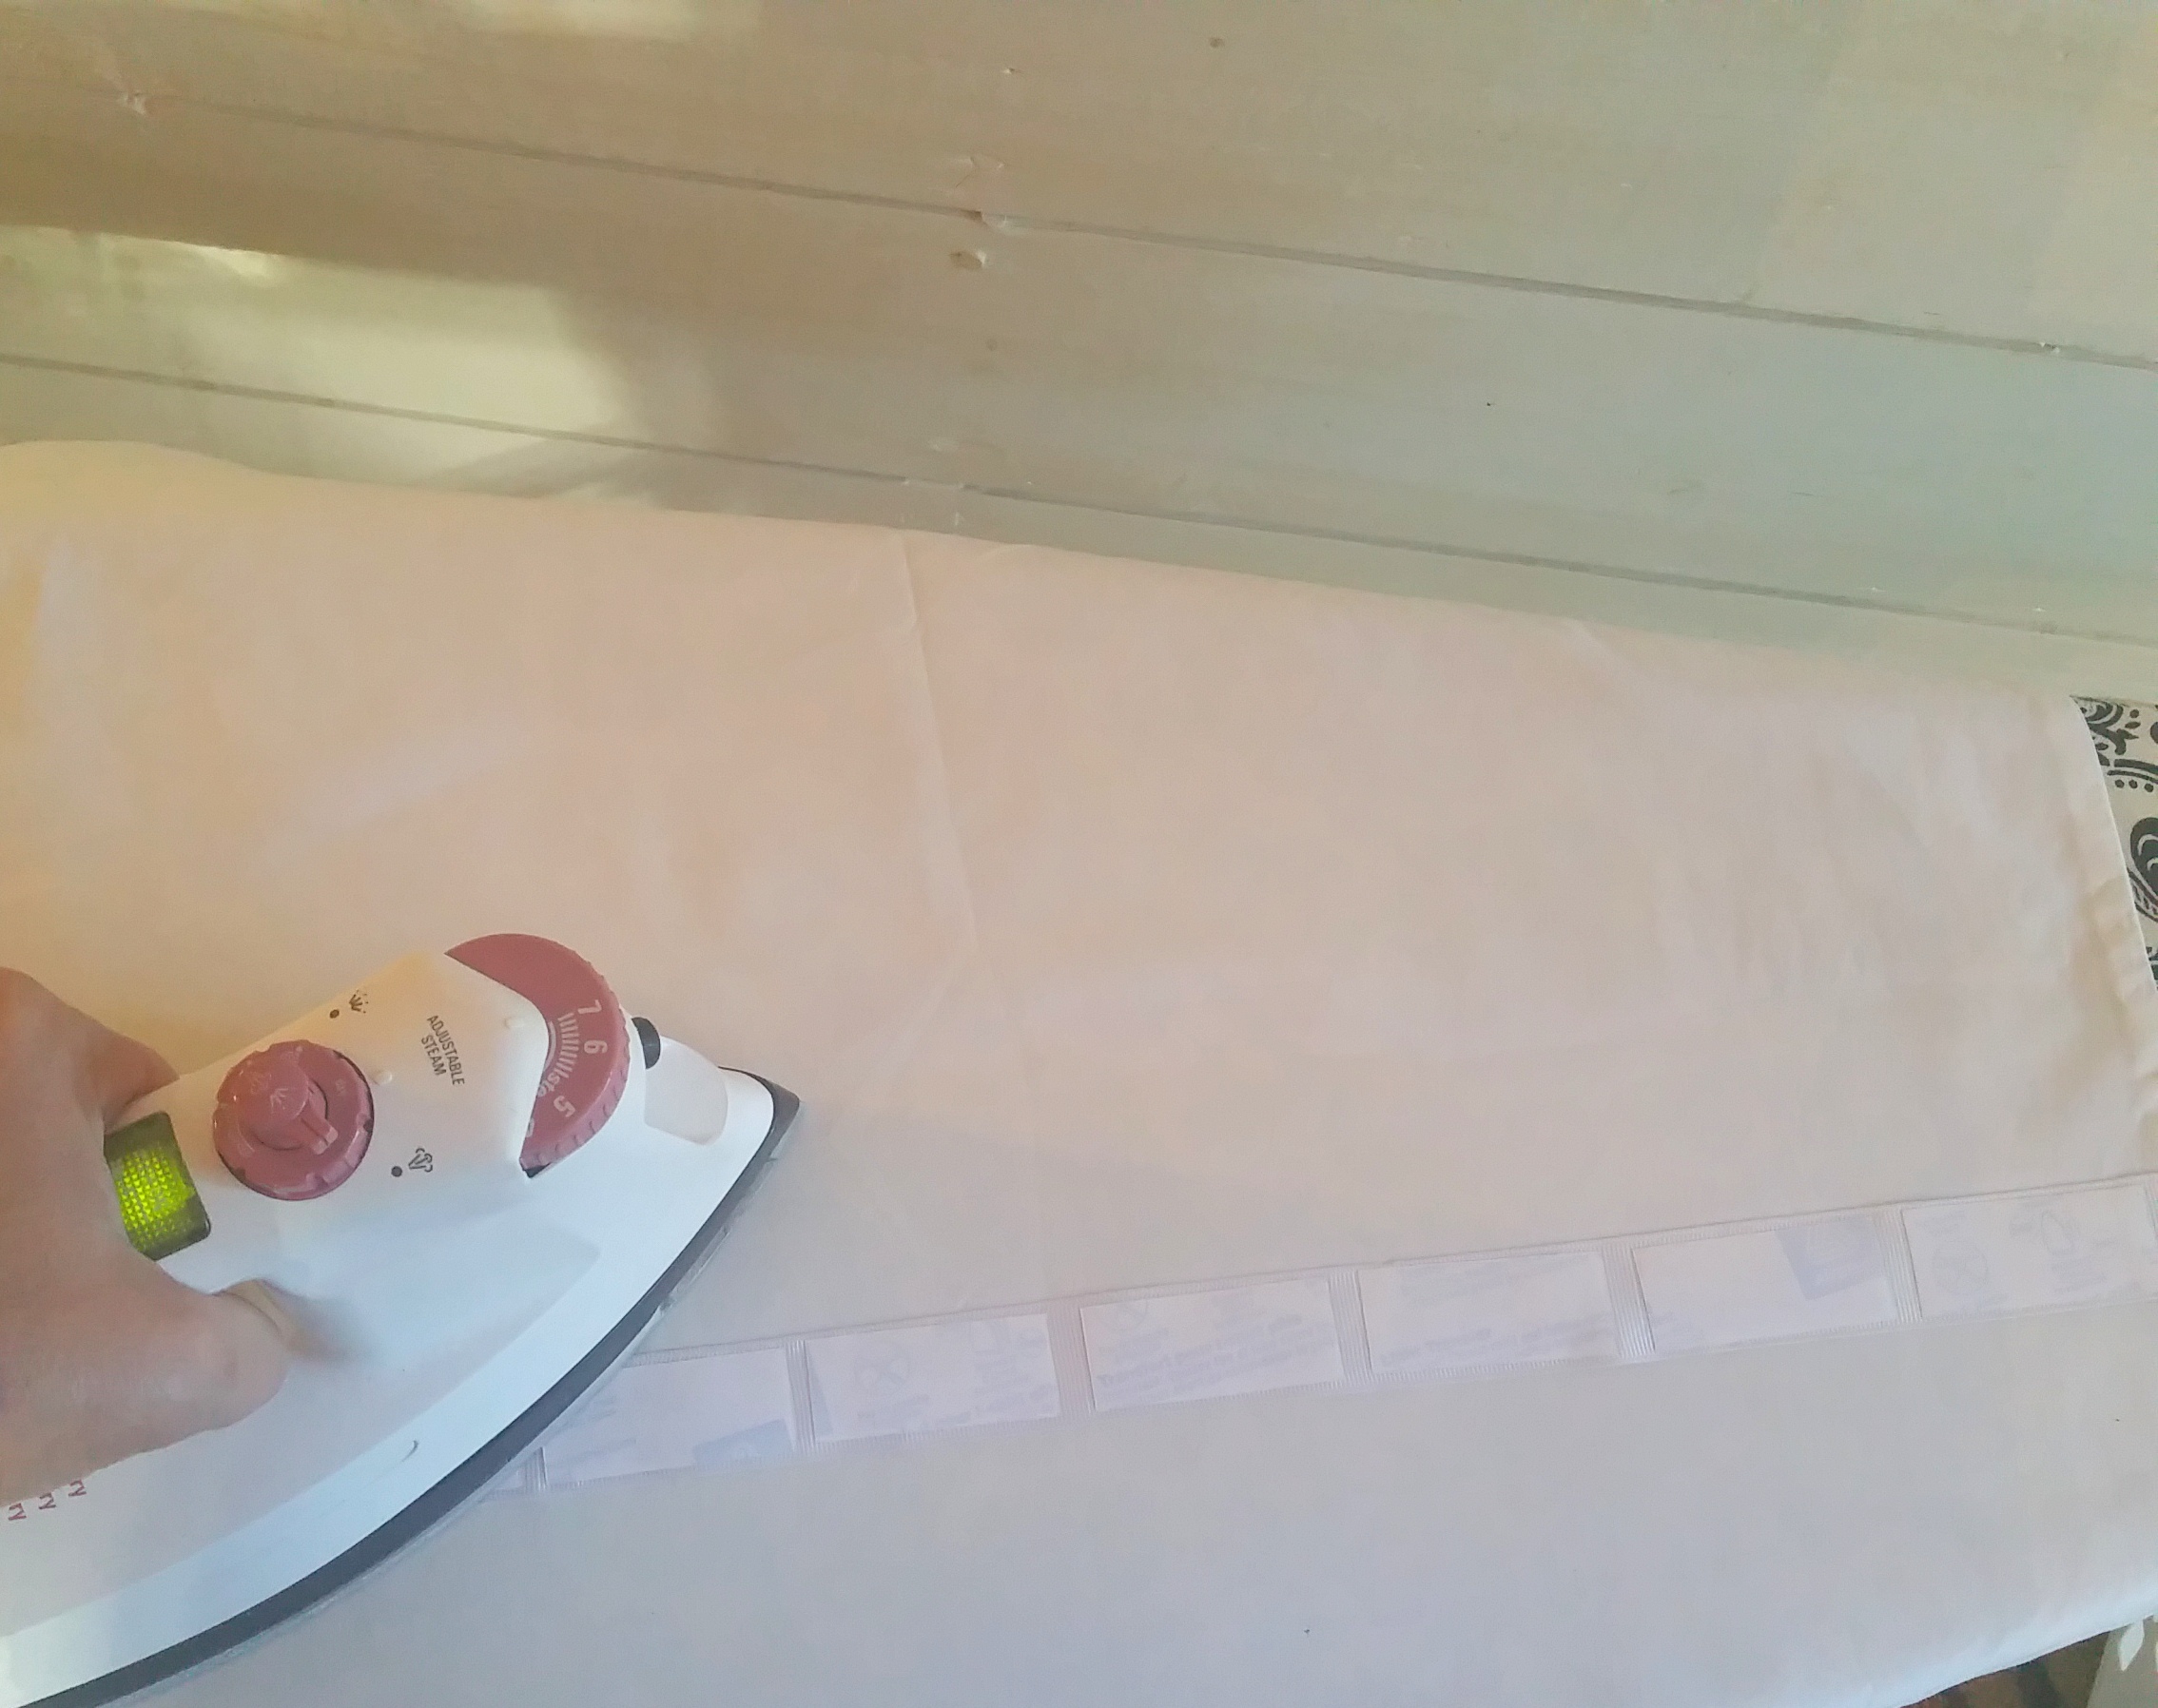
Iron
Needle and thread
optional (clip art)

I started by creating my template in Photoshop, than I used the “place” tool for the crown. I have made the template now available for my fans here 🙂 So you can now open it up and just type in the name you want with custom font for your princess or prince. You can also take out the crown and add your own clip-art with the “place” tool.
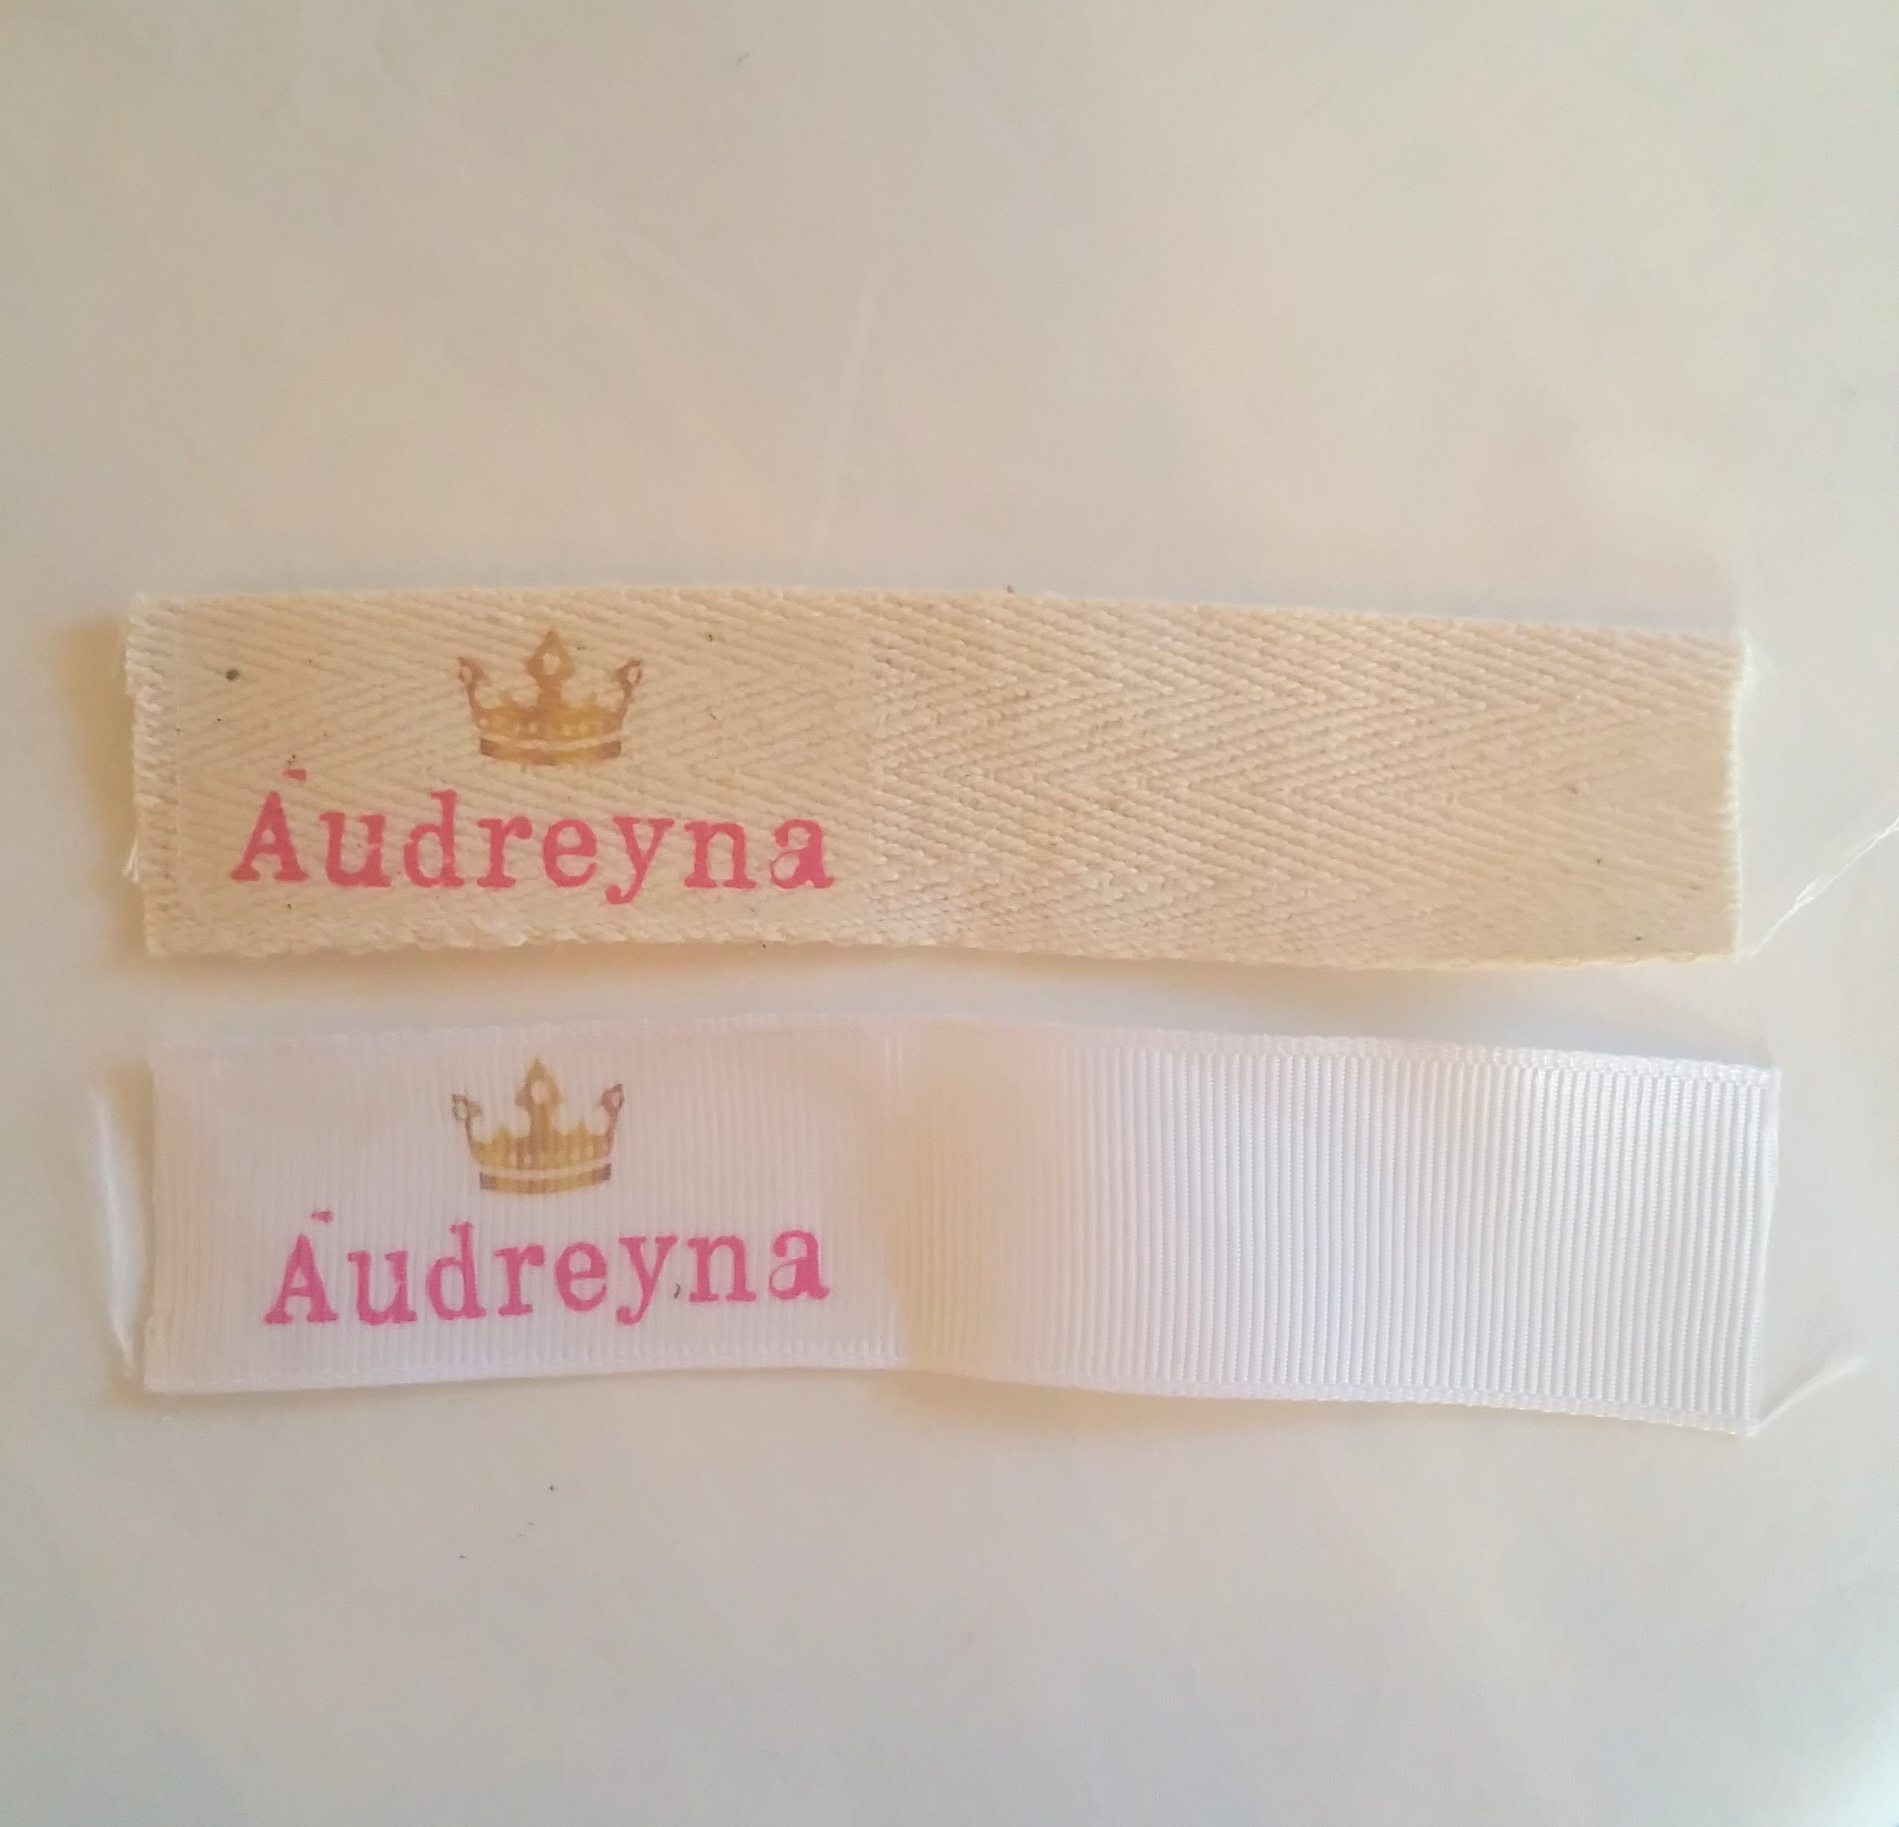
After I printed the template I cut to fit the ribbon strips. Now, because I am a thriftier and save all scraps of ribbons I was able to use natural colored heavy ribbon and some white silk ribbon that came with some napkins I purchased – SCORE! Therefore that eliminated the purchase of a roll of ribbon for this project. Follow the Avery instructions for iron on transfer and it’s important to wait for the cool time. You can even leave the back of the strips on and peel when your ready to use them.

Some tips –
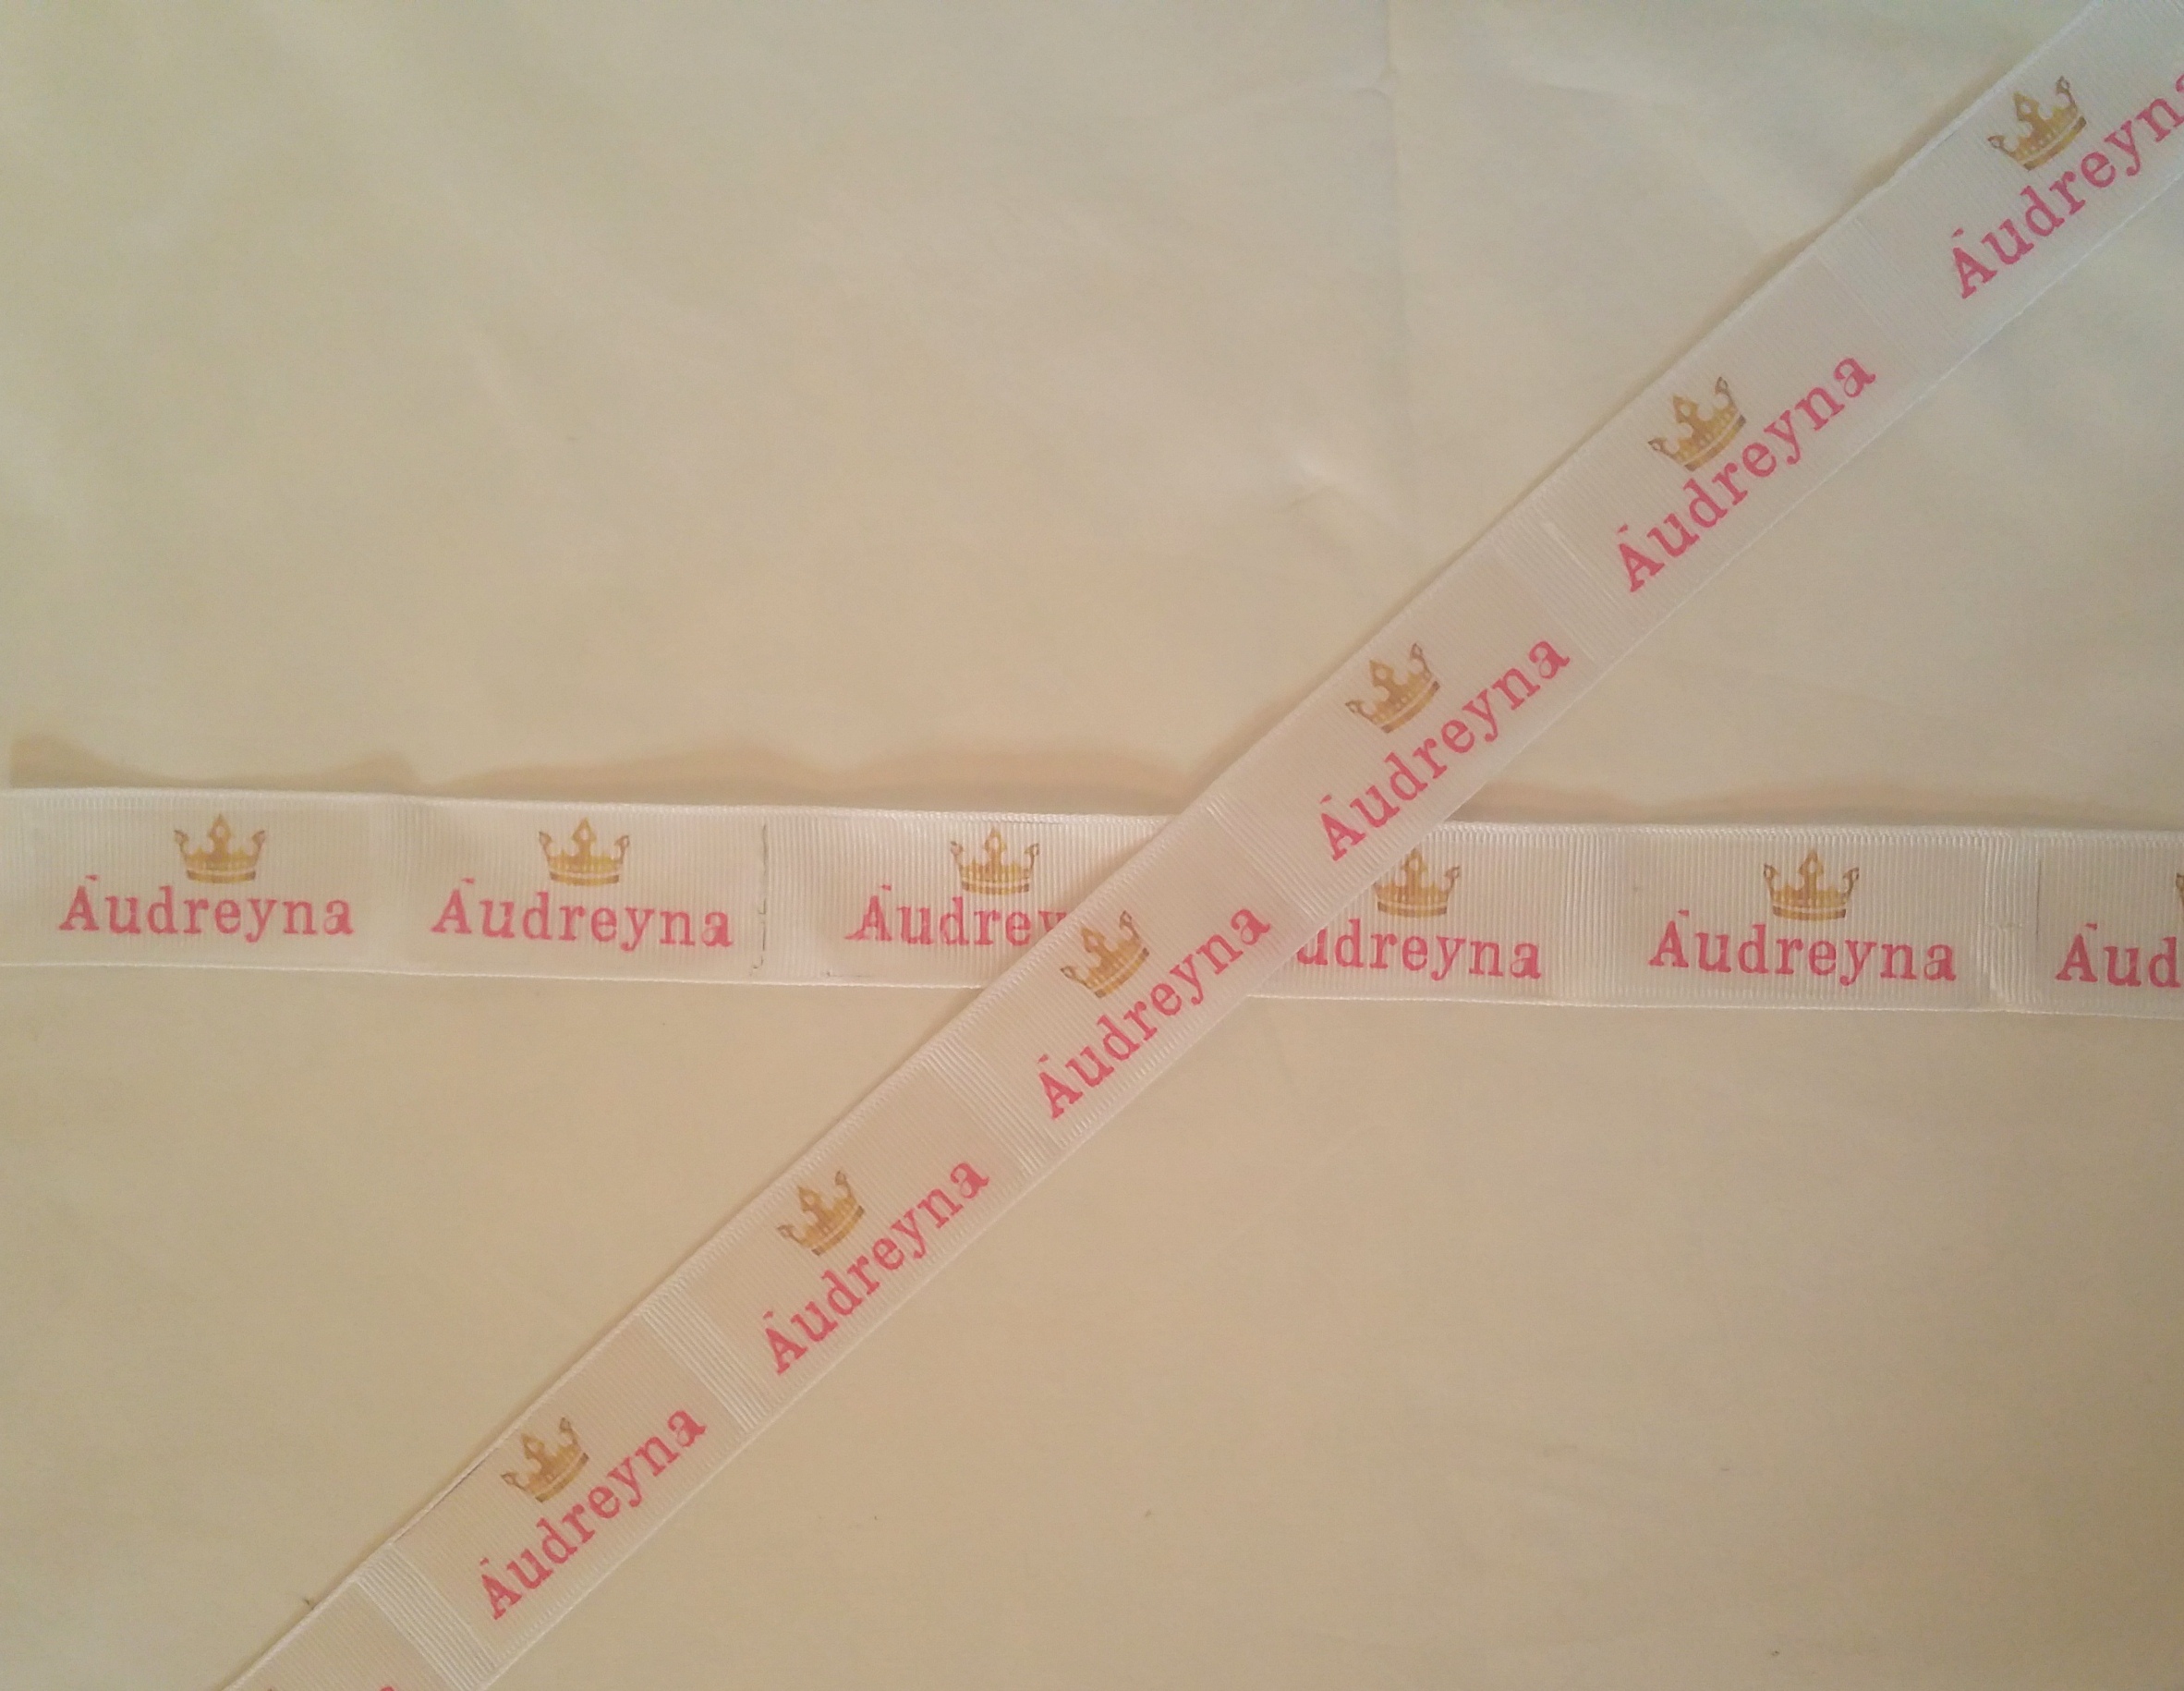
- Make sure you use your ‘free transform tool’ to flip your font to horizontal for that mirror image.
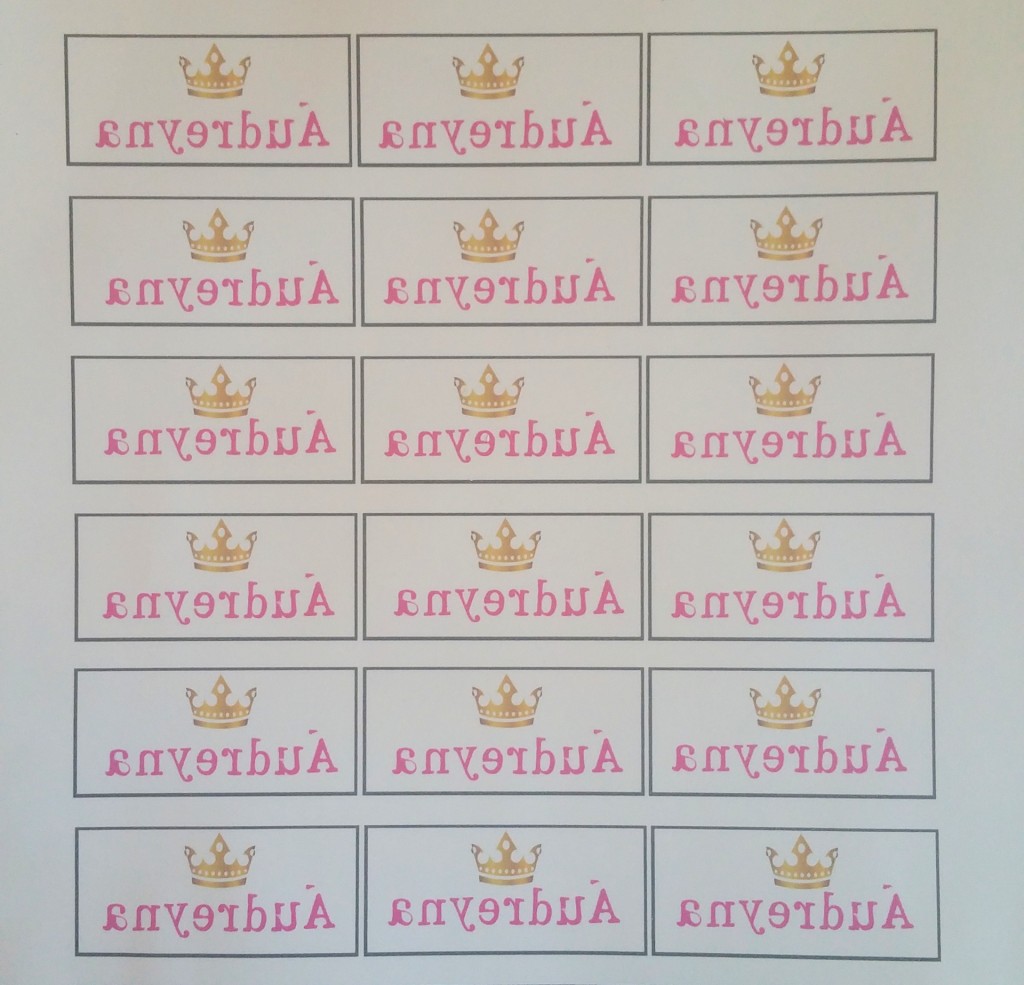
- Just be sure that when you cut the template you cut off all the black as I made the mistake of missing some and it ended up on my design. (take note to the first column on the lft side on the bottom you will note the black on the ribbon)

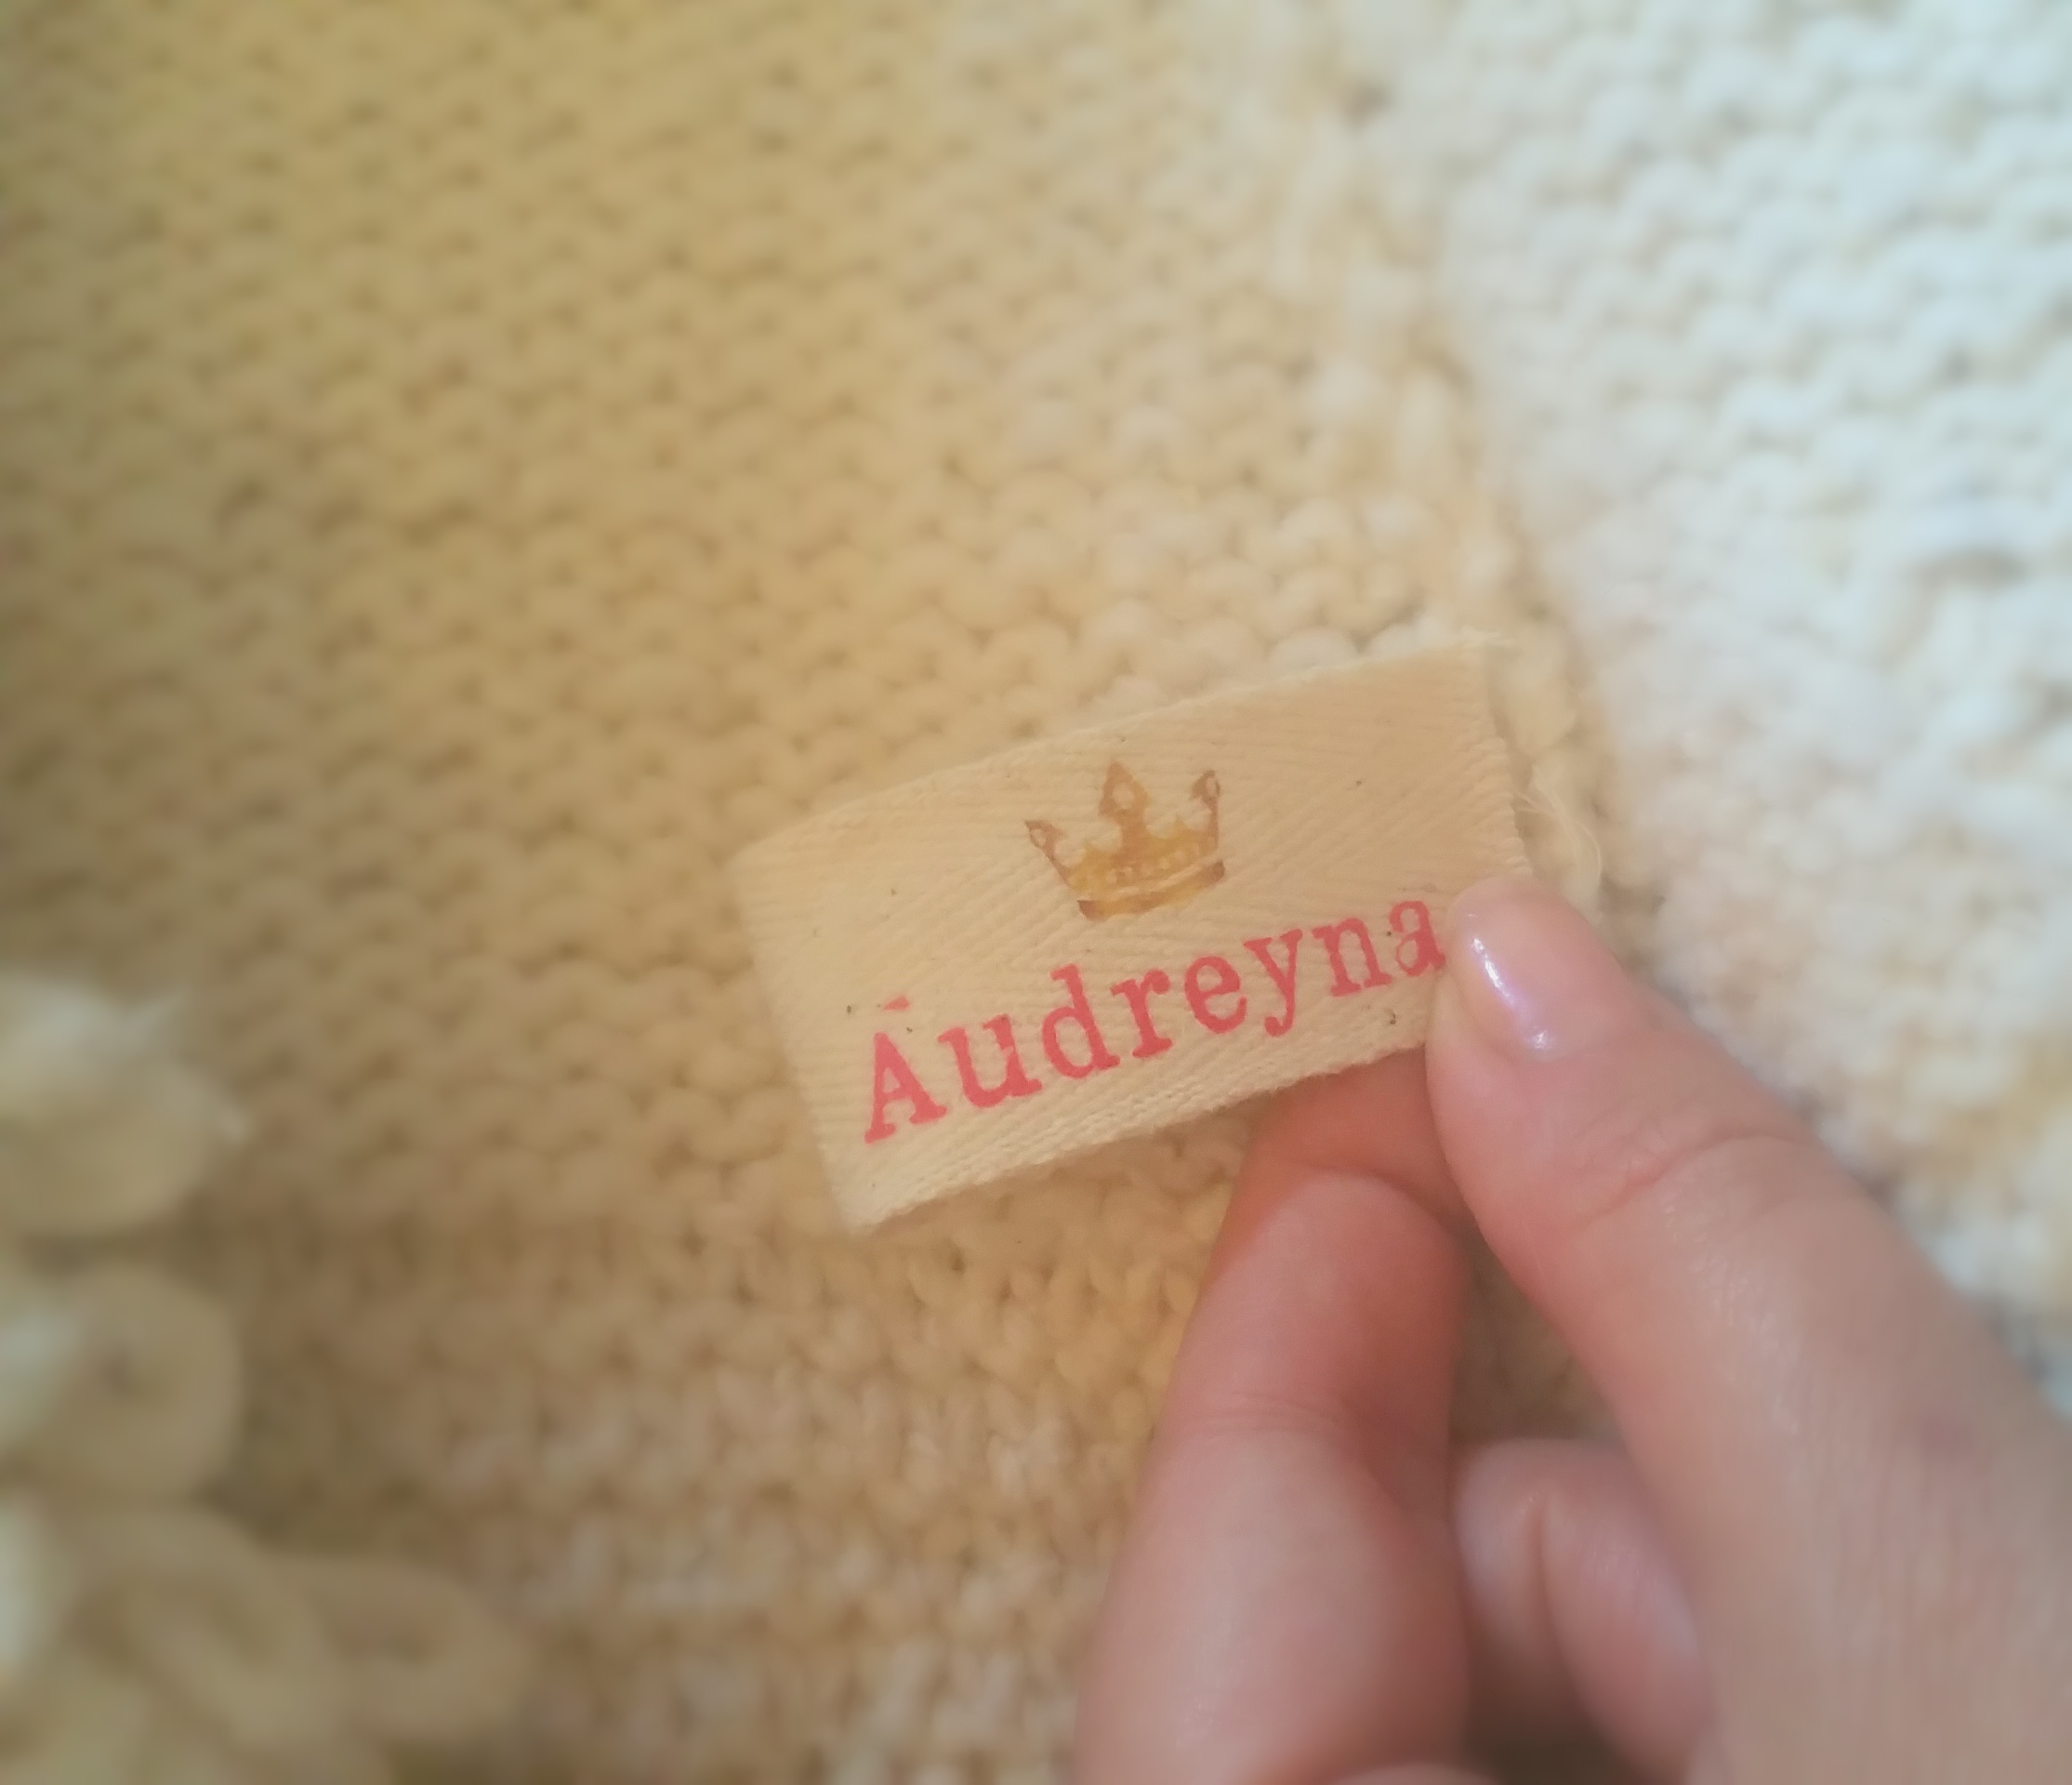
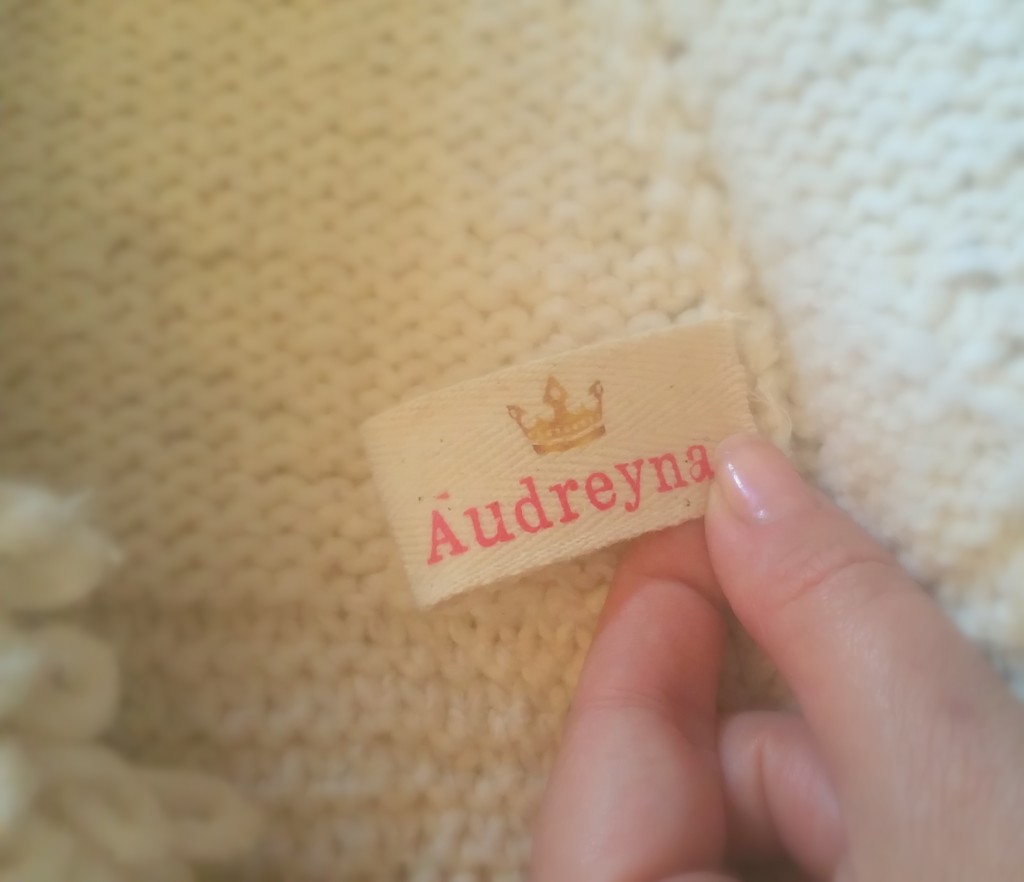
You can attach on the back or make them like a tab for the sides of the garment.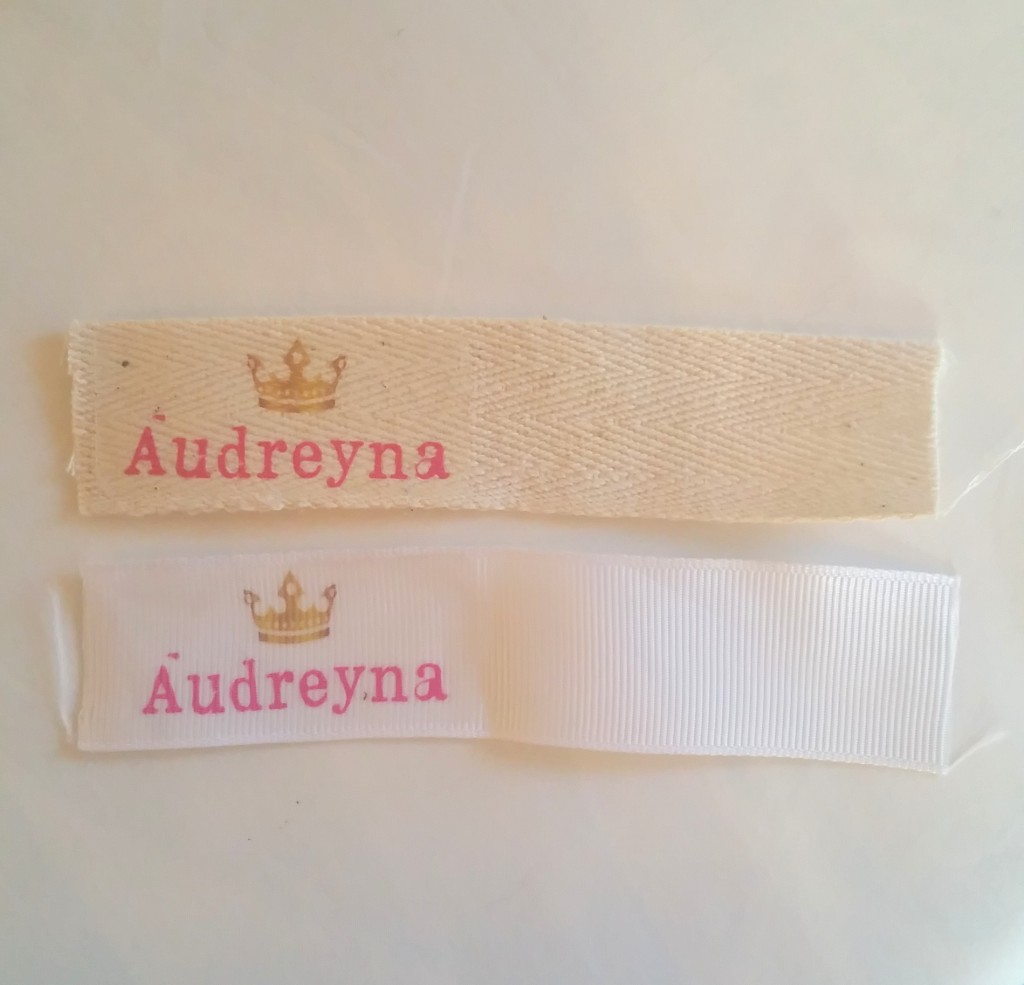
I hope you enjoy my free template I created for you little pretties and feel free to comment and let me know how yours turned out. 🙂