Personalize and Celebrate in your own style
Happy New Year All!
This post I wanted to get up in December but it turns out it benefited me to wait after the New Year as I am able to share two sample ideas in one blog post.
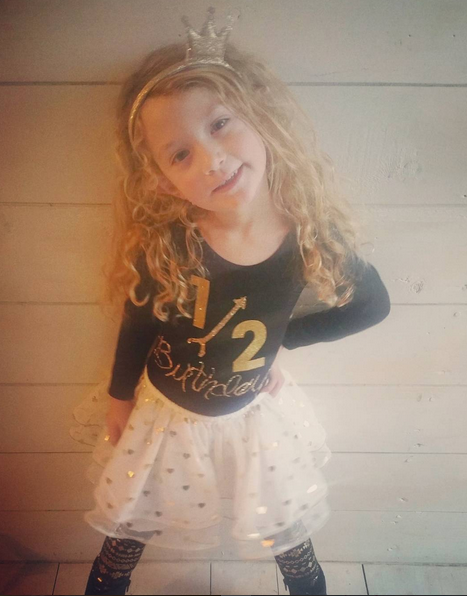
Here goes… Some of my friends caught some images of my daughter on my personal Instagram account with her 1/2 birthday and asked me a bunch of questions about her attire. Yes you read that correct. 1/2! My daughter could not wait to turn 4 1/2 as most of her friends are older than her and apparently when you are 4 every second of getting more mature and independent counts! Oh to be young again , because all I do is try forget my age when people ask!
With some thought and deliberation I decided that my daughters excited feelings of this day has to be acknowledged in a tasteful way without breaking the bank. After all each moment of a child’s life should be celebrated if they care enough about it enough because you’ll never get it back again.
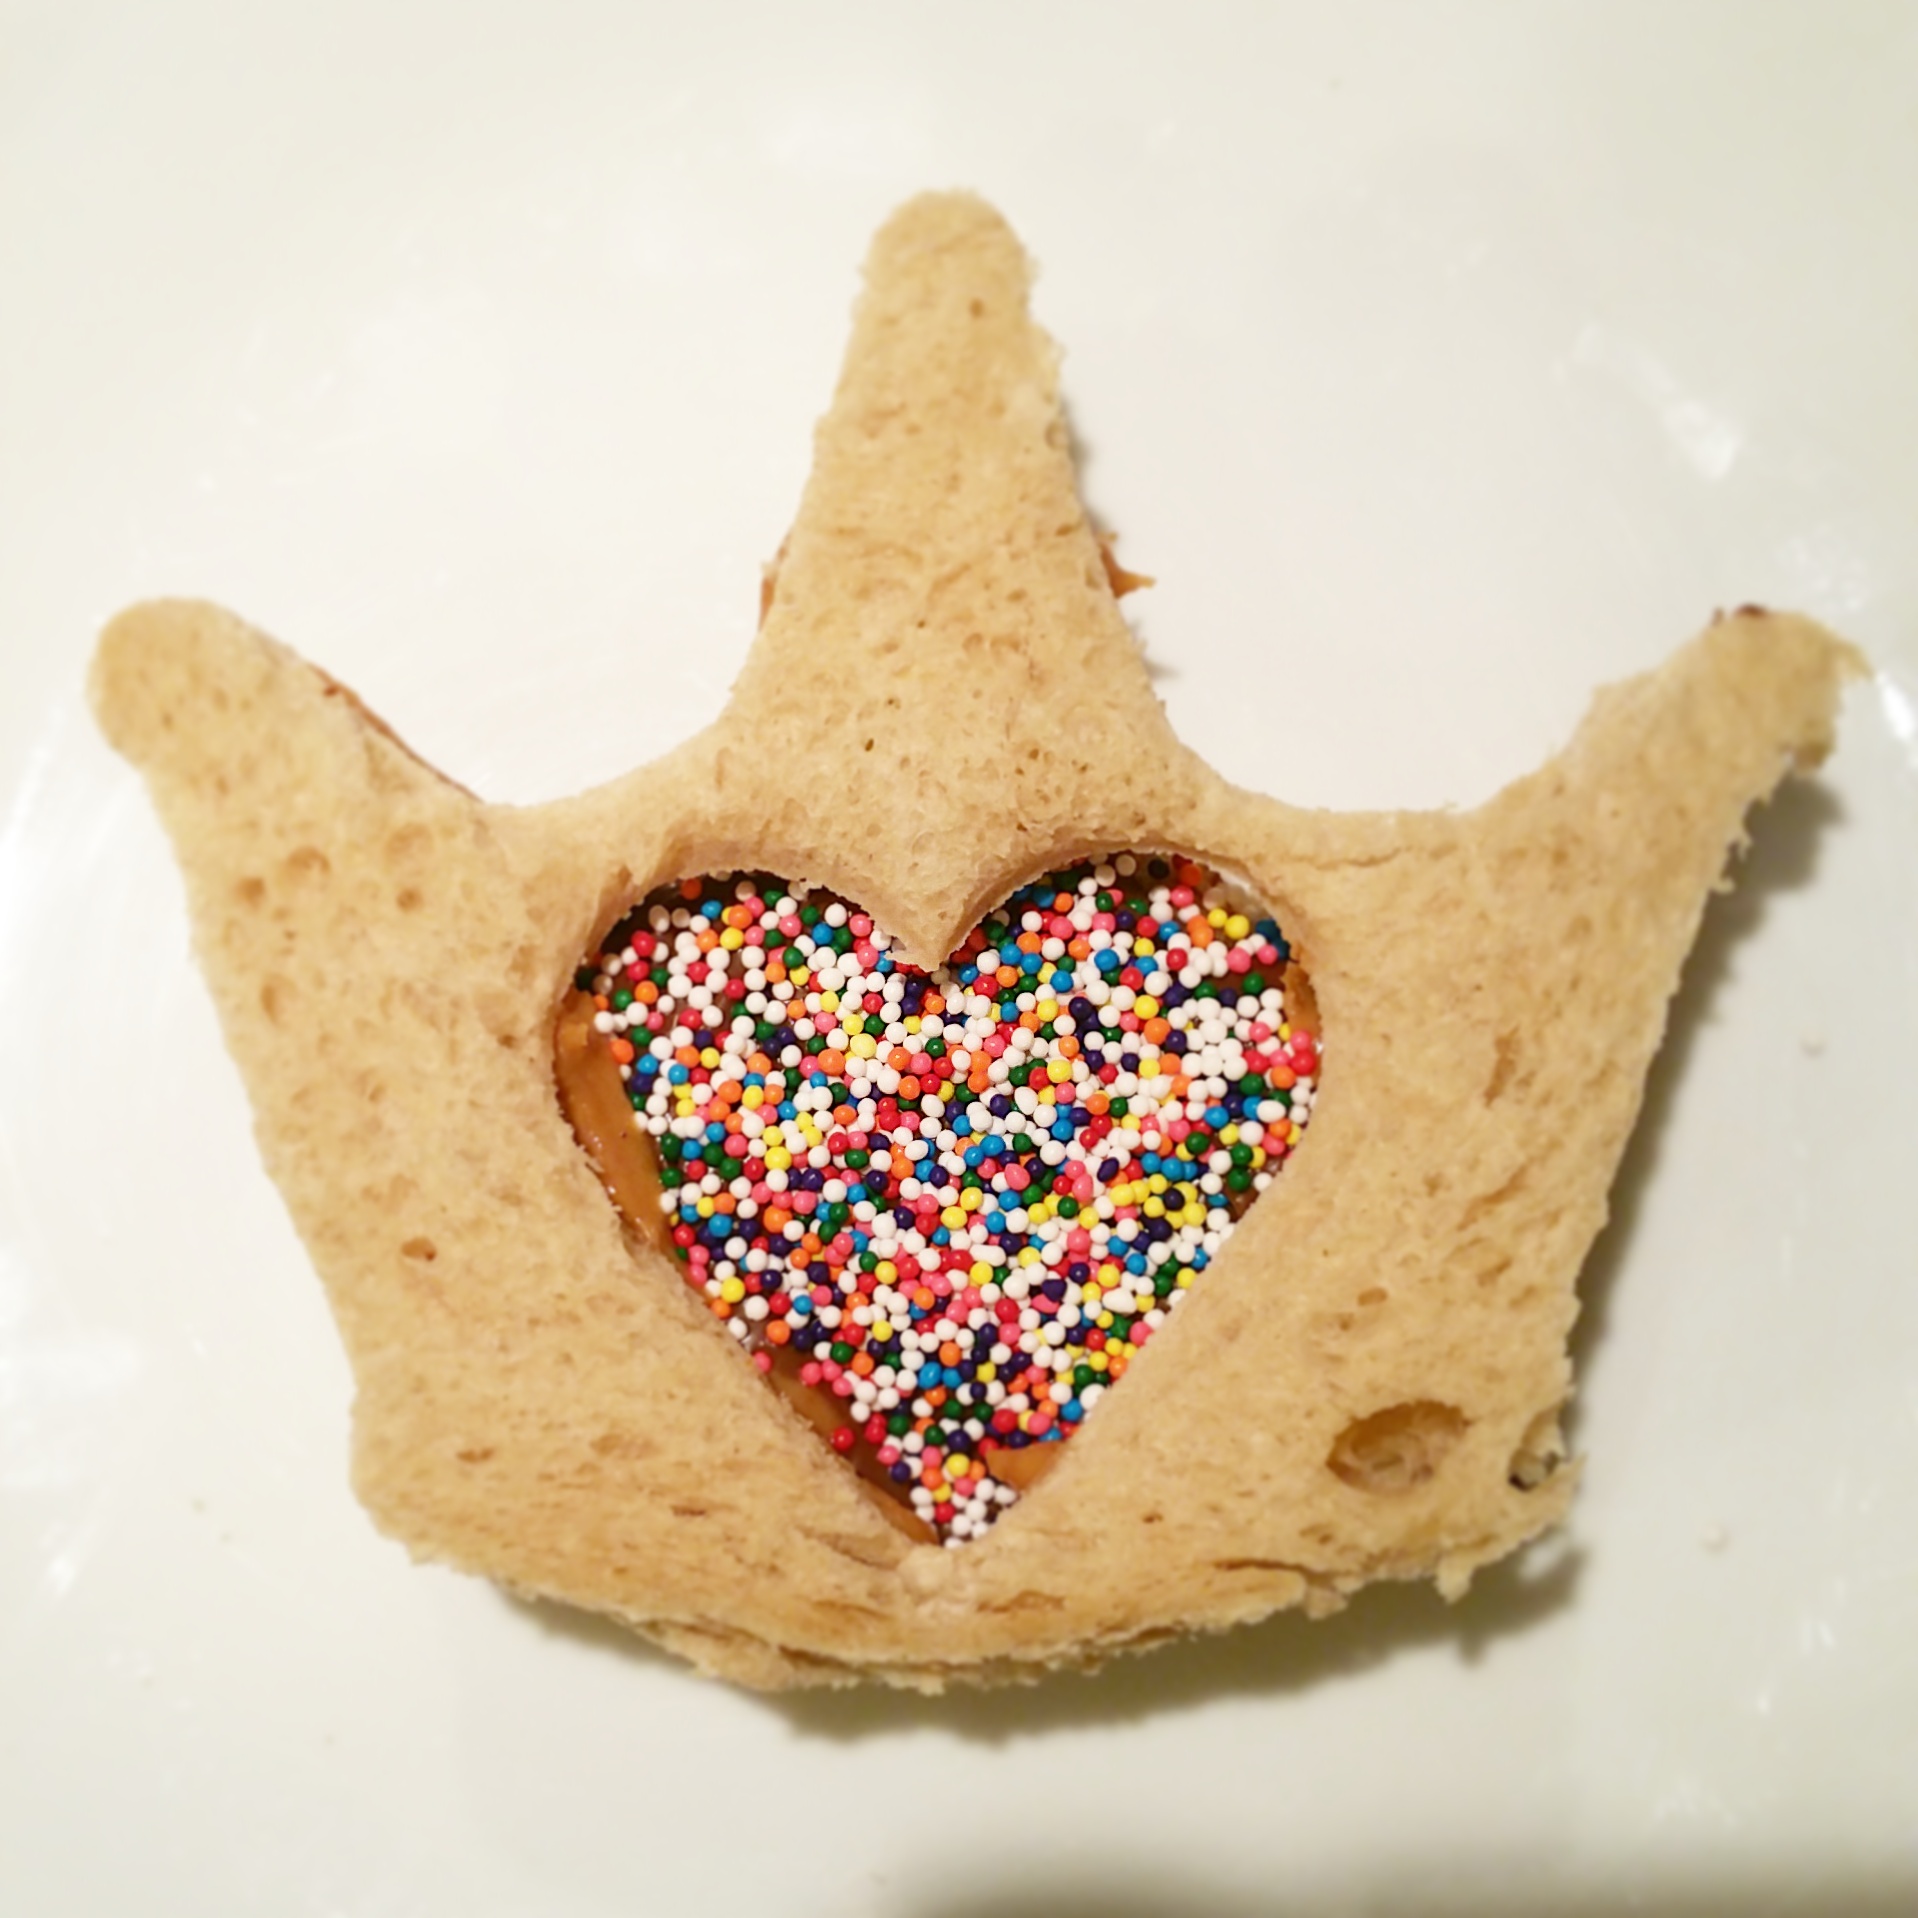
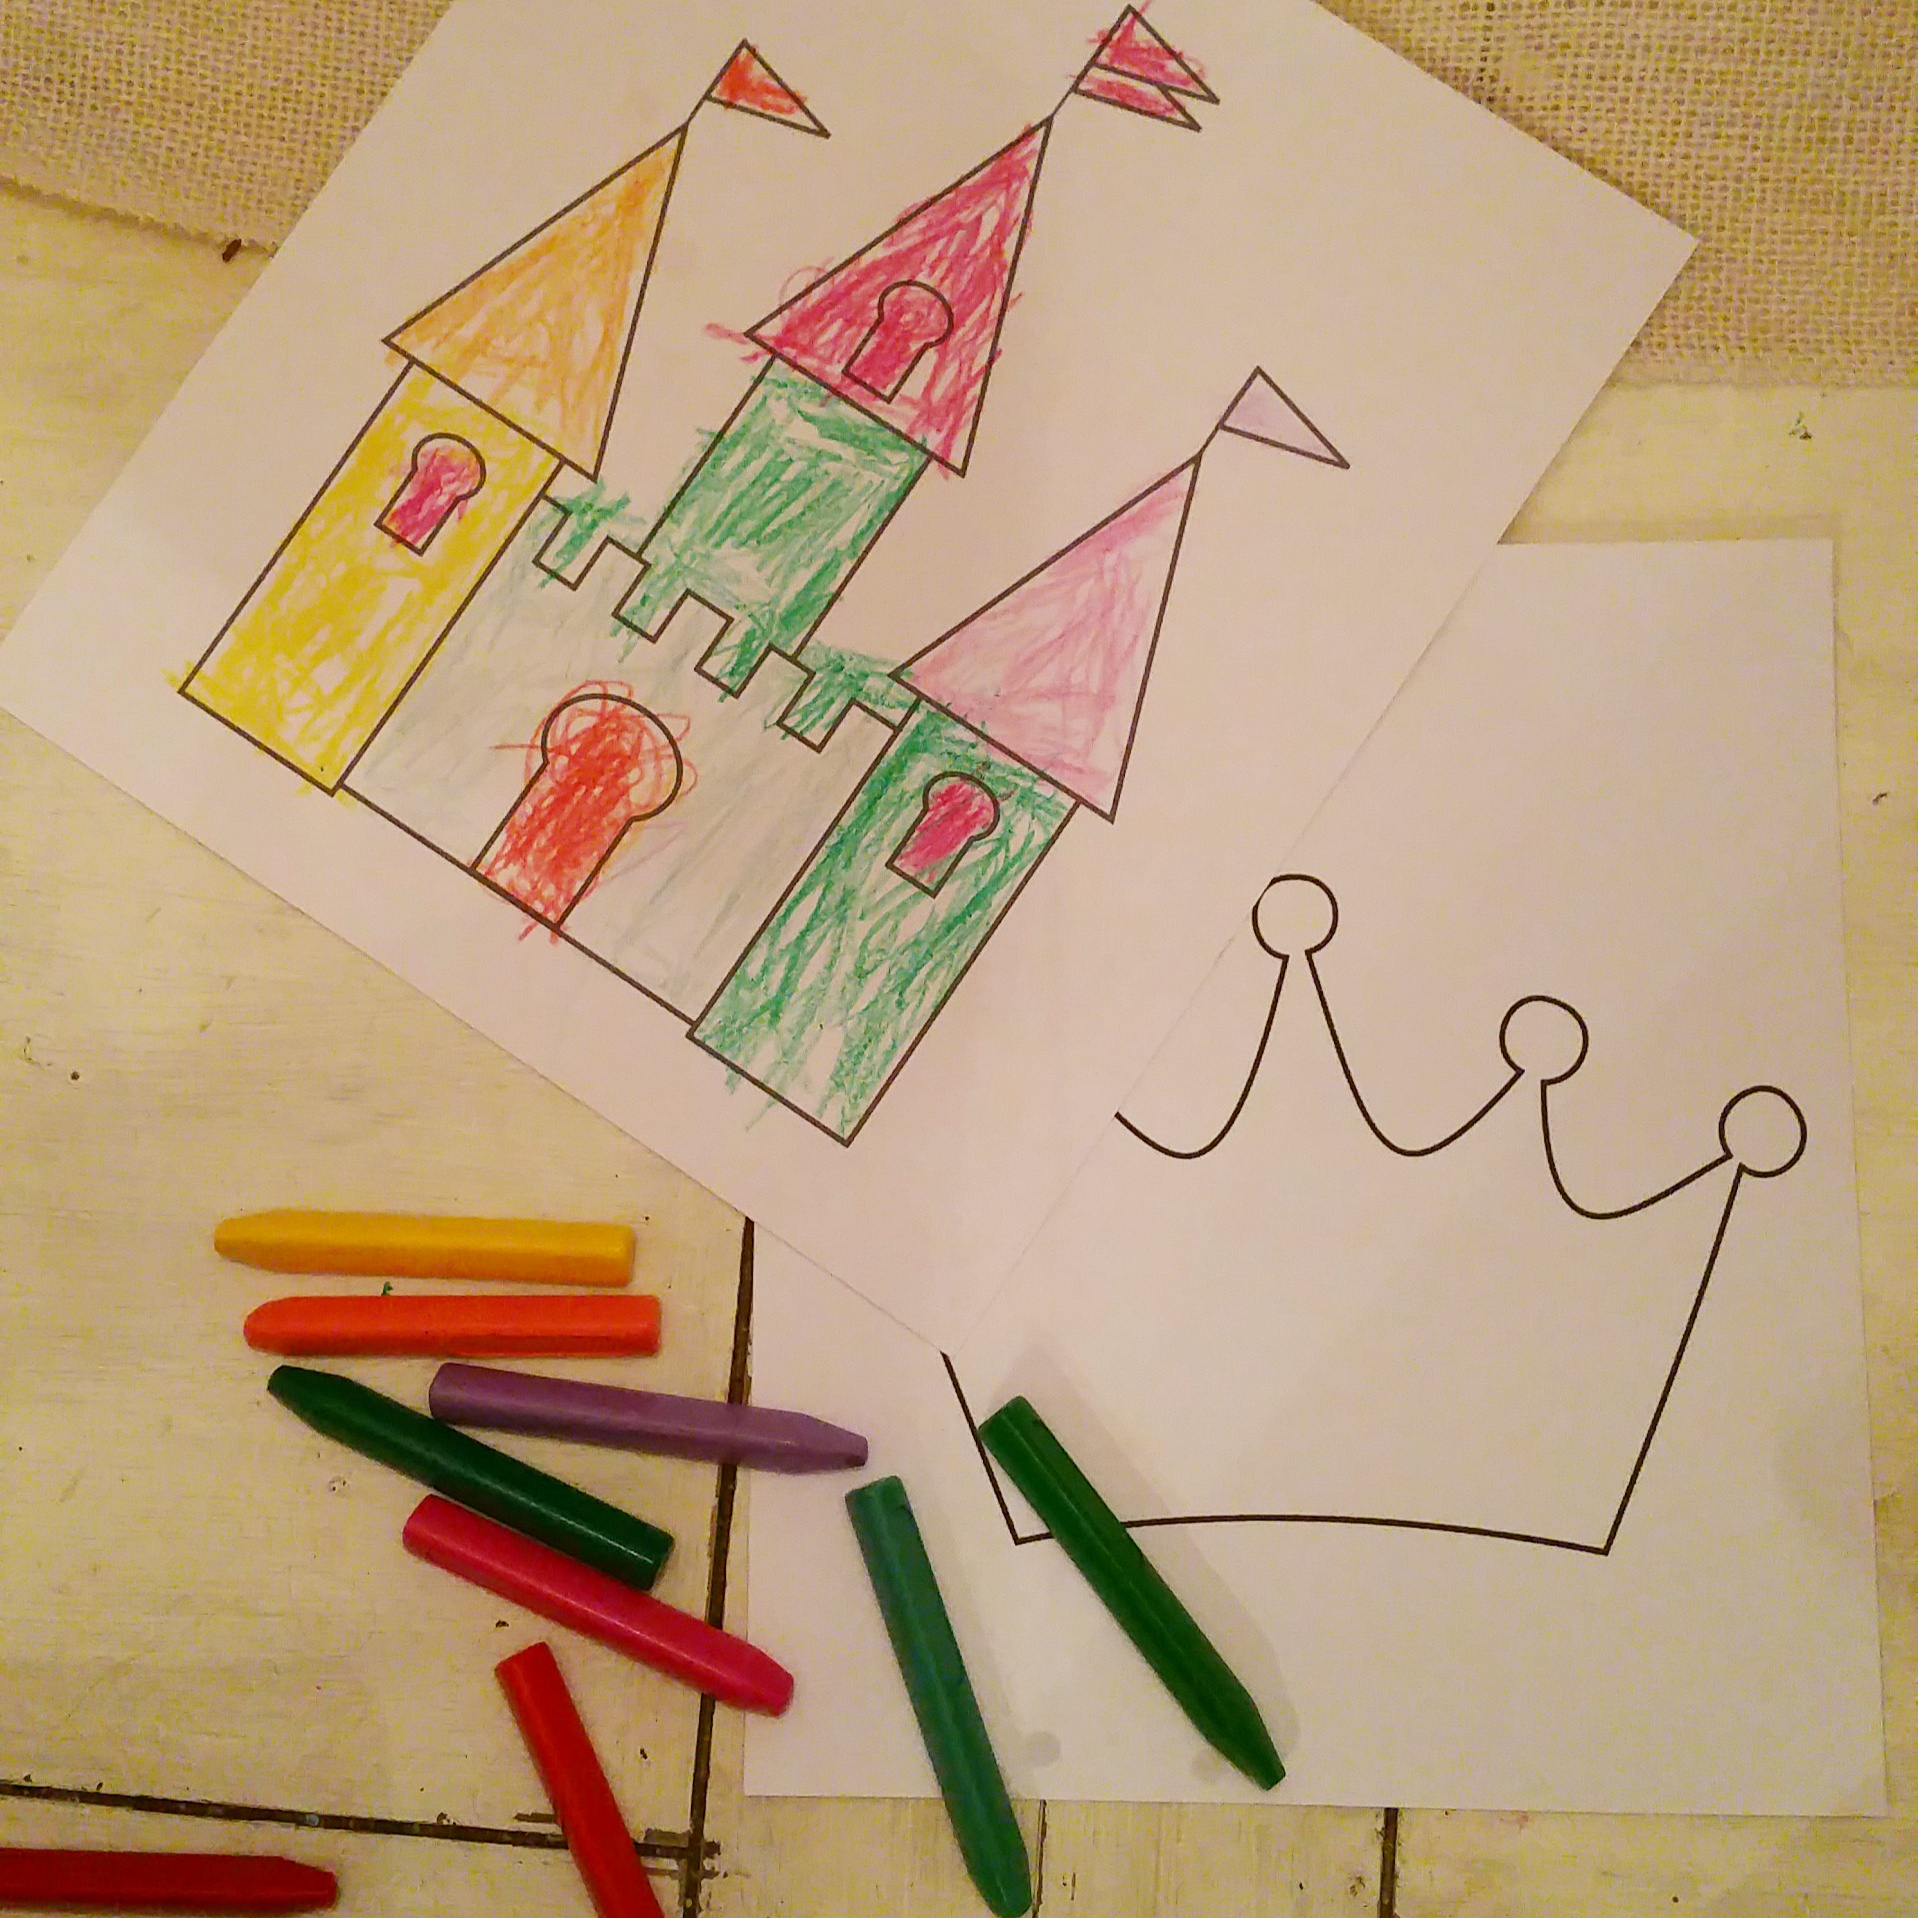
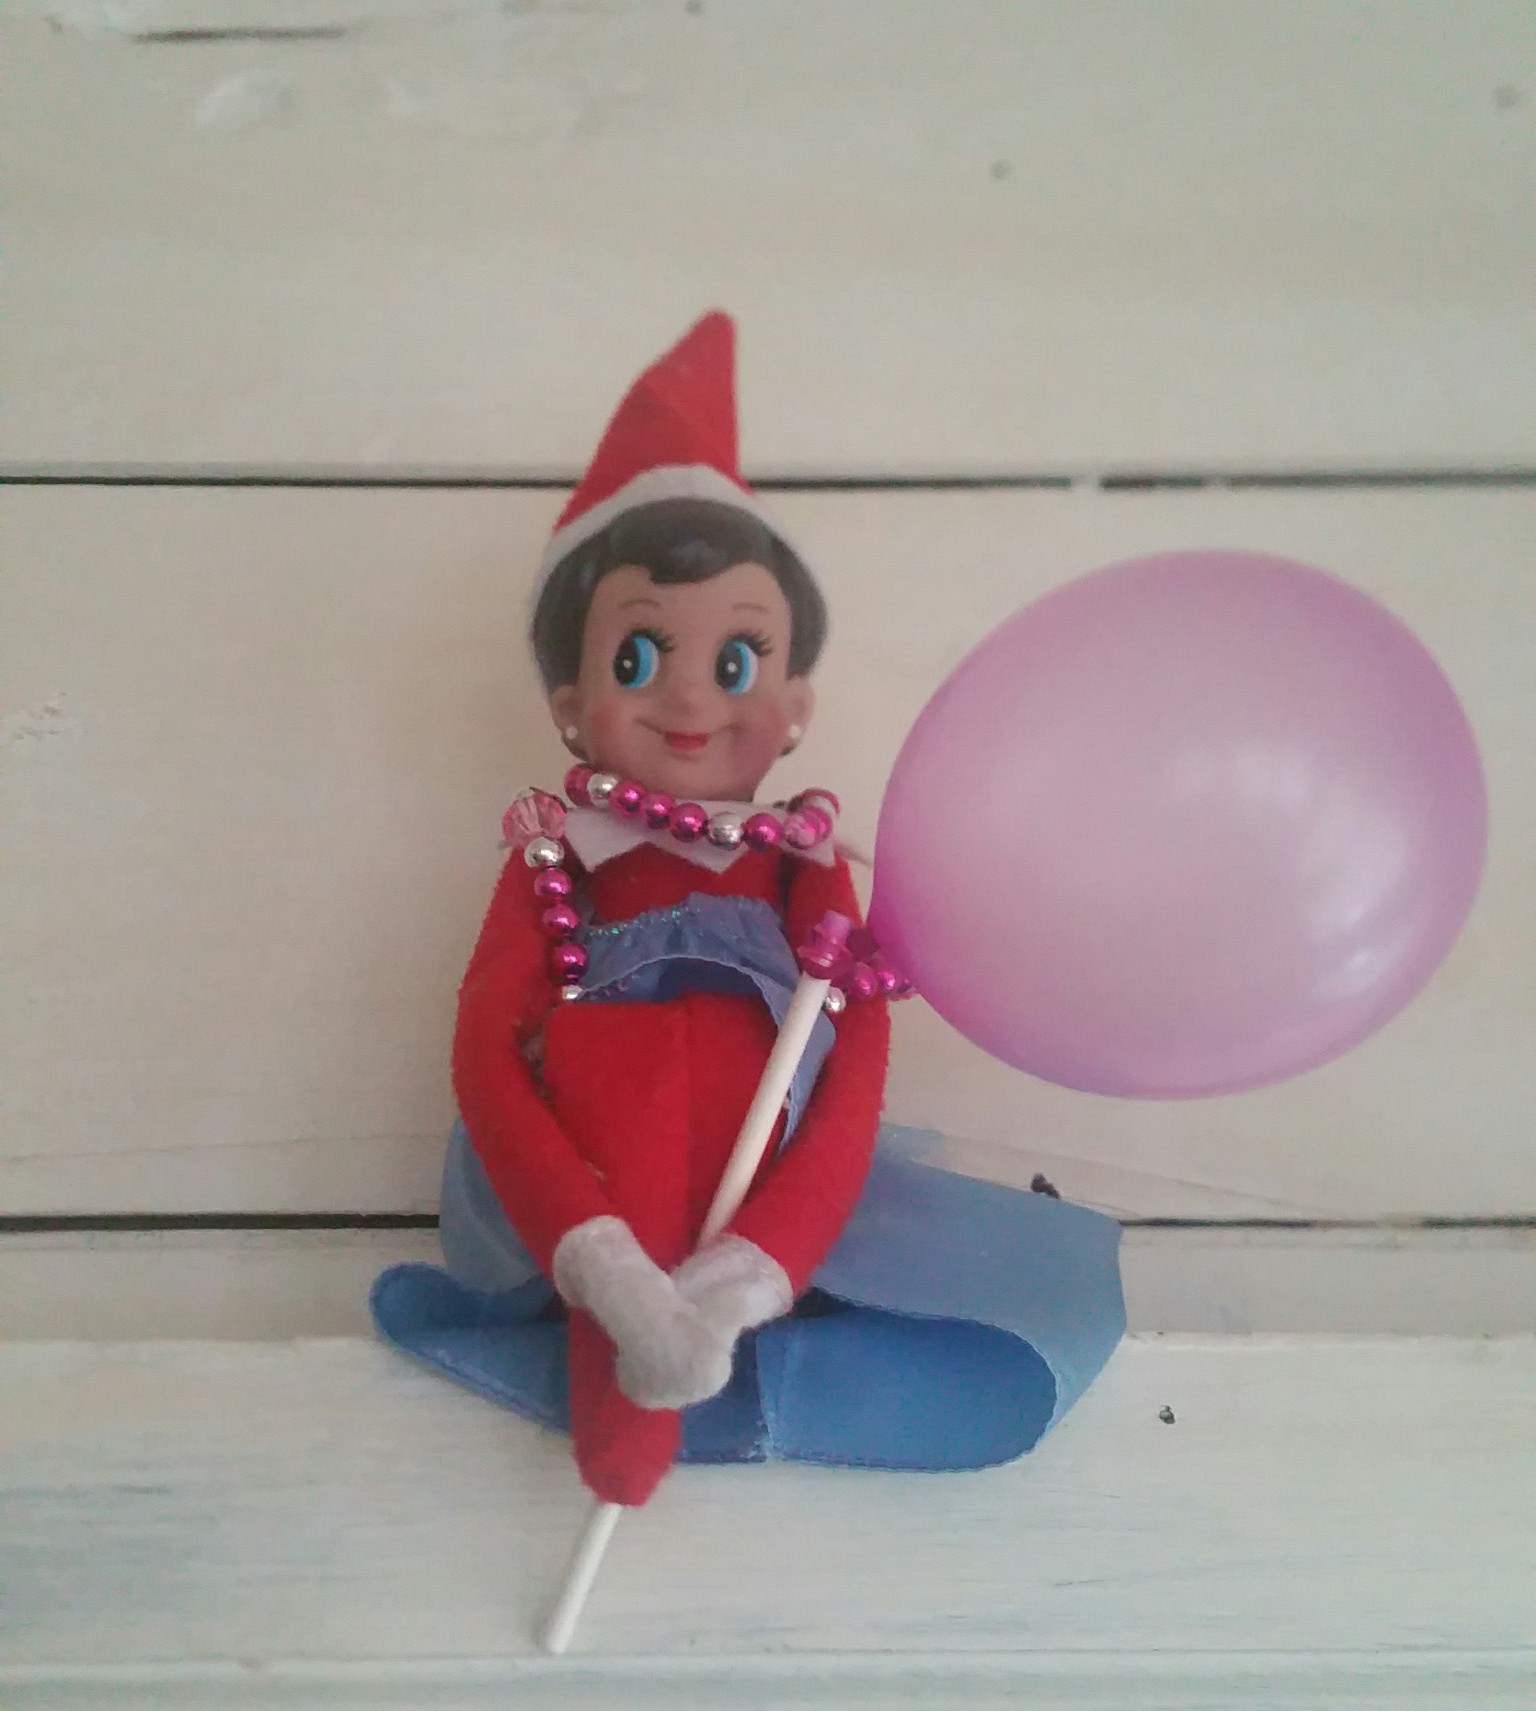
My simple ideas with some pizzazz were hanging glitter pink balloons, organizing a surprise special friend over for a play-date. I also made crown window sprinkle nutella sandwiches, printed castle and crown images for color time and because it was Christmas time our Elf “Ellie” got dressed in her princess dolls dress. I used bracelets as a necklace for added glamour & blew up a water balloon and put it on a chocolate pop stick. When it came time for cake we had 1/2 of a cake for dessert.


*note candle -melt wax and stick 😉
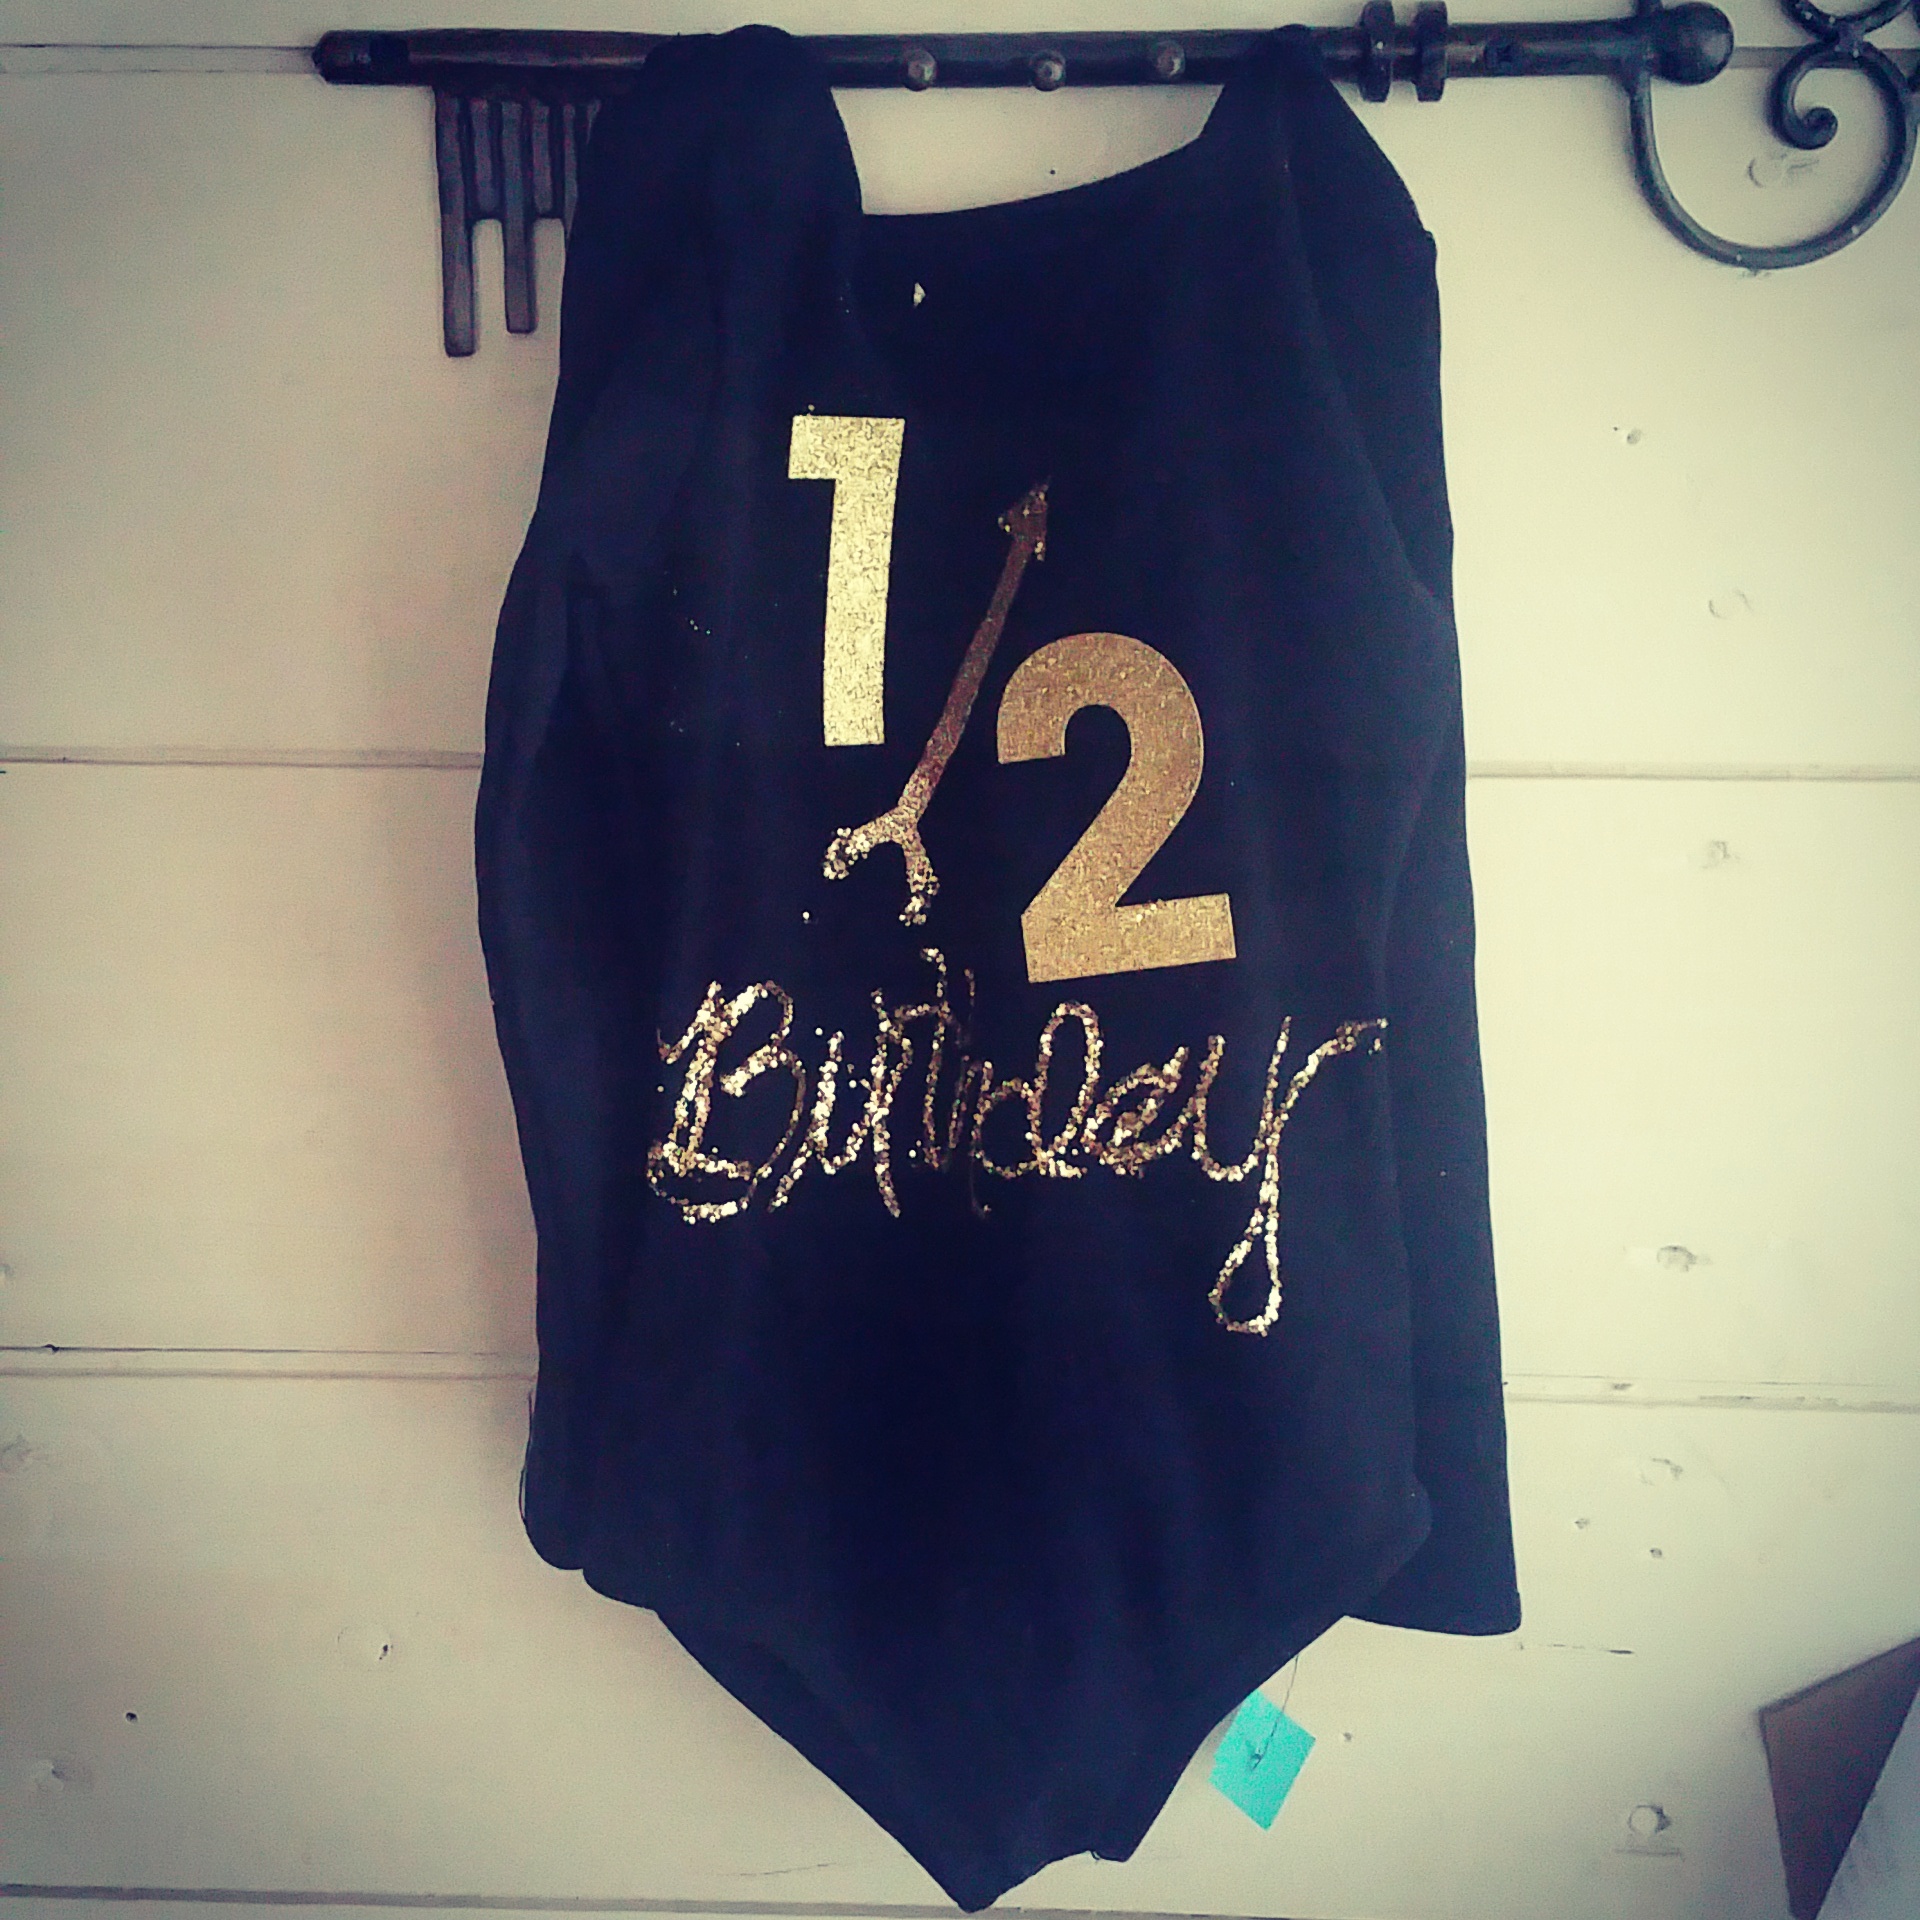
What I also did was do a totally affordable DIY personalized bodysuit for that day that and that is what I am going to address now from that one famous photo on instagram.
What you will need :
1 plain bodysuit (any color)
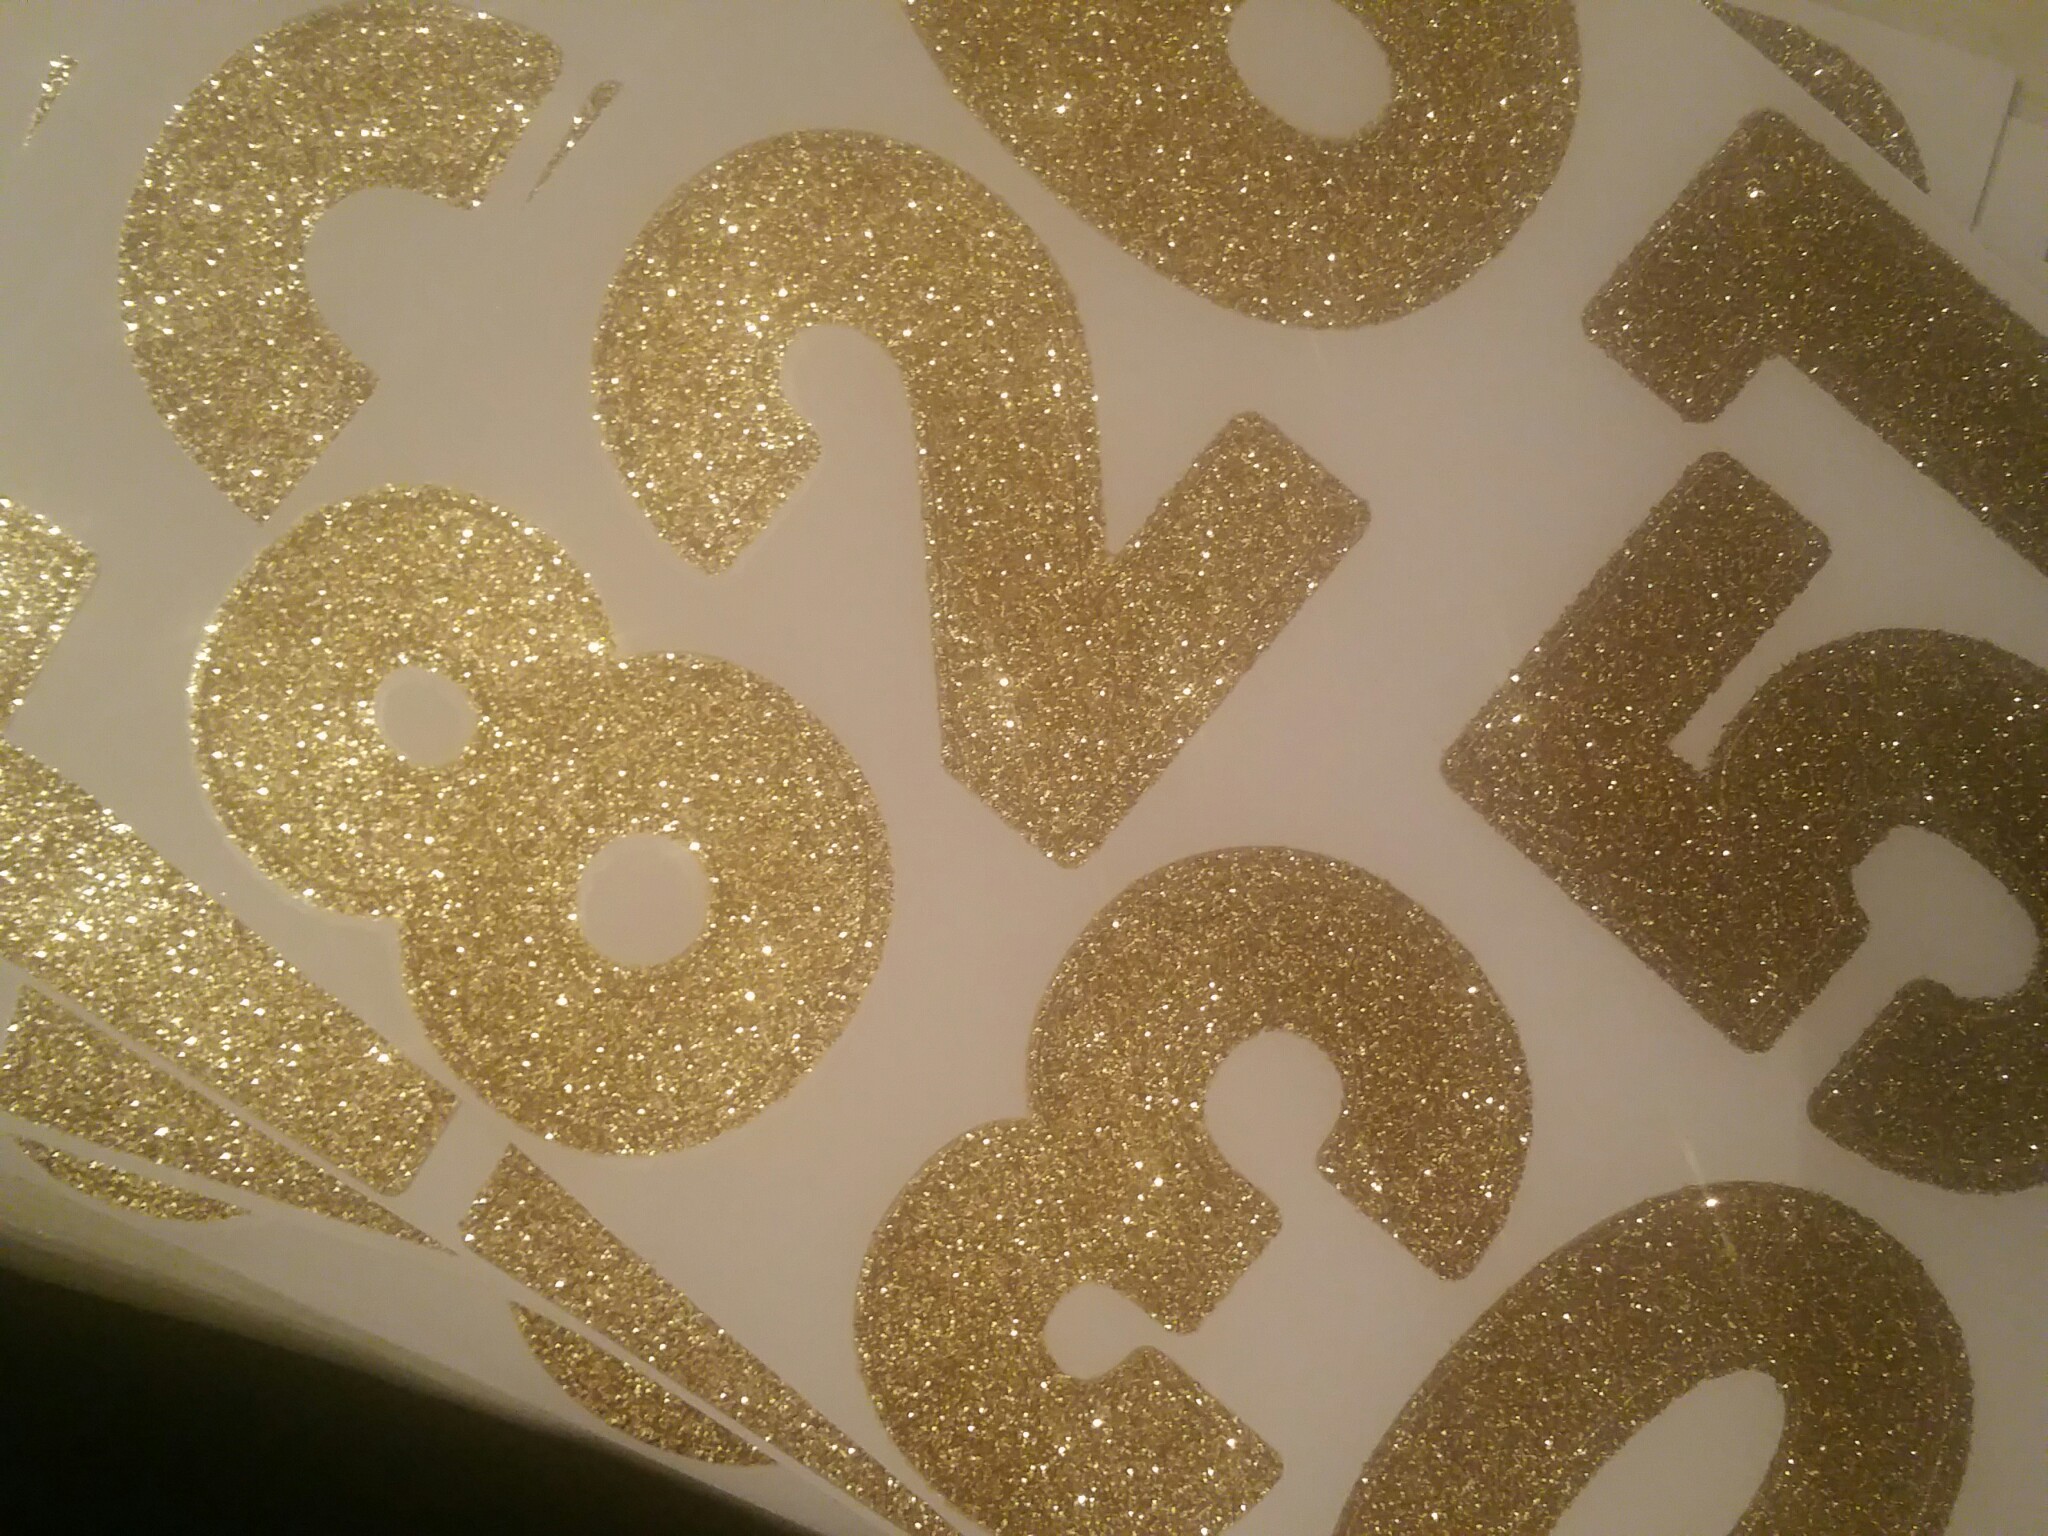
Iron on Stencils or stick on letters (note stick on are temporary will not wash). I chose Gold.
Gold Glitter optional
Elmer’s glue (only if you chose to add glitter)
Fancy tutu of your choice
Above you will note that I mixed both stick on numbers and Glitter.
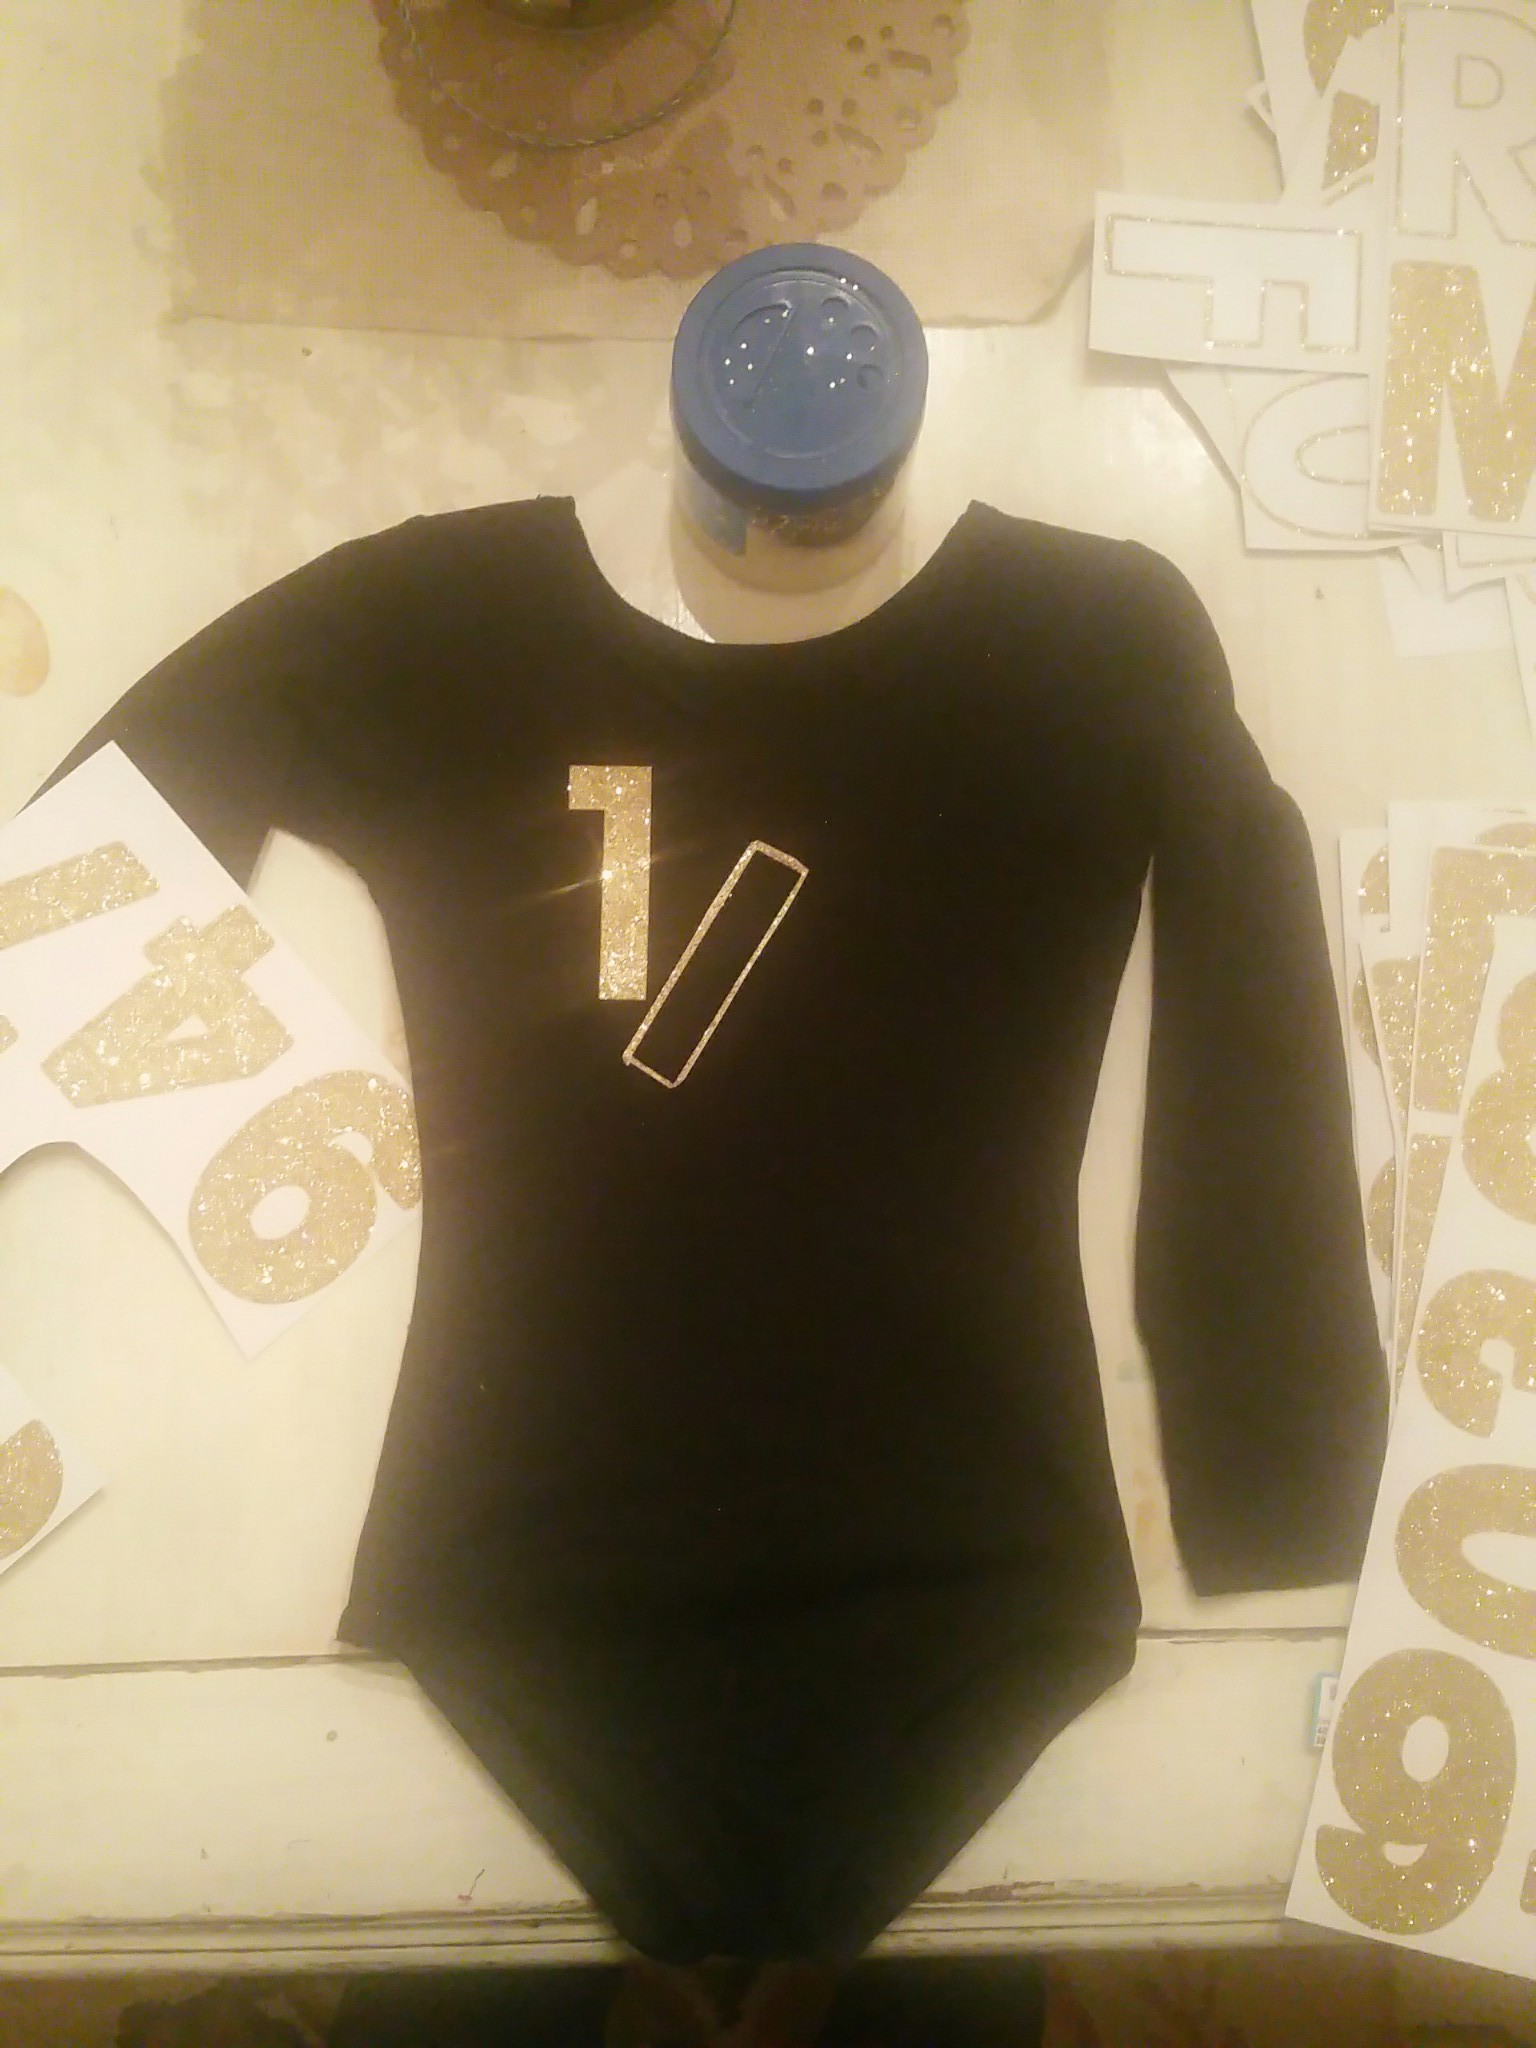
Lay Flat as pictured. Here I started to make for the slash in the half the outline of the lower case letter l. I than realized as I started to work that I had an extra gold arrow and changed it later.
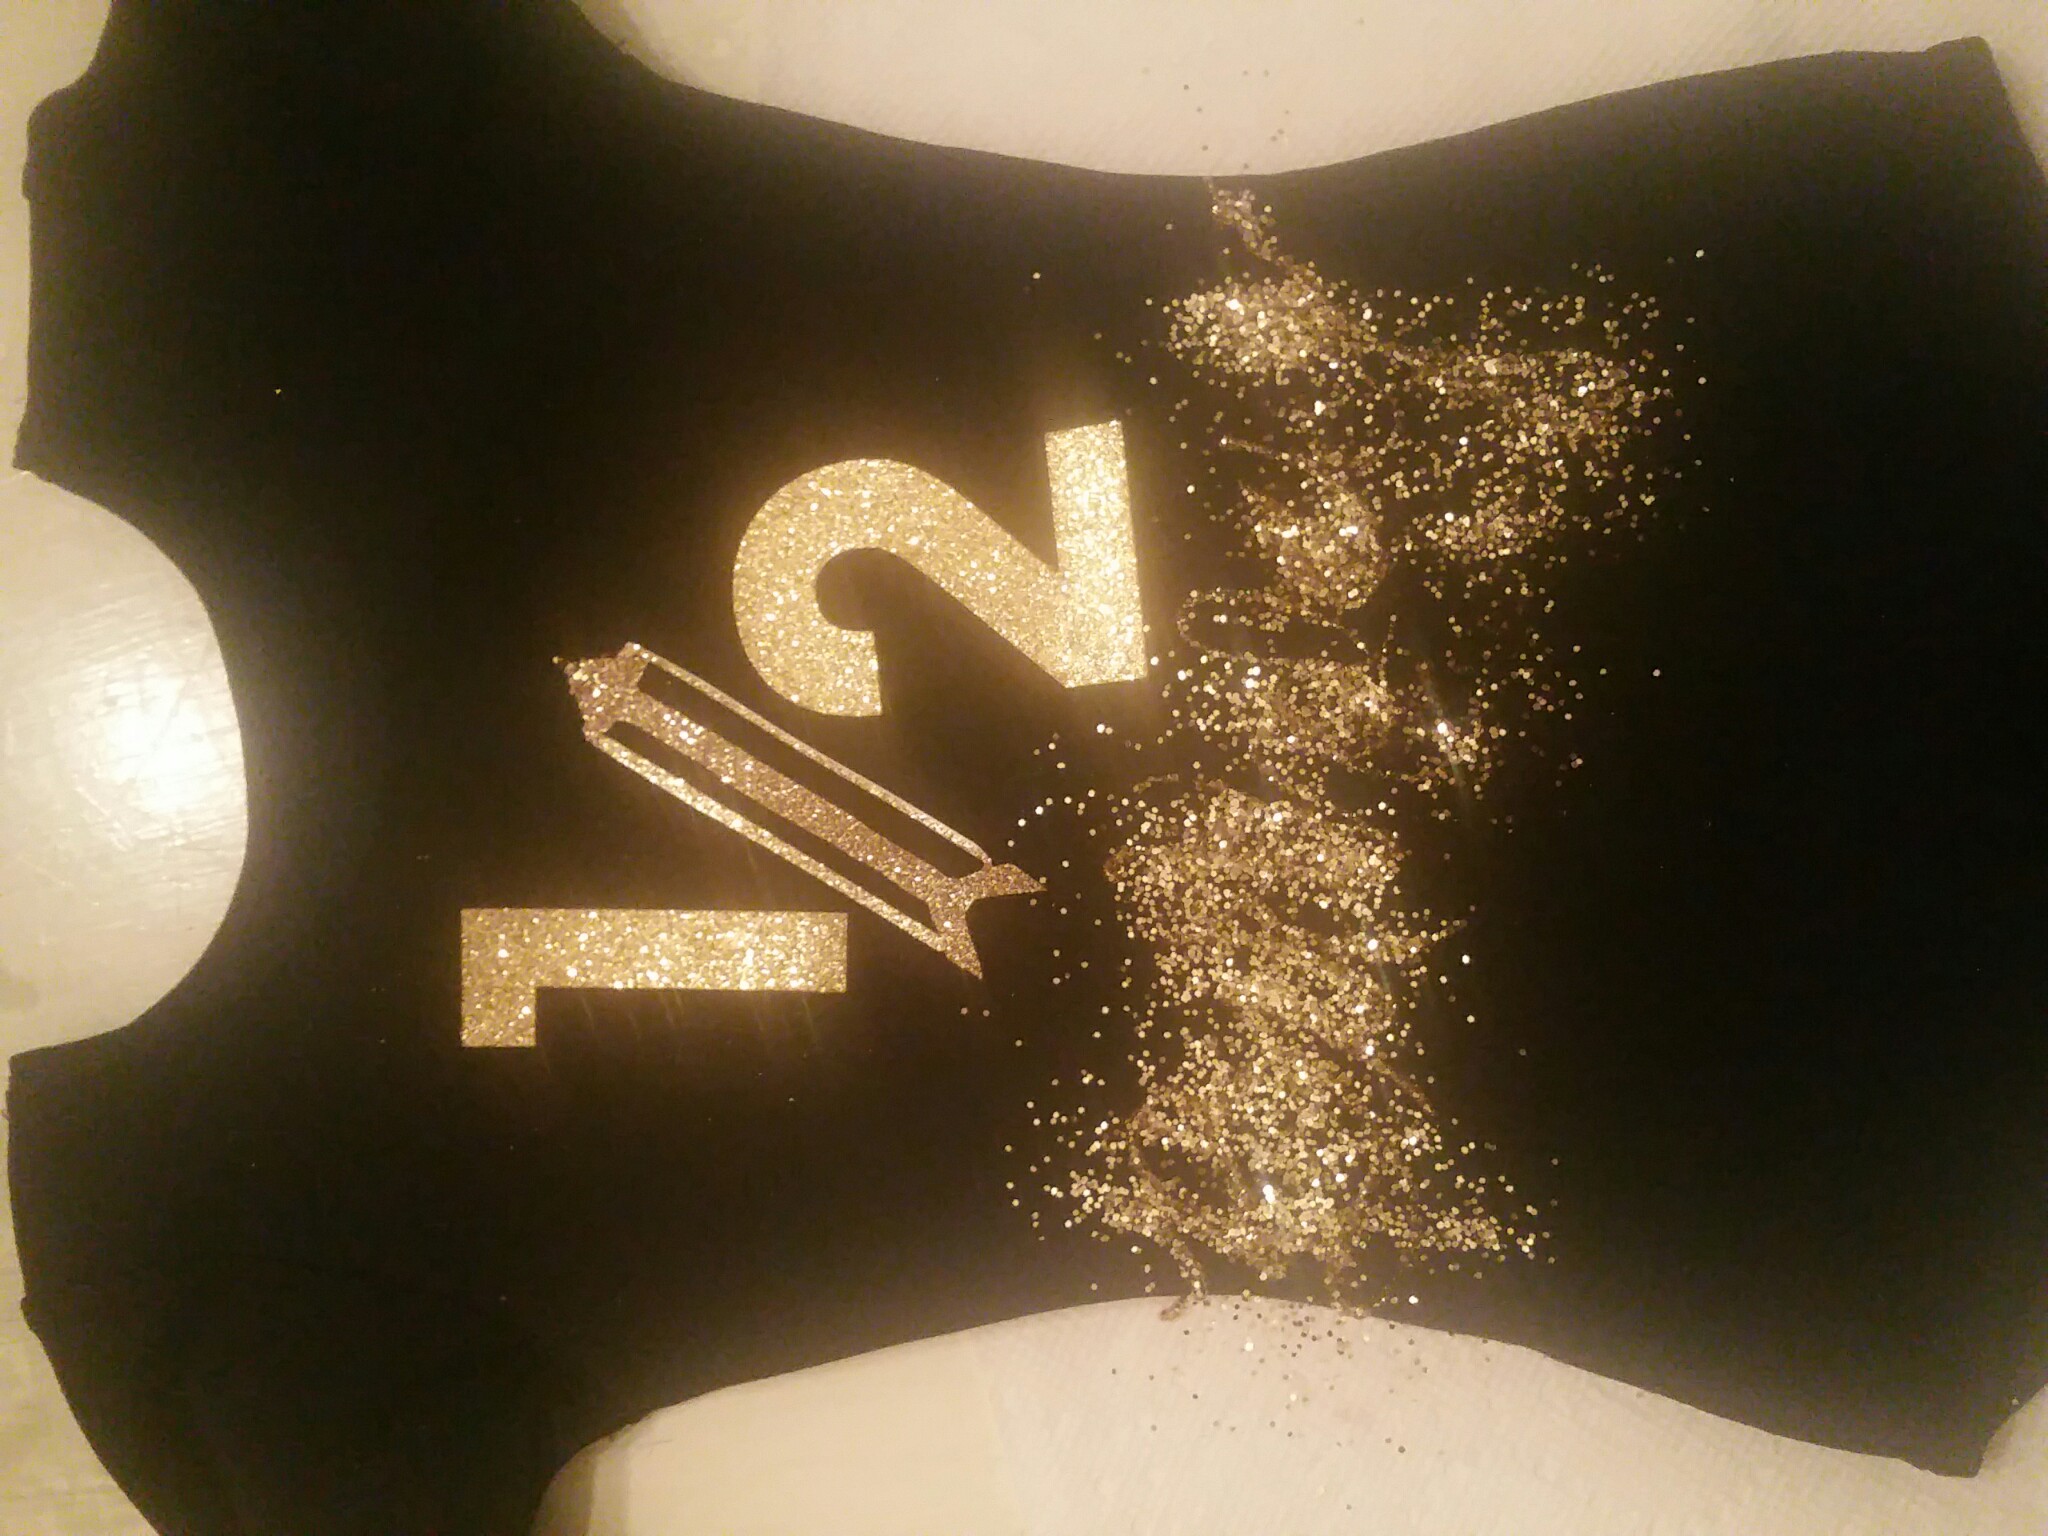
I than used Elmer’s glue and wrote in script “Birthday”
Shake off excess glitter and dry overnight. Voila – Your done!
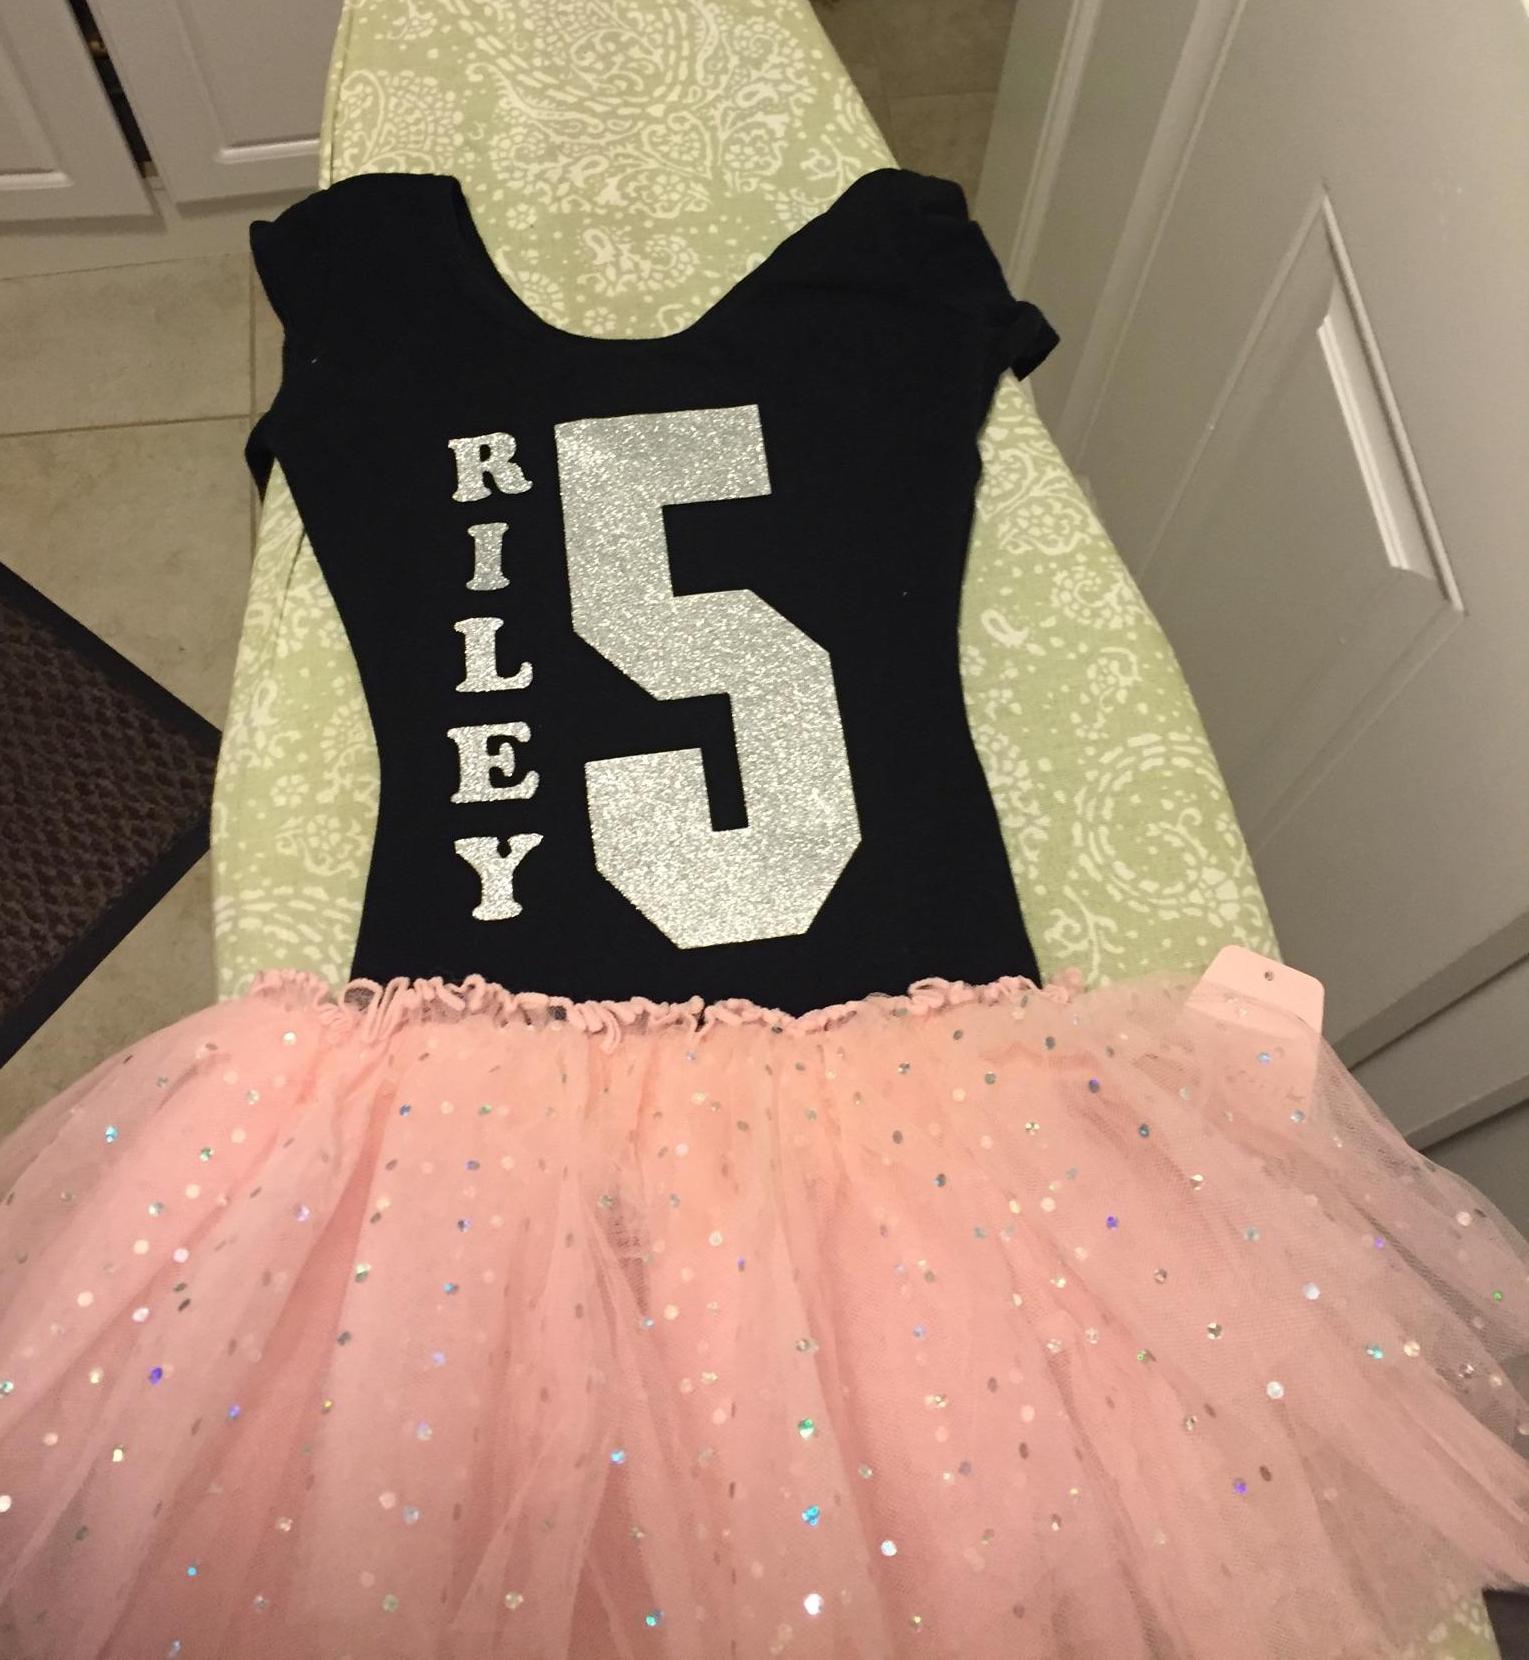
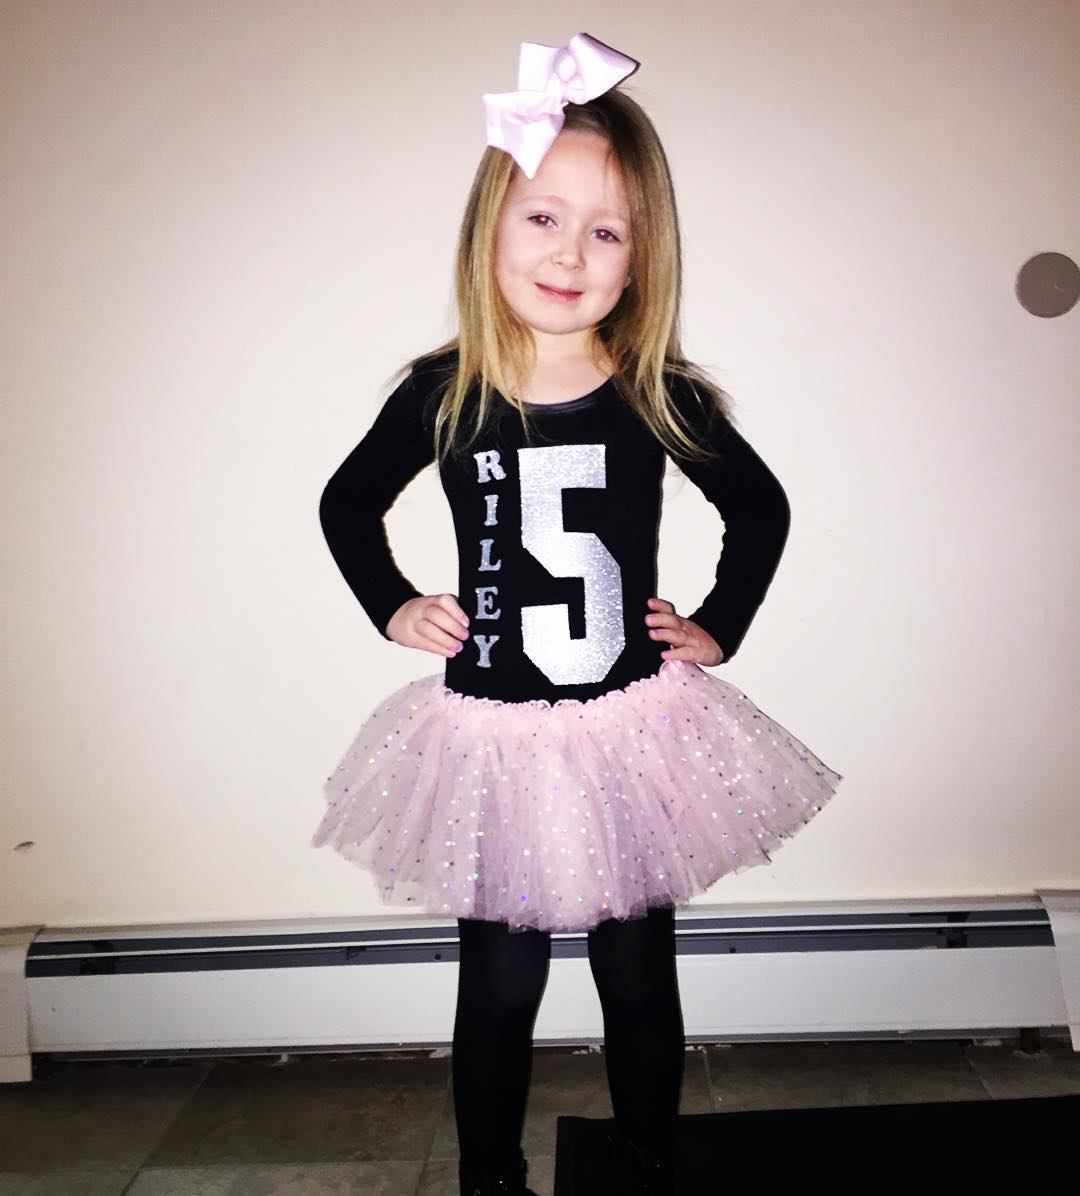
Below I gave another friend of ours the idea of DIY for our friends birthday. She swore she couldn’t do it. I assured her she could and make it fabulous. Only this was not a half Birthday but Riley’s actual Birthday!
Mom went to Michael’s as I suggested, got some iron on numbers and letters found a sparkle tutu and was the talk of the town for the day. Kudos’s to Riley’s Mom! Great job. Glad I was able to inspire you! Keep following me for great tips and tricks I have another one coming this week. Promise 😉