Happy New Year All!
This post I wanted to get up in December but it turns out it benefited me to wait after the New Year as I am able to share two sample ideas in one blog post.
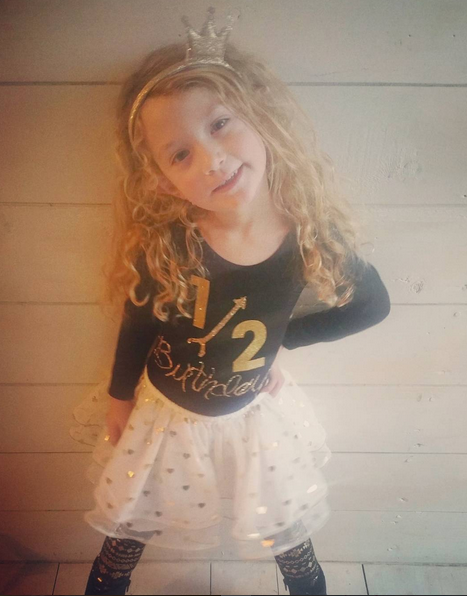
Here goes… Some of my friends caught some images of my daughter on my personal Instagram account with her 1/2 birthday and asked me a bunch of questions about her attire. Yes you read that correct. 1/2! My daughter could not wait to turn 4 1/2 as most of her friends are older than her and apparently when you are 4 every second of getting more mature and independent counts! Oh to be young again , because all I do is try forget my age when people ask!
With some thought and deliberation I decided that my daughters excited feelings of this day has to be acknowledged in a tasteful way without breaking the bank. After all each moment of a child’s life should be celebrated if they care enough about it enough because you’ll never get it back again.
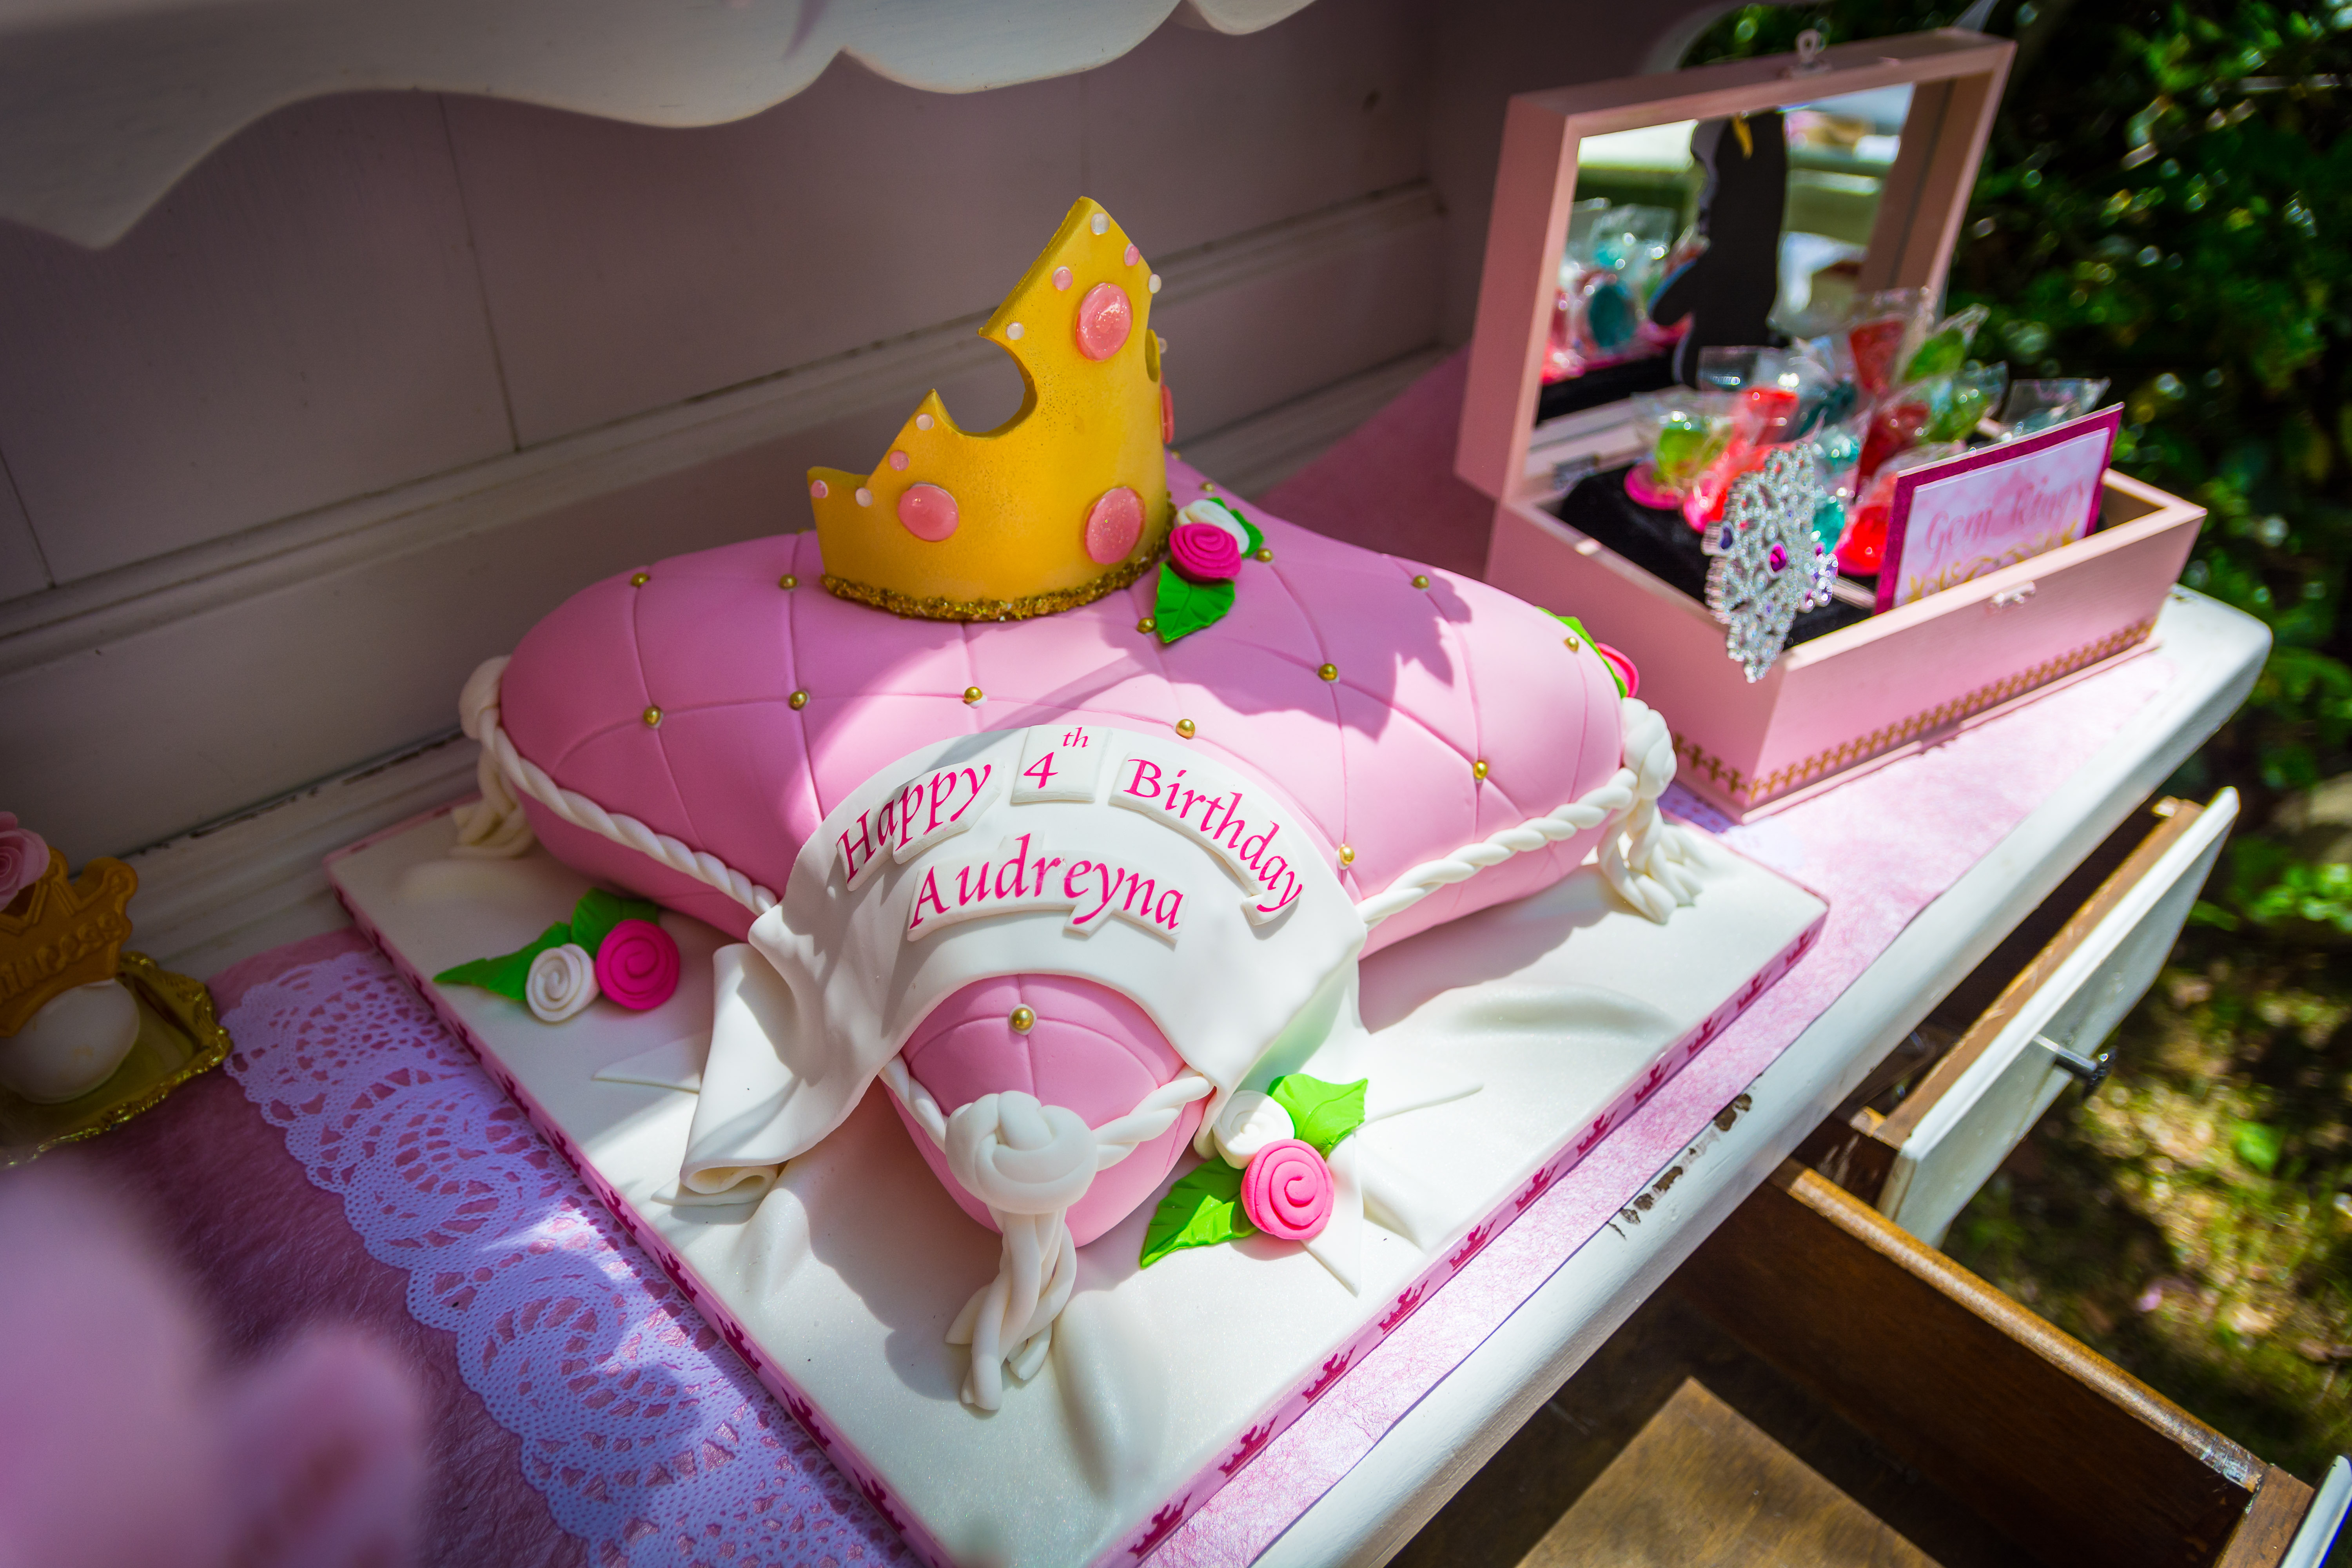
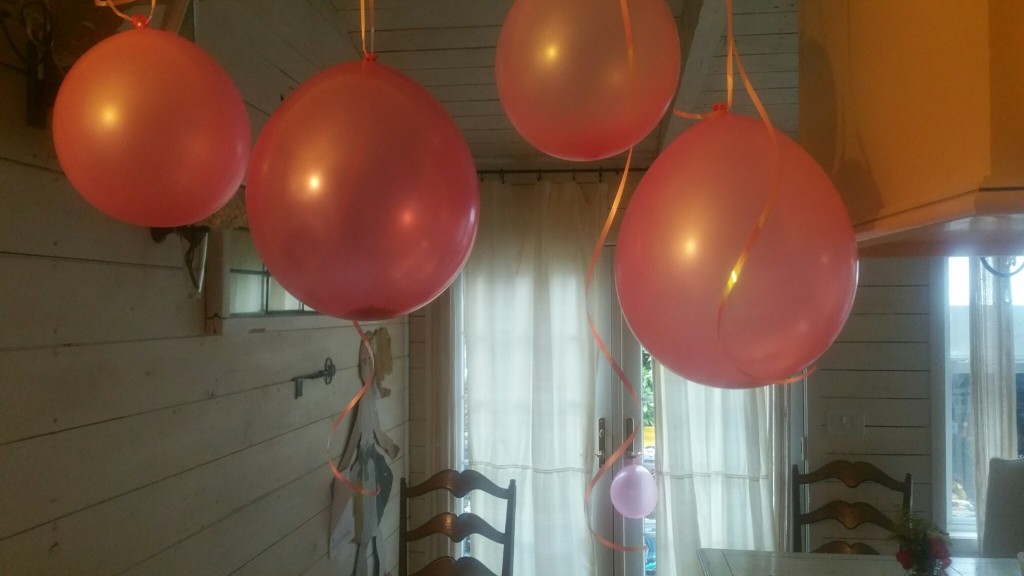
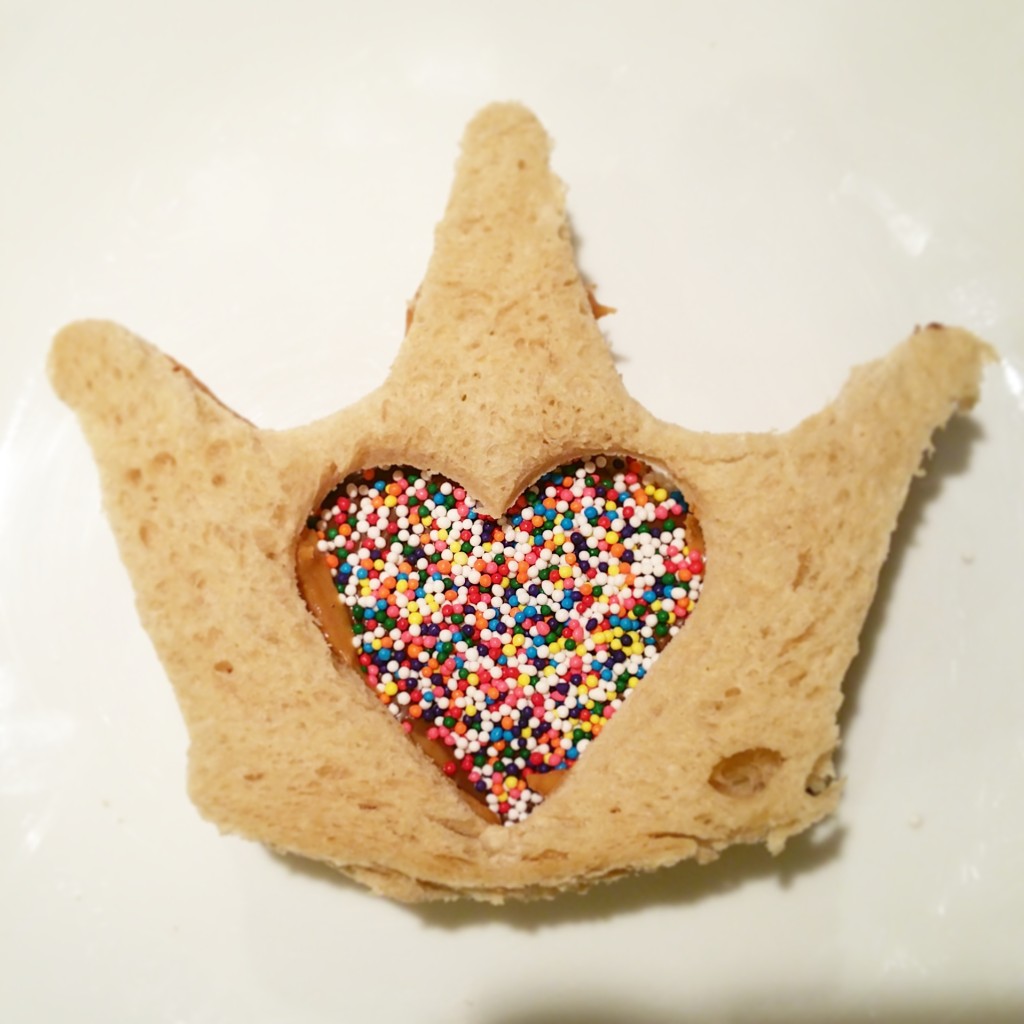
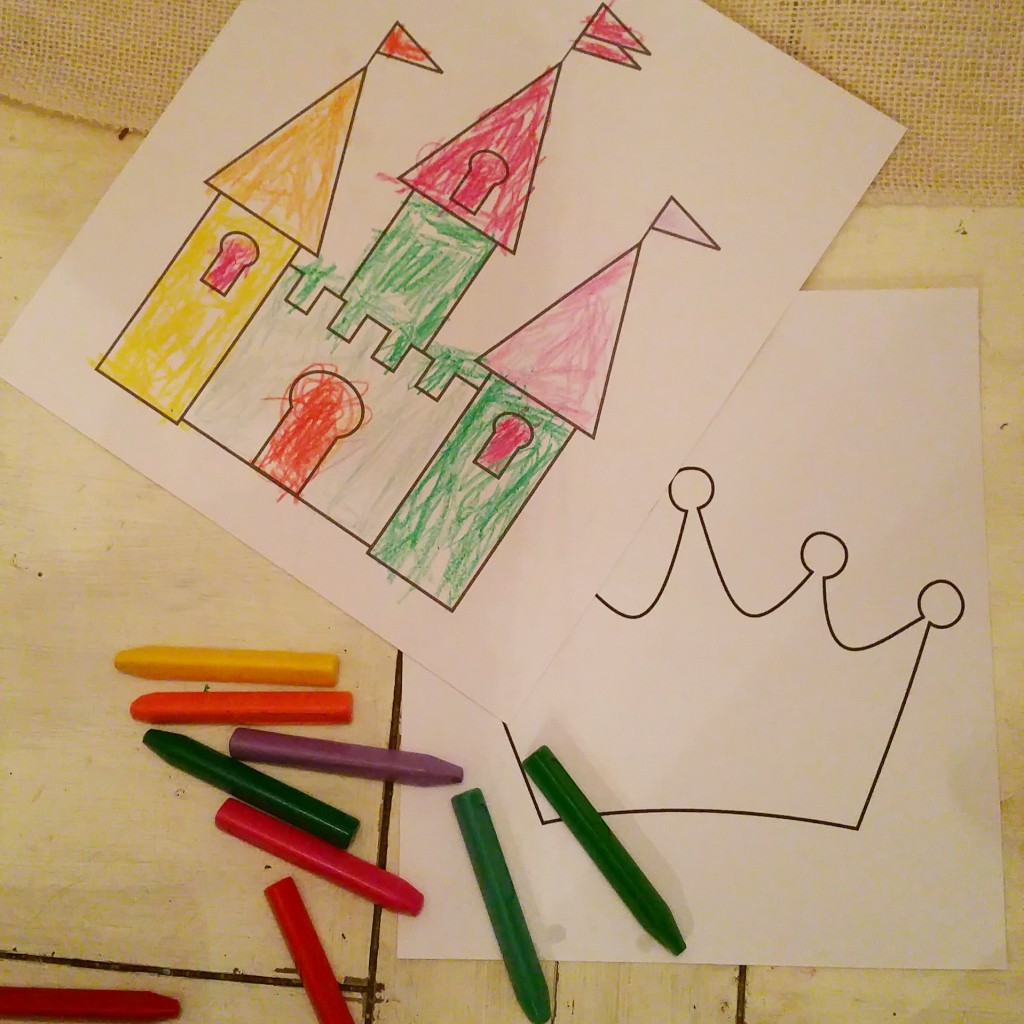
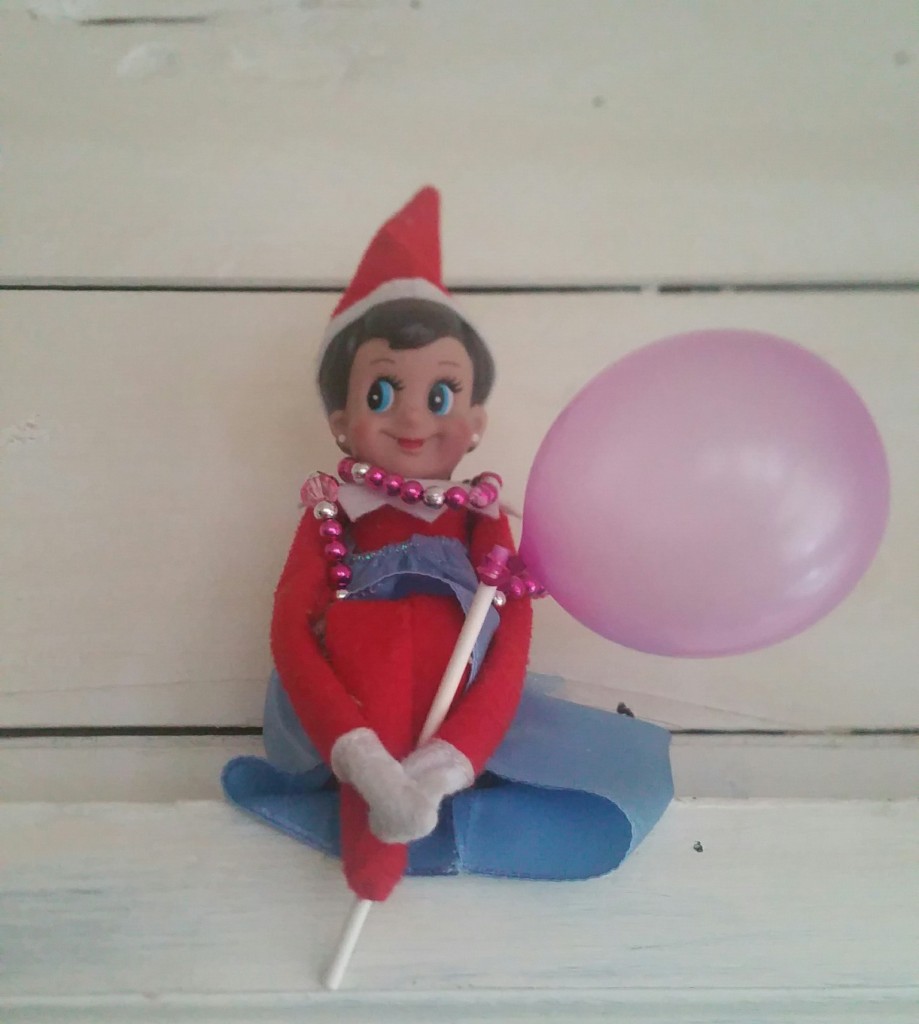
My simple ideas with some pizzazz were hanging glitter pink balloons, organizing a surprise special friend over for a play-date. I also made crown window sprinkle nutella sandwiches, printed castle and crown images for color time and because it was Christmas time our Elf “Ellie” got dressed in her princess dolls dress. I used bracelets as a necklace for added glamour & blew up a water balloon and put it on a chocolate pop stick. When it came time for cake we had 1/2 of a cake for dessert.

*note candle -melt wax and stick 😉
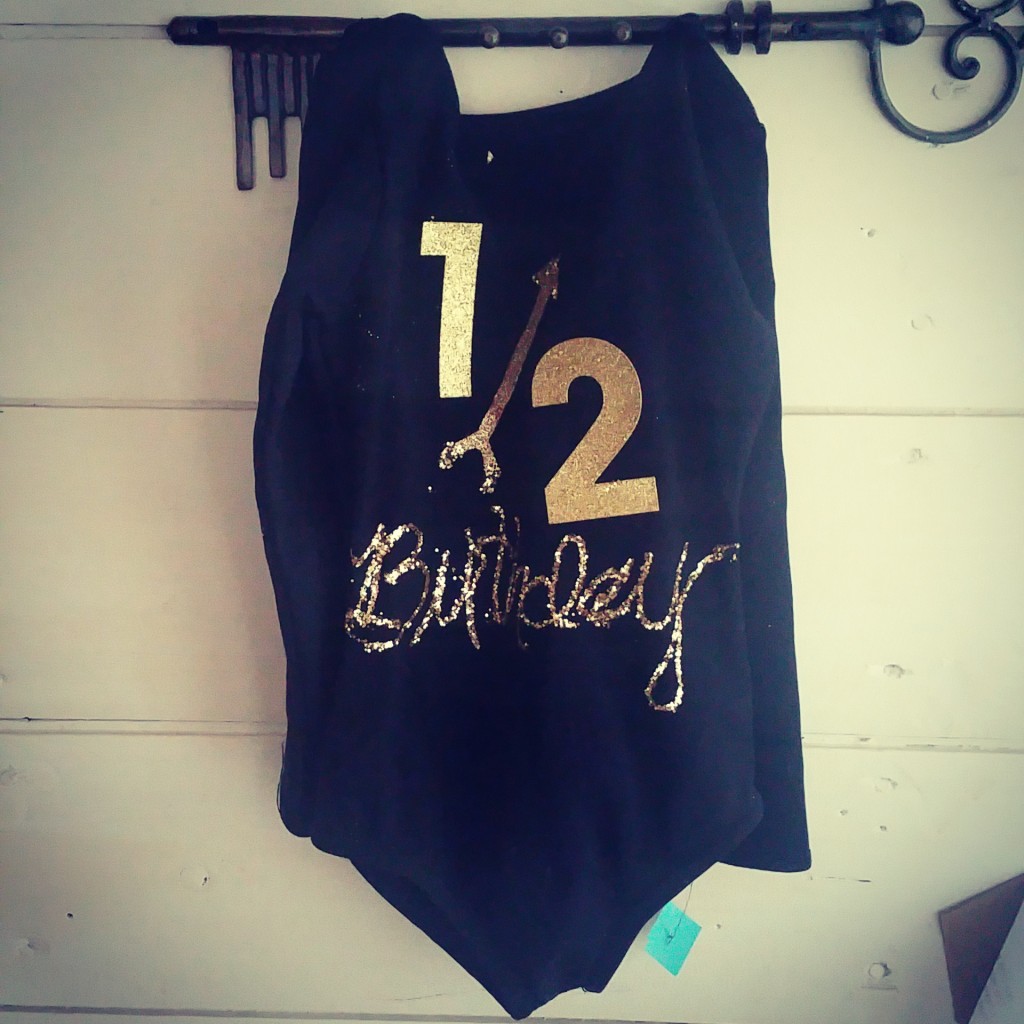
What I also did was do a totally affordable DIY personalized bodysuit for that day that and that is what I am going to address now from that one famous photo on instagram.
What you will need :
1 plain bodysuit (any color)
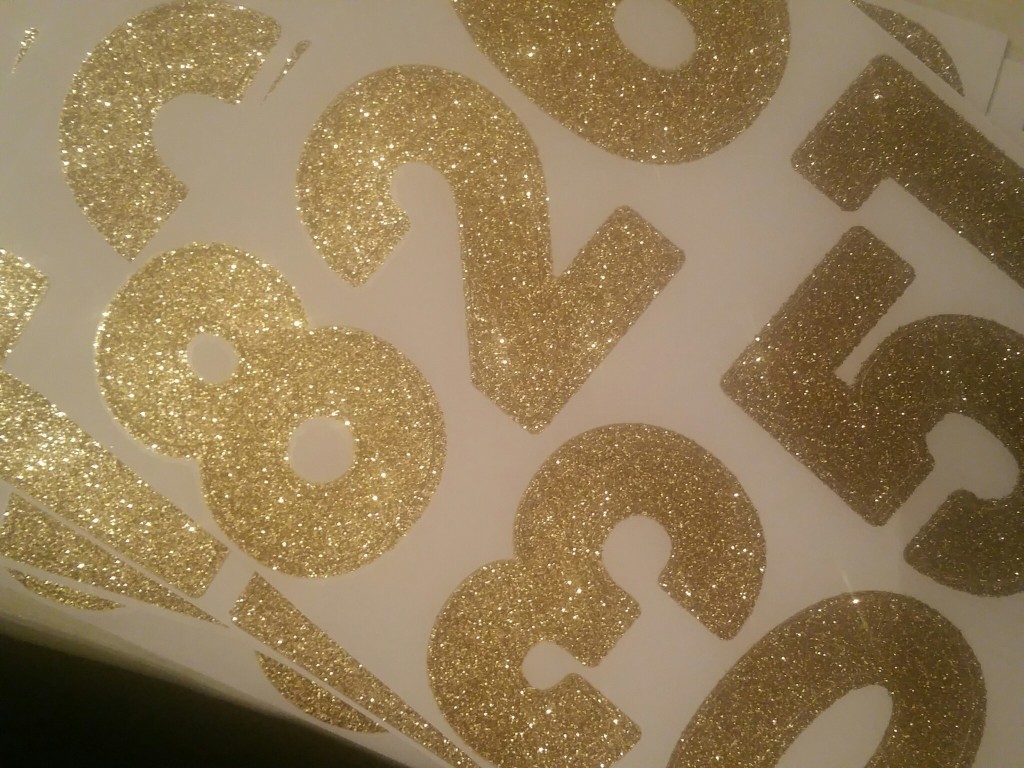
Iron on Stencils or stick on letters (note stick on are temporary will not wash). I chose Gold.
Gold Glitter optional
Elmer’s glue (only if you chose to add glitter)
Fancy tutu of your choice
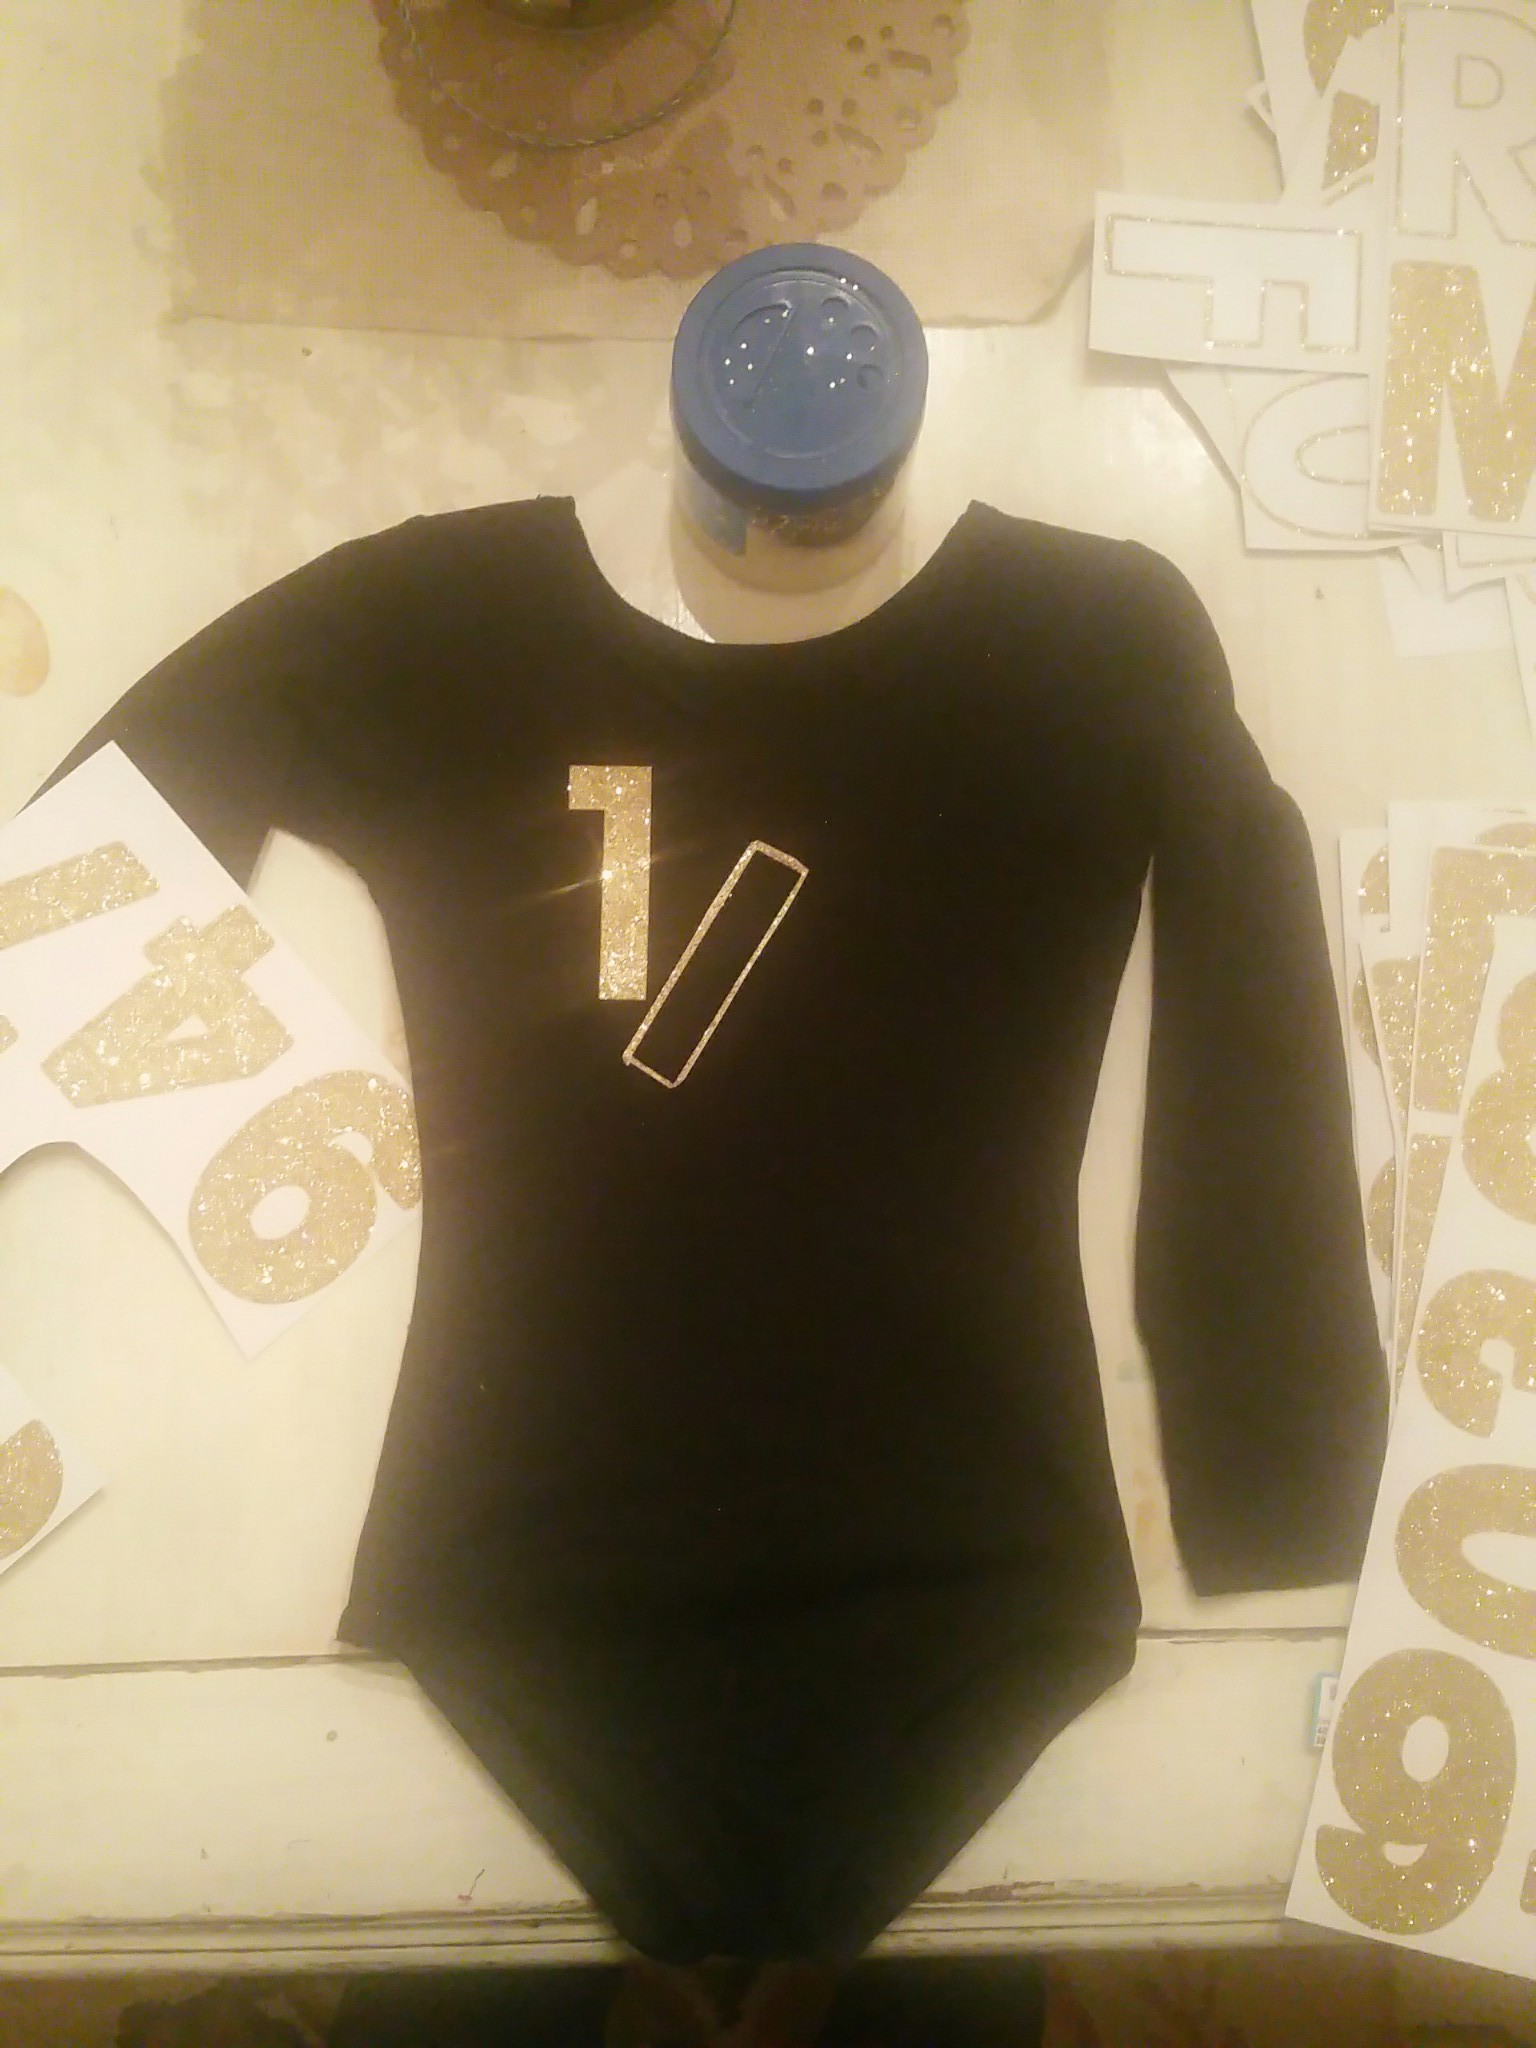
Above you will note that I mixed both stick on numbers and Glitter.

Lay Flat as pictured. Here I started to make for the slash in the half the outline of the lower case letter l. I than realized as I started to work that I had an extra gold arrow and changed it later.
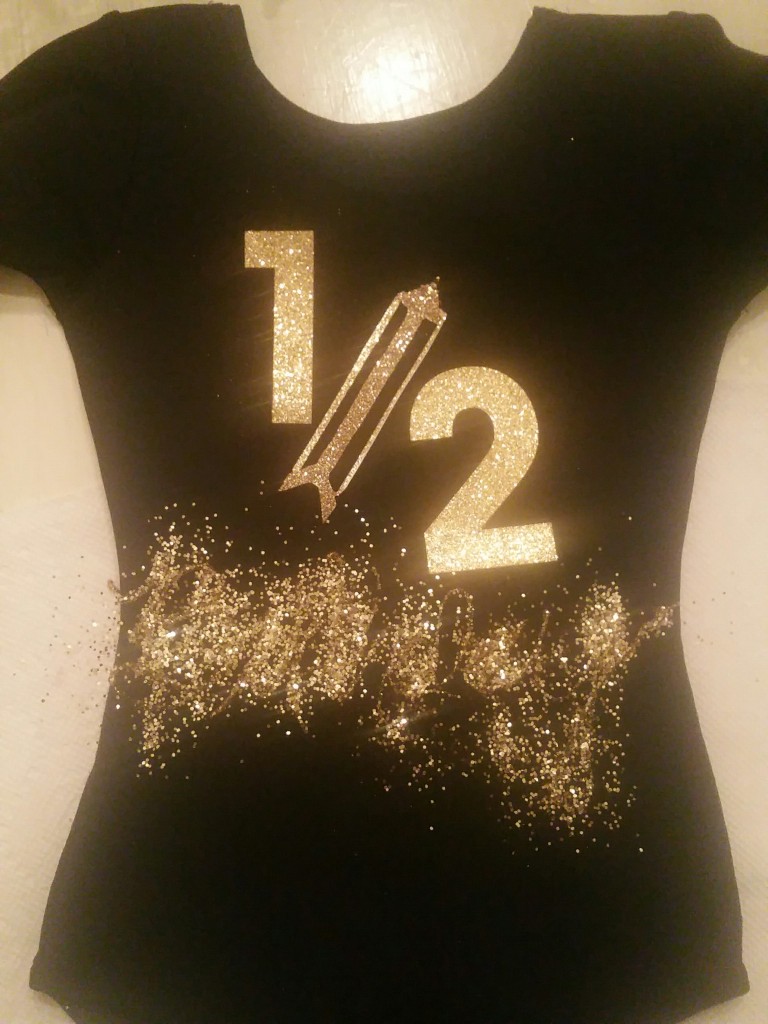
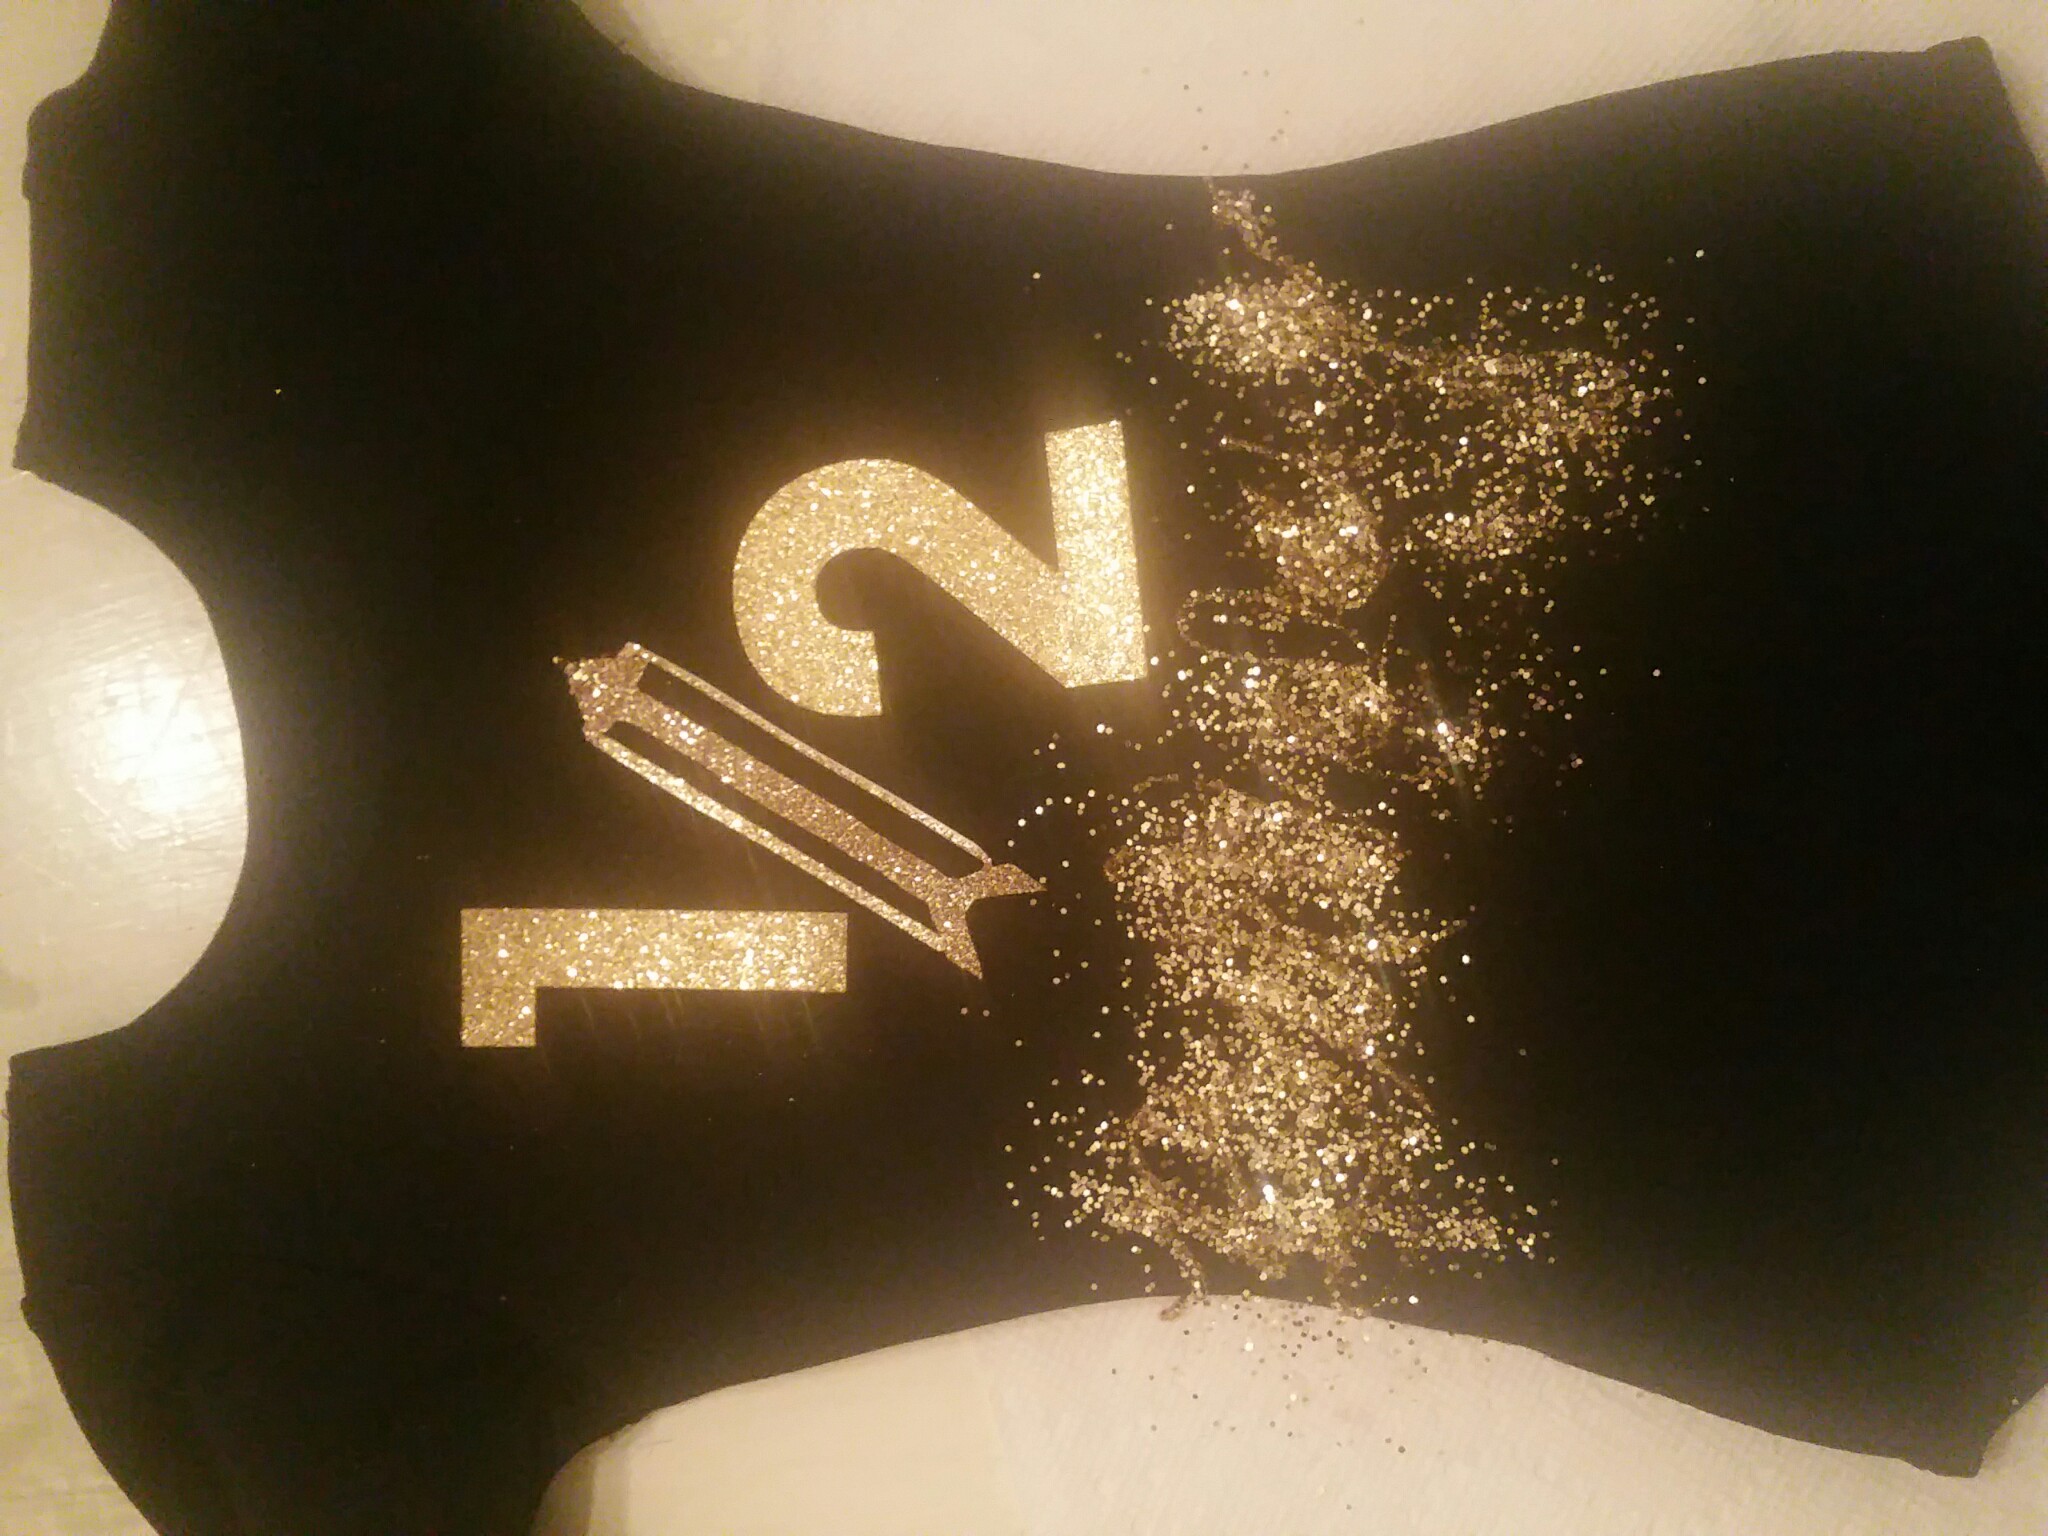
I than used Elmer’s glue and wrote in script “Birthday”
Shake off excess glitter and dry overnight. Voila – Your done!
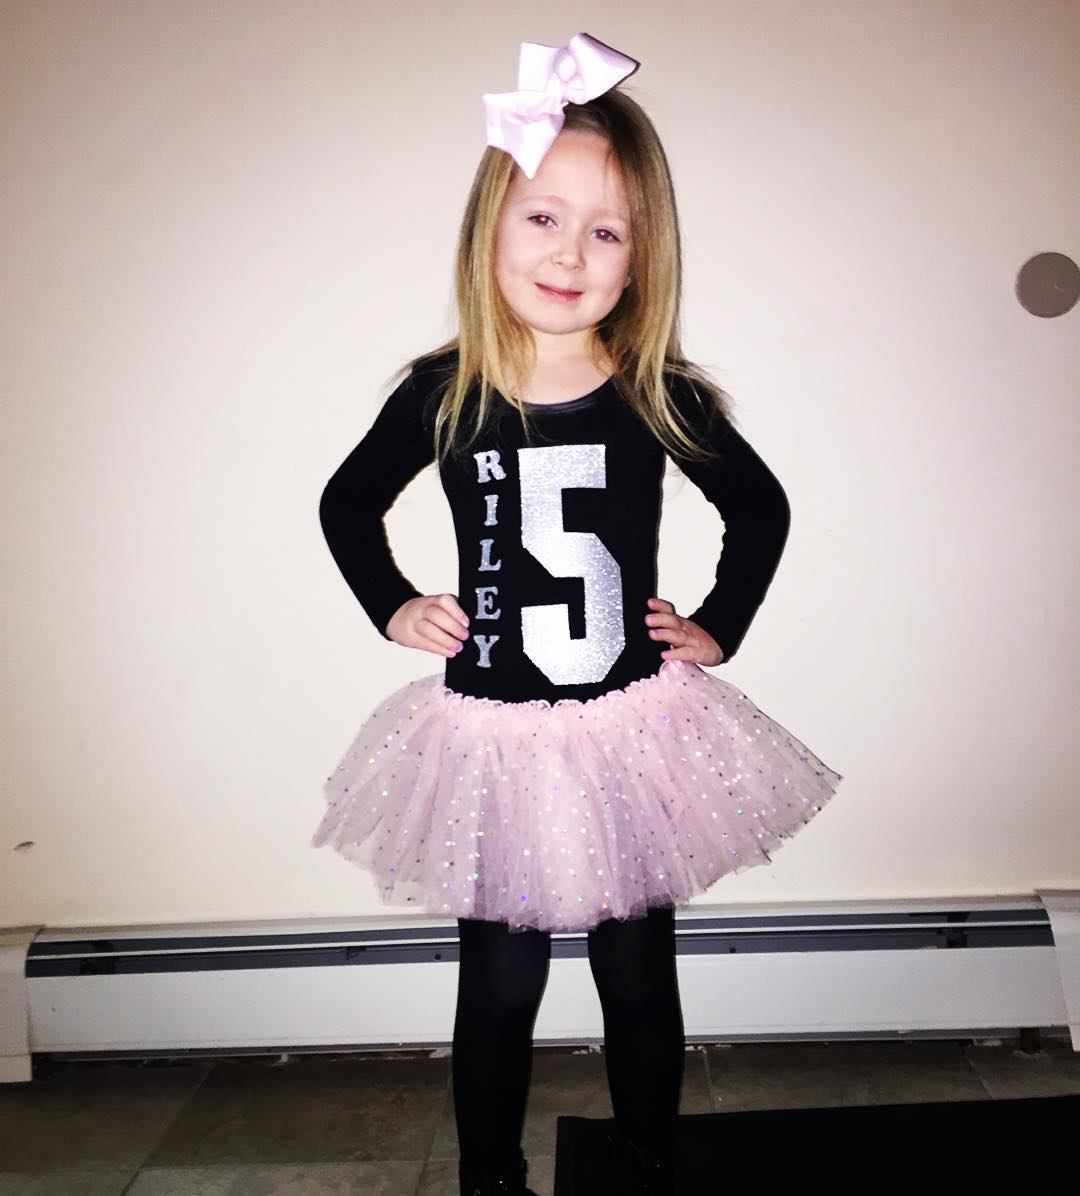
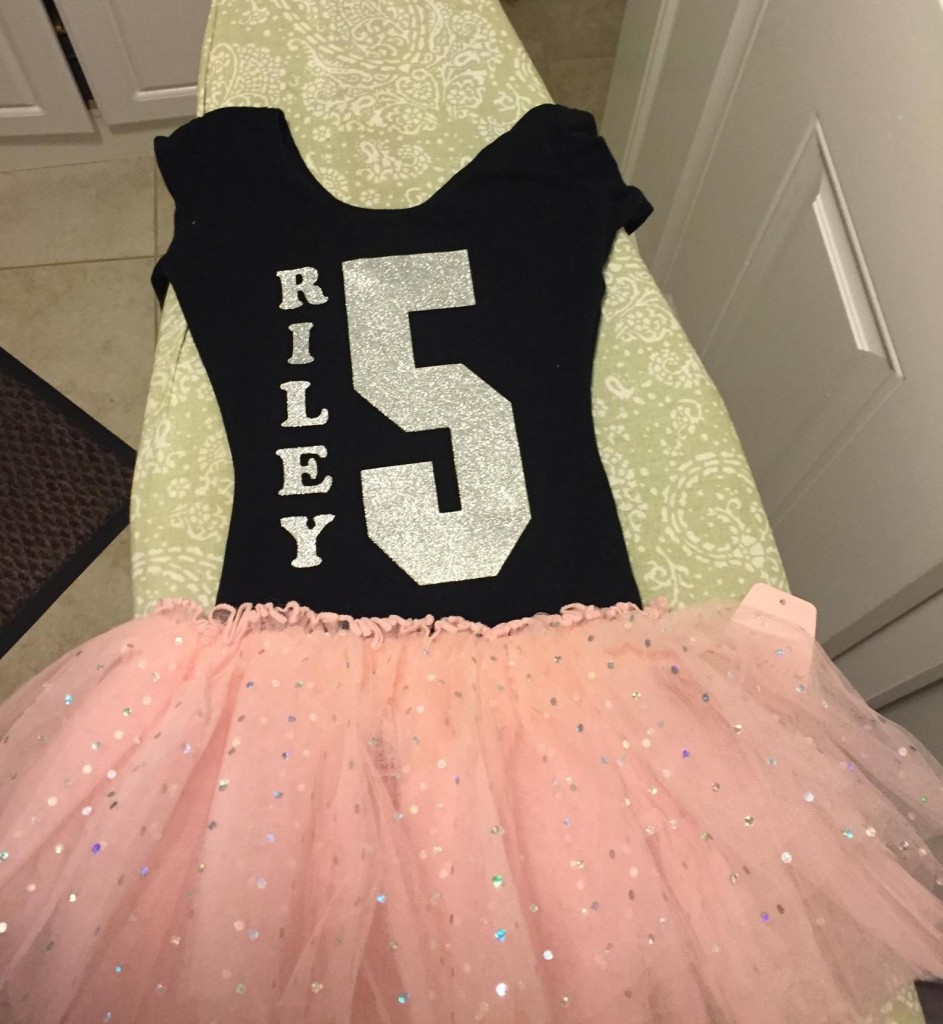
Below I gave another friend of ours the idea of DIY for our friends birthday. She swore she couldn’t do it. I assured her she could and make it fabulous. Only this was not a half Birthday but Riley’s actual Birthday!
Mom went to Michael’s as I suggested, got some iron on numbers and letters found a sparkle tutu and was the talk of the town for the day. Kudos’s to Riley’s Mom! Great job. Glad I was able to inspire you! Keep following me for great tips and tricks I have another one coming this week. Promise 😉


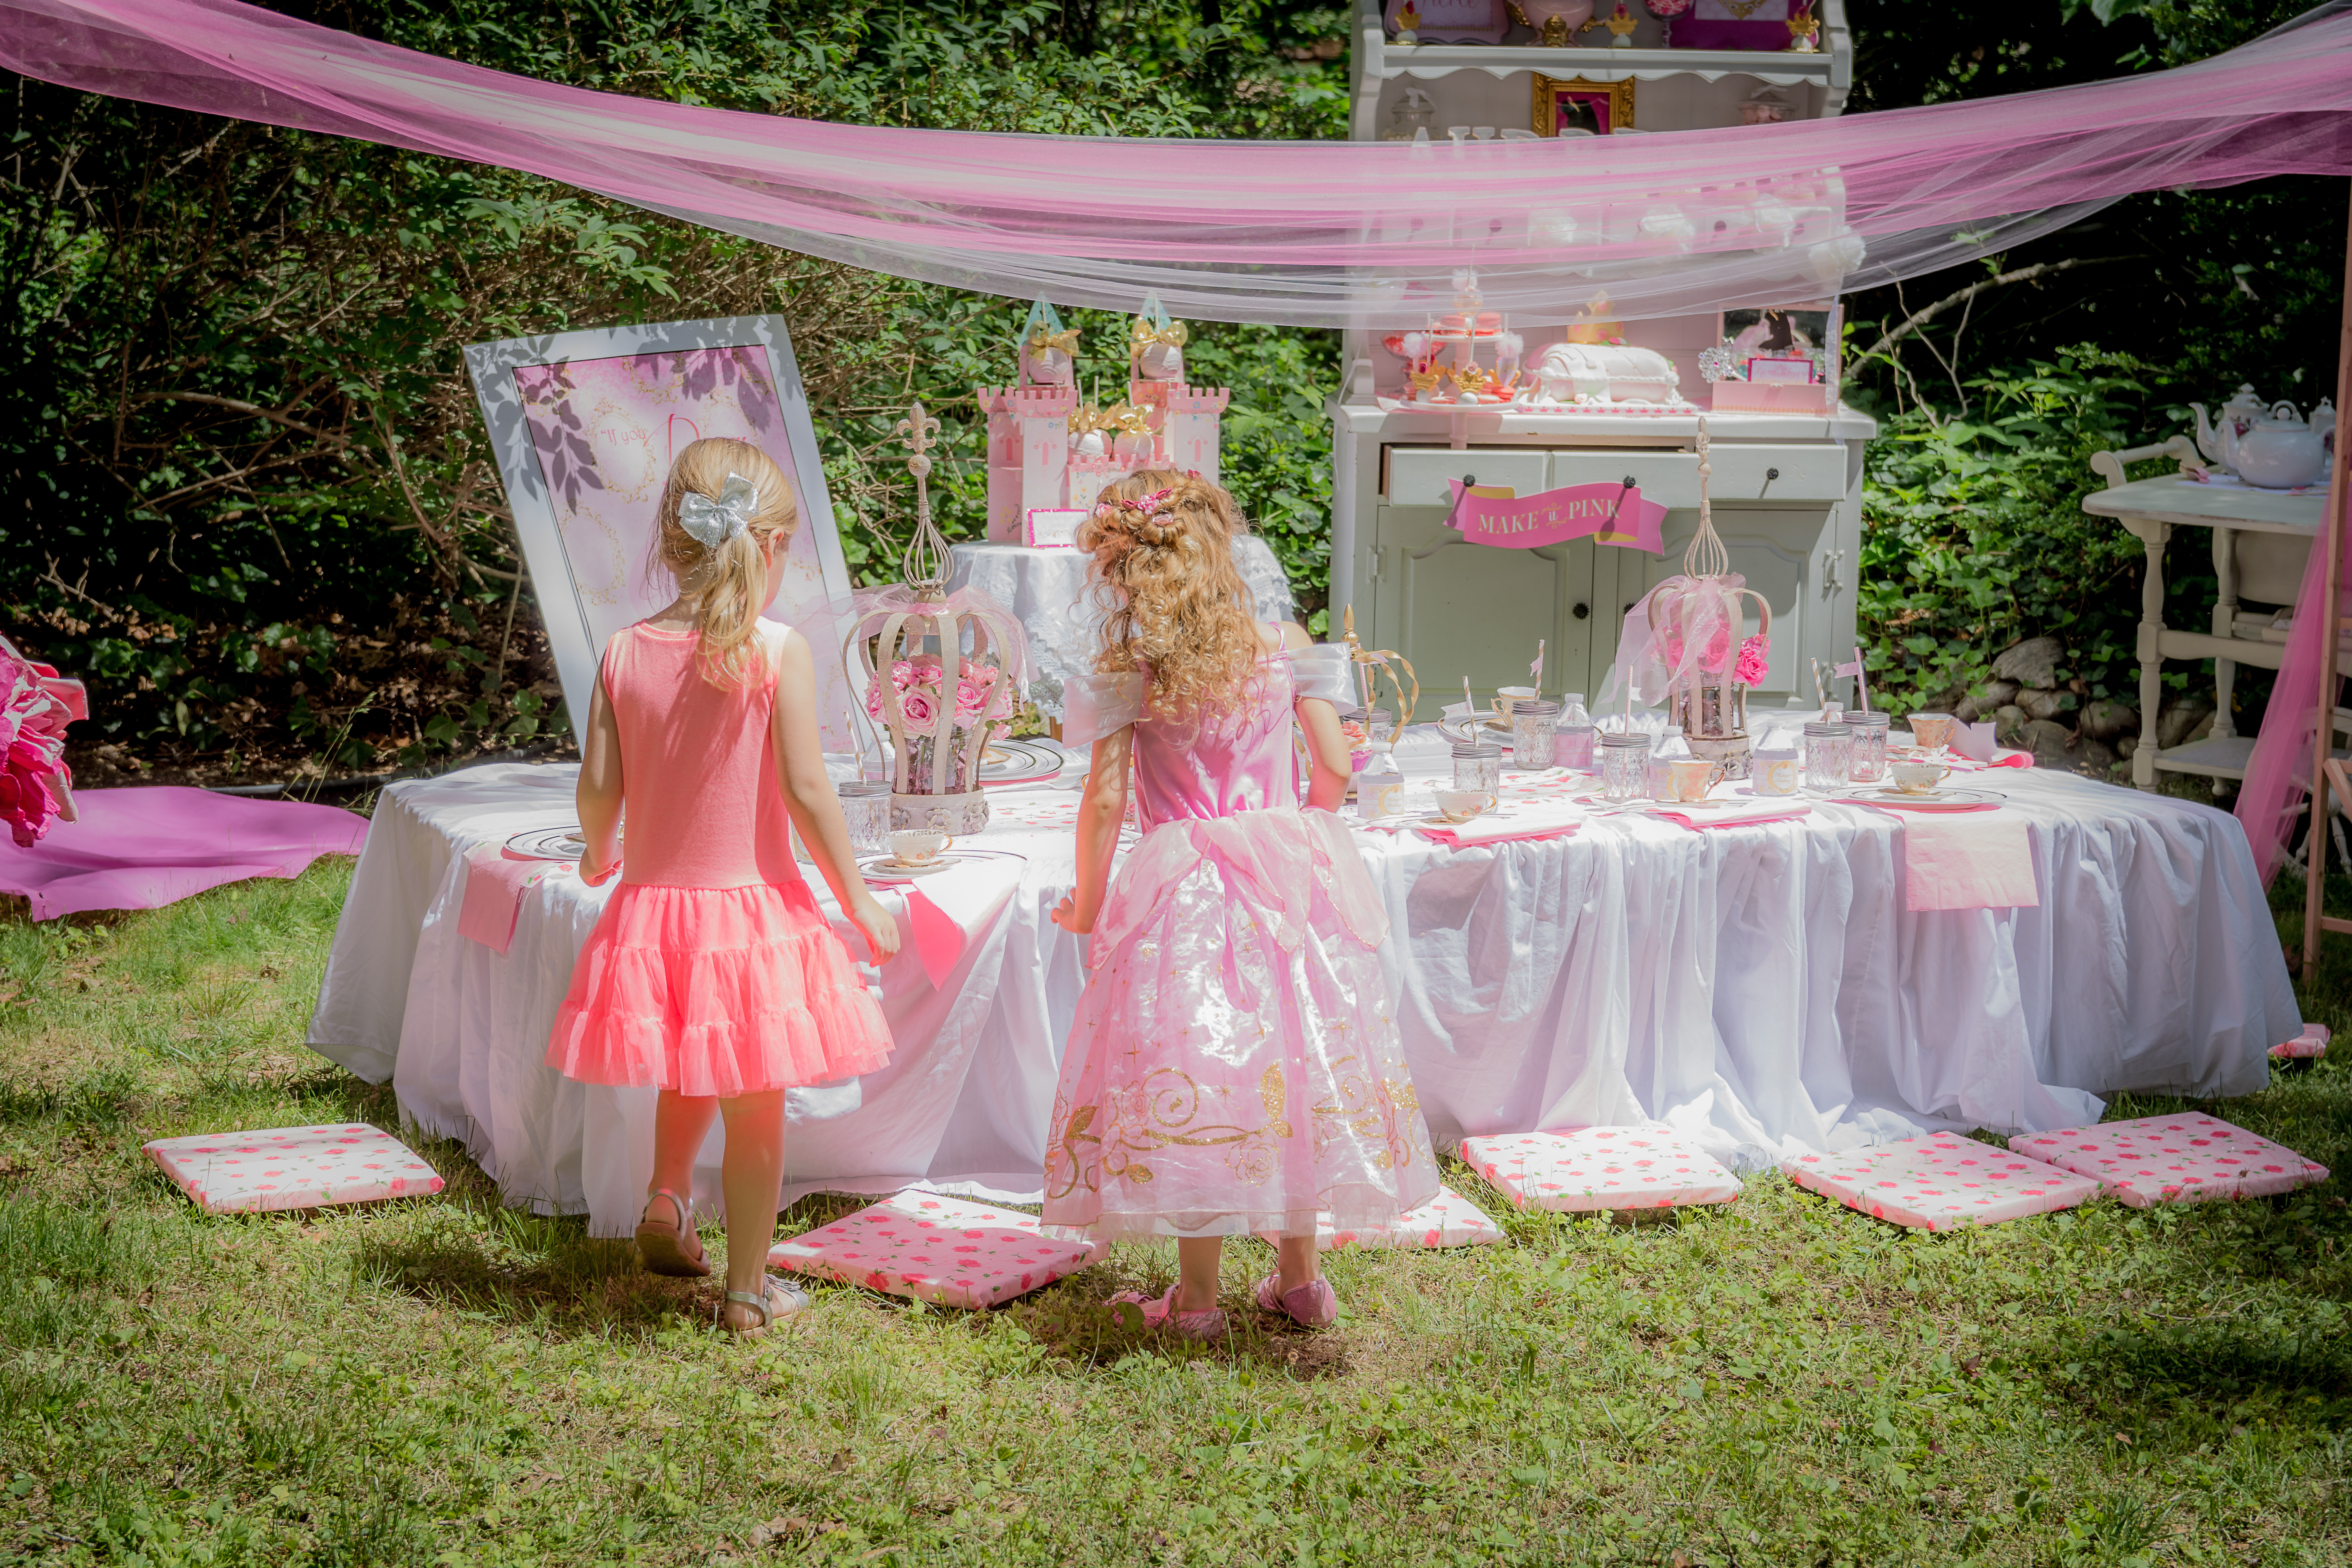
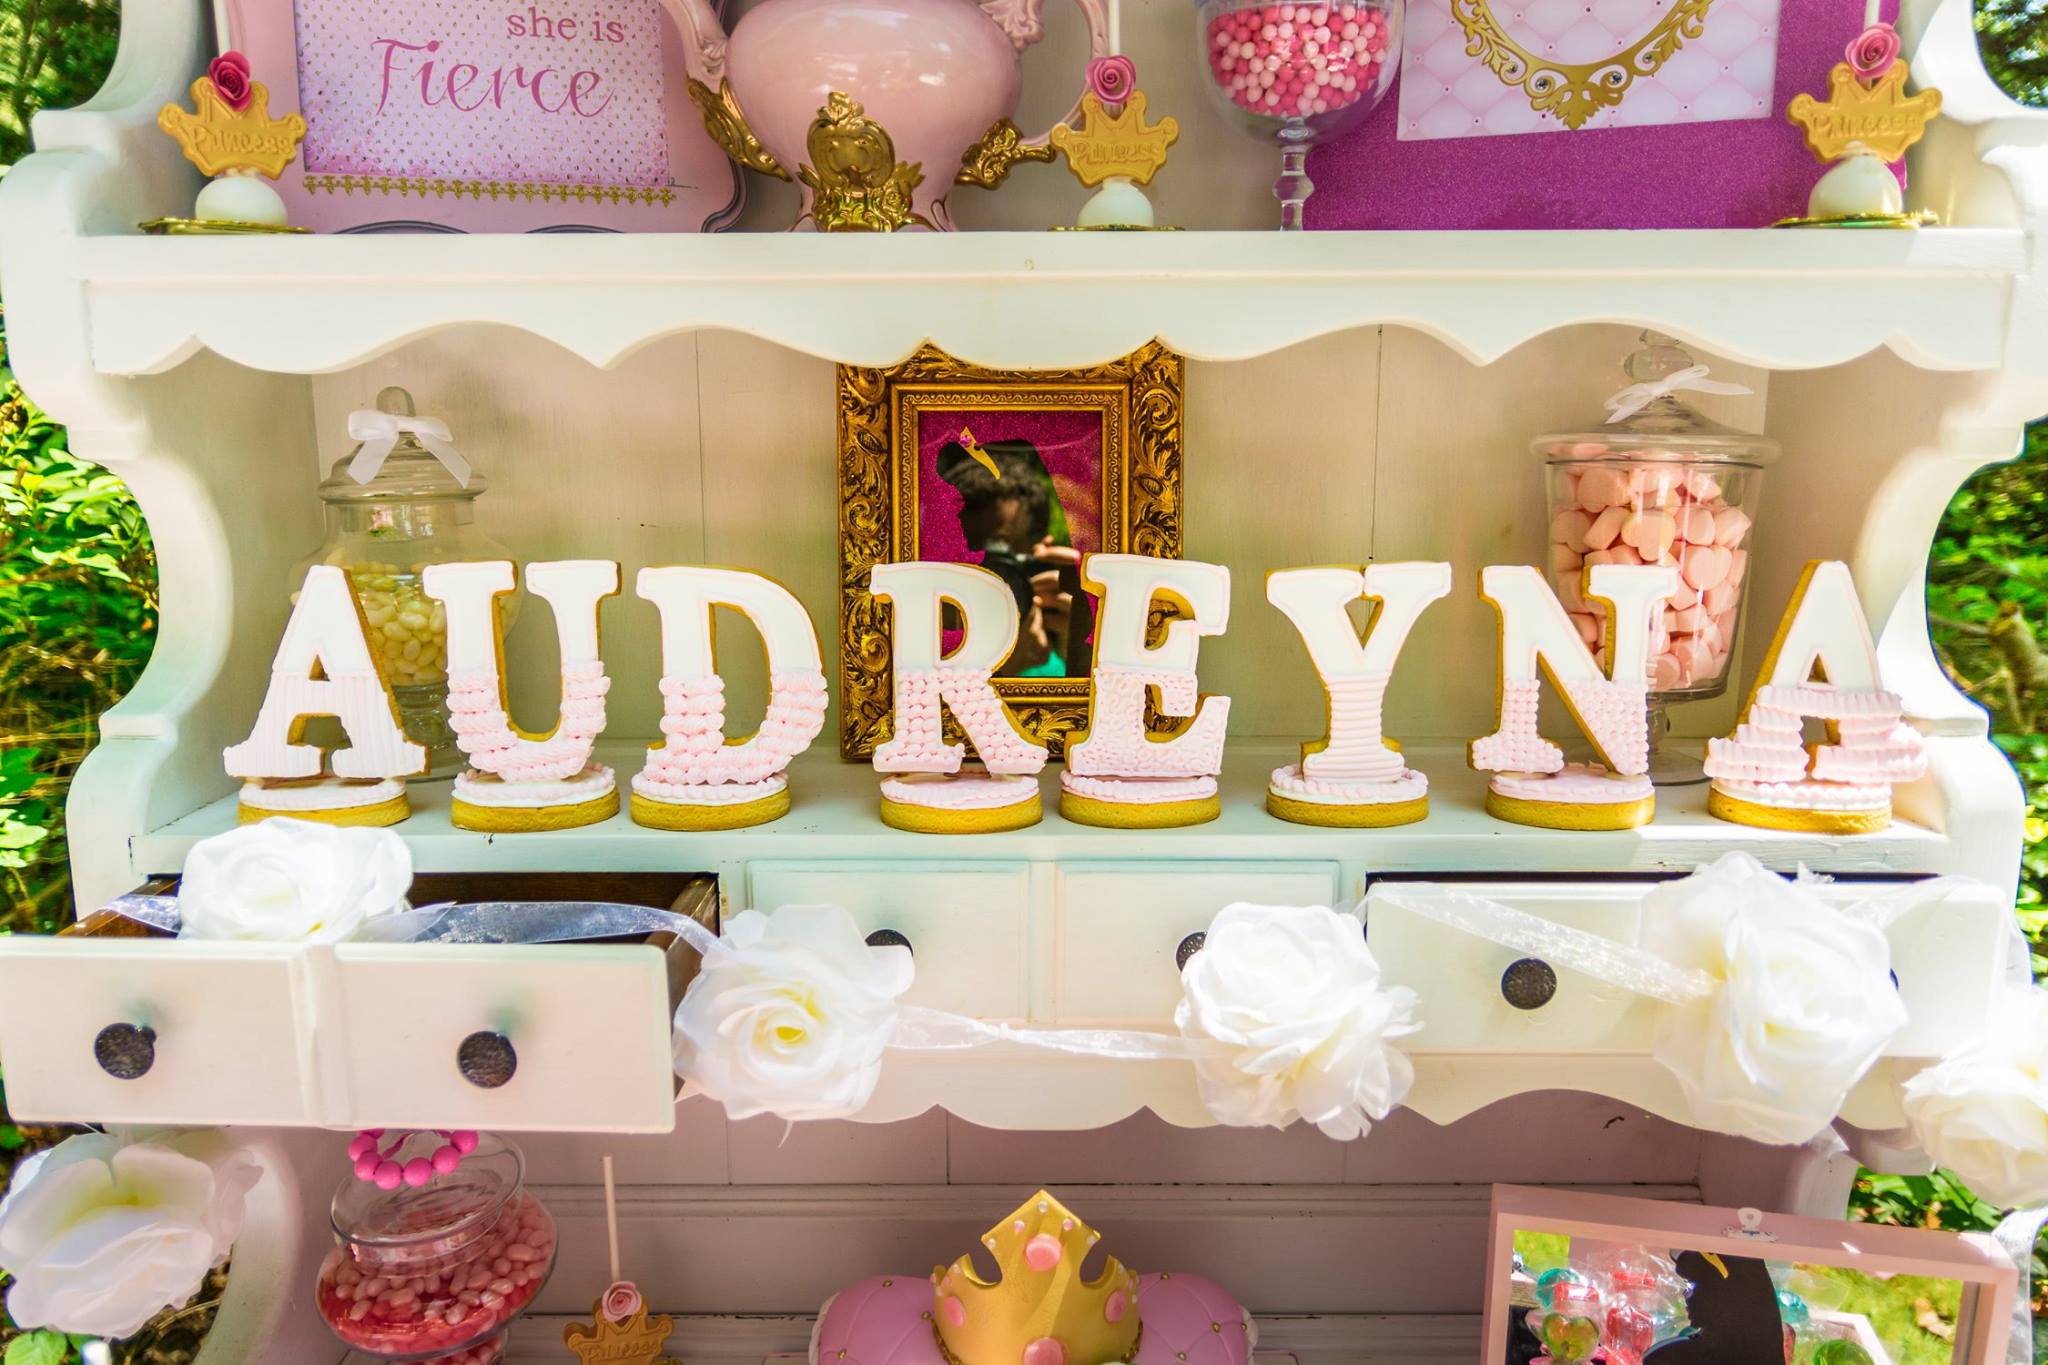
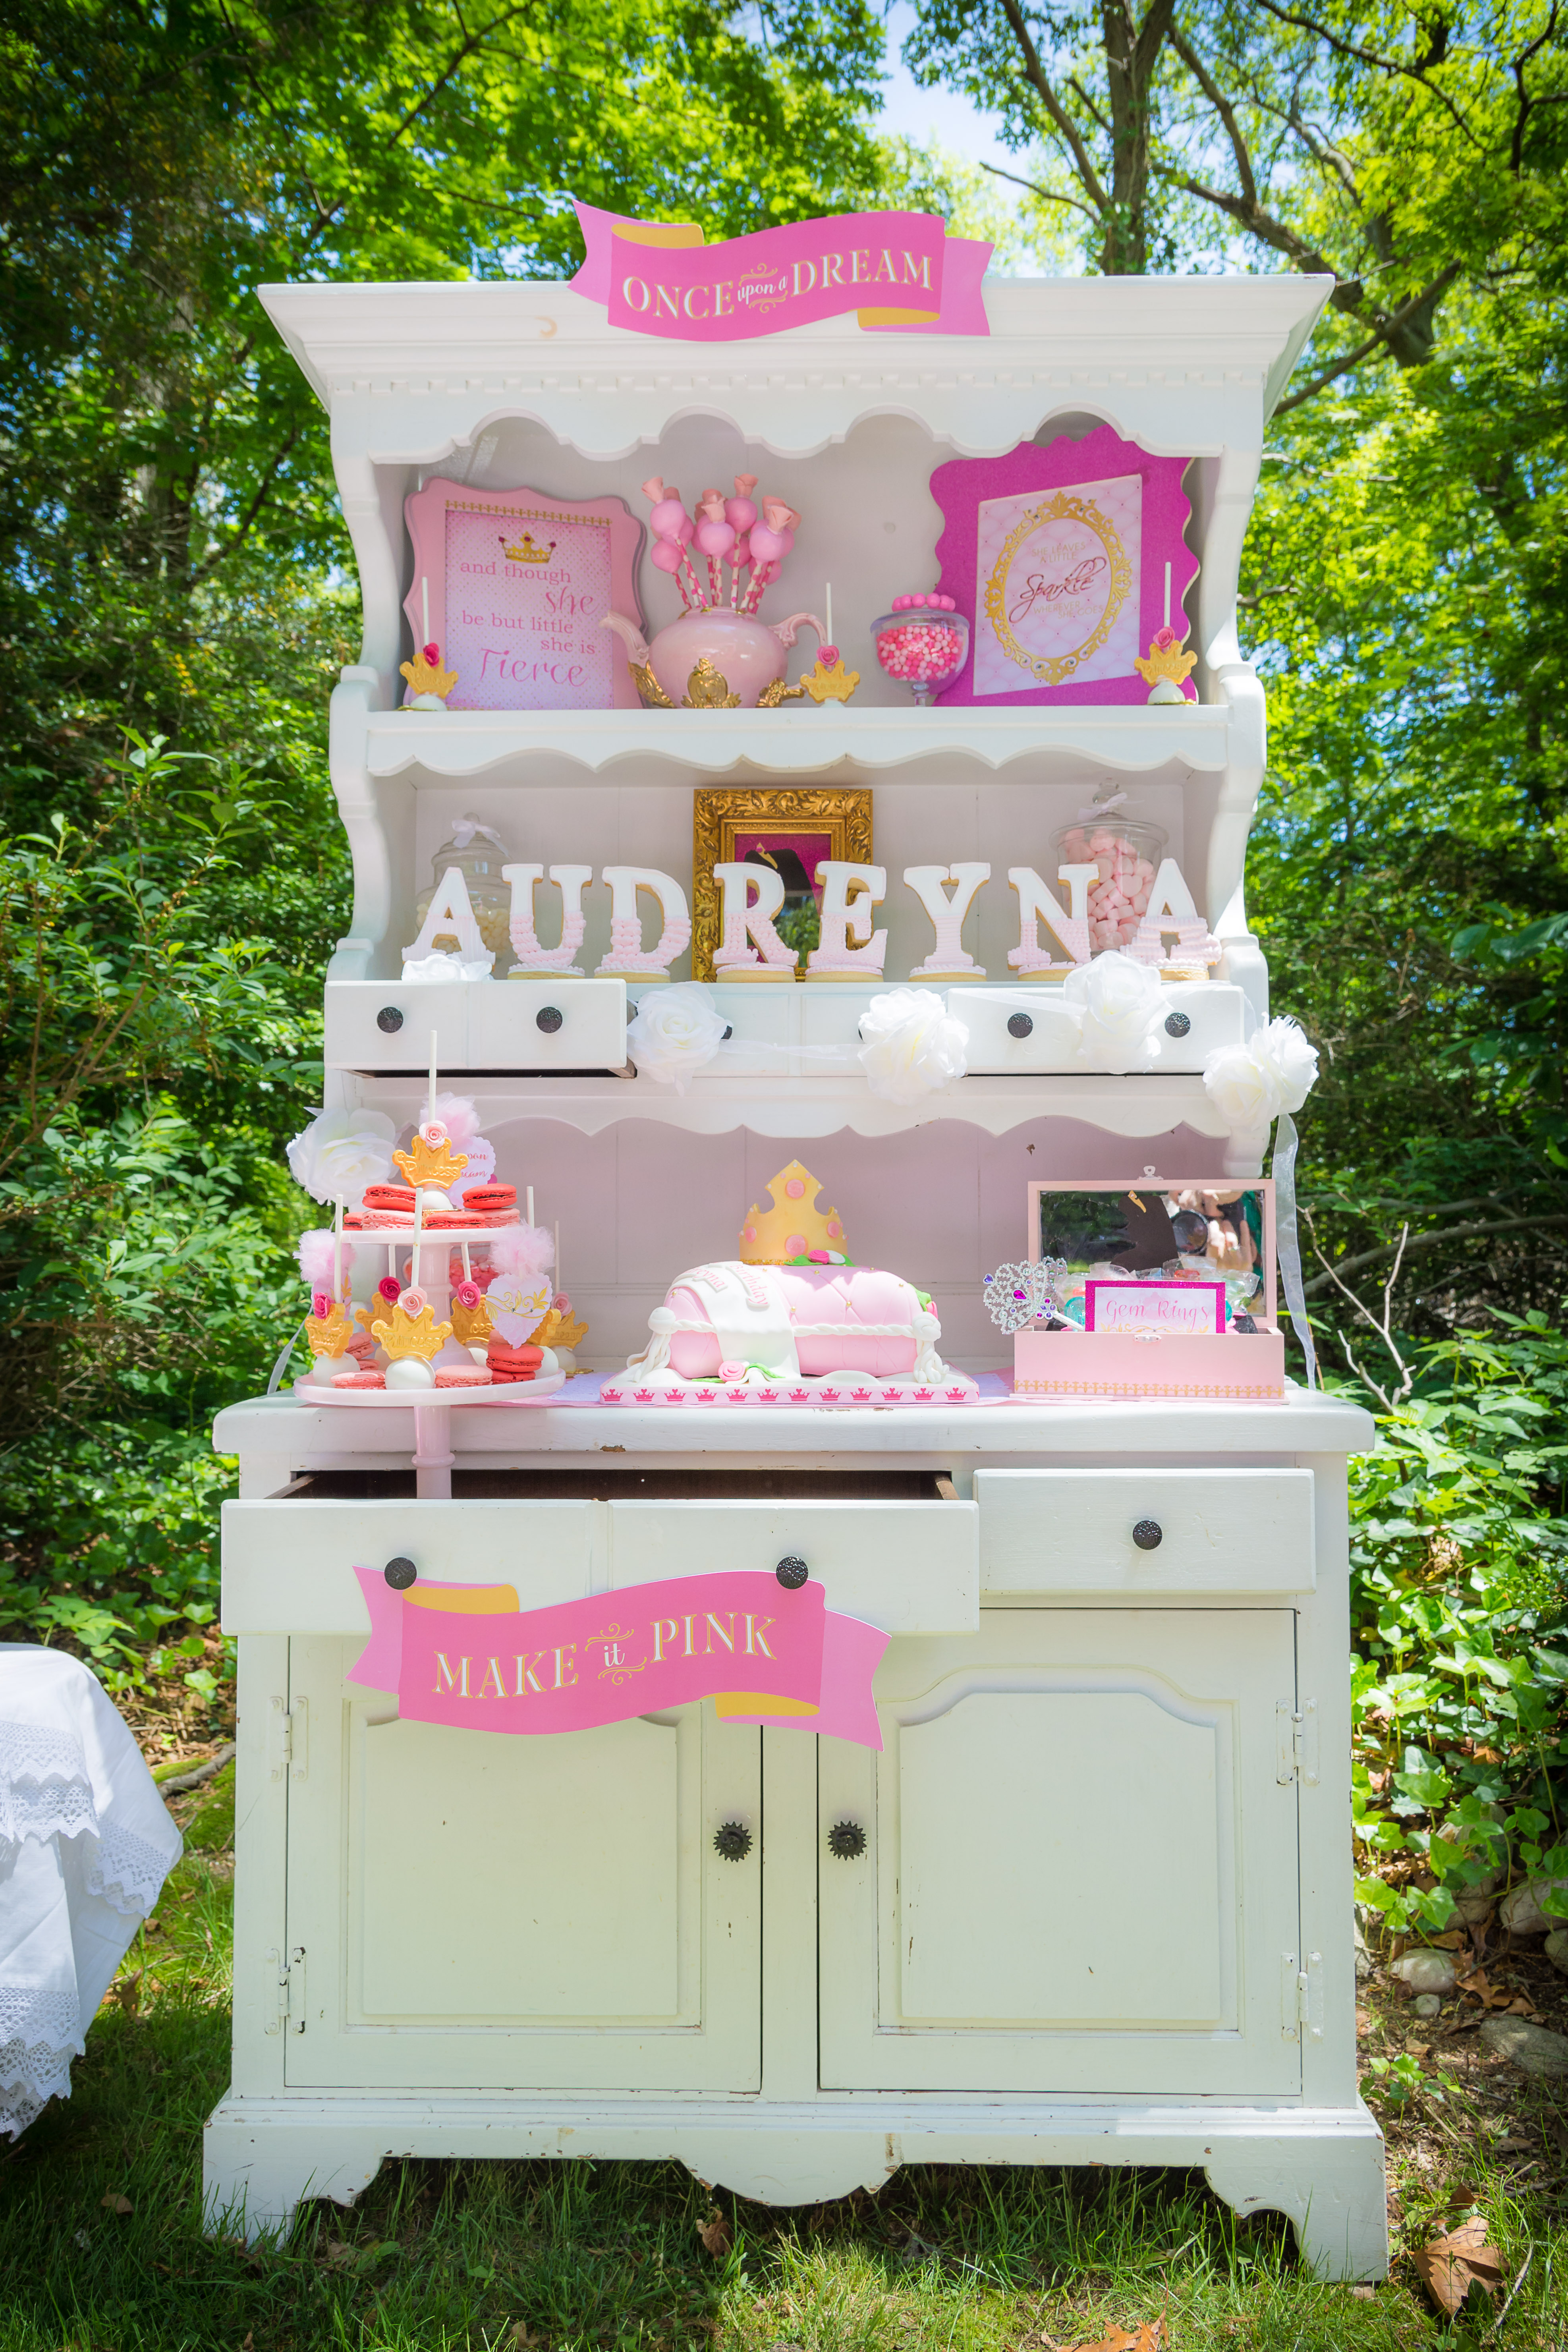
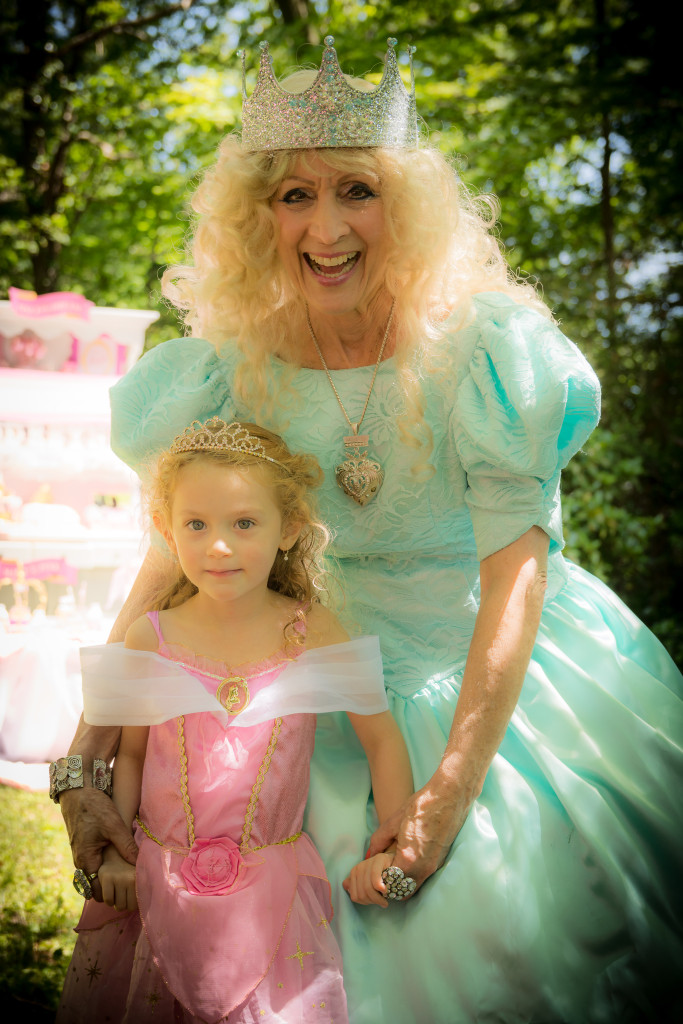
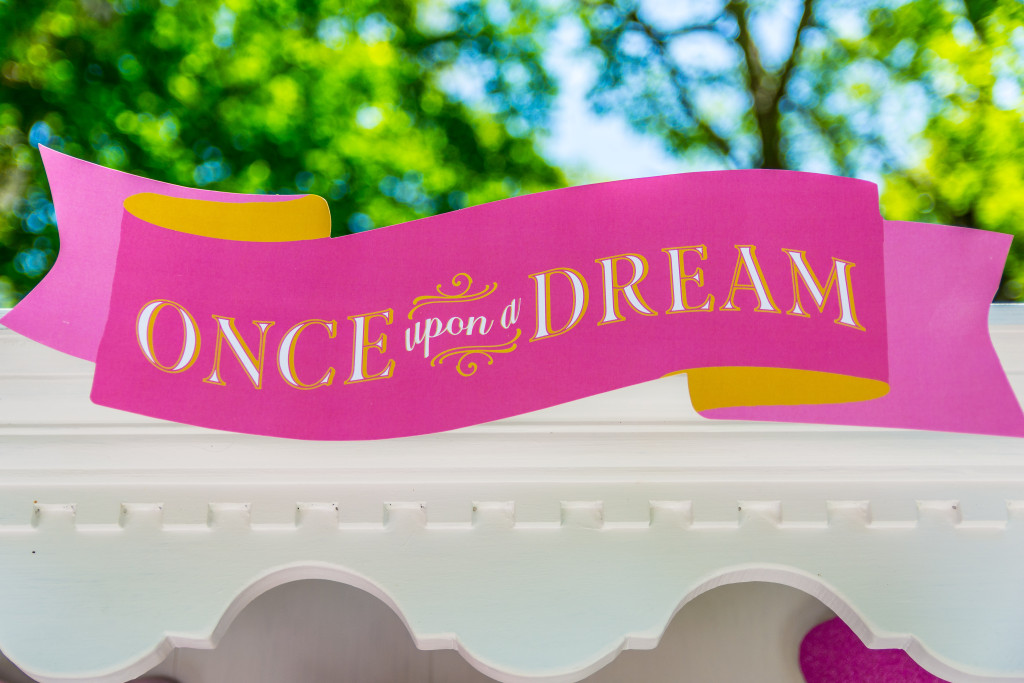
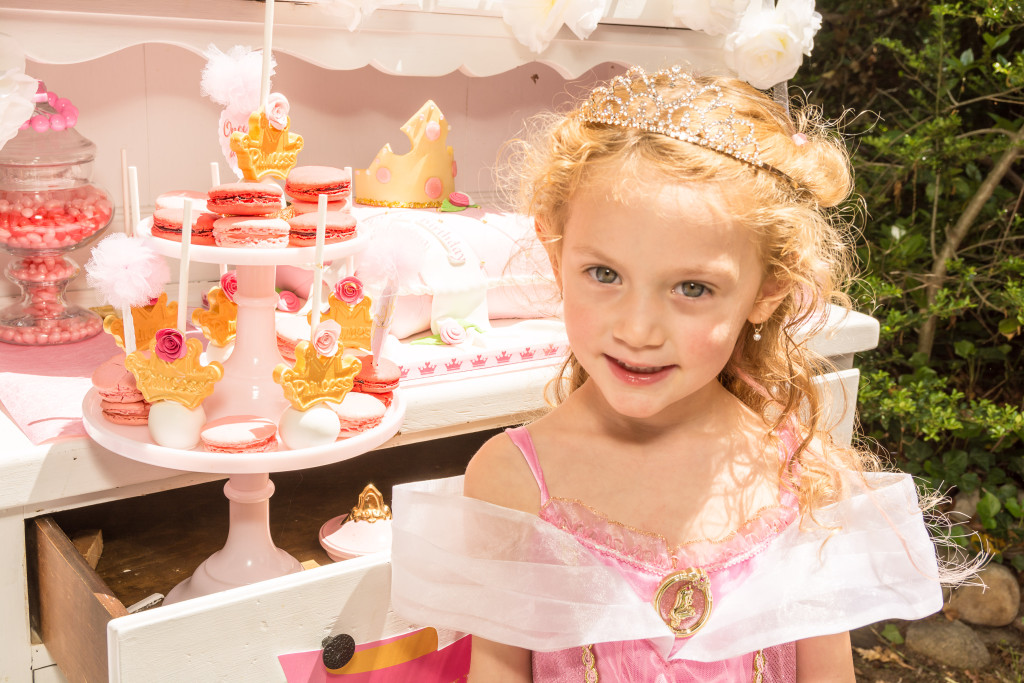
The Princess Dreams…
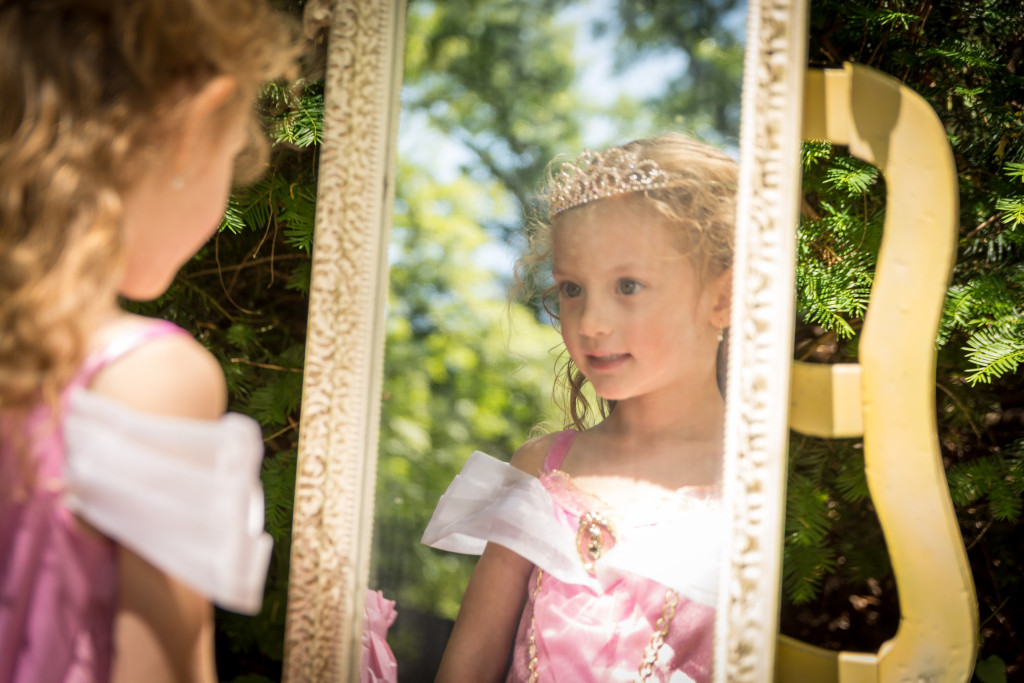
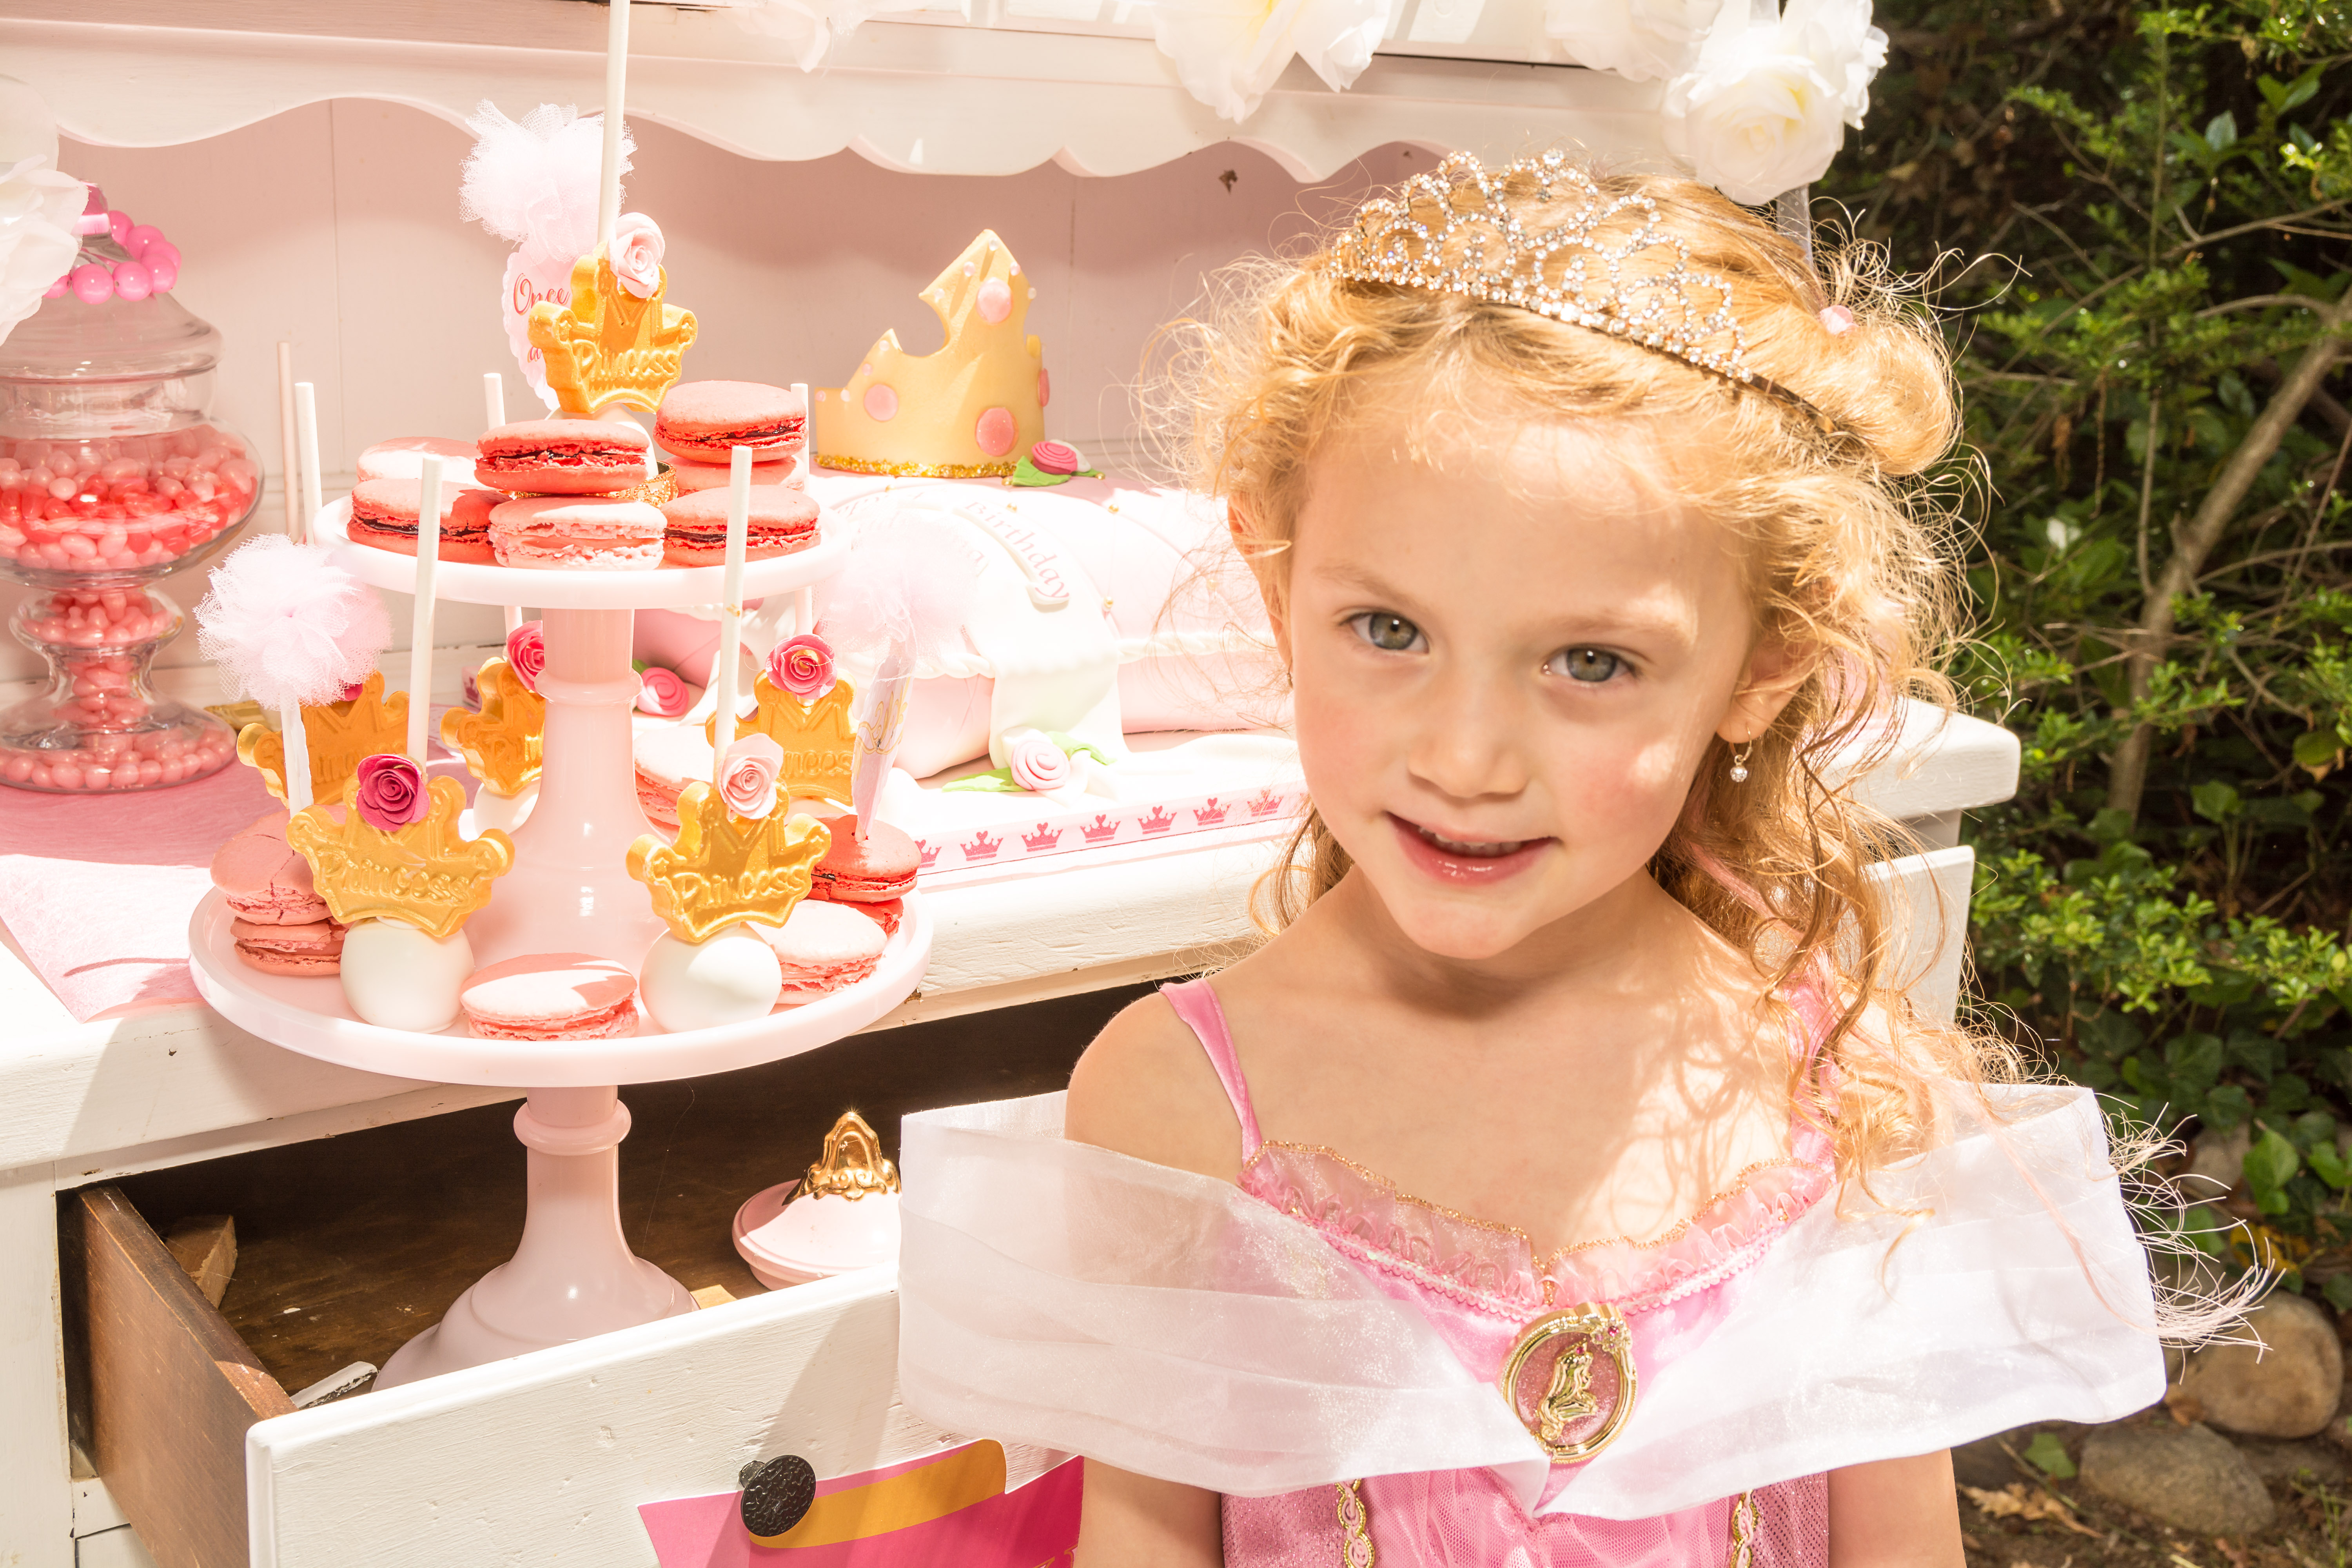
And Mommy makes them come true! Before I knew it the ripe age of FOUR closed in on me pretty quickly, and without further adieu my daughter dictated the theme before I could blink my eyes. Of course it had to be no other than an Aurora Sleeping beauty tea party. The problem: the boys. How was I going to incorporate this event where it could work for both genders? With some deliberation I figured out that I would make it so our list of boys that would be invited will decide if they will be a Prince or a Knight for the day. Problem solved.
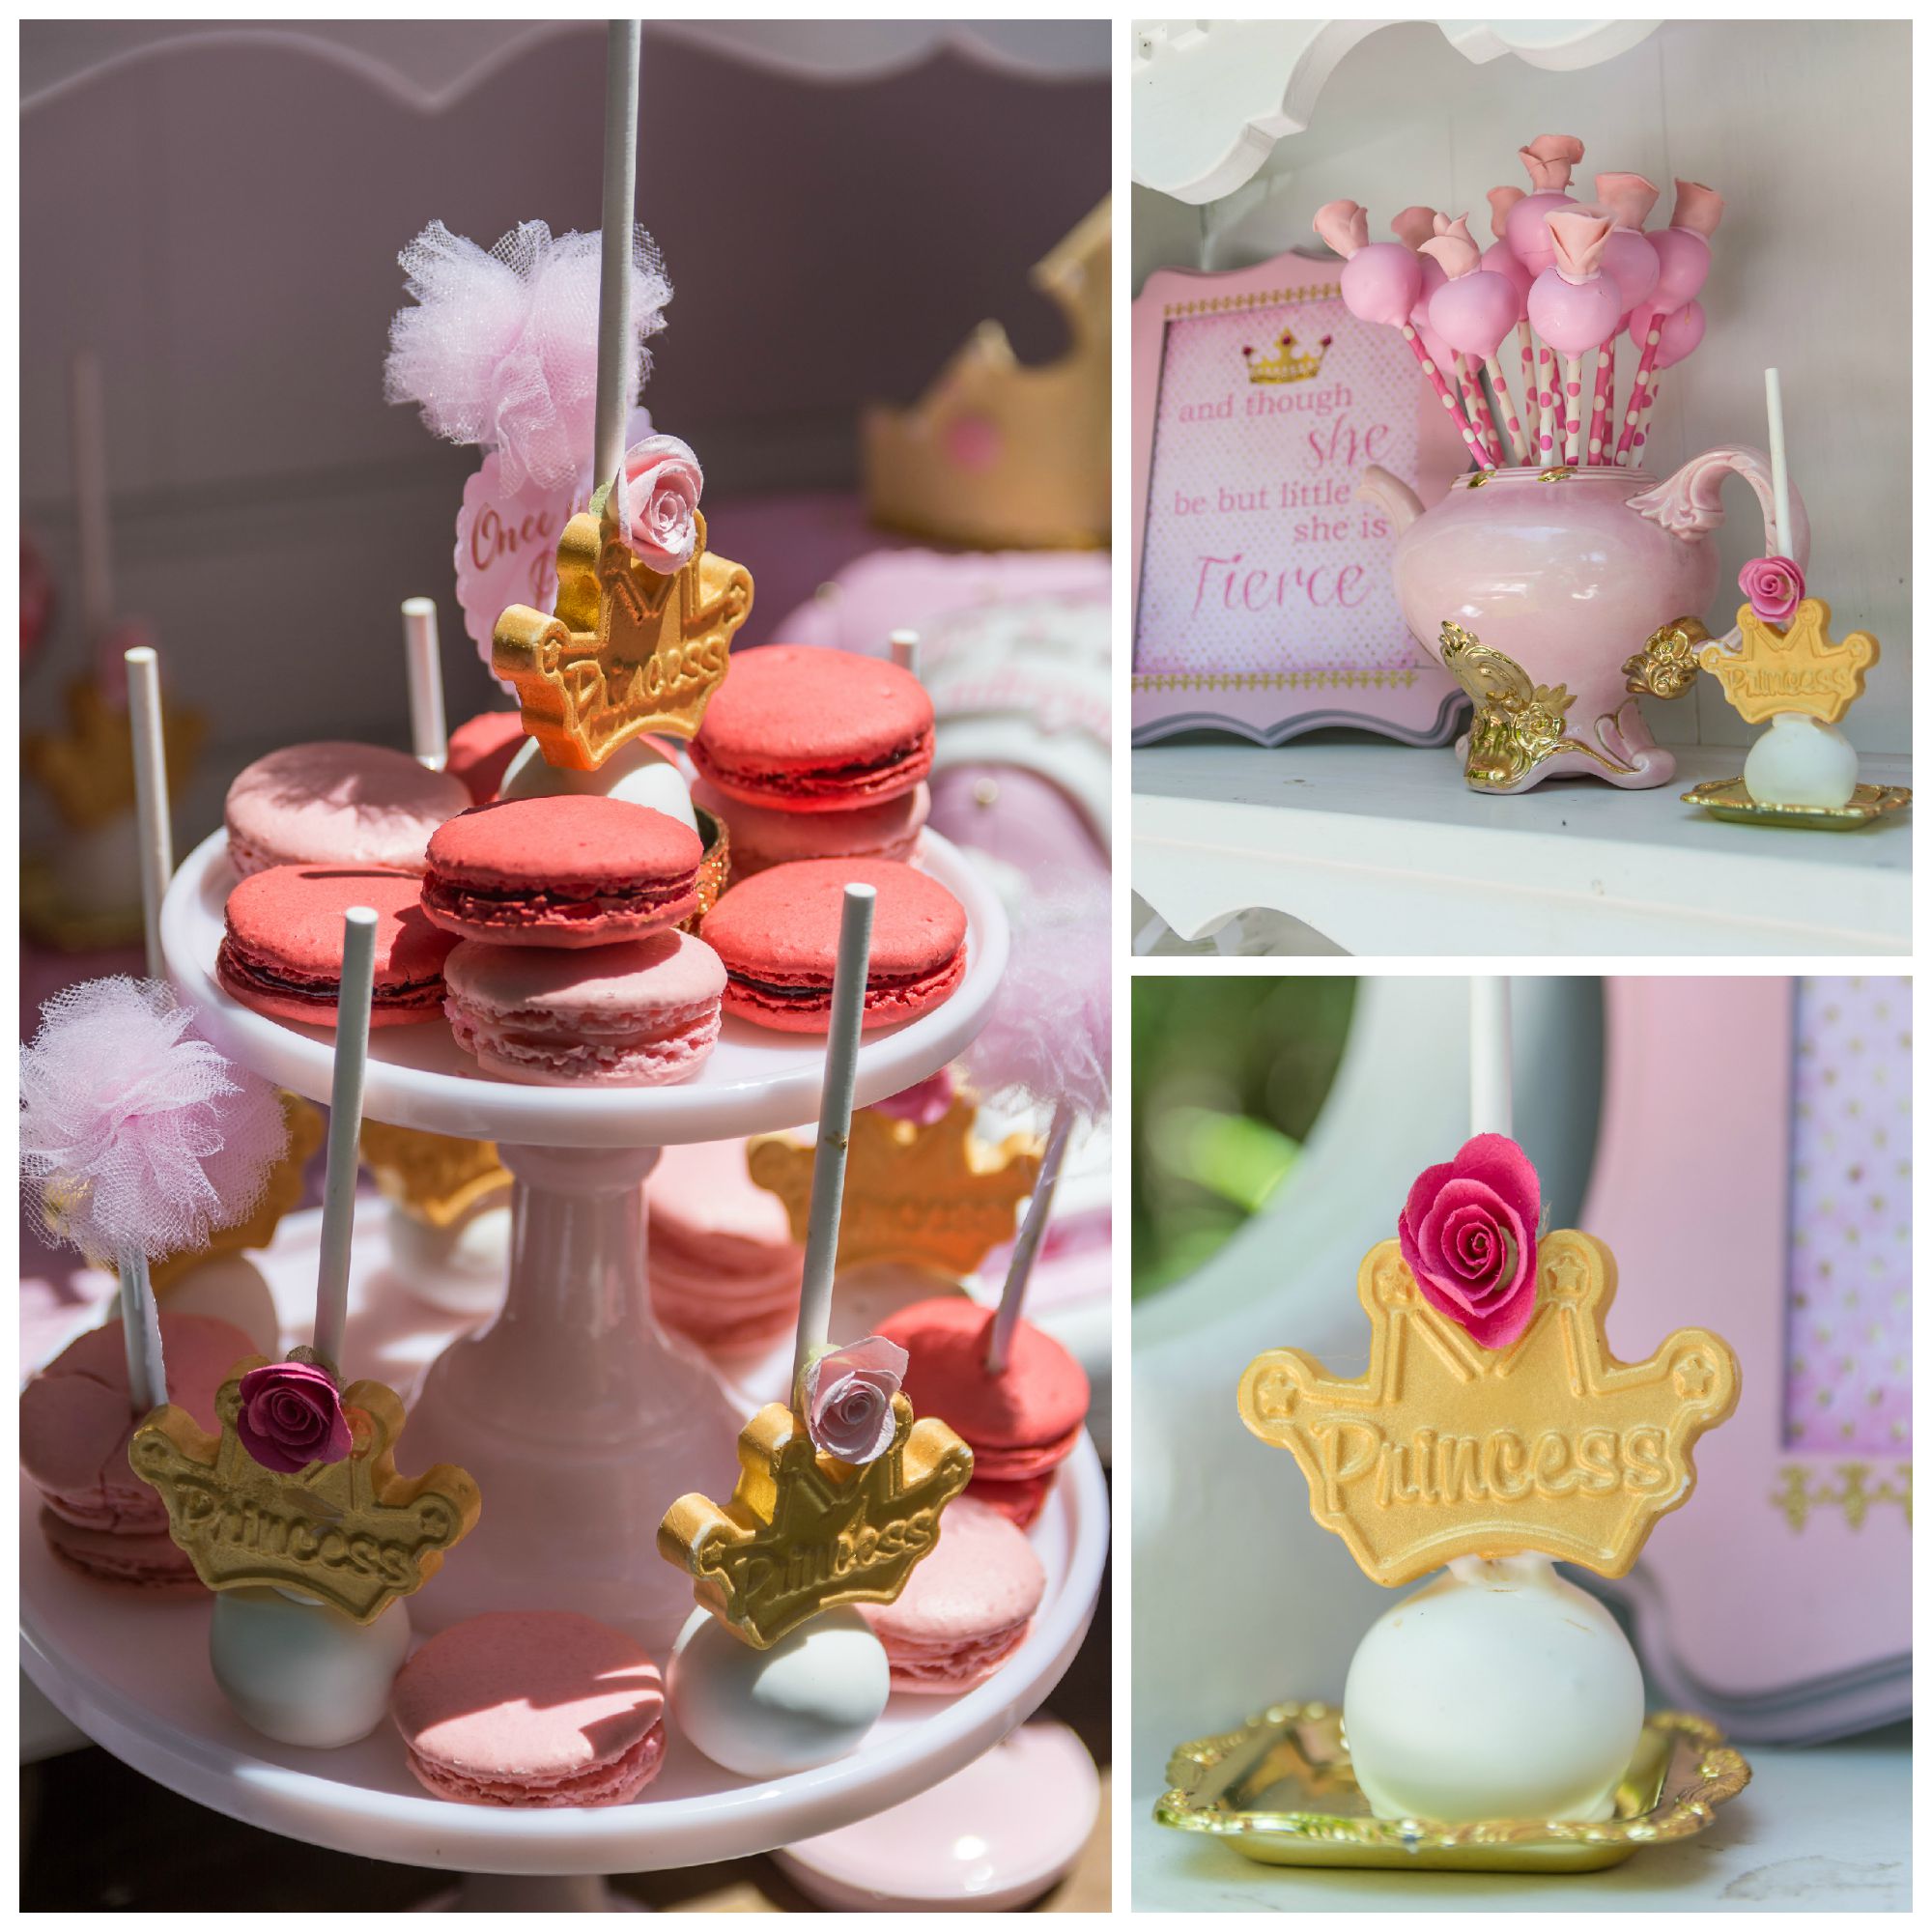
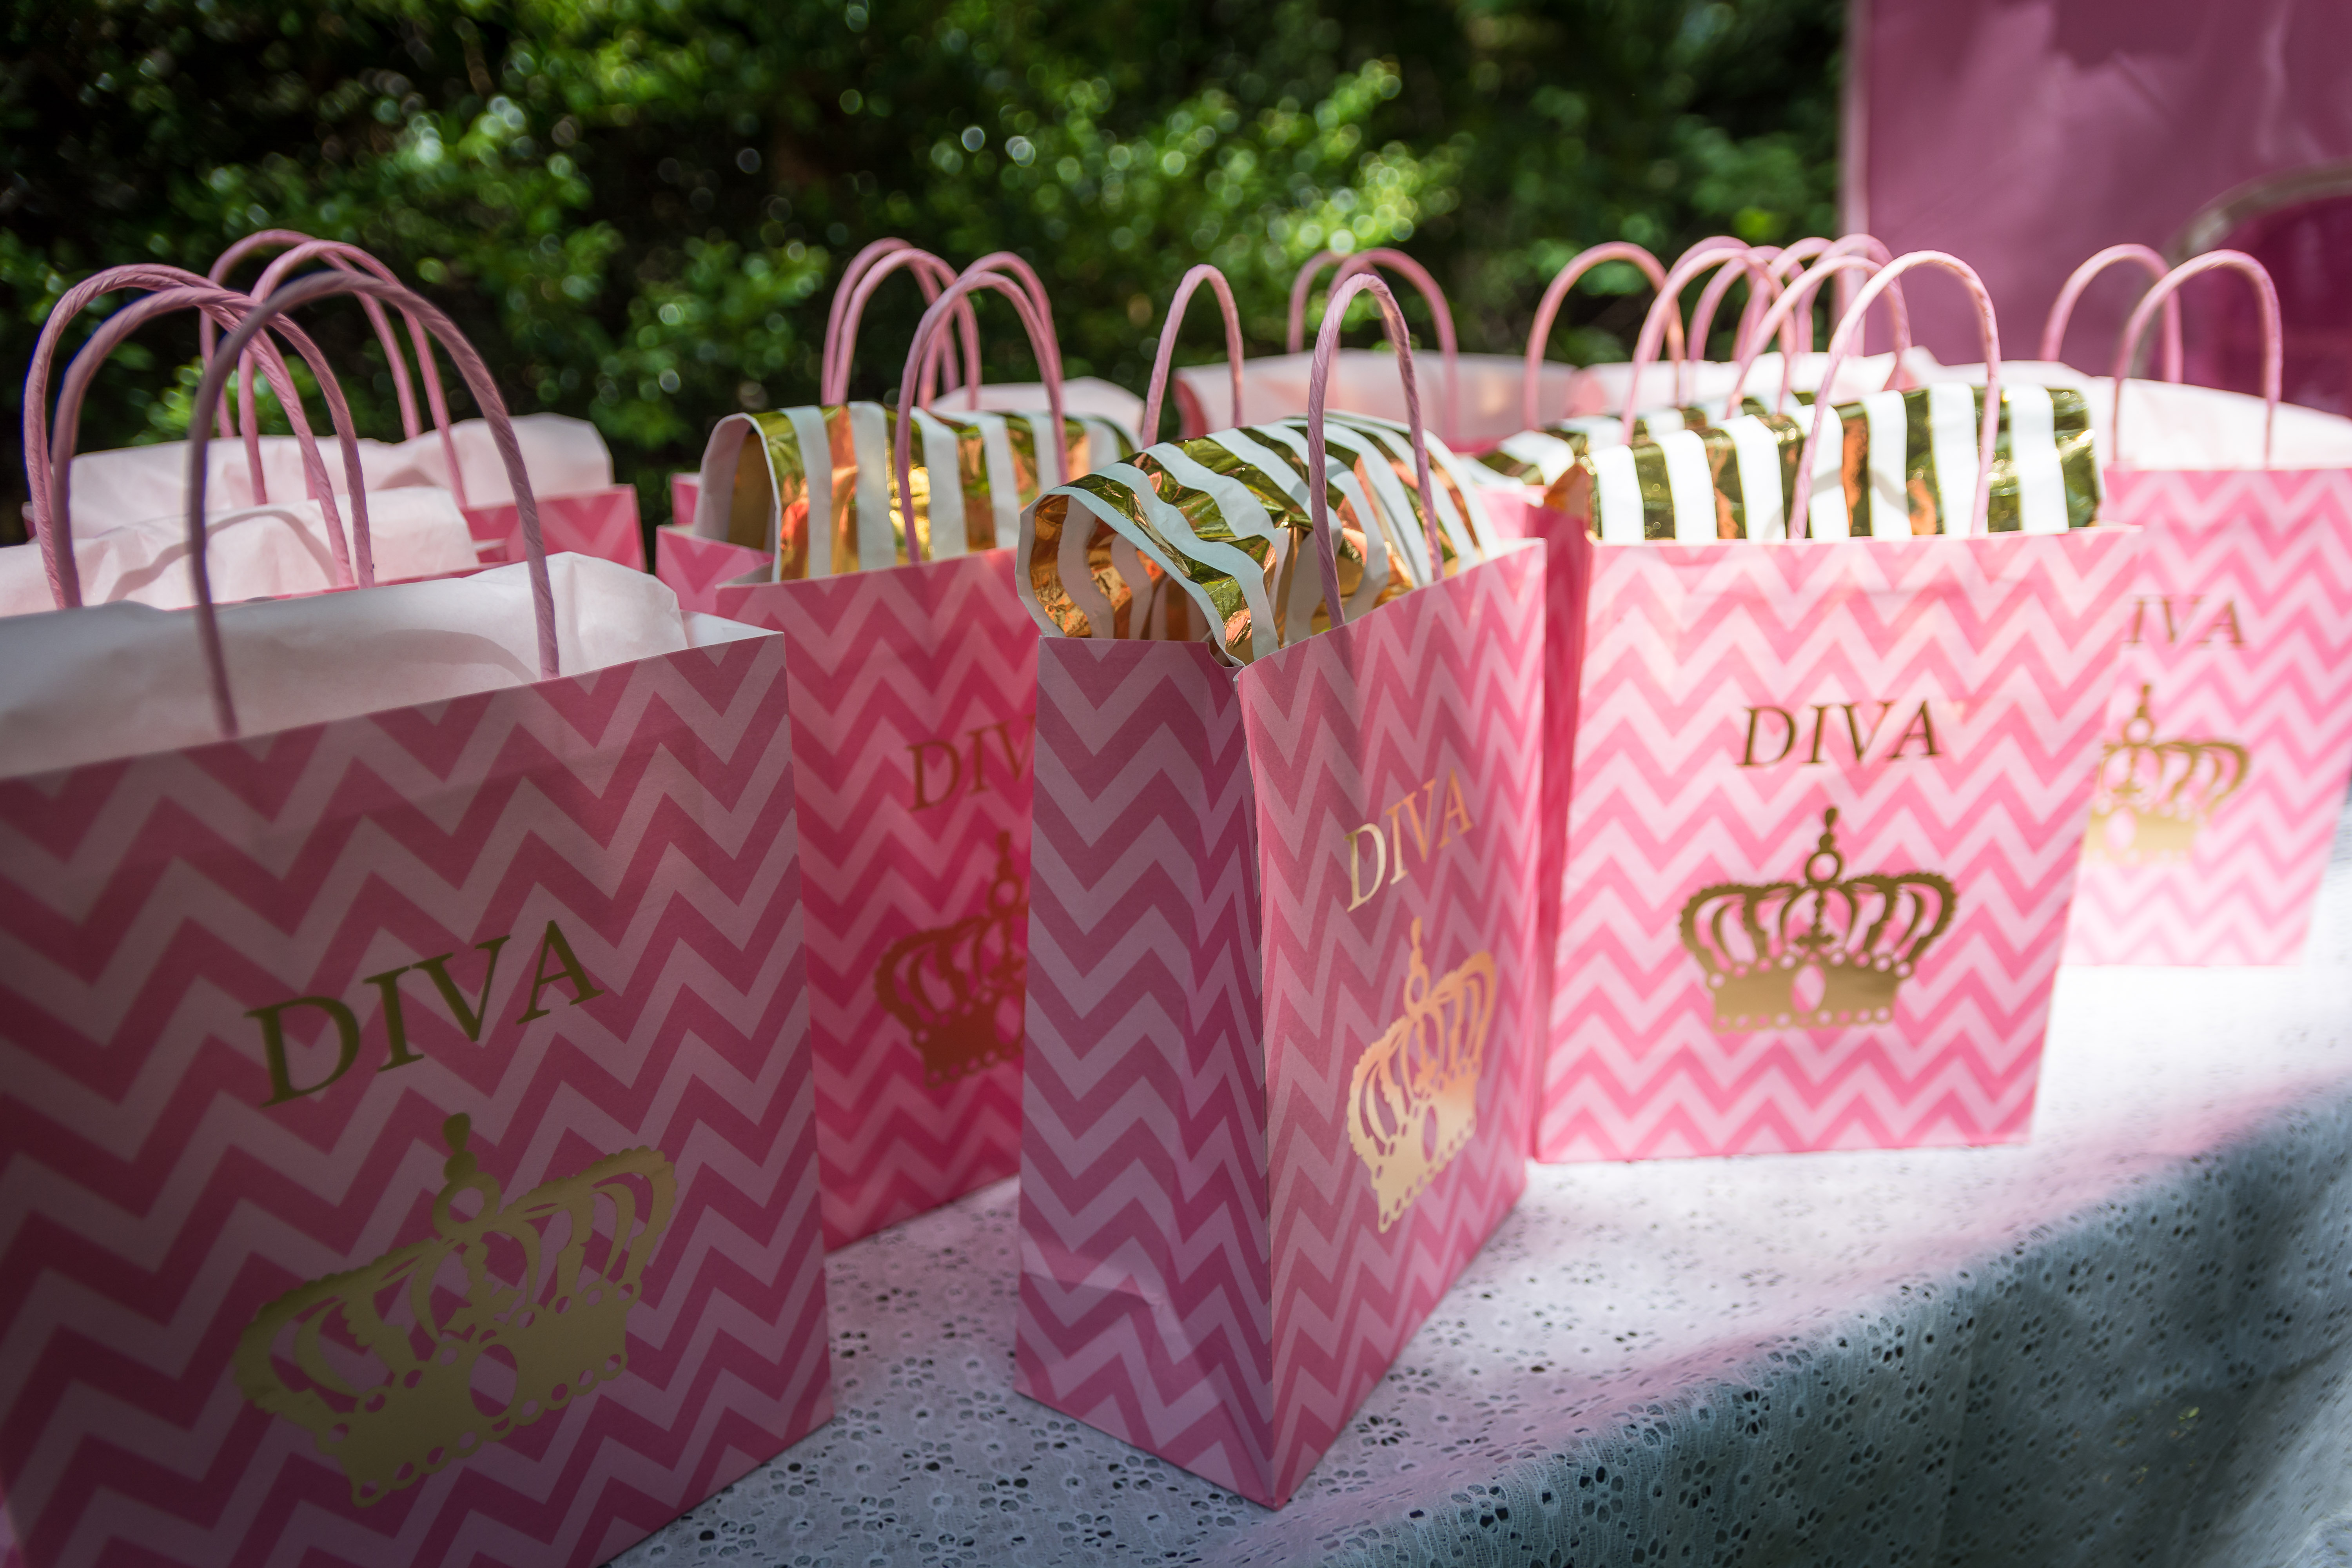
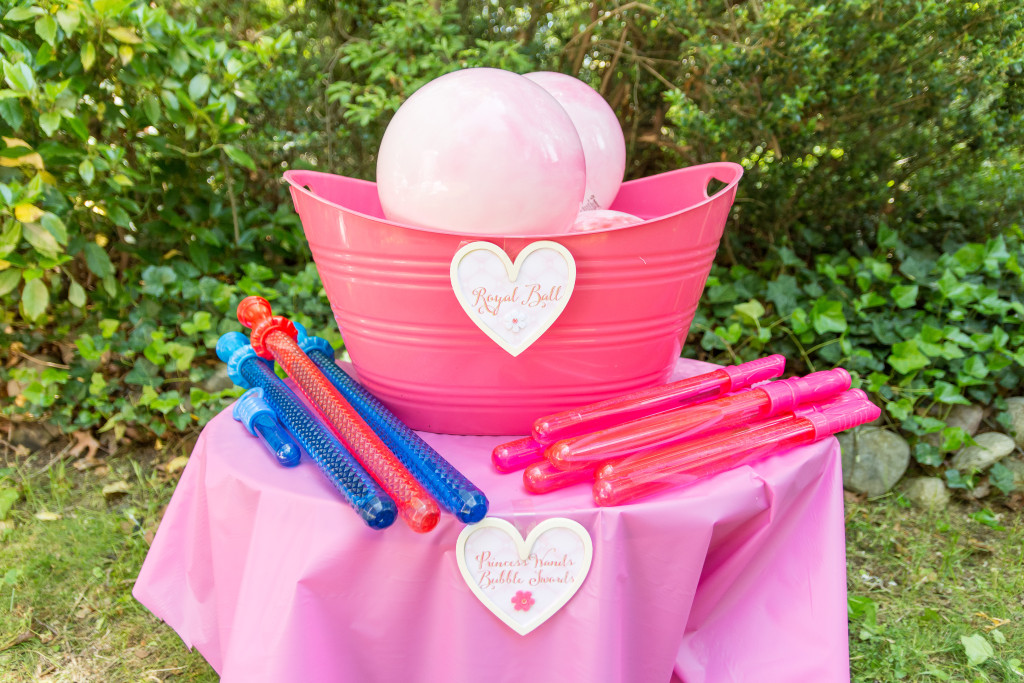
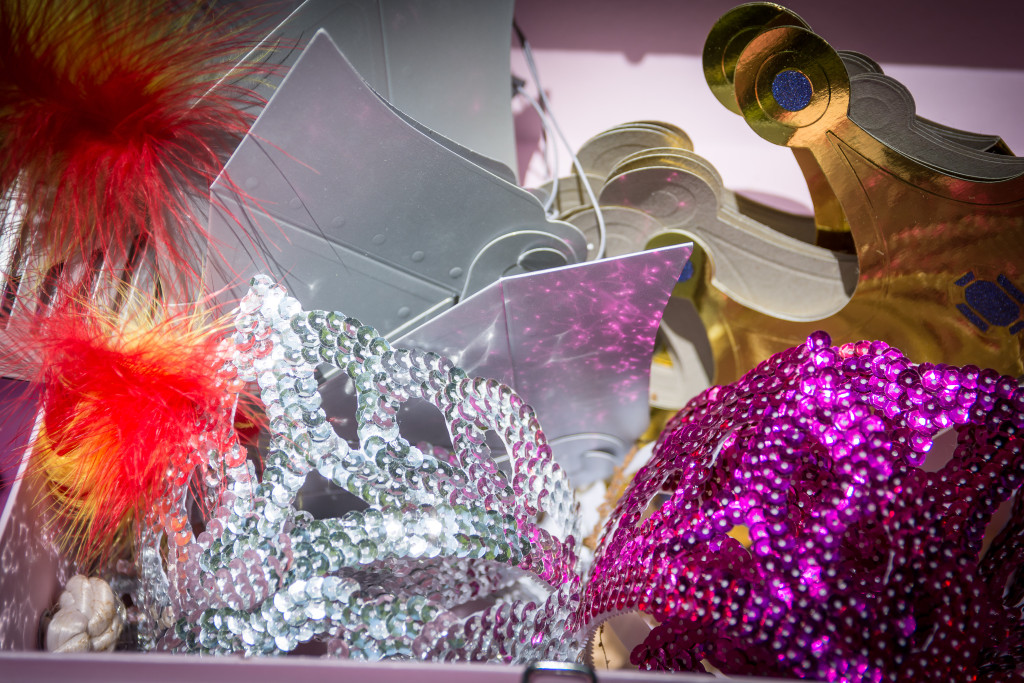
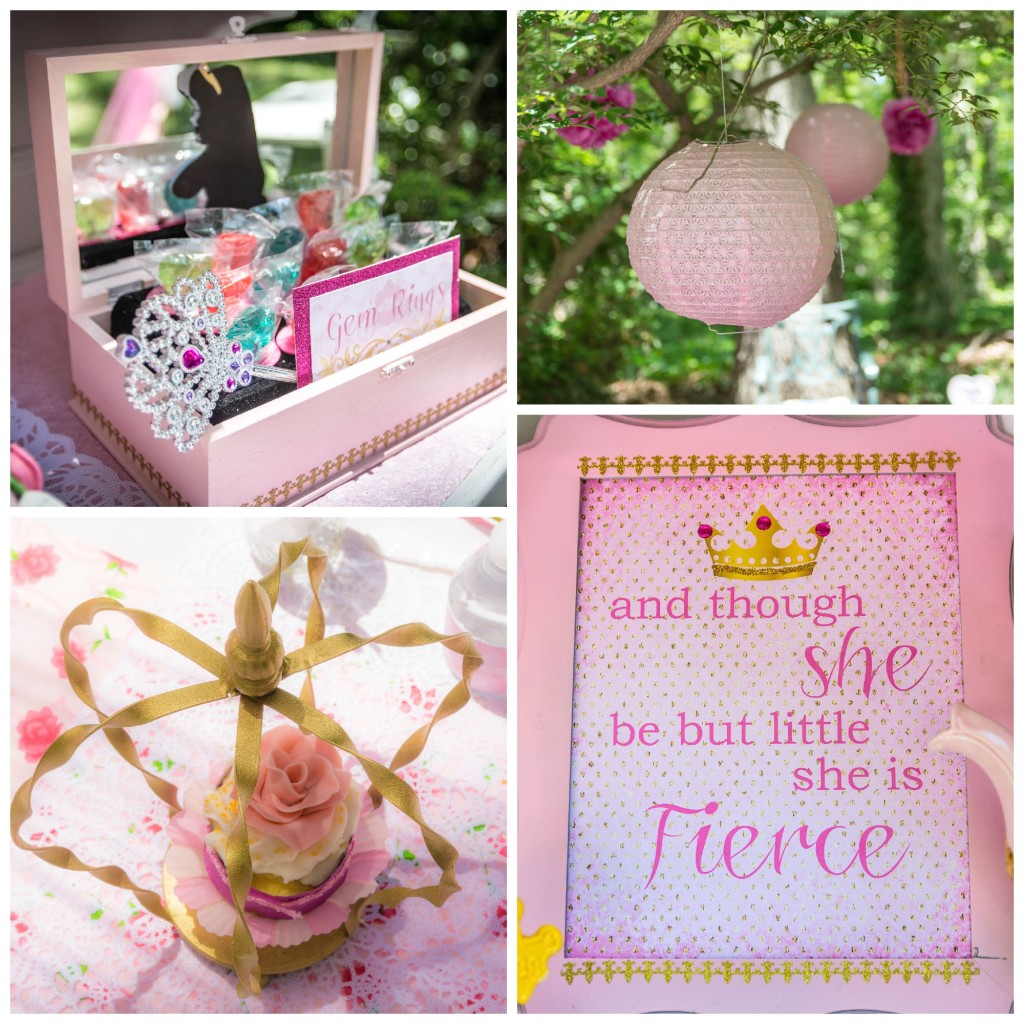
Many fun games like Royal ball and Knight bubbles would keep our little knights and both Prince’s entertained as the girls got dolled up at the Beauty Bar with nothing else but the royal makeup from our latest Disney Trip at the Bippity boppity boo Salon. Each little princess sparkled with jewelry and light up rings and wands that was given. Gems for the face , Tierra’s, Crowns for the Prince and Knight Masks were more of the fun accessories for the day for these little cuties.
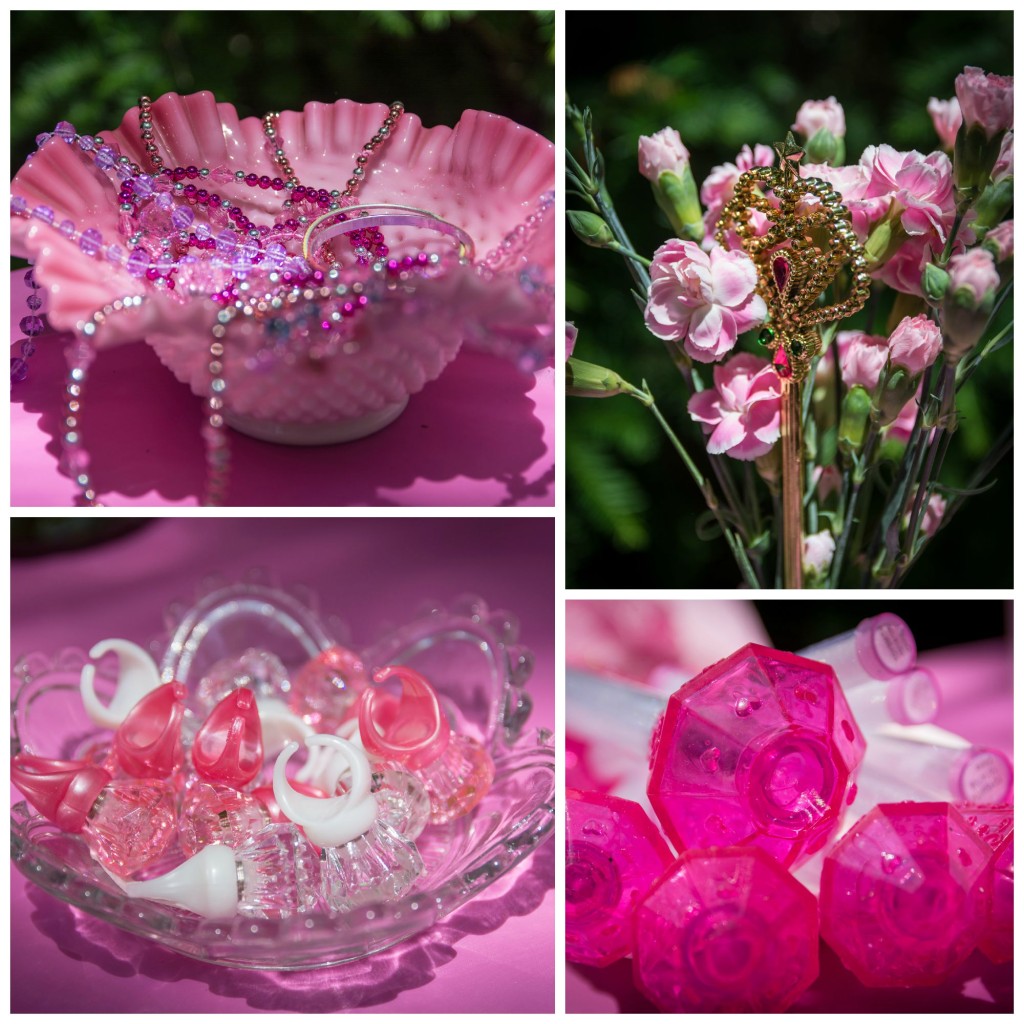
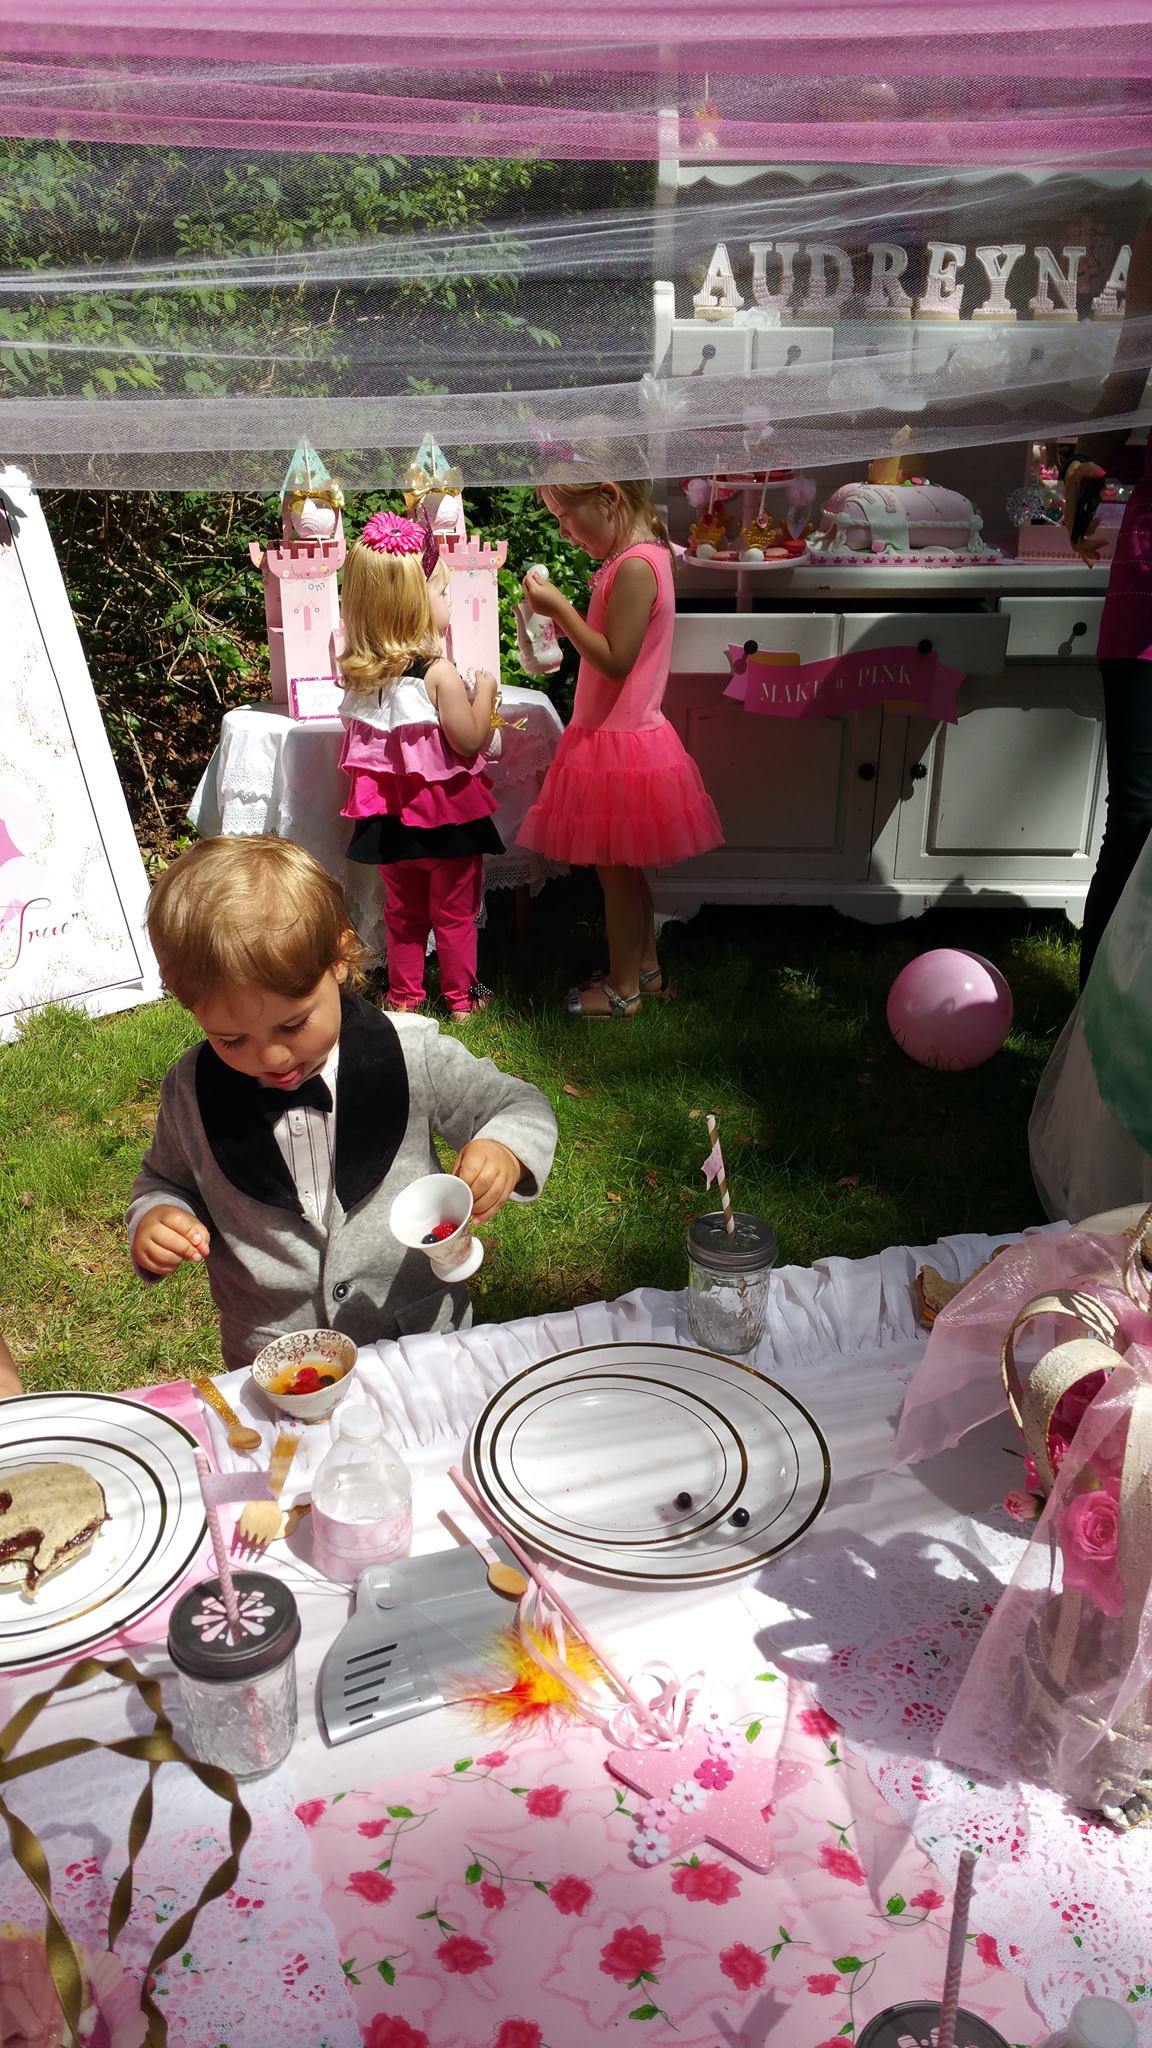
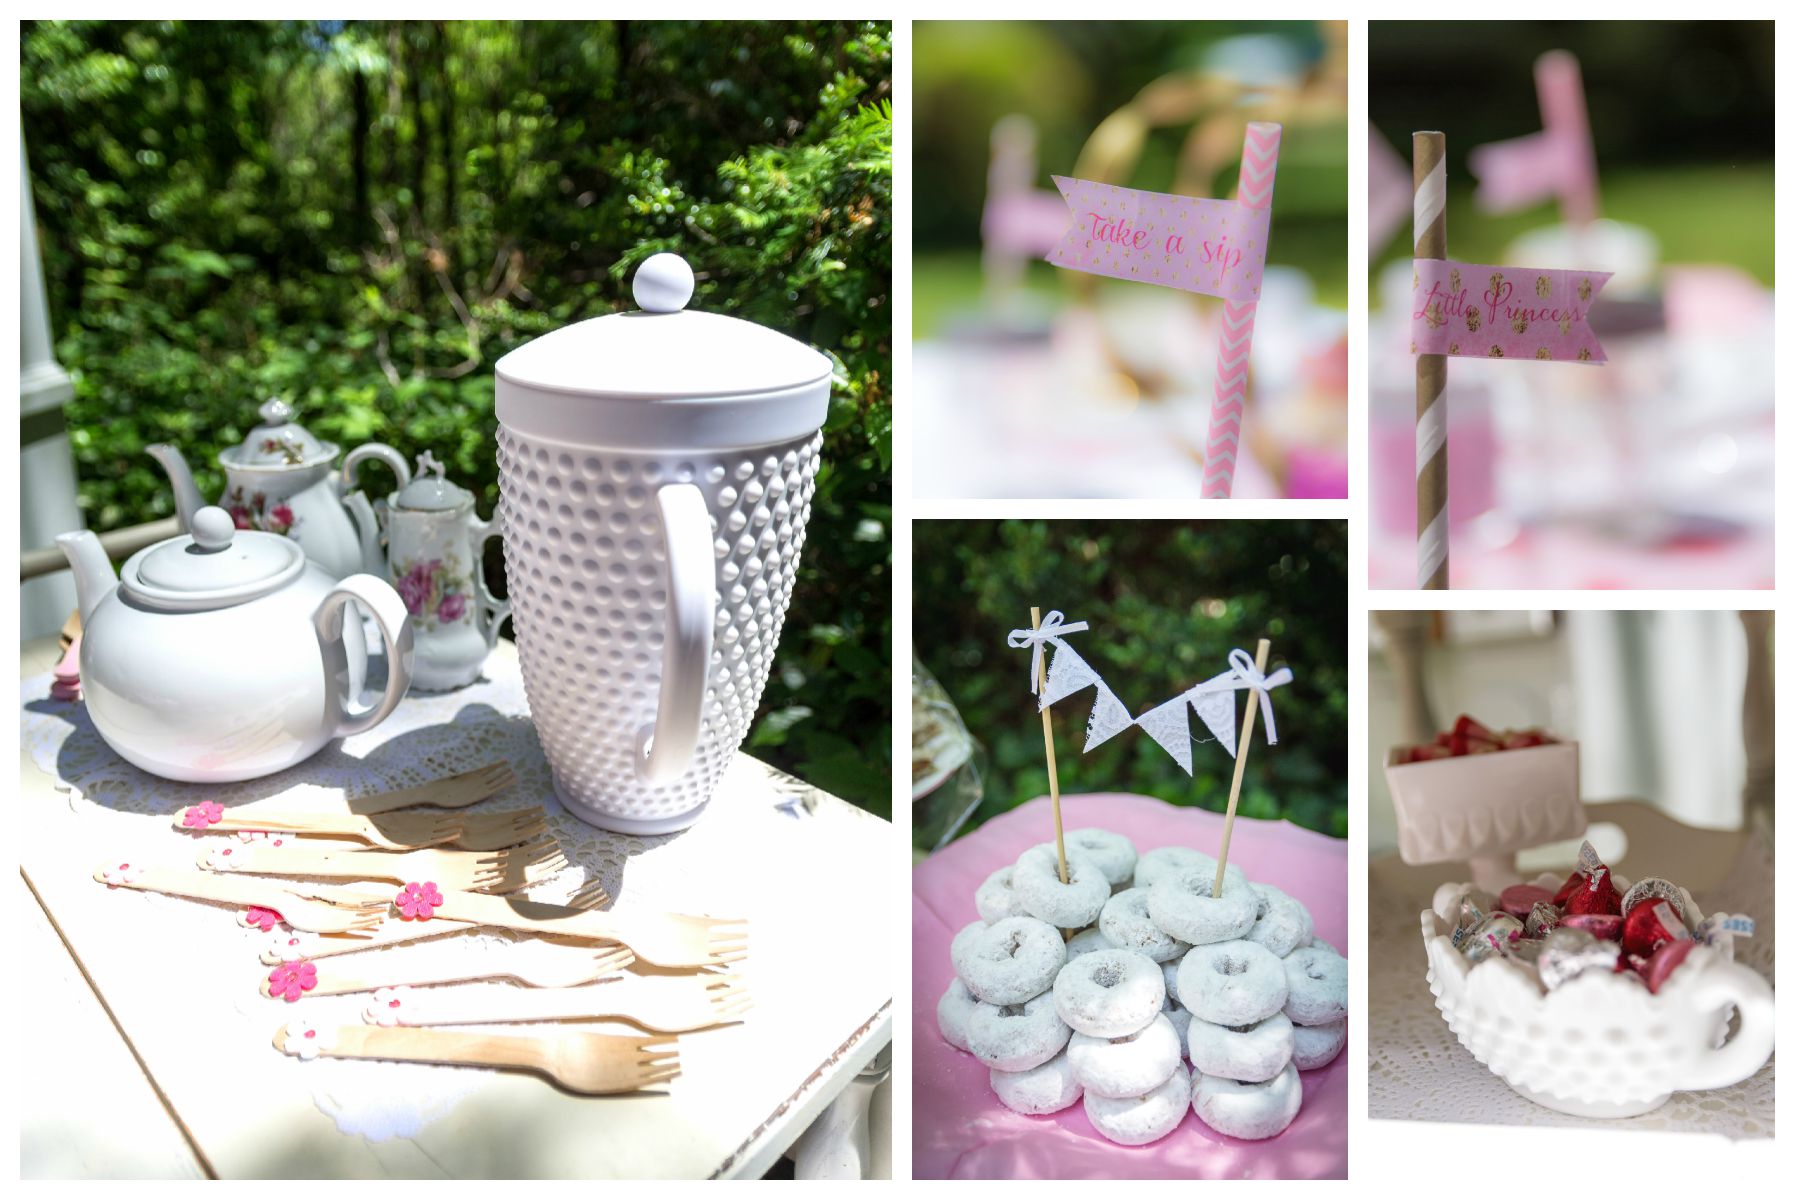
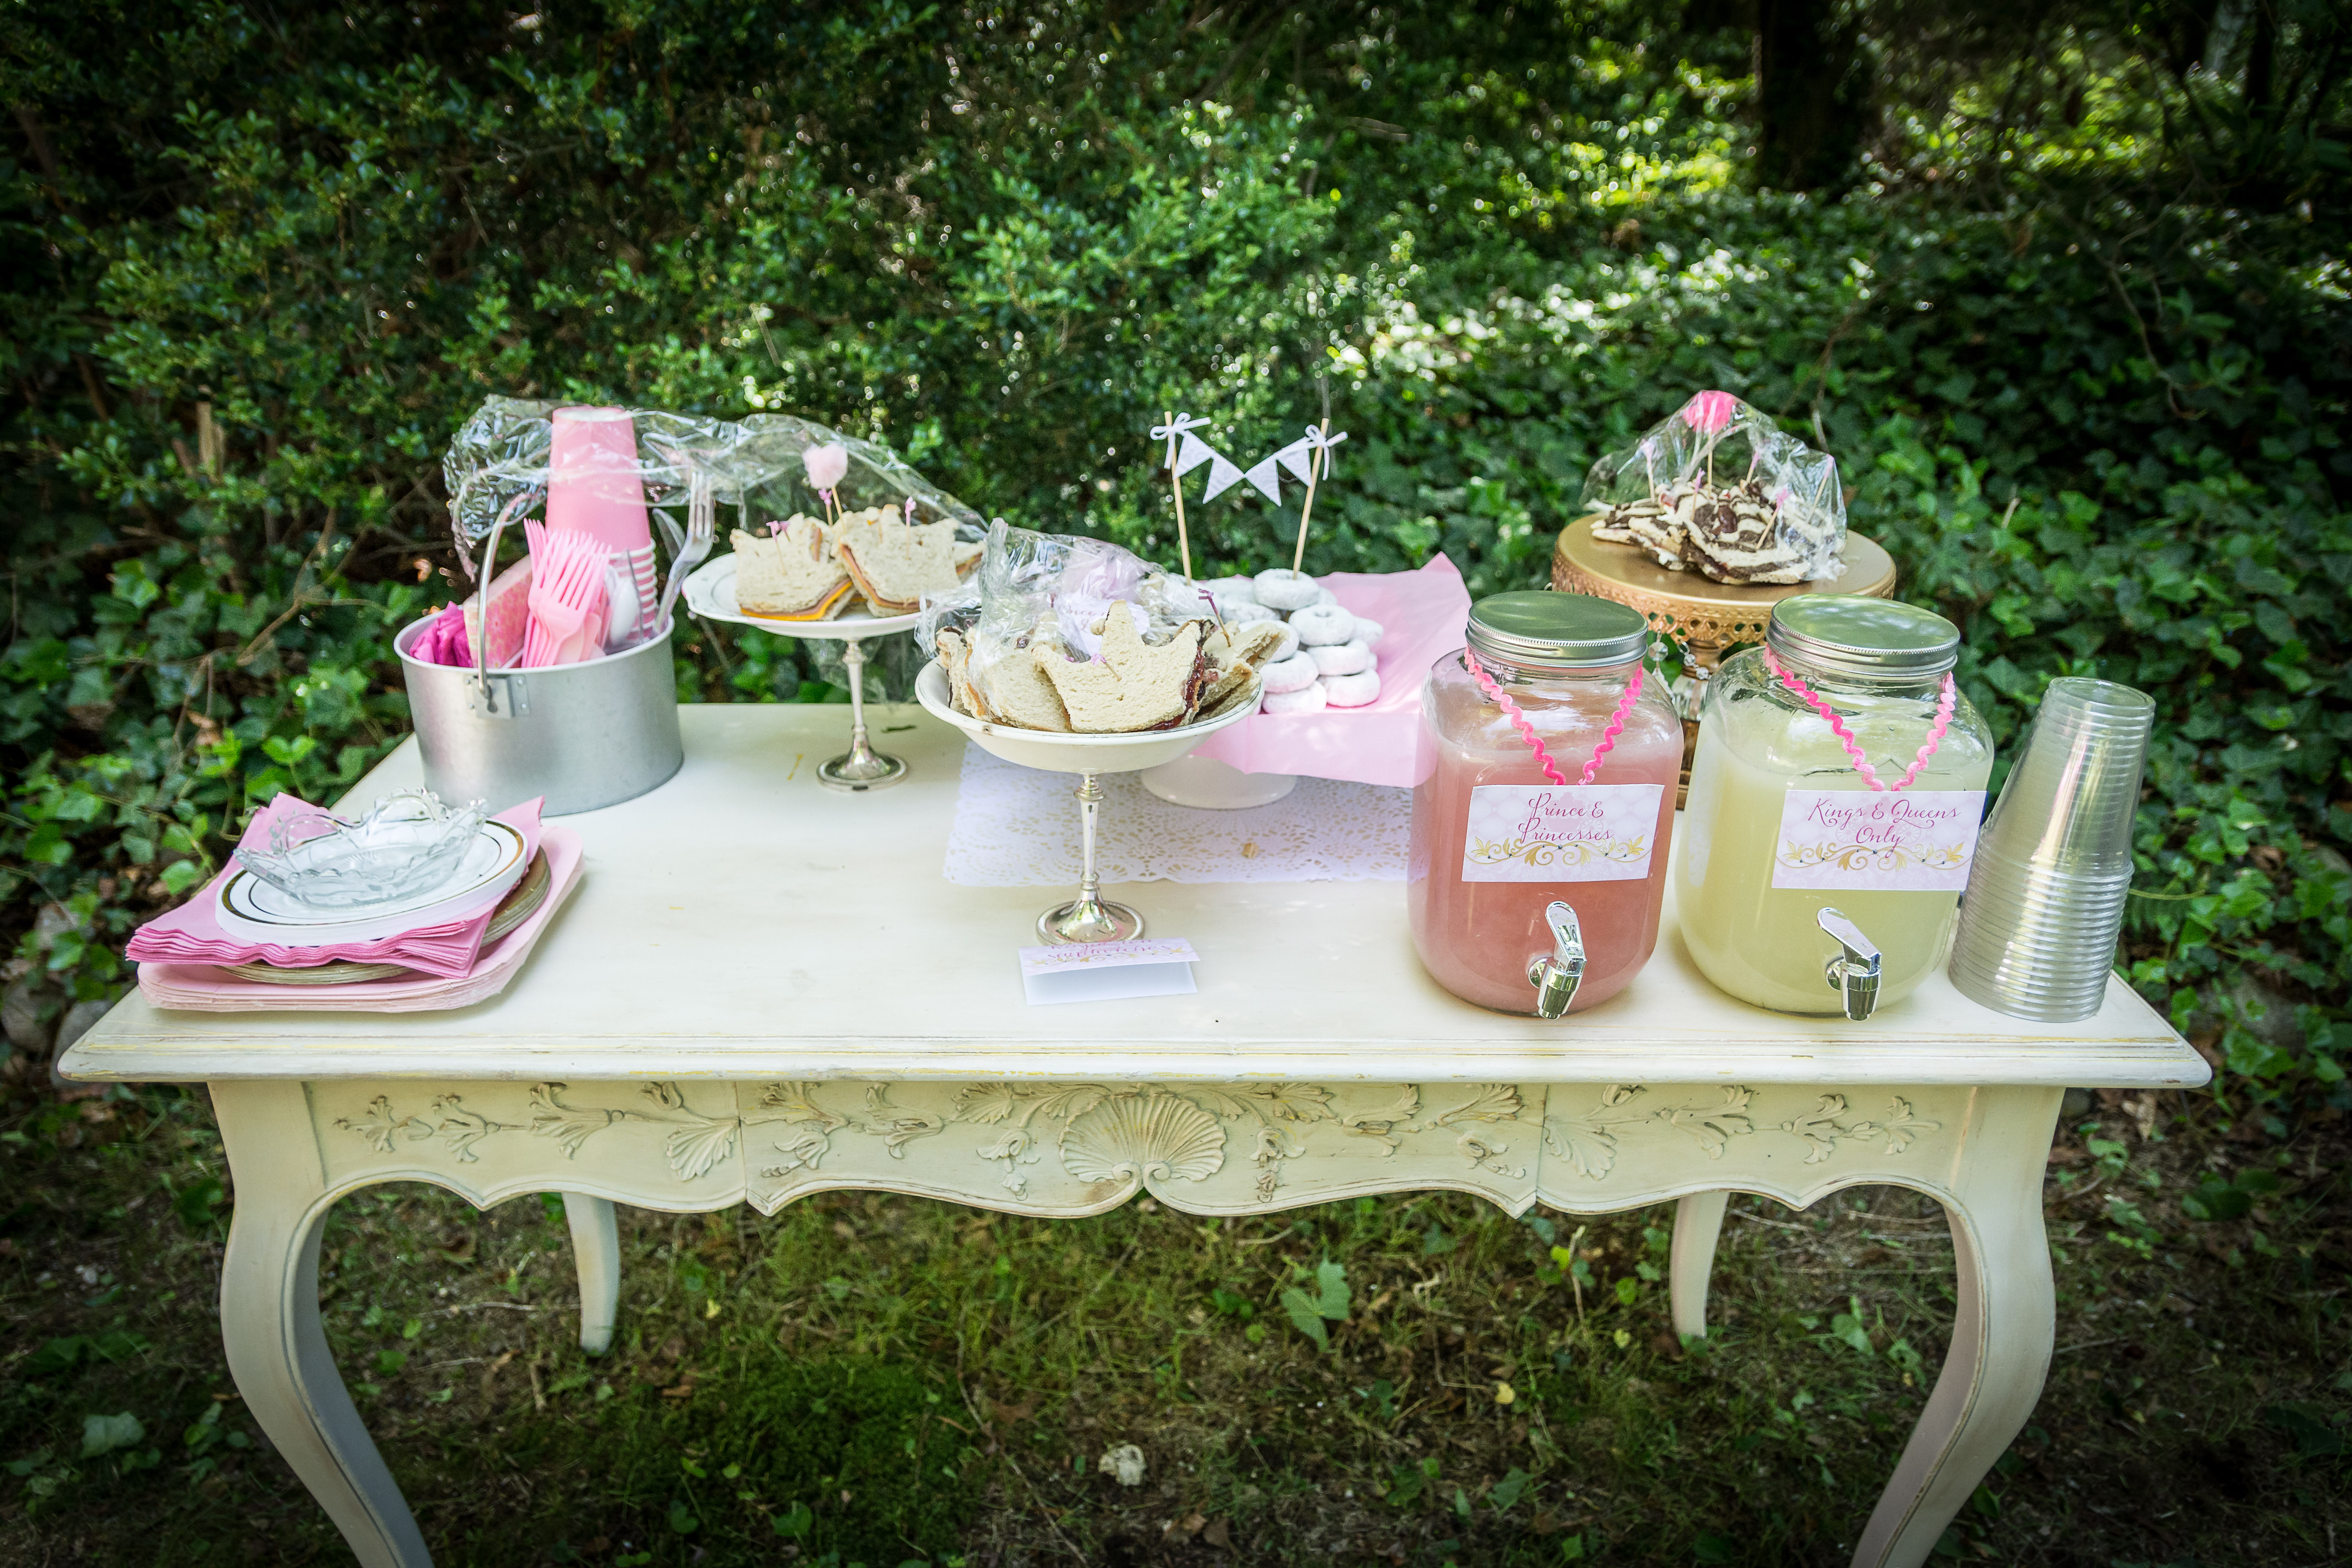
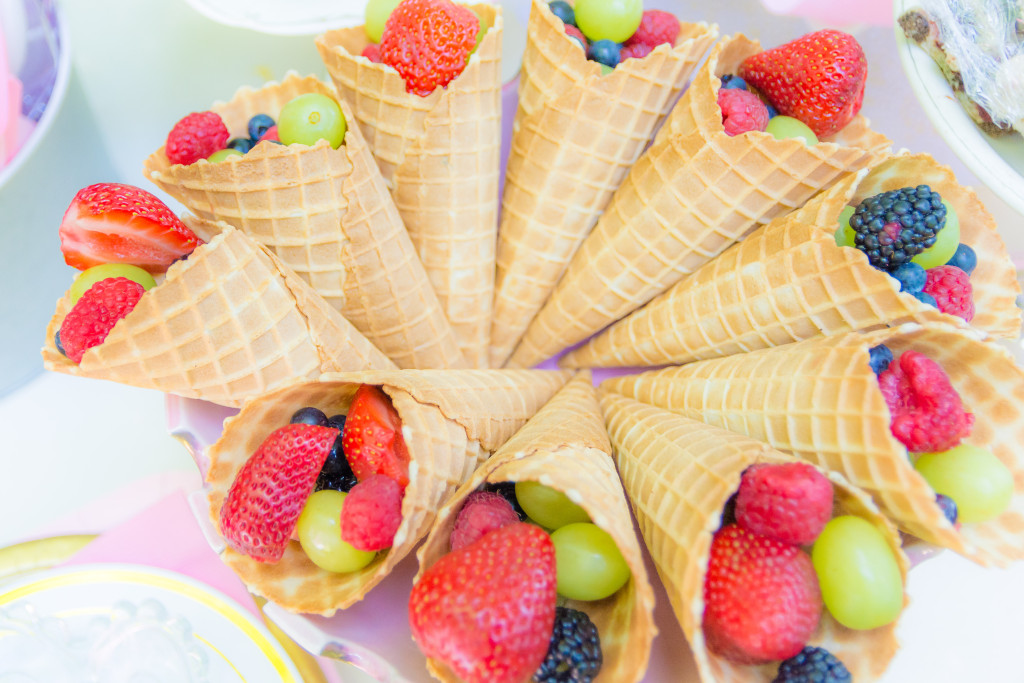
Surprisingly enough the boys even got into pouring the tea and adding fruit into the cups and china plates…

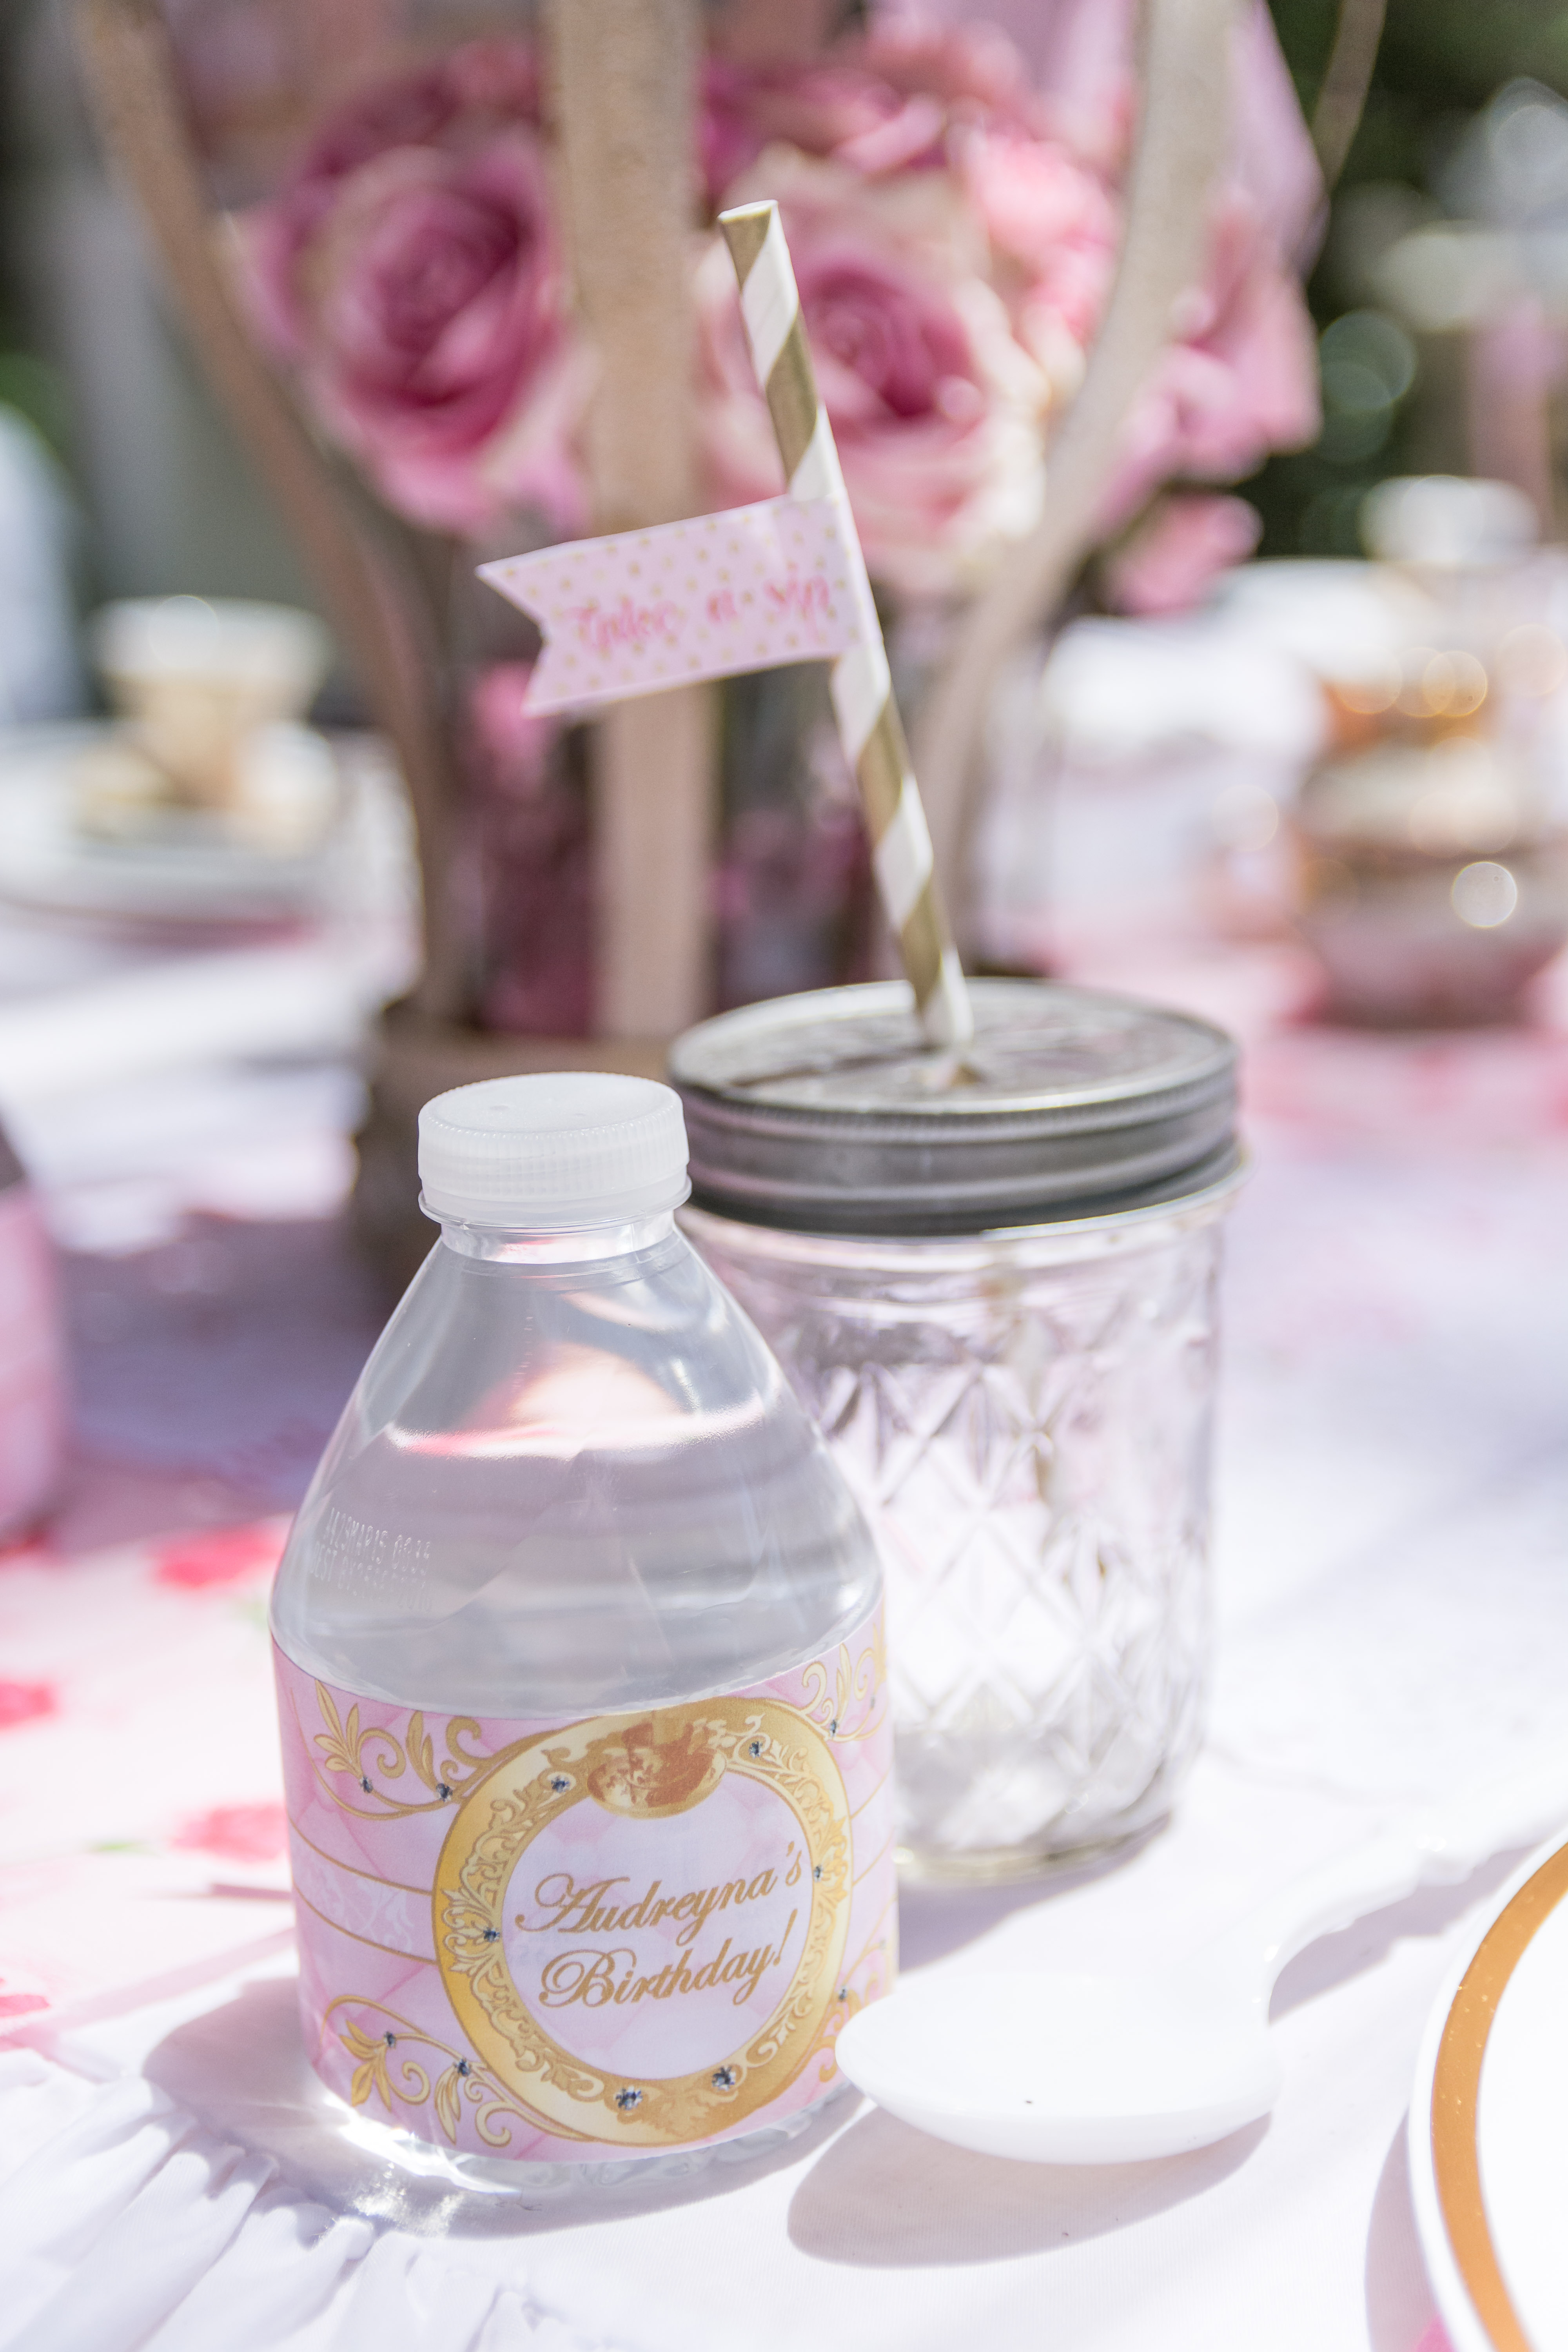
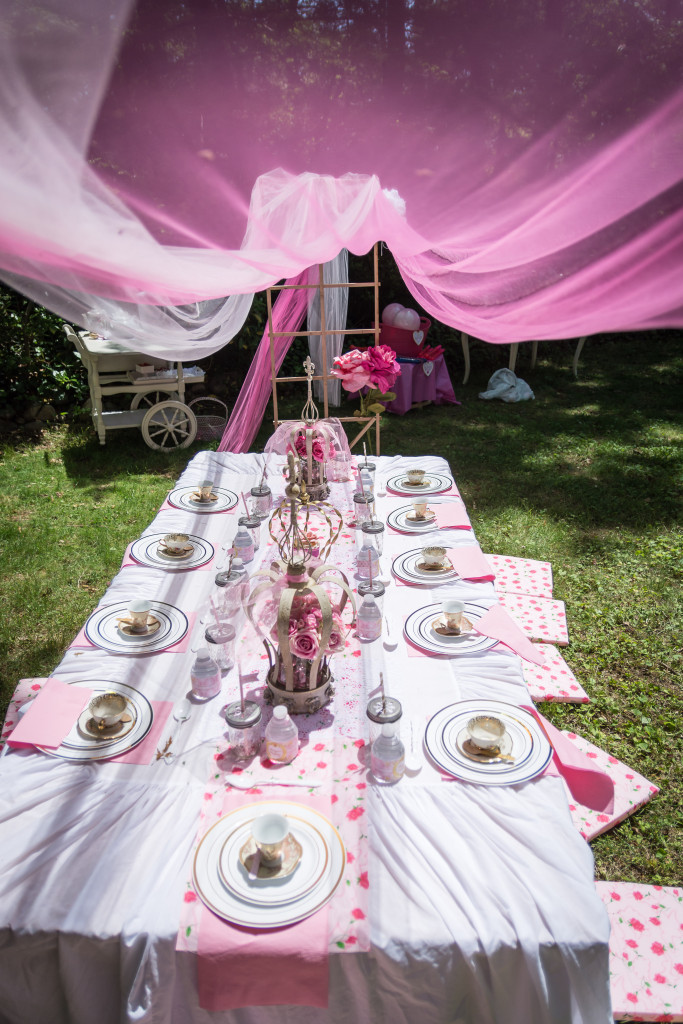
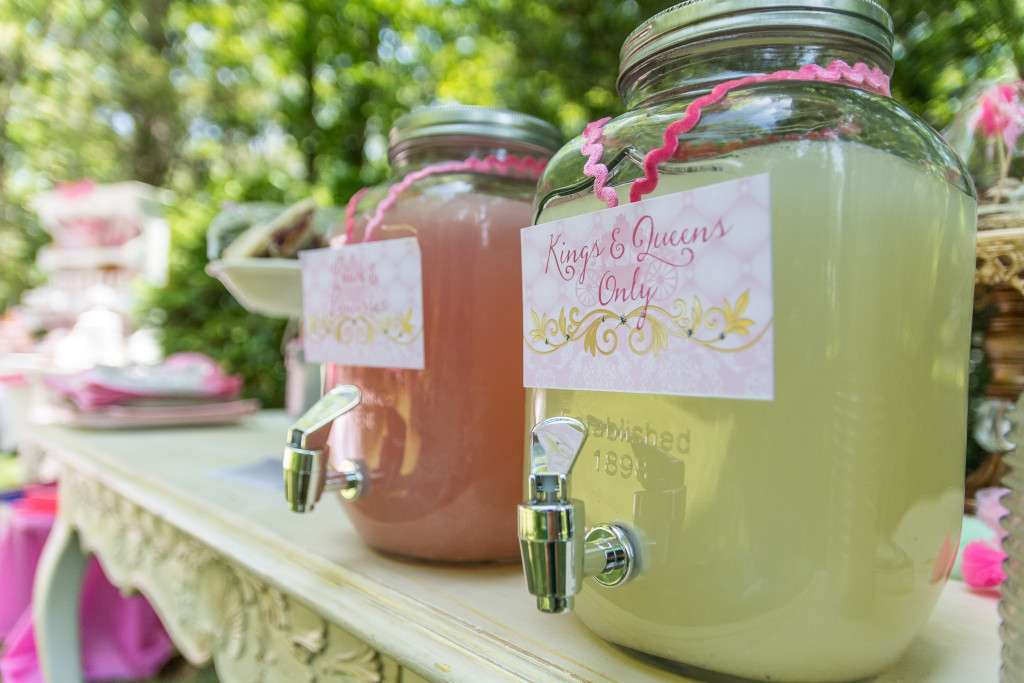
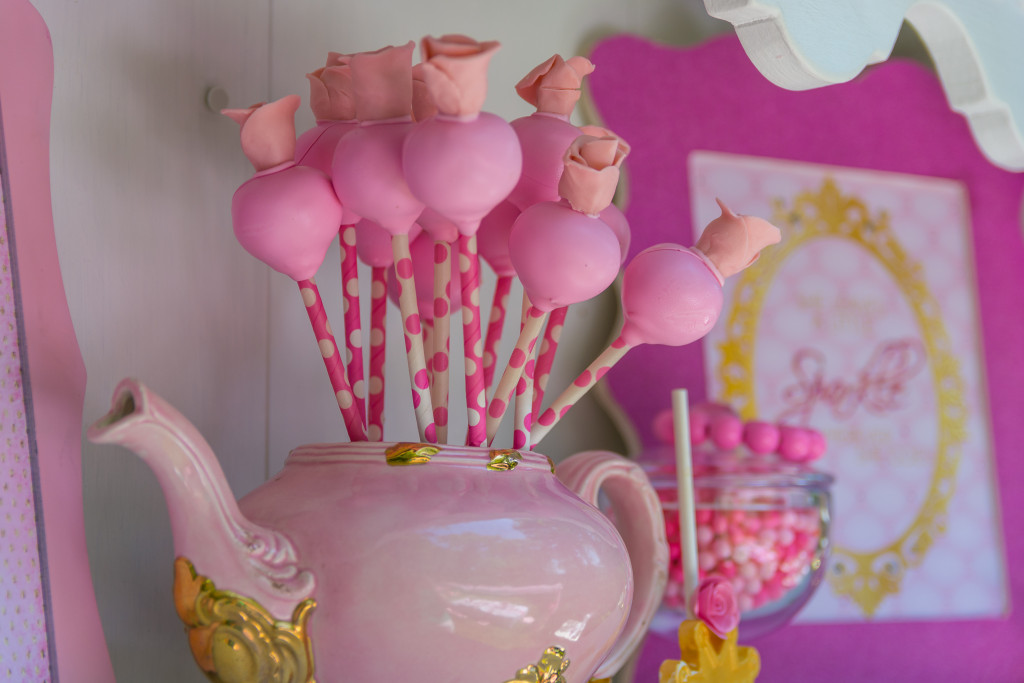
Only Secretly Mommy took a heart attack every time I watched the passing of the tea take place, not because the tea was hot. (No – I am not that stupid, it was all different flavors of organic chamomile iced tea) it was because I bought vintage teacups. My original thought was to buy all mismatched cups I would not care about, but than the control person that I am couldn’t have mismatched colors since my daughter insisted on “MAKE IT PINK”!
Everything for the event had to be shades of pink, “no blue allowed”, said the Birthday Princess. Such high opinions for such a little age don’t cha’ think? 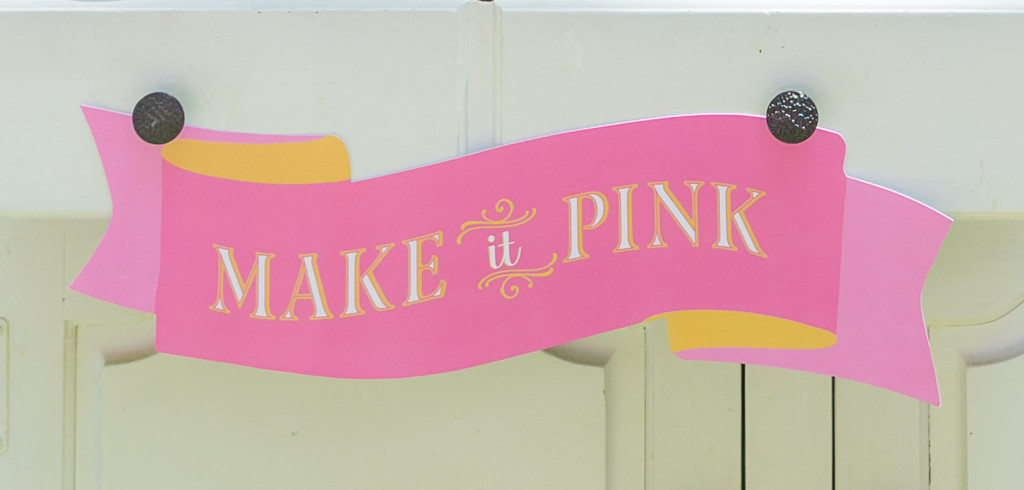
So the purchase of the Vintage china tea set happened at a local tag sale.
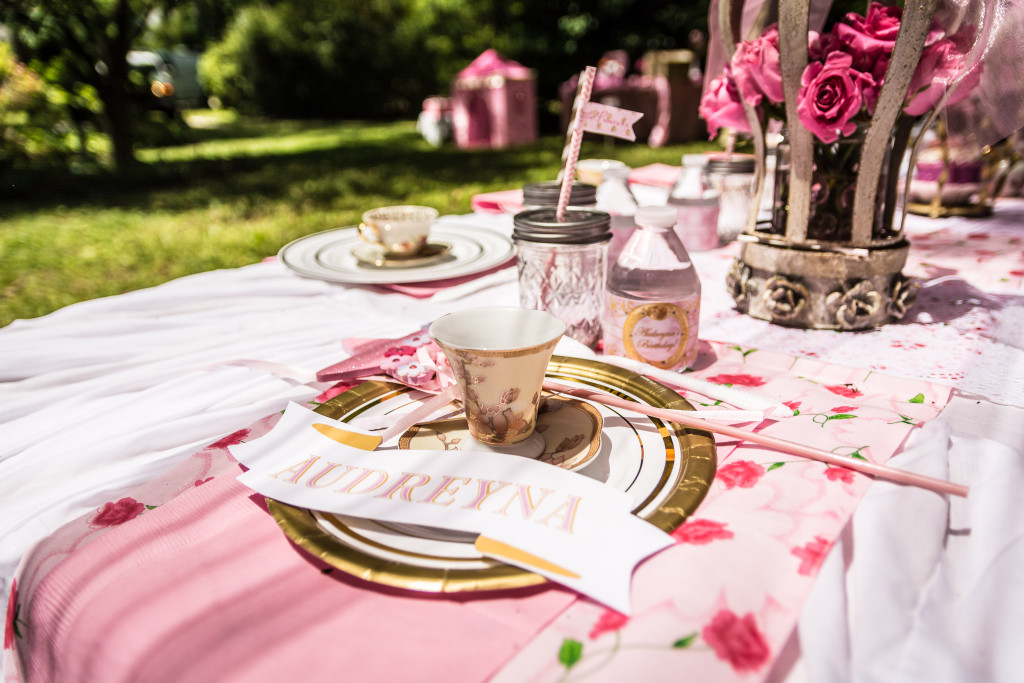
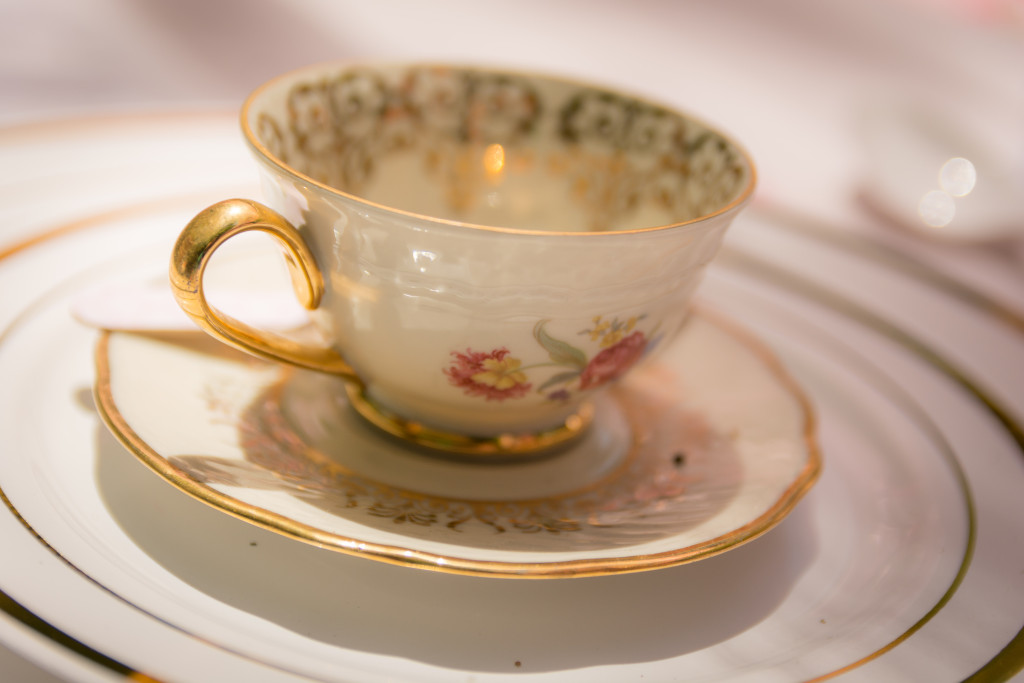
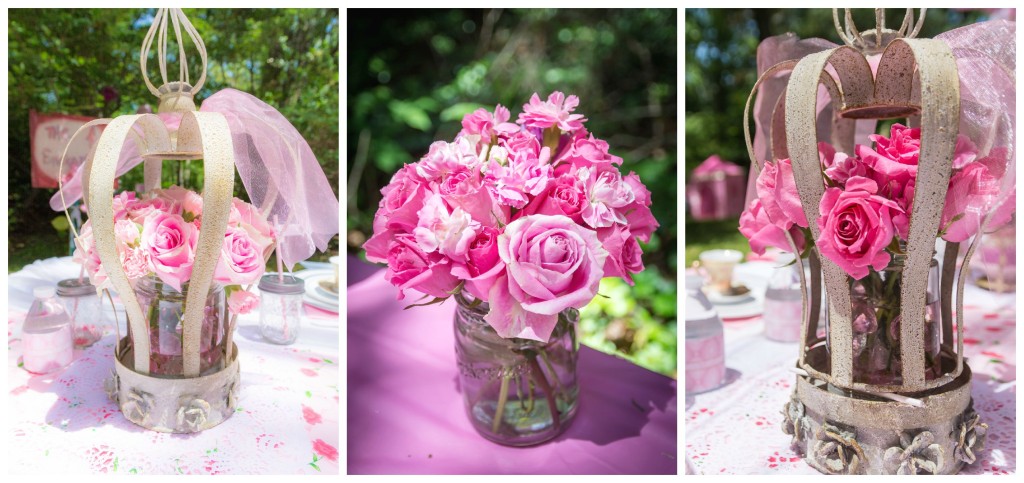
The set I got lucky to stumble across had lovely dark pink roses and gold trim. It seemed so fitting since Sleeping Beauty’s nick name is ‘Rose’ – mixed and matched also with a light pink and gold demitasse set that I was so lucky to acquire from a beautiful bridal shower I attended some years ago. Accented with a pretty pink runner with a rose print and cushions to match was a last minute touch in the fabric store’s scrap isle.


I thoroughly enjoyed putting this princess tea party together . It really was a perfect fit for our little sleeping beauty and nothing was more gratifying watching the reaction of our Birthday Princess upon arrival along with all of her friends as they took in all the details of this Enchanted Princess Tea Party. The mini table that my Husband and Father put together the night before was a perfect fit to sit and sip tea on the rose DIY cushions.

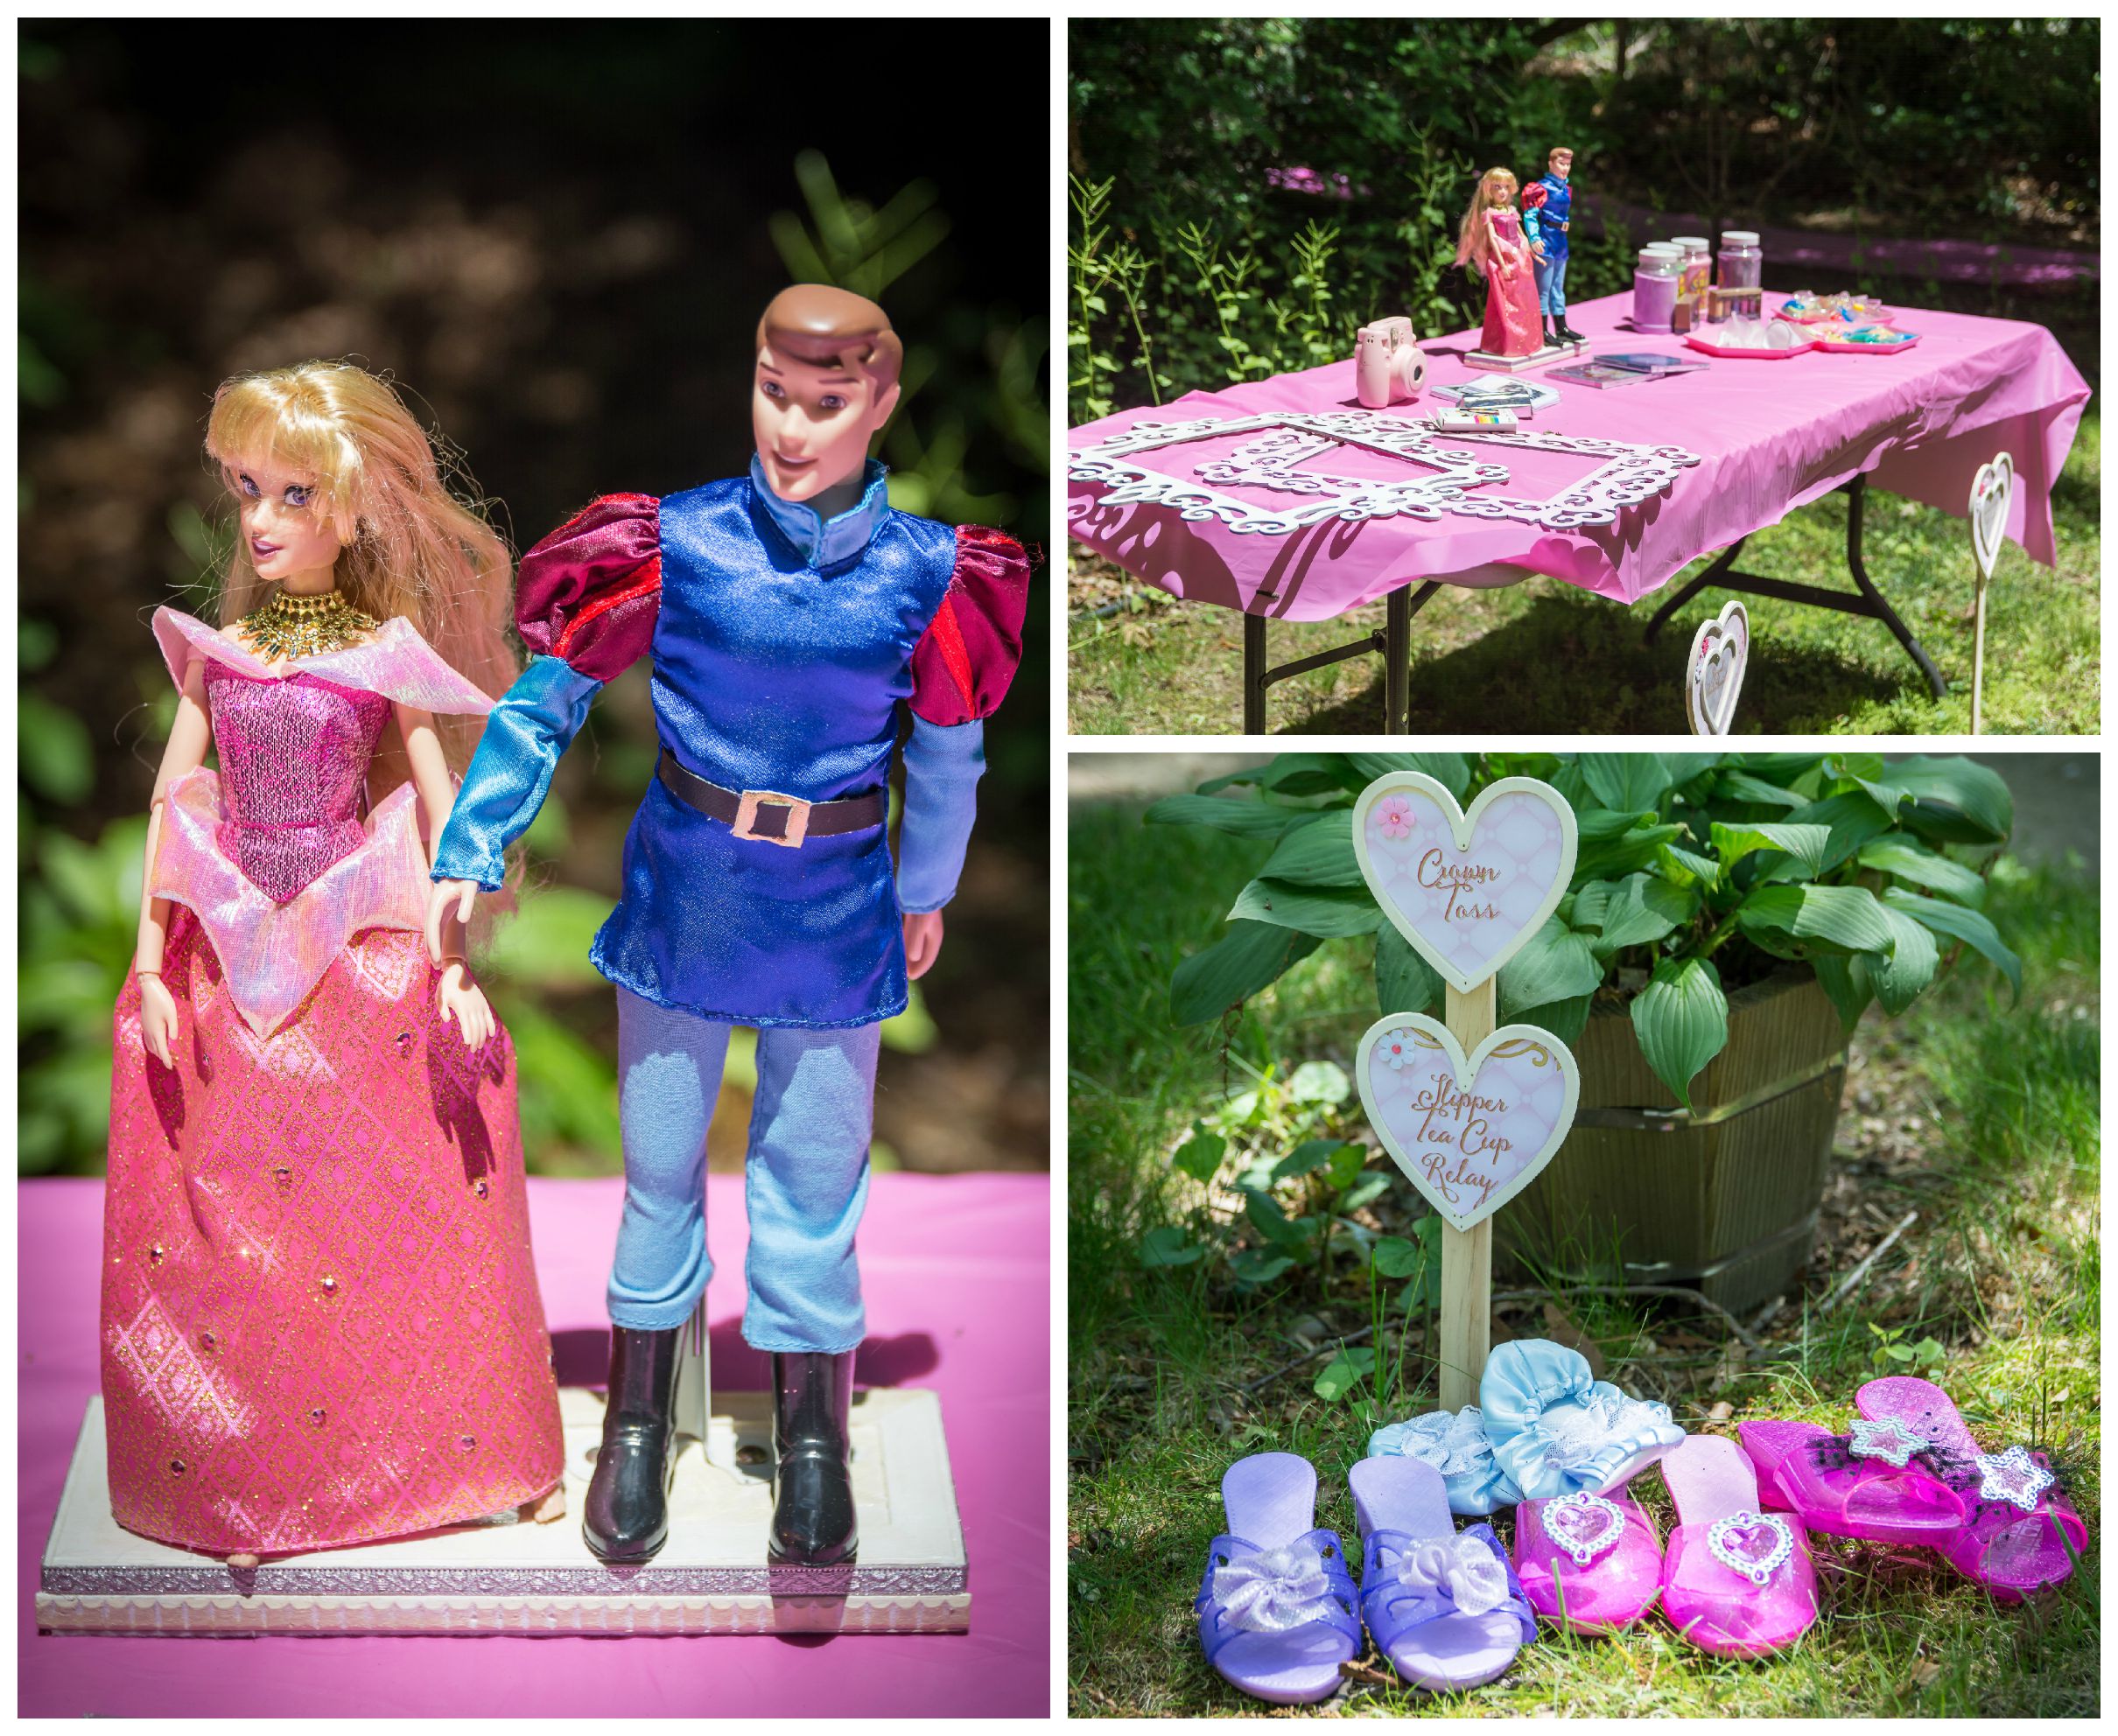
Party Highlights: Slipper Tea Cup Relay, Sand Castle Necklace Crafting
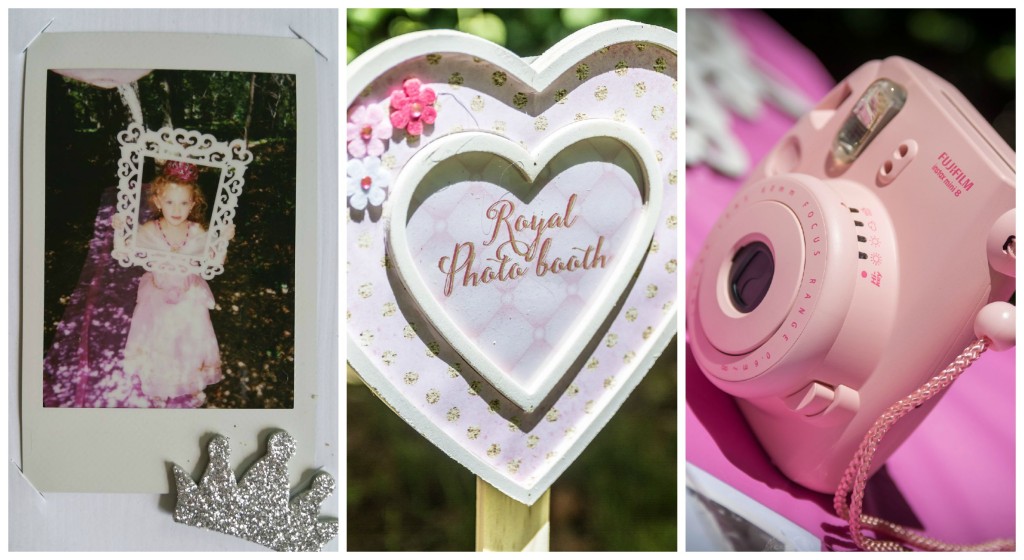
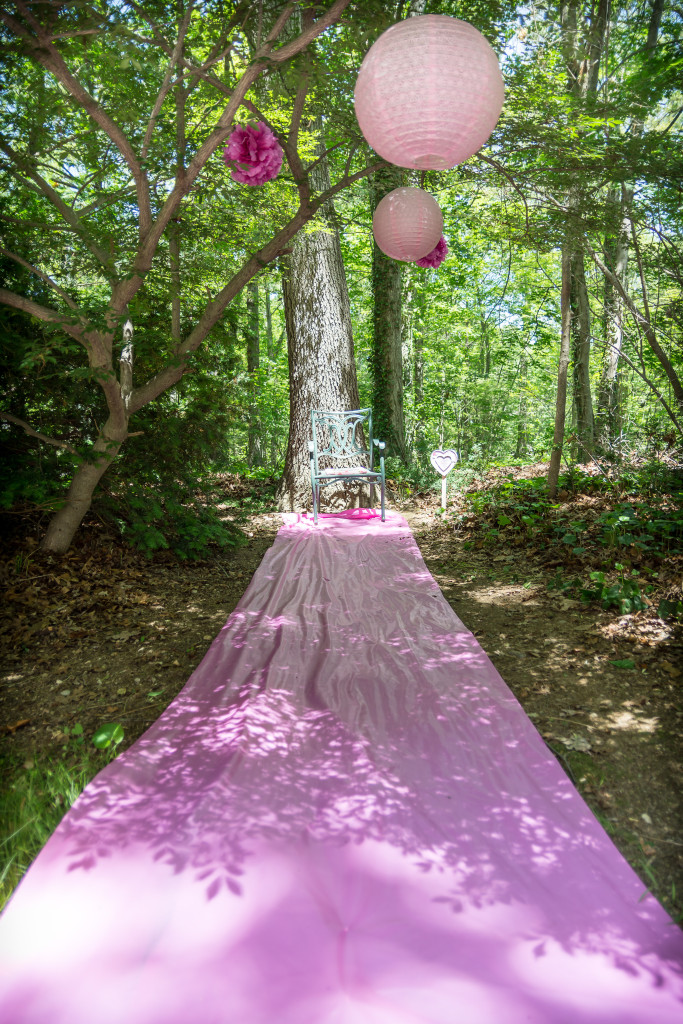
Royal Photo booth and a Fairy Godmother who told Story time in the Enchanted Woods.


“If you dream a thing more than once it’s sure to come true” ~ Aurora
VENDOR CREDITS:
– event design, planning & styling: dear jeni
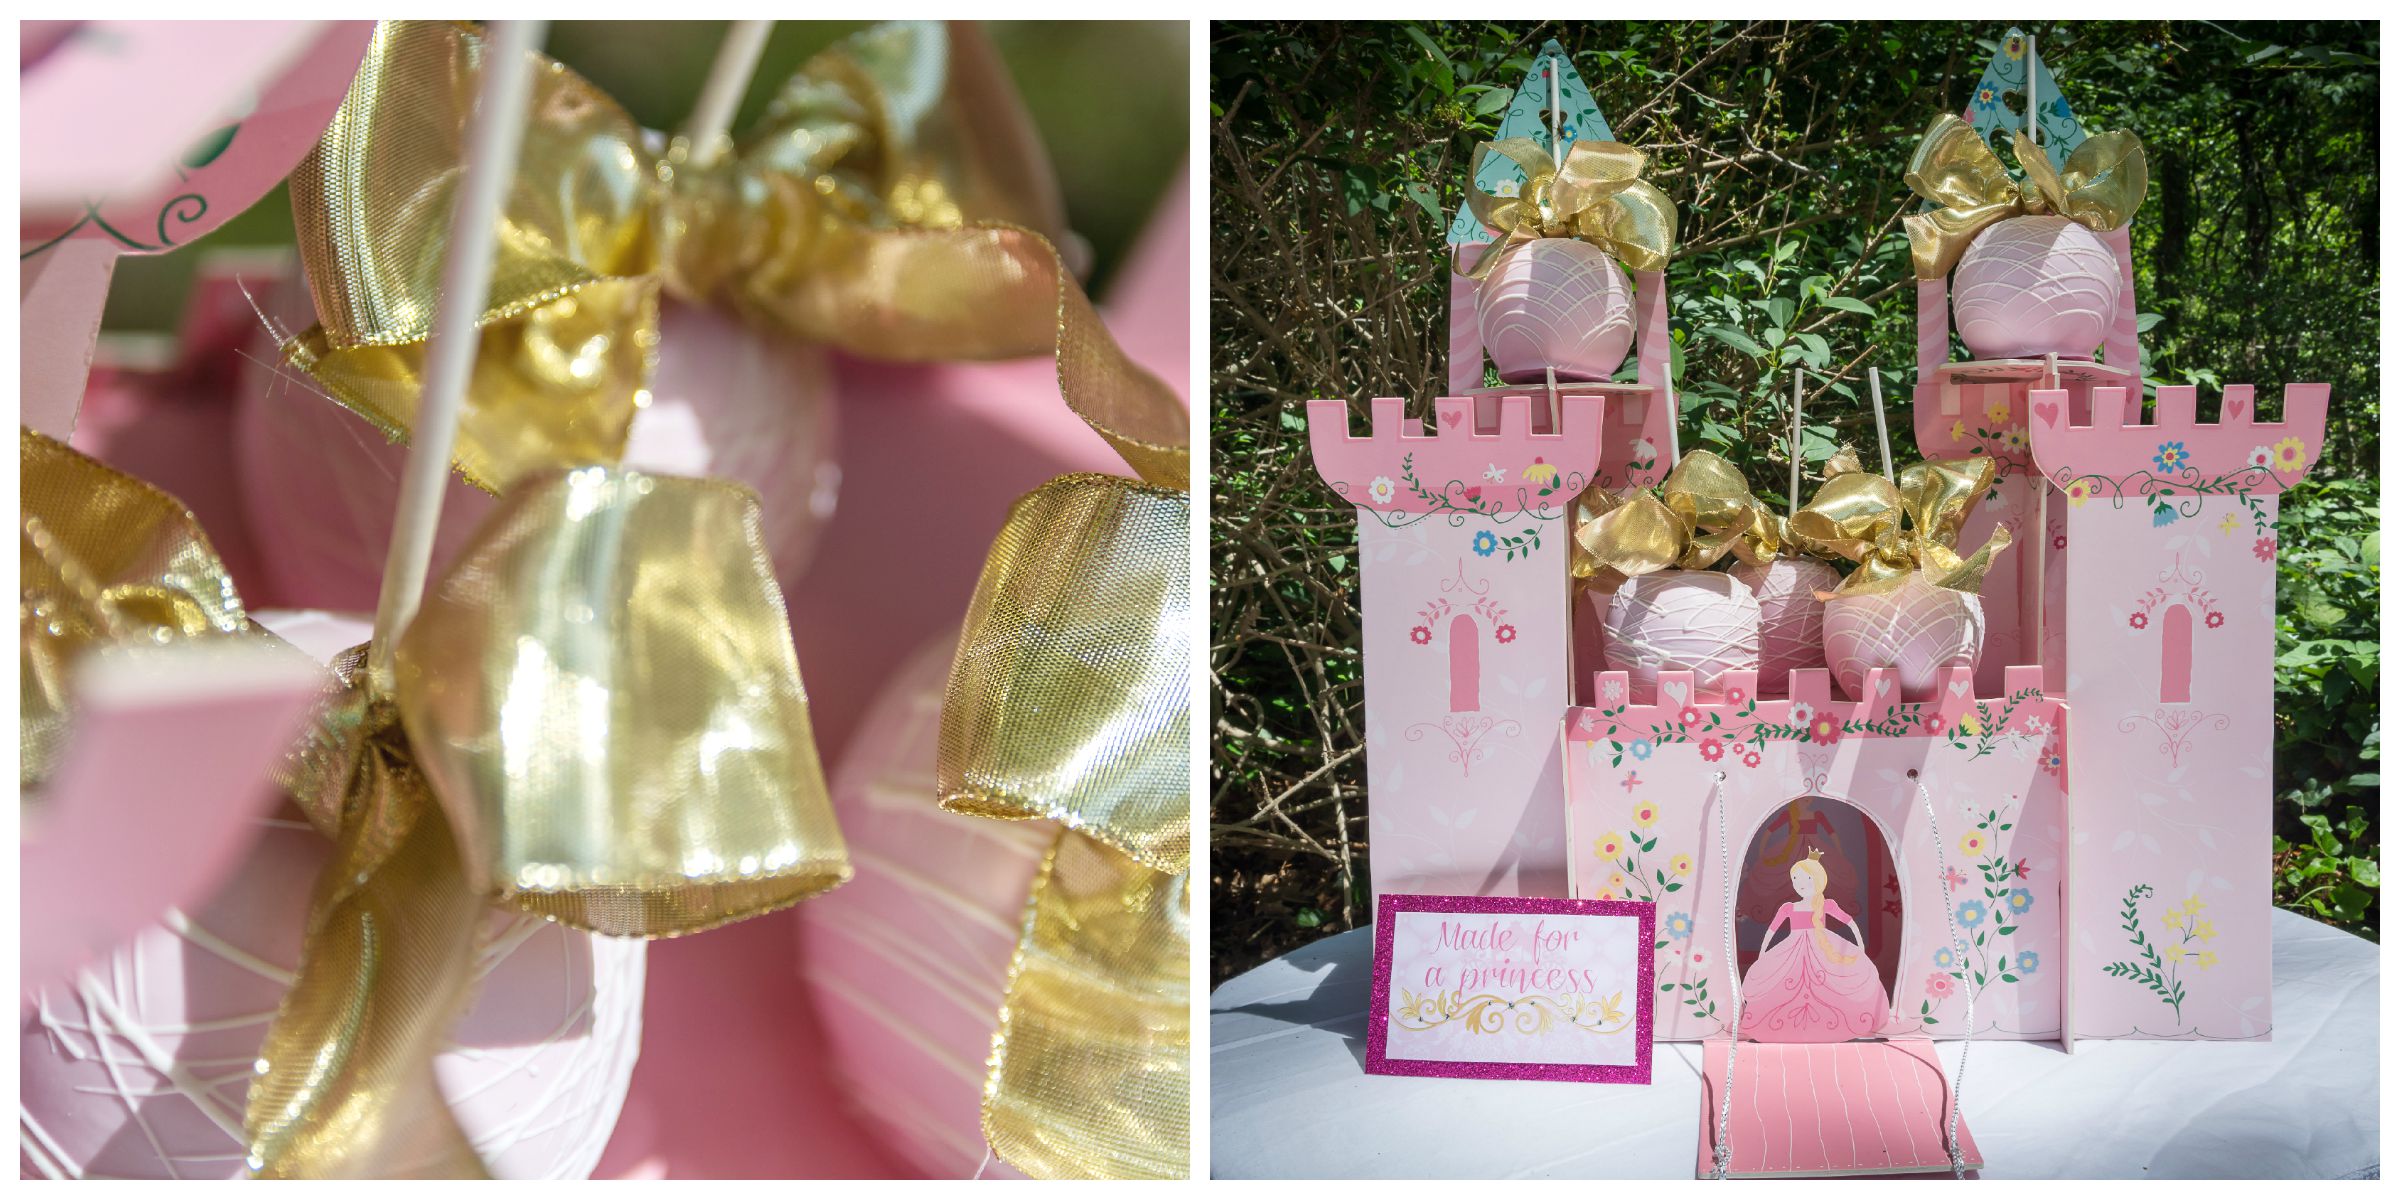
– name sugar cookie, cake pops, candy apples & cupcakes: Rhapsody Cakes
-cake: Shari Rosenblatt
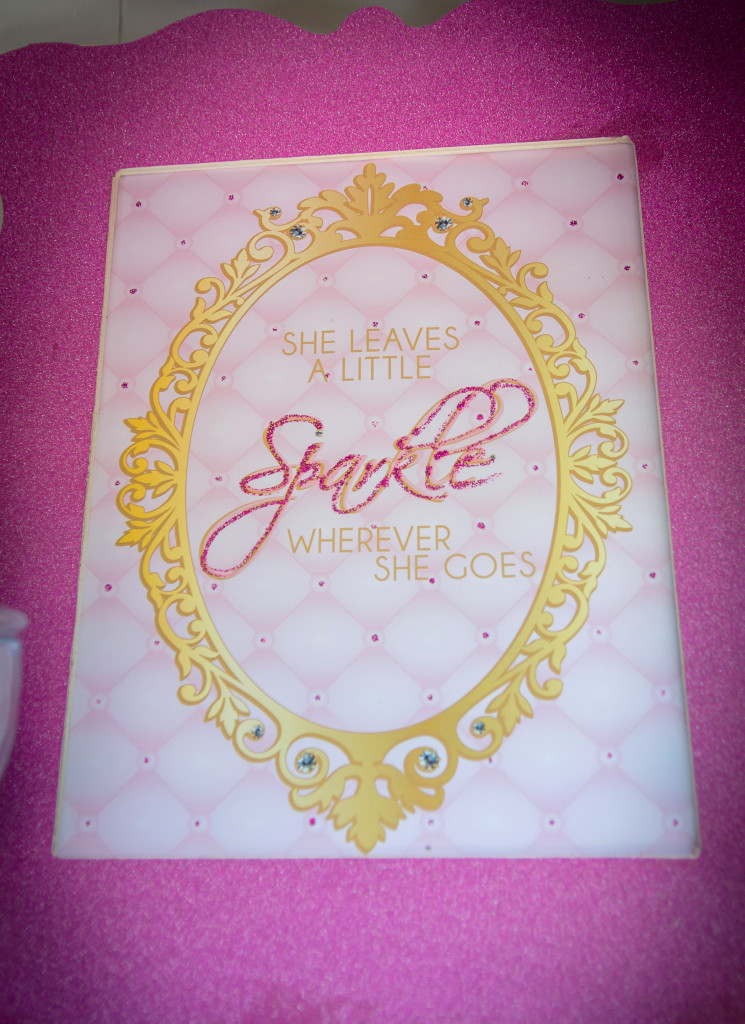
-graphic art: Metro Events
-signs , name banner & custom stickers: Loralee Lewis
-gold dessert tray frames: Maison du Bonbon
-flowers: dearjeni
-macarons & sugar cones: Rocking horse
-I am a Princess Centerpiece: Meri Meri
-Photography: Kelvin Light Photography