I ran across some adorable crayon melt projects. Truthfully, I had a hard time deciding which project we would attempt from social media sites like pinterest, facebook and youtube. After much deliberation I finally made my decision and we used this one here. From Katarina’s Paperie.
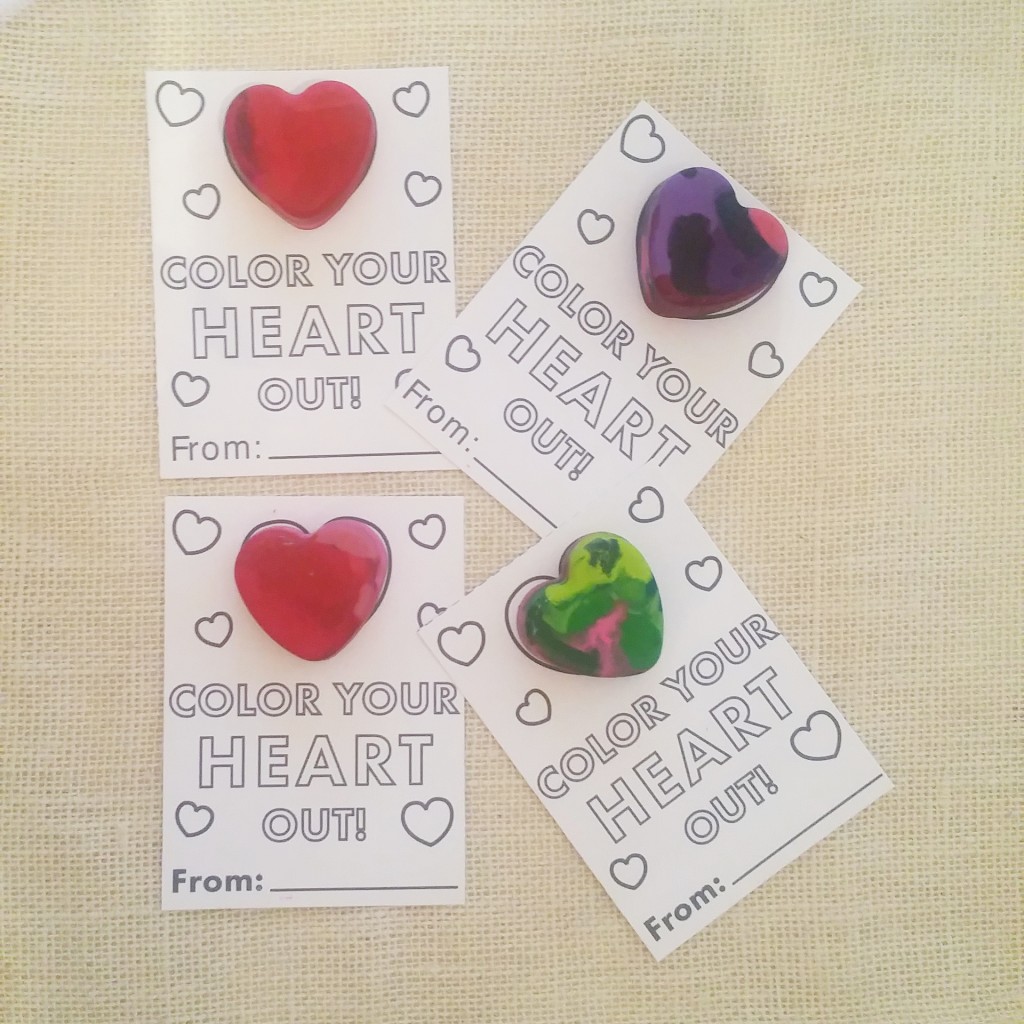
Valentine card for print here.
The only difference in my post here that you will not see in the link above is I will give you my tips for making this project go a little smoother for us 1st timers 😛
- Use an exact knife and cut the crayon labels straight down for easy removal when breaking crayons apart.
- Definitely make sure you over fill your Wilton heart molds with more crayons than less or your crayons will be shallow and smaller.
- Make sure you keep your oven on 225 and bake for 30 minutes ( I found a slow steady temperature makes a better crayon instead of cranking the heat up)
- Do NOT put them in the freezer , let them sit for 3 hours or more you will get bubbles in the crayons
- After your crayons are ready to be peeled and popped out of your tray you might experience a small sinking hole or some unevenness in the crayon heart , you may need a peeler as shown to make your crayon level for pasting onto the paper valentine.
- Use double sided heavy scotch tape with weight for 1.4 lbs to hold into place.
- Use zip-locks and cut them for a clear cello look or use cello envelopes and cut to shape. Fold over access and use decorative washi tape (as shown)
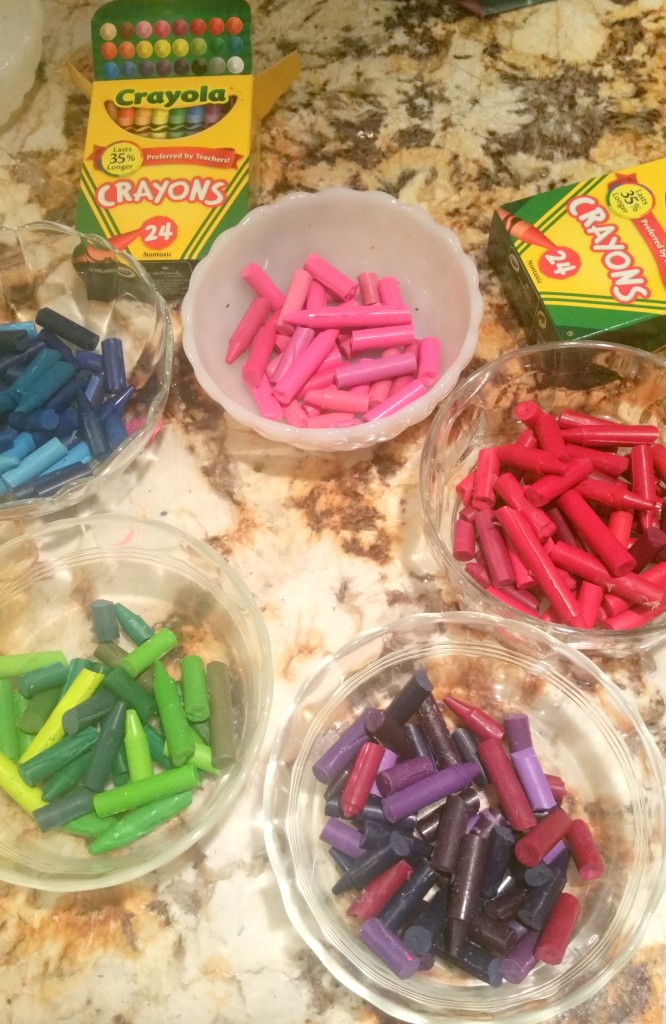
We separated by color.
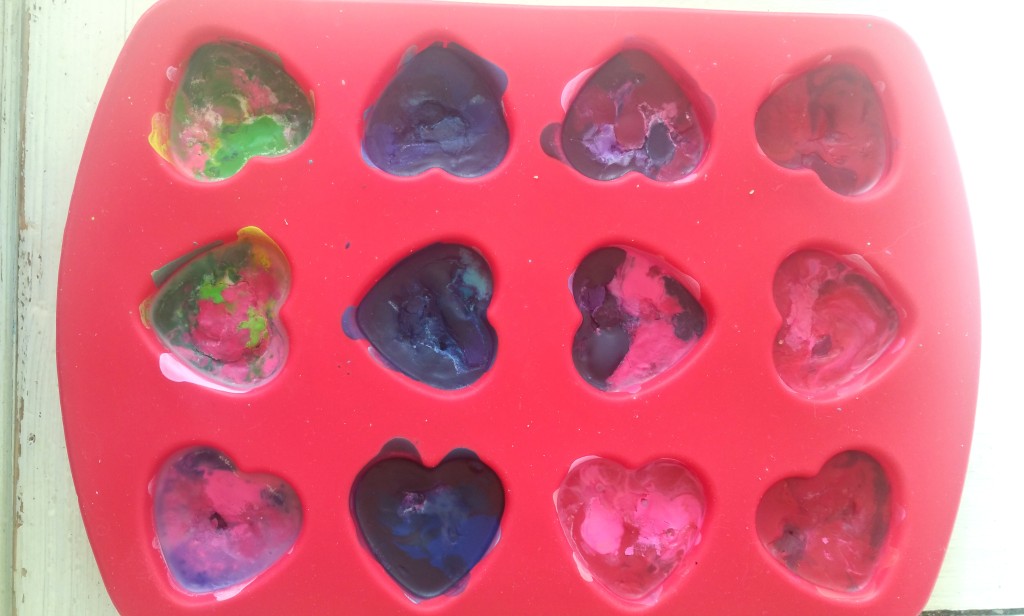
Pictured above is after our melt.
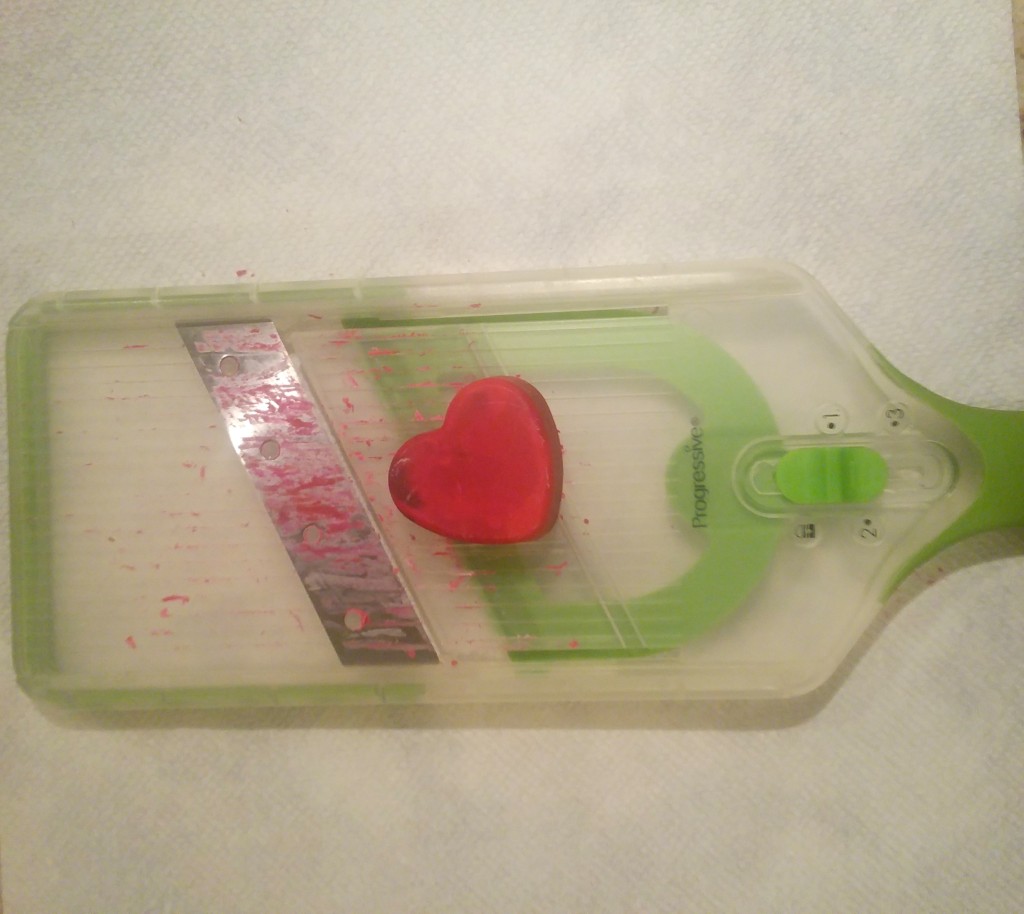
Here I shaved a section down to make even so it could adhere to the card evenly.
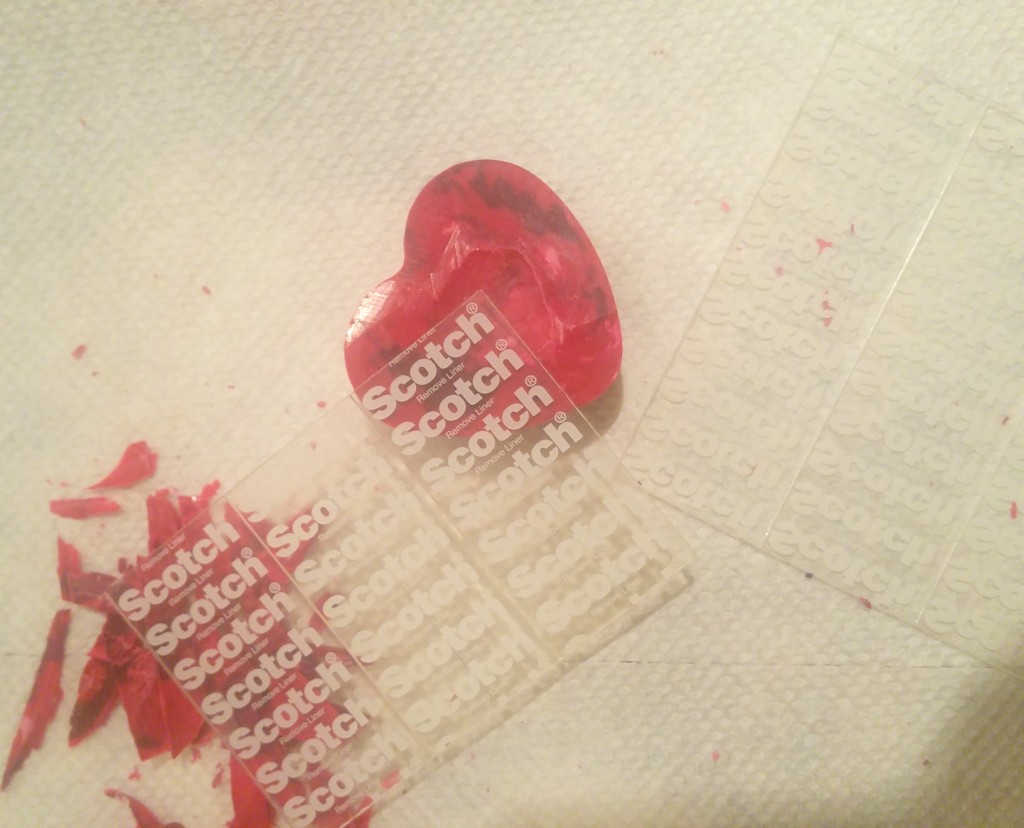
I recommend using scotch guard double sided tape for heavy weight or glue dots.

Result after colors were separated.
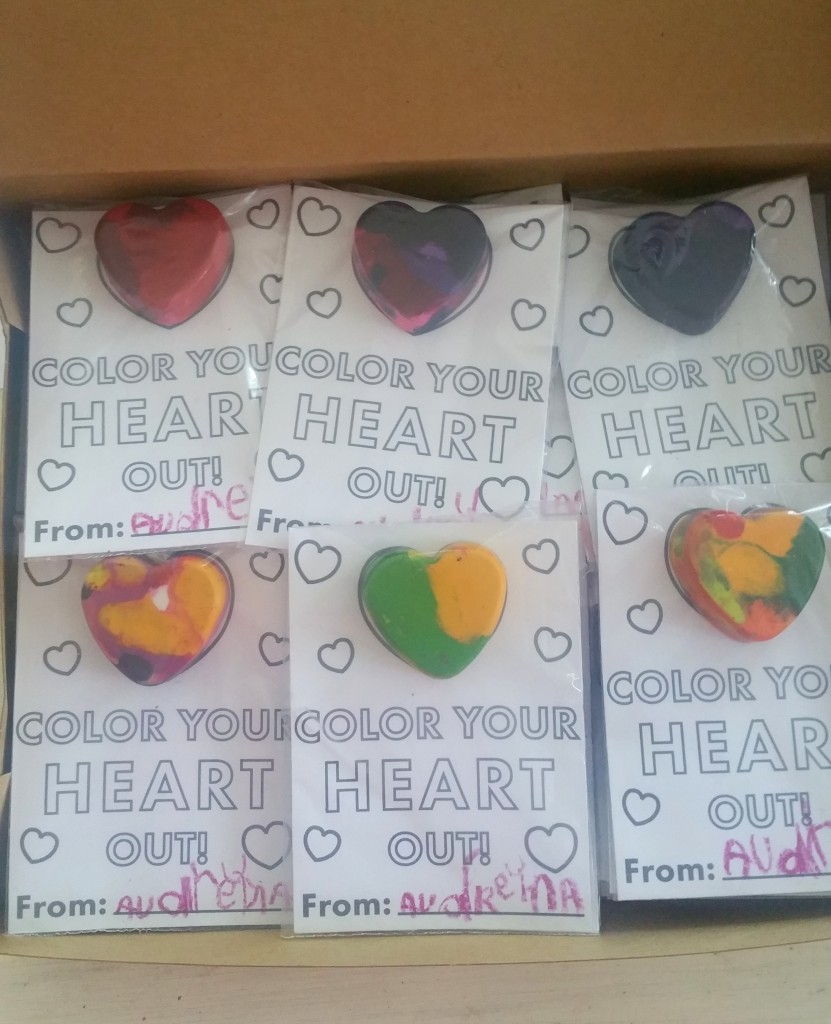
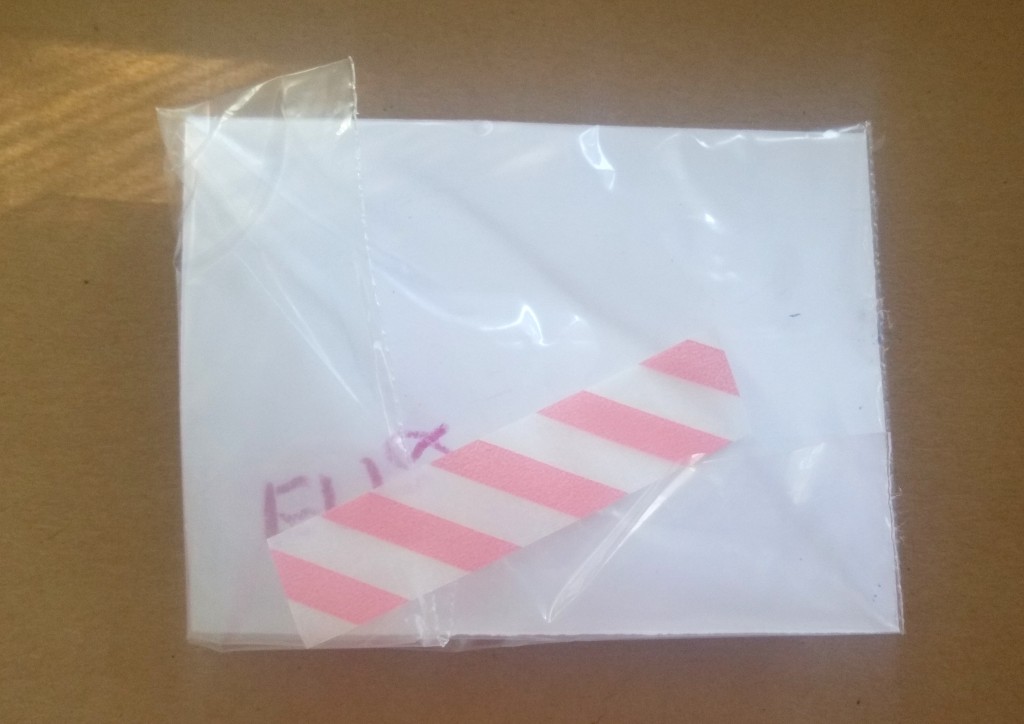
I found the clear cello or zip- lock give a nicer appearance than inserting into envelopes. It is also awkward when trying to close a regular envelope.
I hope your Valentines like them as much as we did making them!

Happy New Year All!
This post I wanted to get up in December but it turns out it benefited me to wait after the New Year as I am able to share two sample ideas in one blog post.
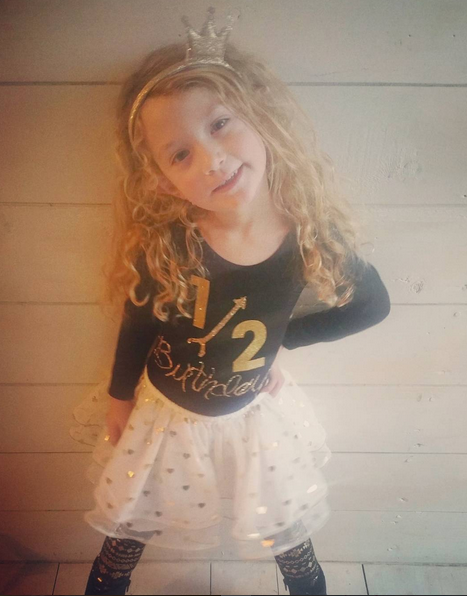
Here goes… Some of my friends caught some images of my daughter on my personal Instagram account with her 1/2 birthday and asked me a bunch of questions about her attire. Yes you read that correct. 1/2! My daughter could not wait to turn 4 1/2 as most of her friends are older than her and apparently when you are 4 every second of getting more mature and independent counts! Oh to be young again , because all I do is try forget my age when people ask!
With some thought and deliberation I decided that my daughters excited feelings of this day has to be acknowledged in a tasteful way without breaking the bank. After all each moment of a child’s life should be celebrated if they care enough about it enough because you’ll never get it back again.
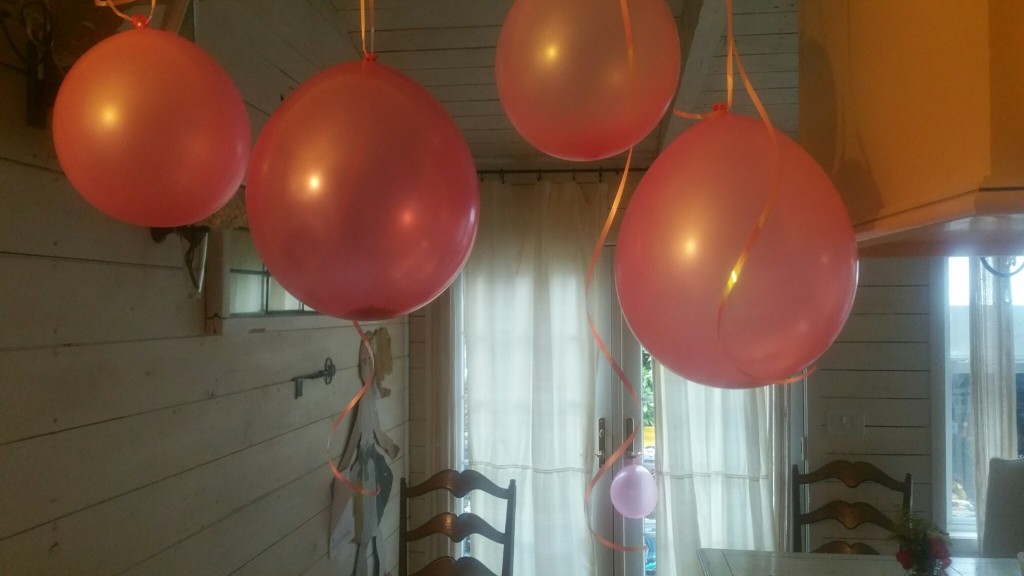
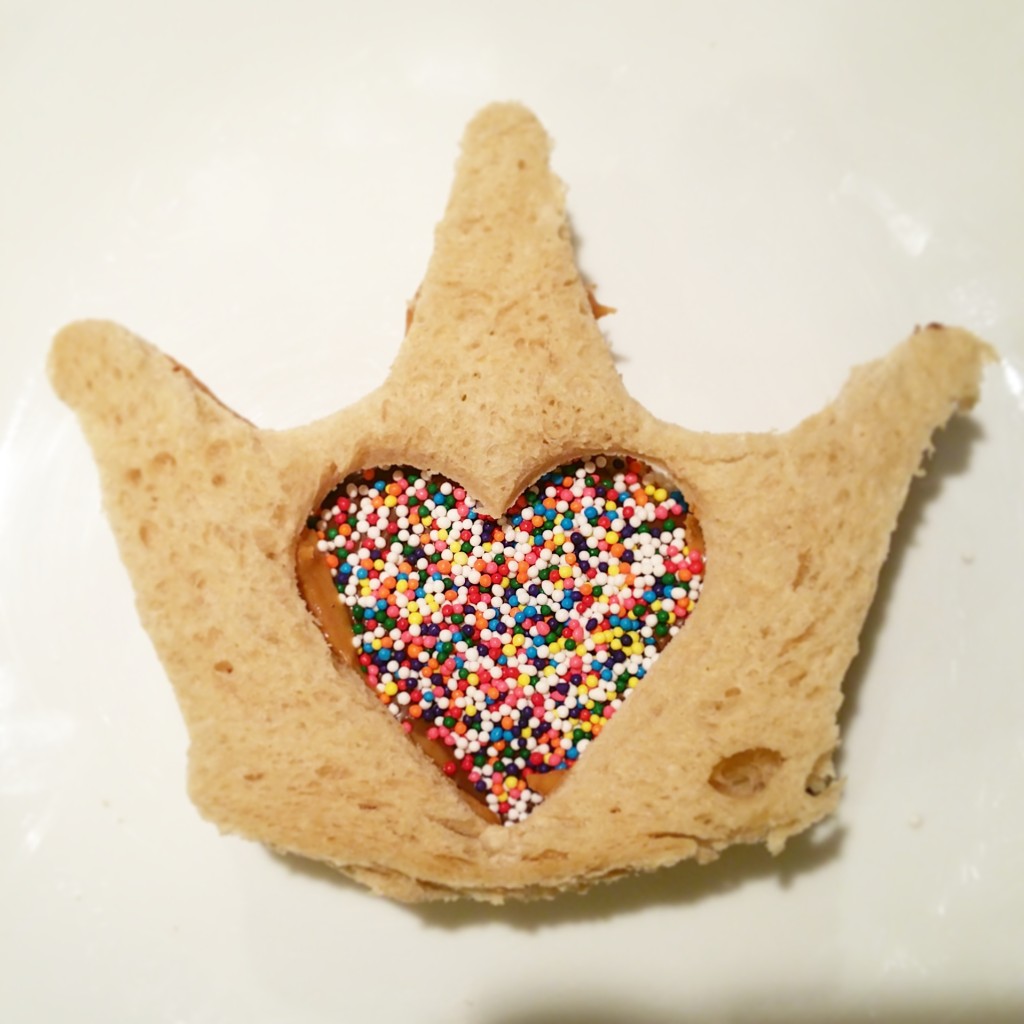
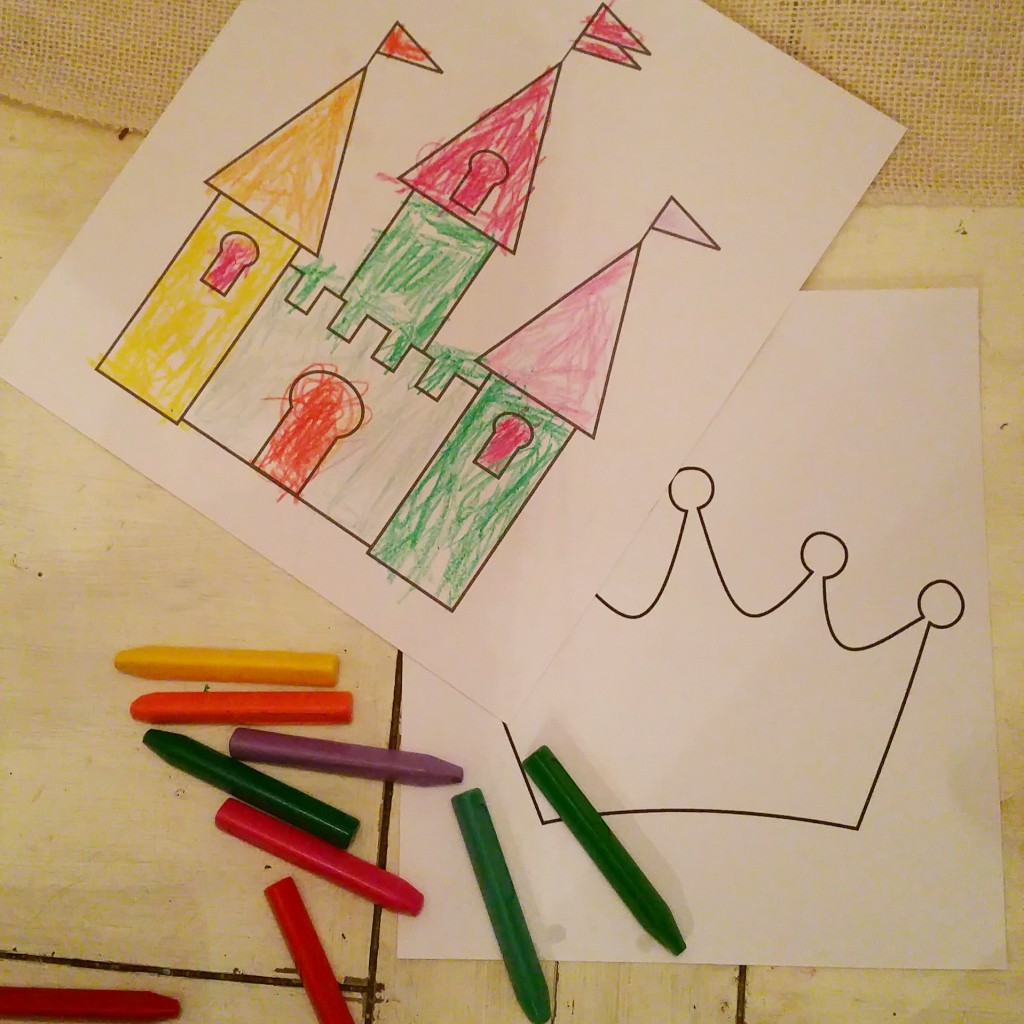
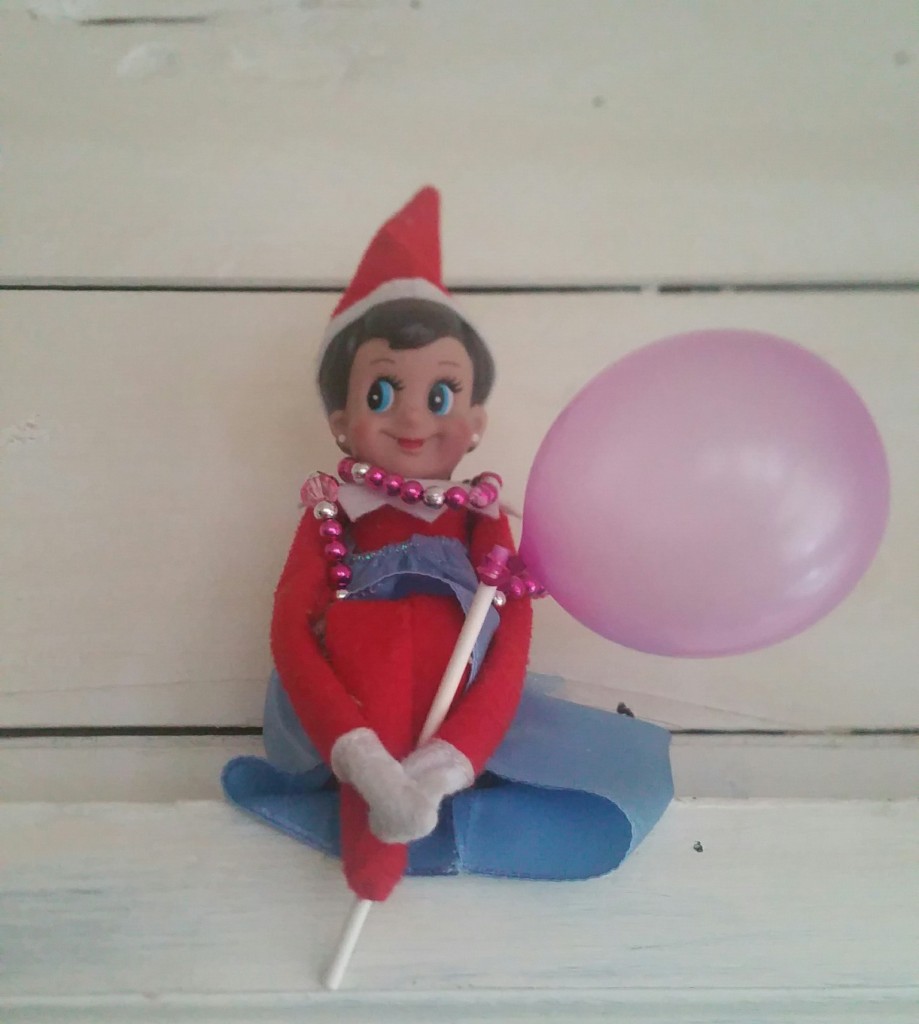
My simple ideas with some pizzazz were hanging glitter pink balloons, organizing a surprise special friend over for a play-date. I also made crown window sprinkle nutella sandwiches, printed castle and crown images for color time and because it was Christmas time our Elf “Ellie” got dressed in her princess dolls dress. I used bracelets as a necklace for added glamour & blew up a water balloon and put it on a chocolate pop stick. When it came time for cake we had 1/2 of a cake for dessert.

*note candle -melt wax and stick 😉
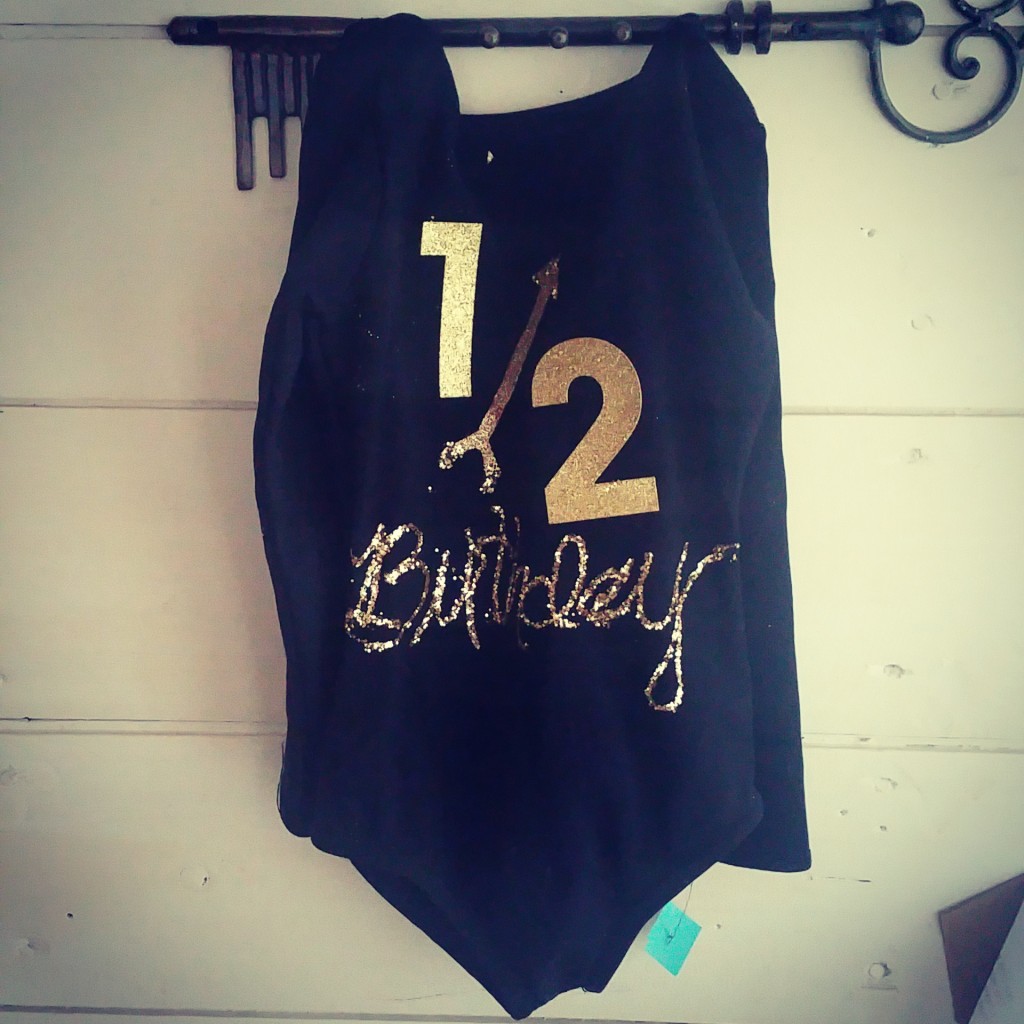
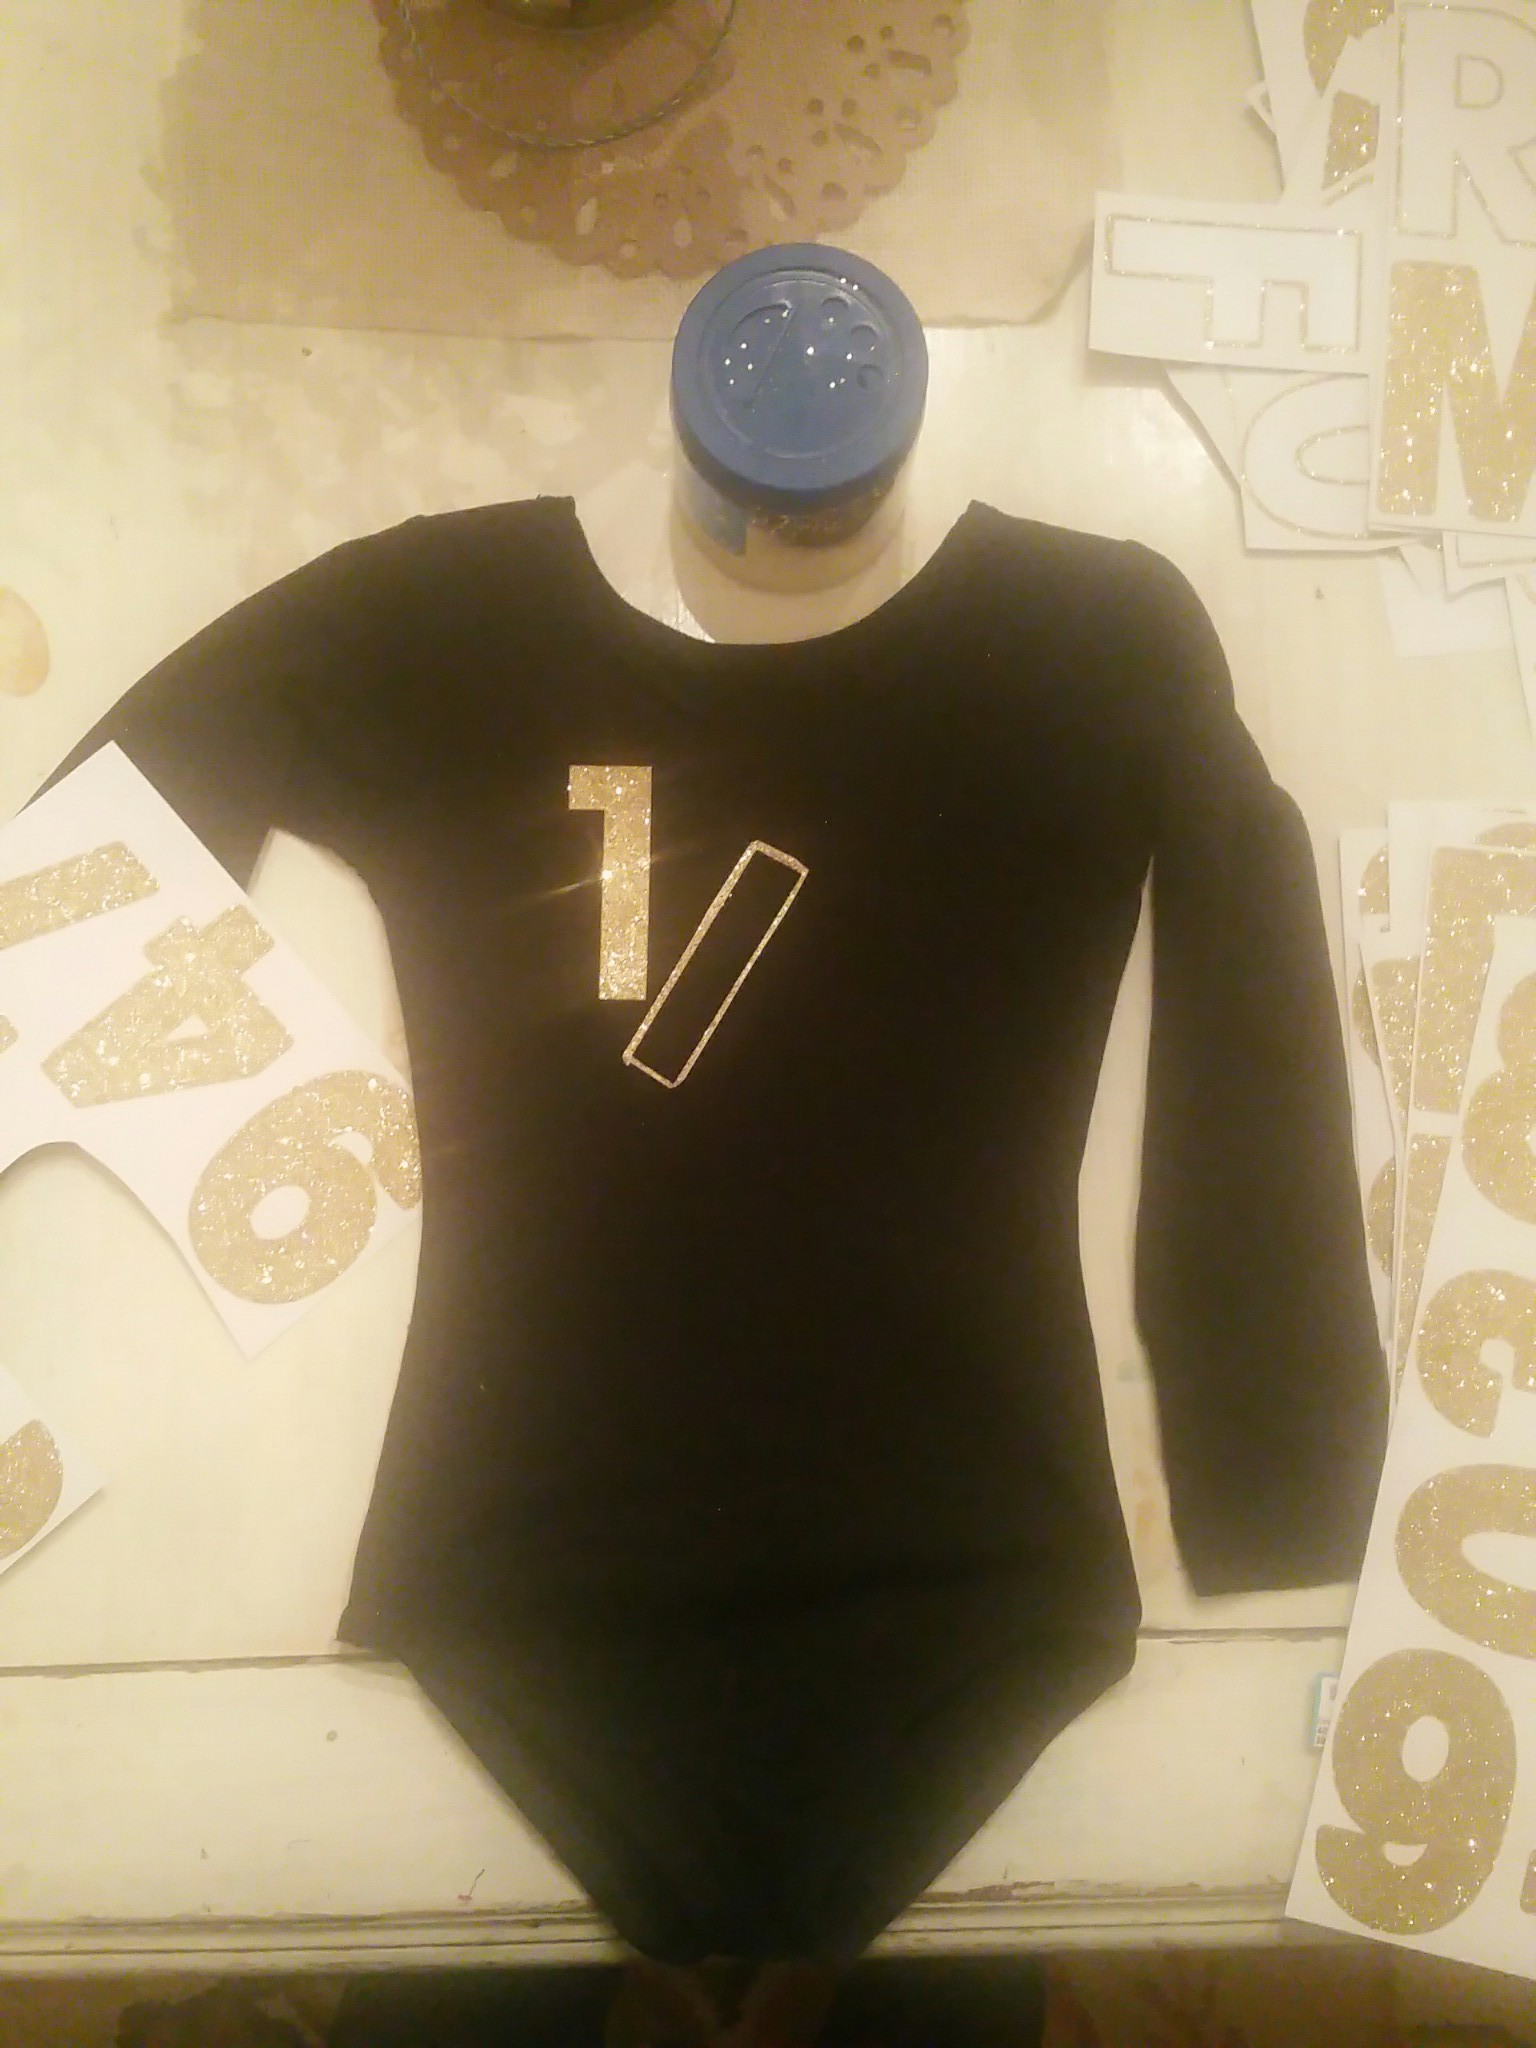
What I also did was do a totally affordable DIY personalized bodysuit for that day that and that is what I am going to address now from that one famous photo on instagram.
What you will need :
1 plain bodysuit (any color)
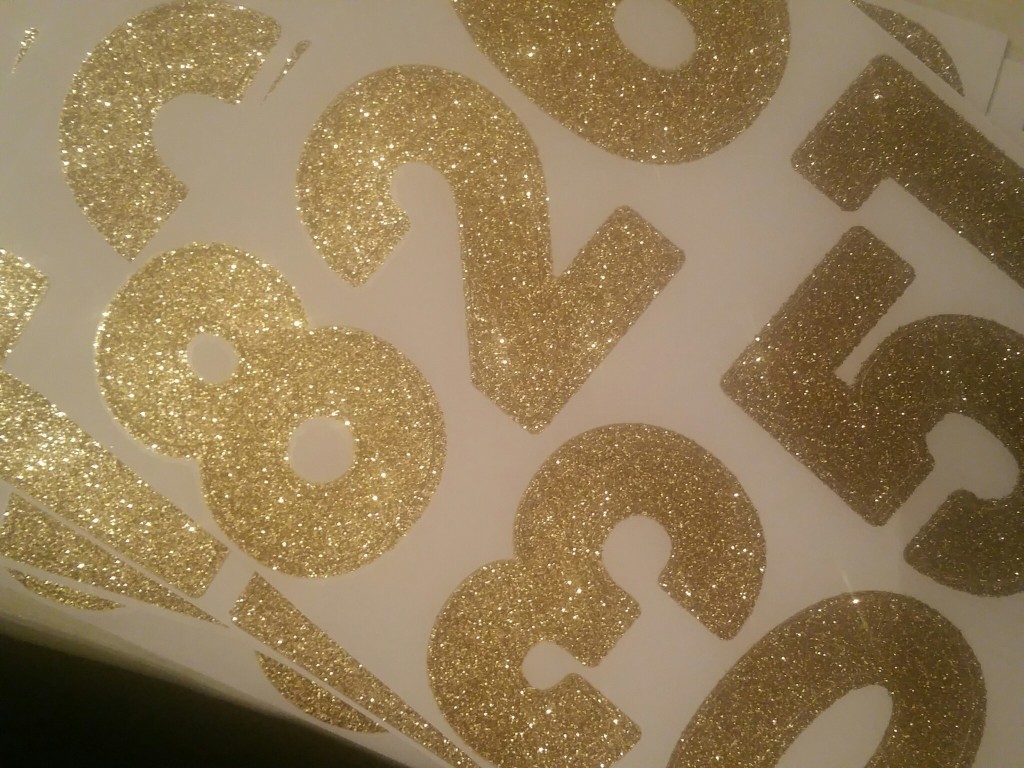
Iron on Stencils or stick on letters (note stick on are temporary will not wash). I chose Gold.
Gold Glitter optional
Elmer’s glue (only if you chose to add glitter)
Fancy tutu of your choice
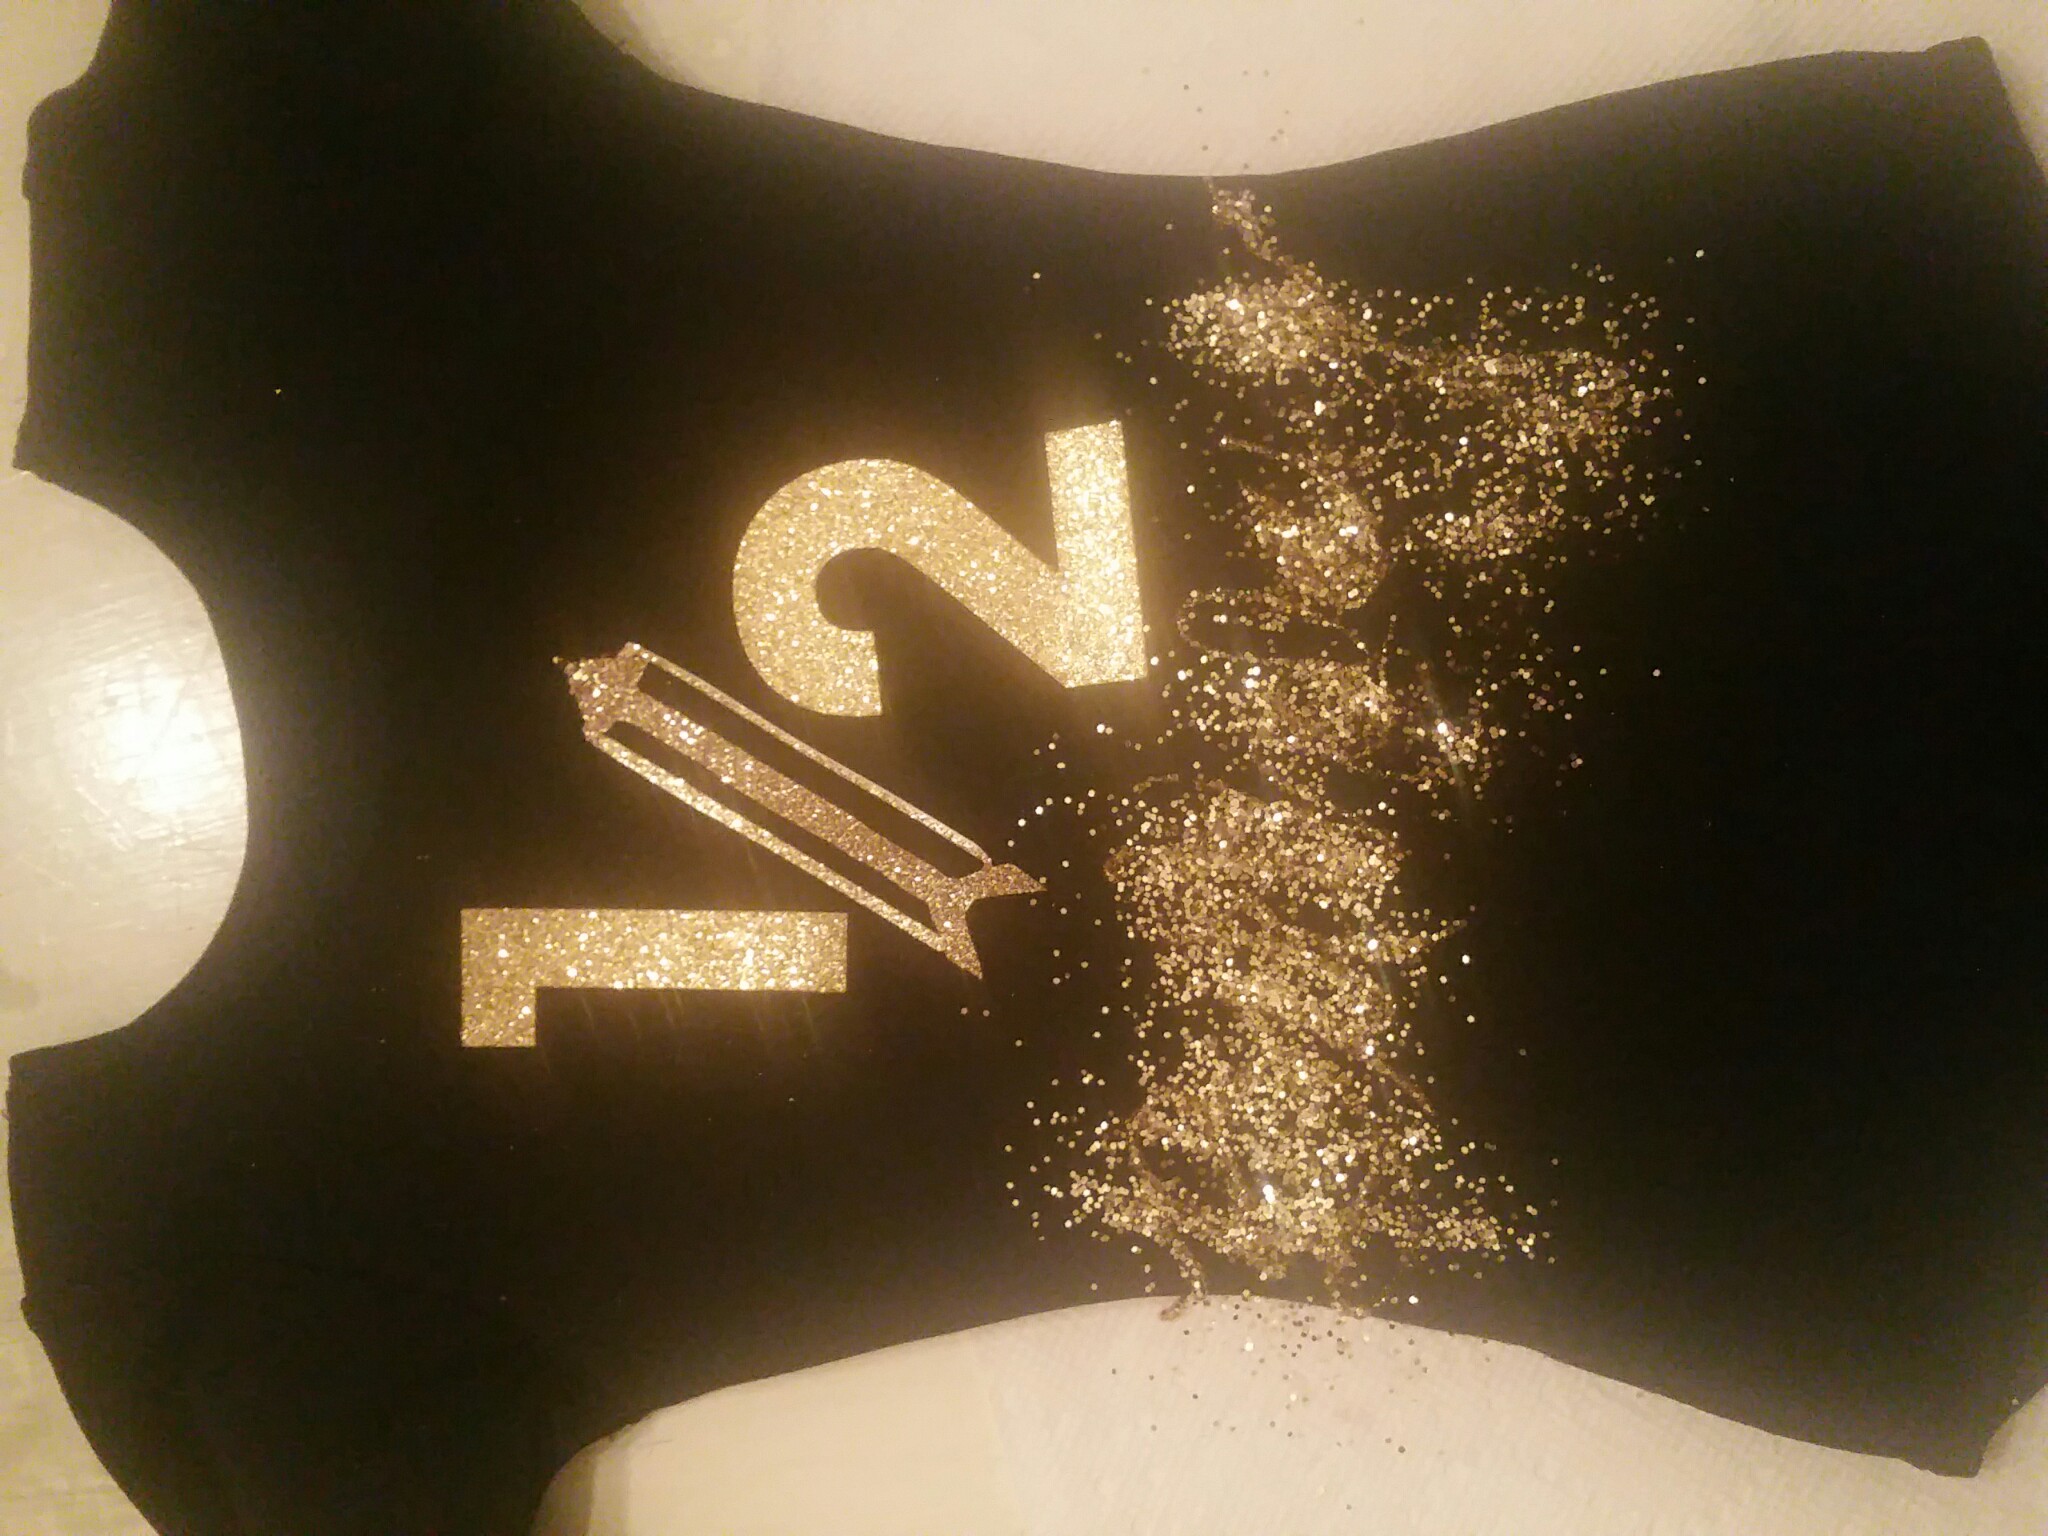
Above you will note that I mixed both stick on numbers and Glitter.

Lay Flat as pictured. Here I started to make for the slash in the half the outline of the lower case letter l. I than realized as I started to work that I had an extra gold arrow and changed it later.
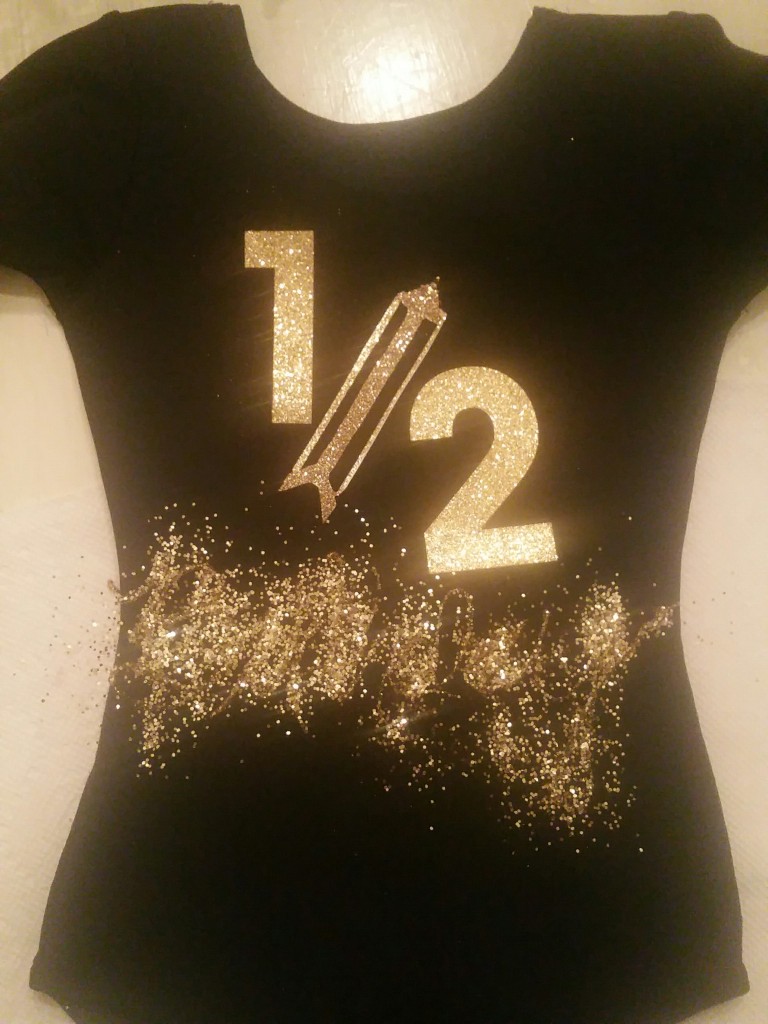
I than used Elmer’s glue and wrote in script “Birthday”
Shake off excess glitter and dry overnight. Voila – Your done!
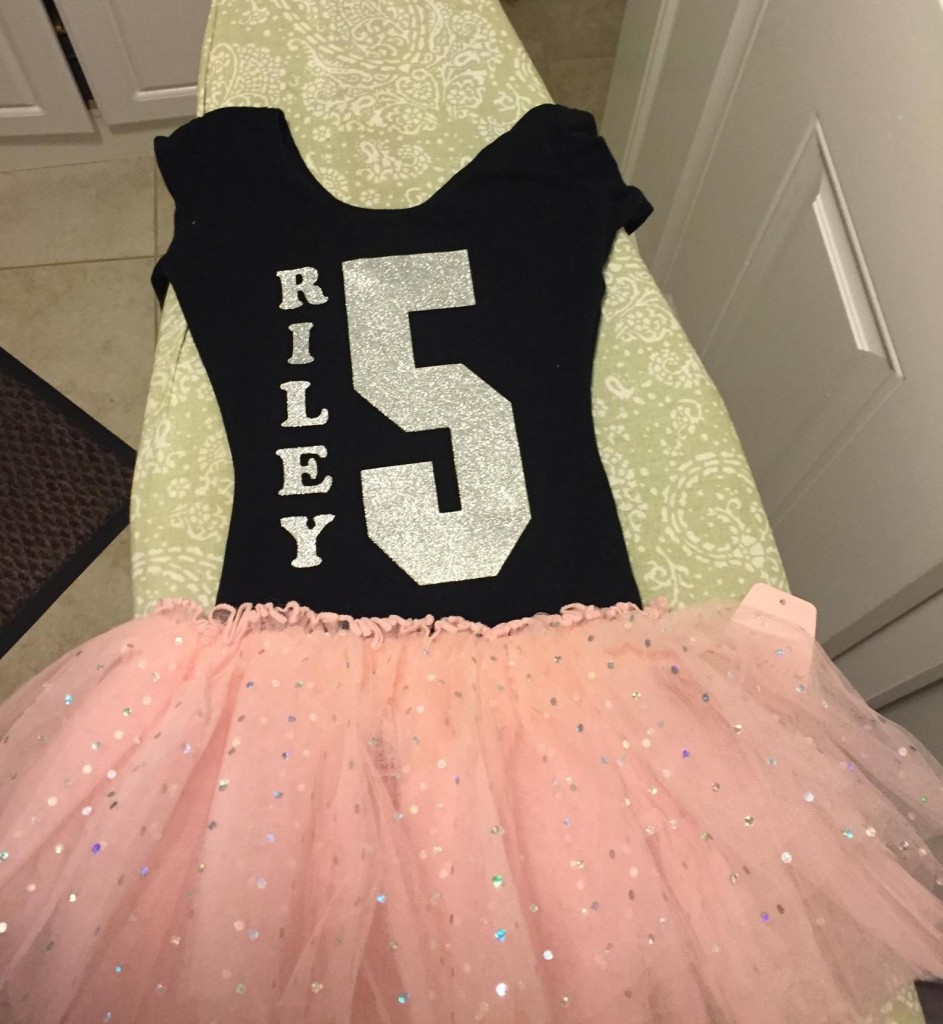
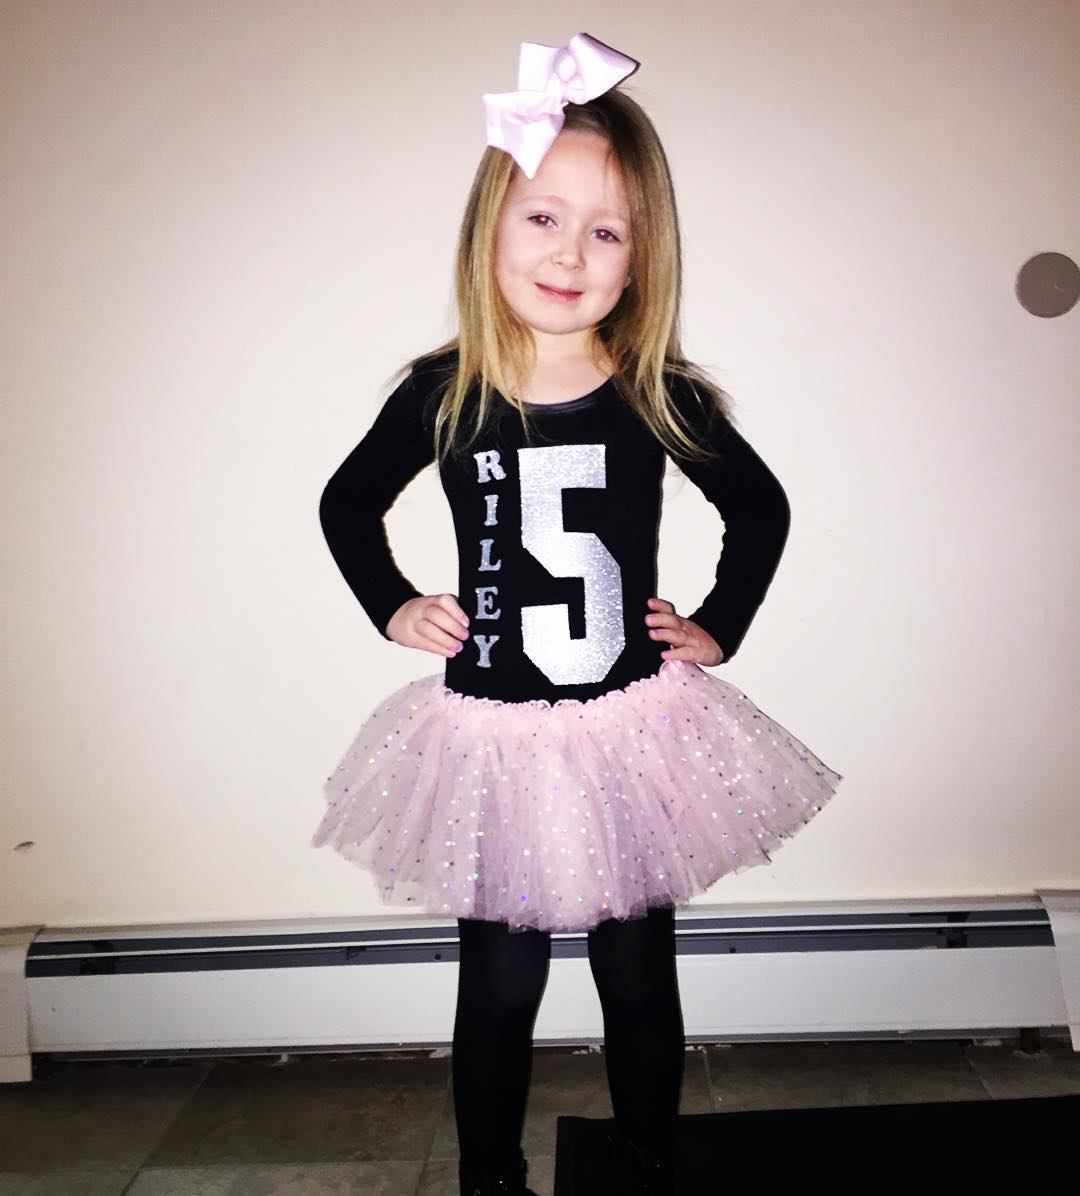
Below I gave another friend of ours the idea of DIY for our friends birthday. She swore she couldn’t do it. I assured her she could and make it fabulous. Only this was not a half Birthday but Riley’s actual Birthday!
Mom went to Michael’s as I suggested, got some iron on numbers and letters found a sparkle tutu and was the talk of the town for the day. Kudos’s to Riley’s Mom! Great job. Glad I was able to inspire you! Keep following me for great tips and tricks I have another one coming this week. Promise 😉

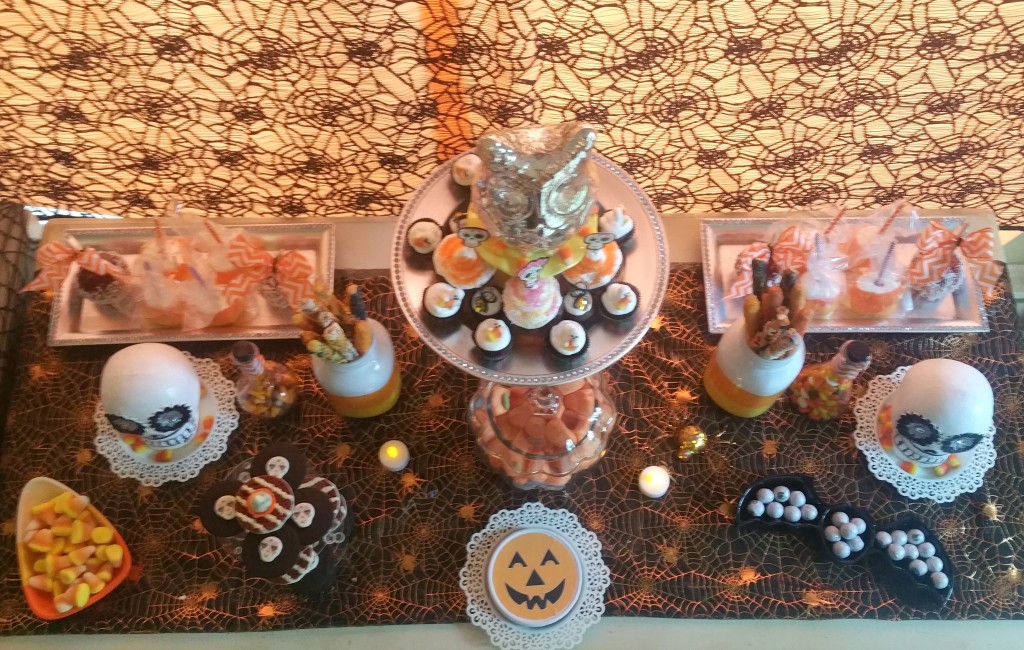
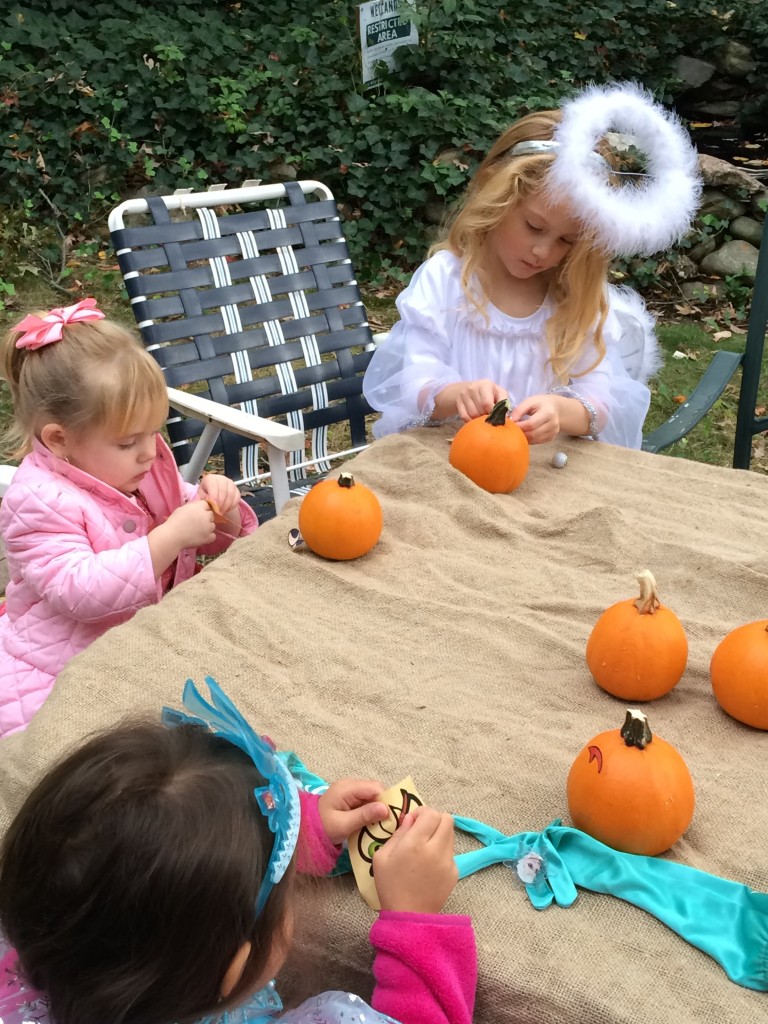
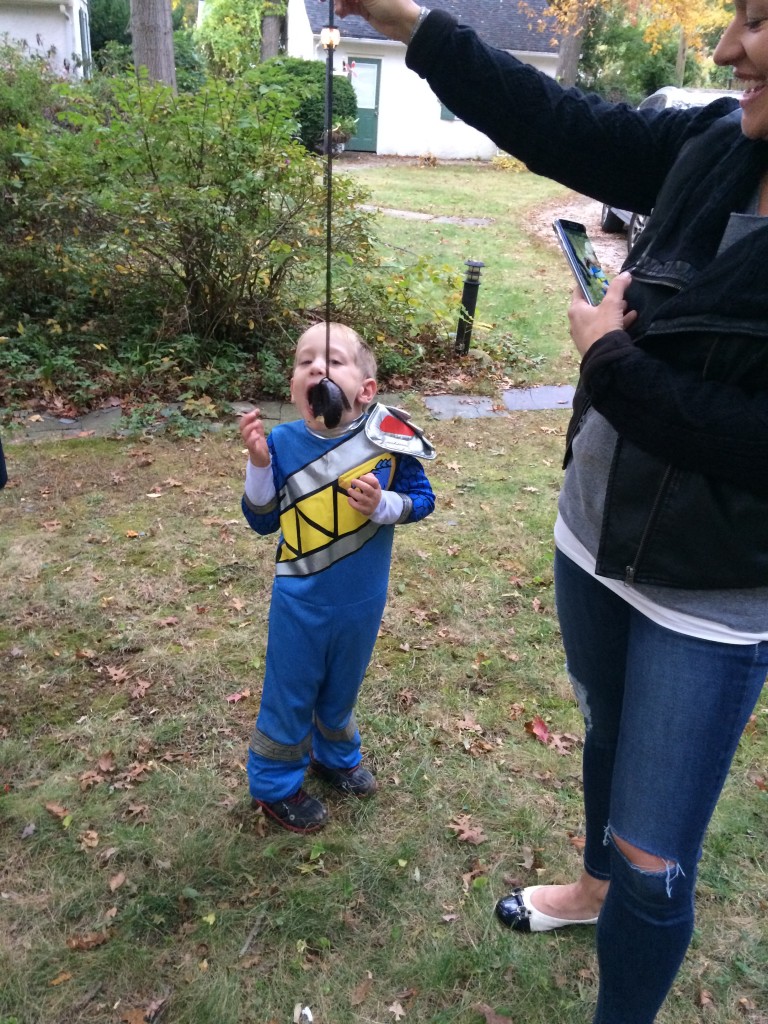
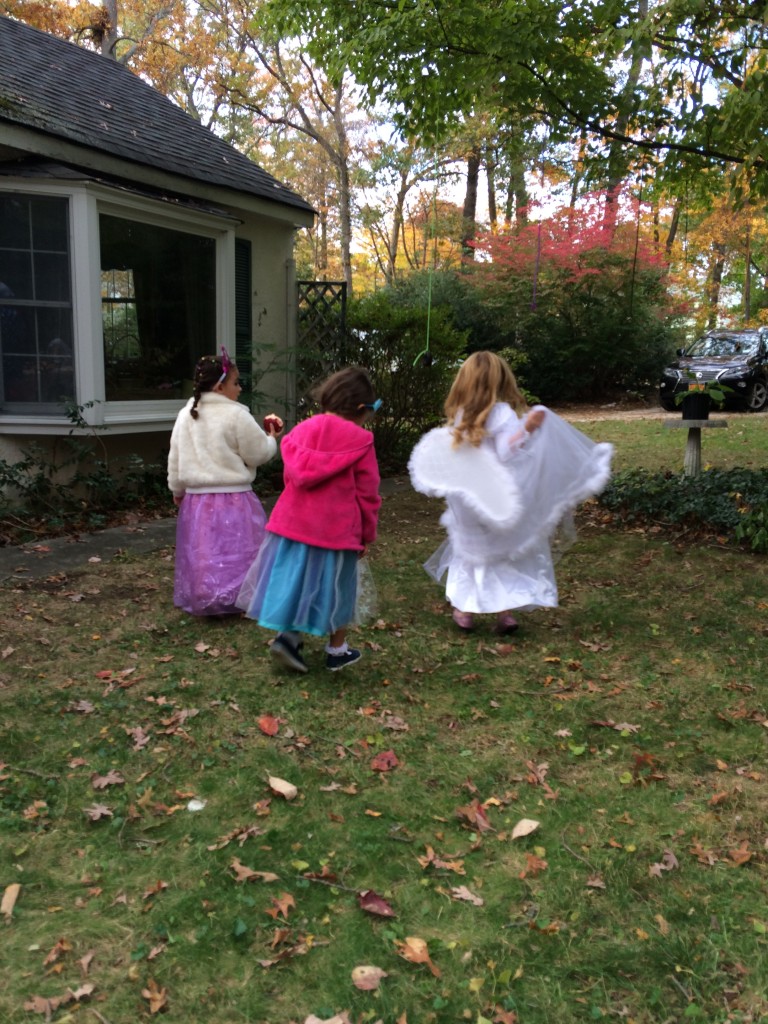
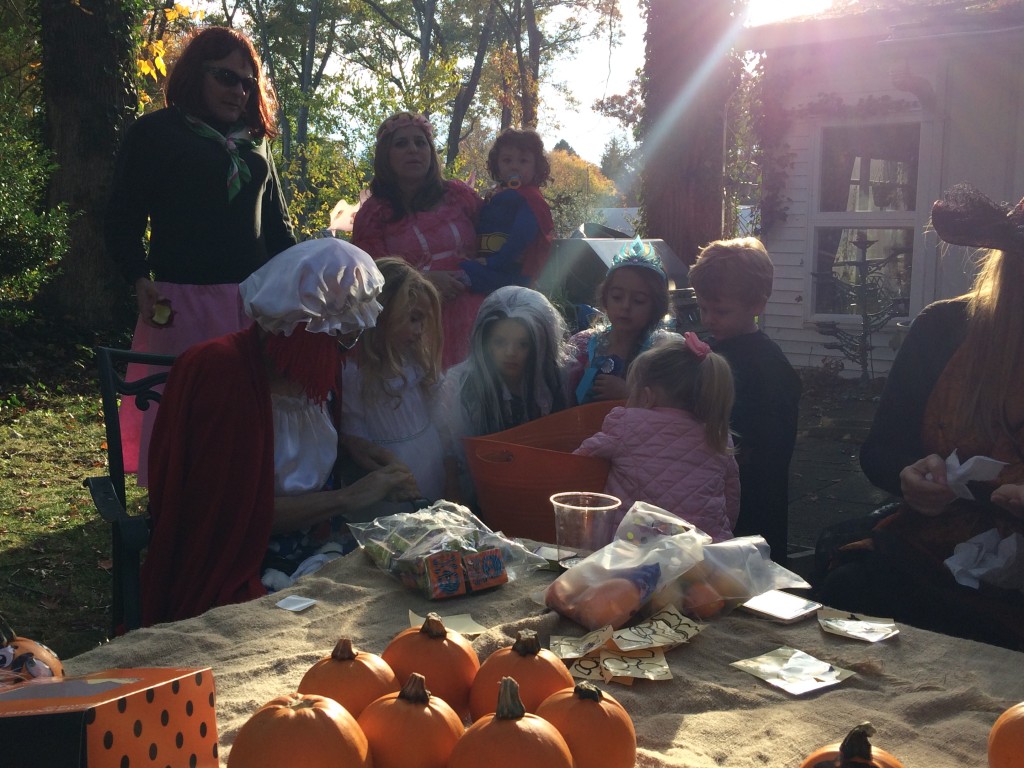
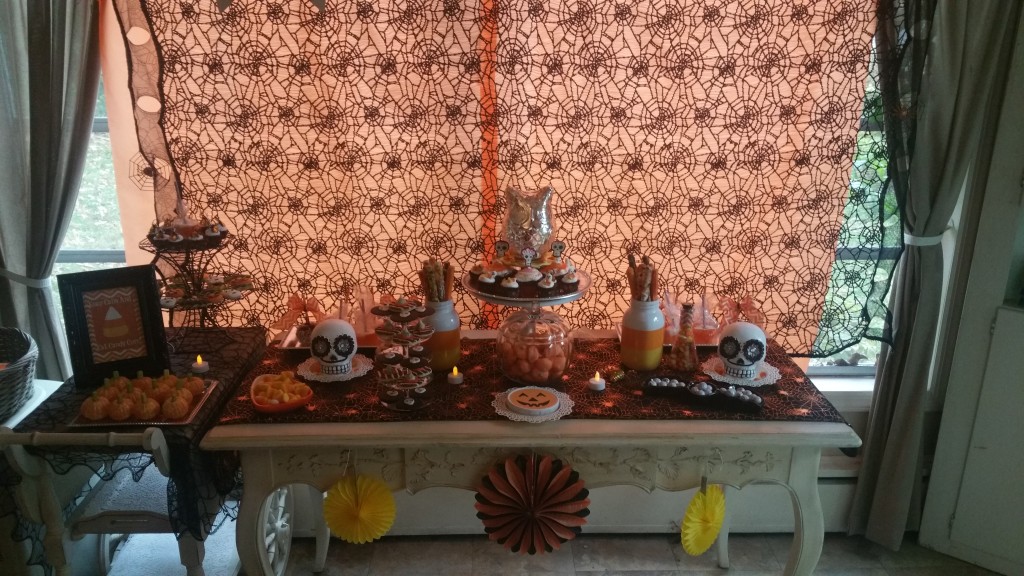
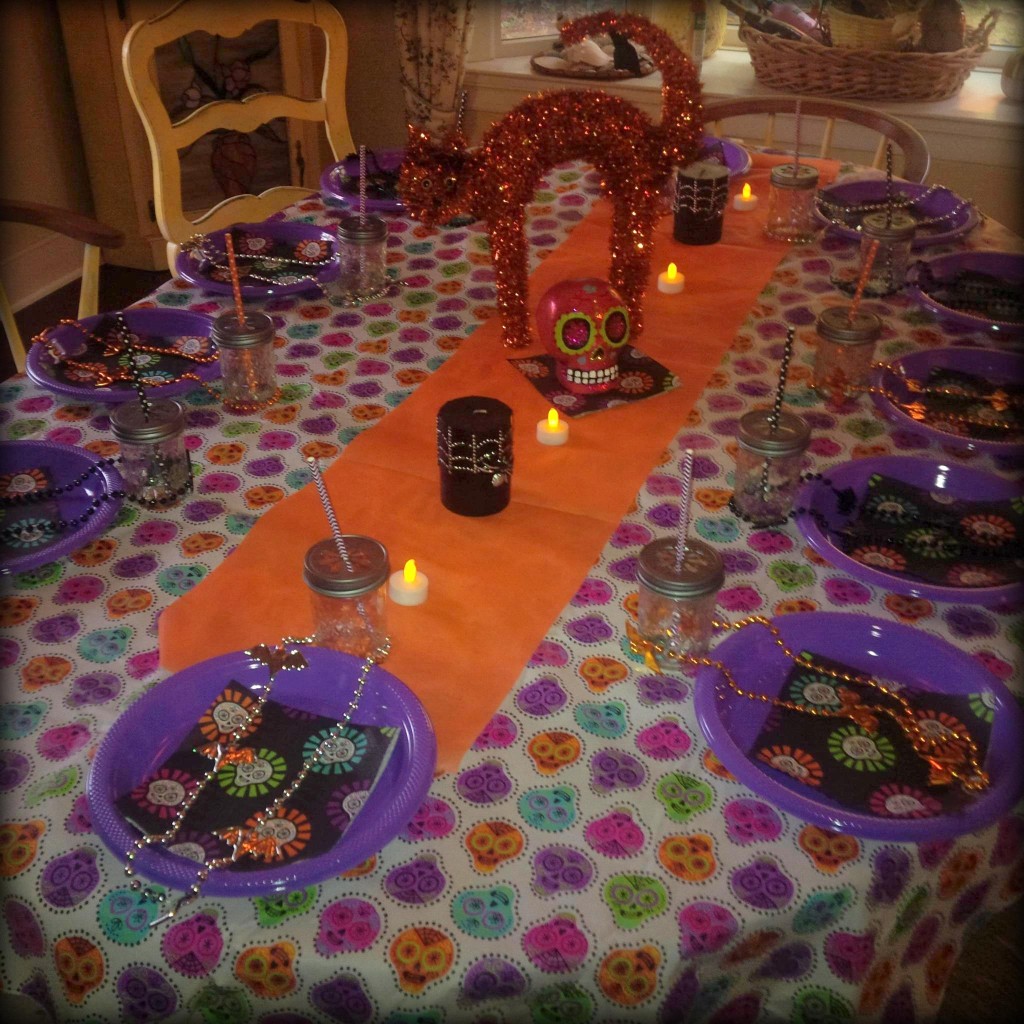
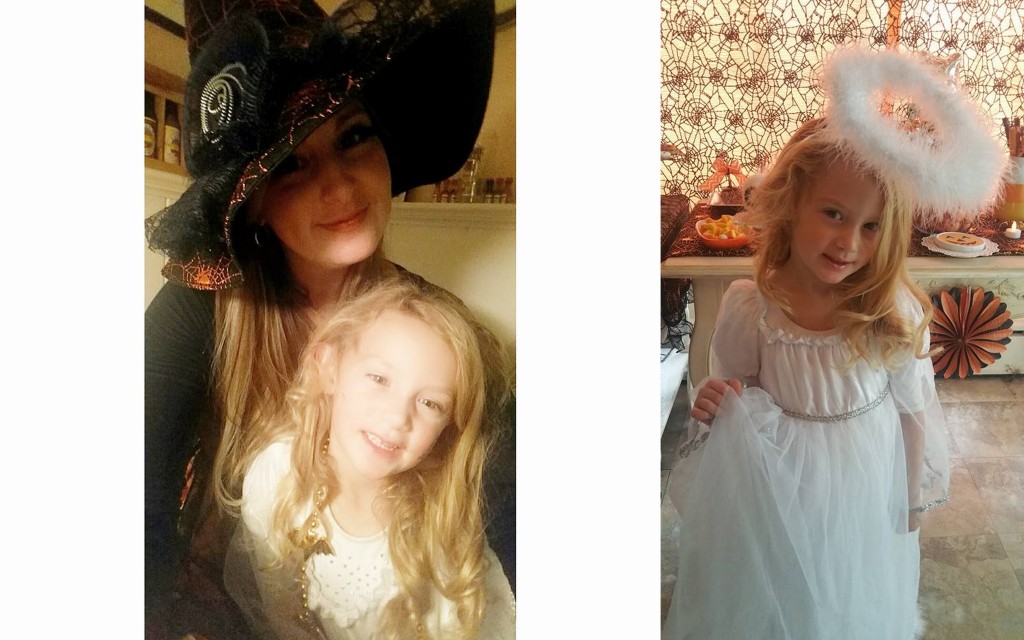
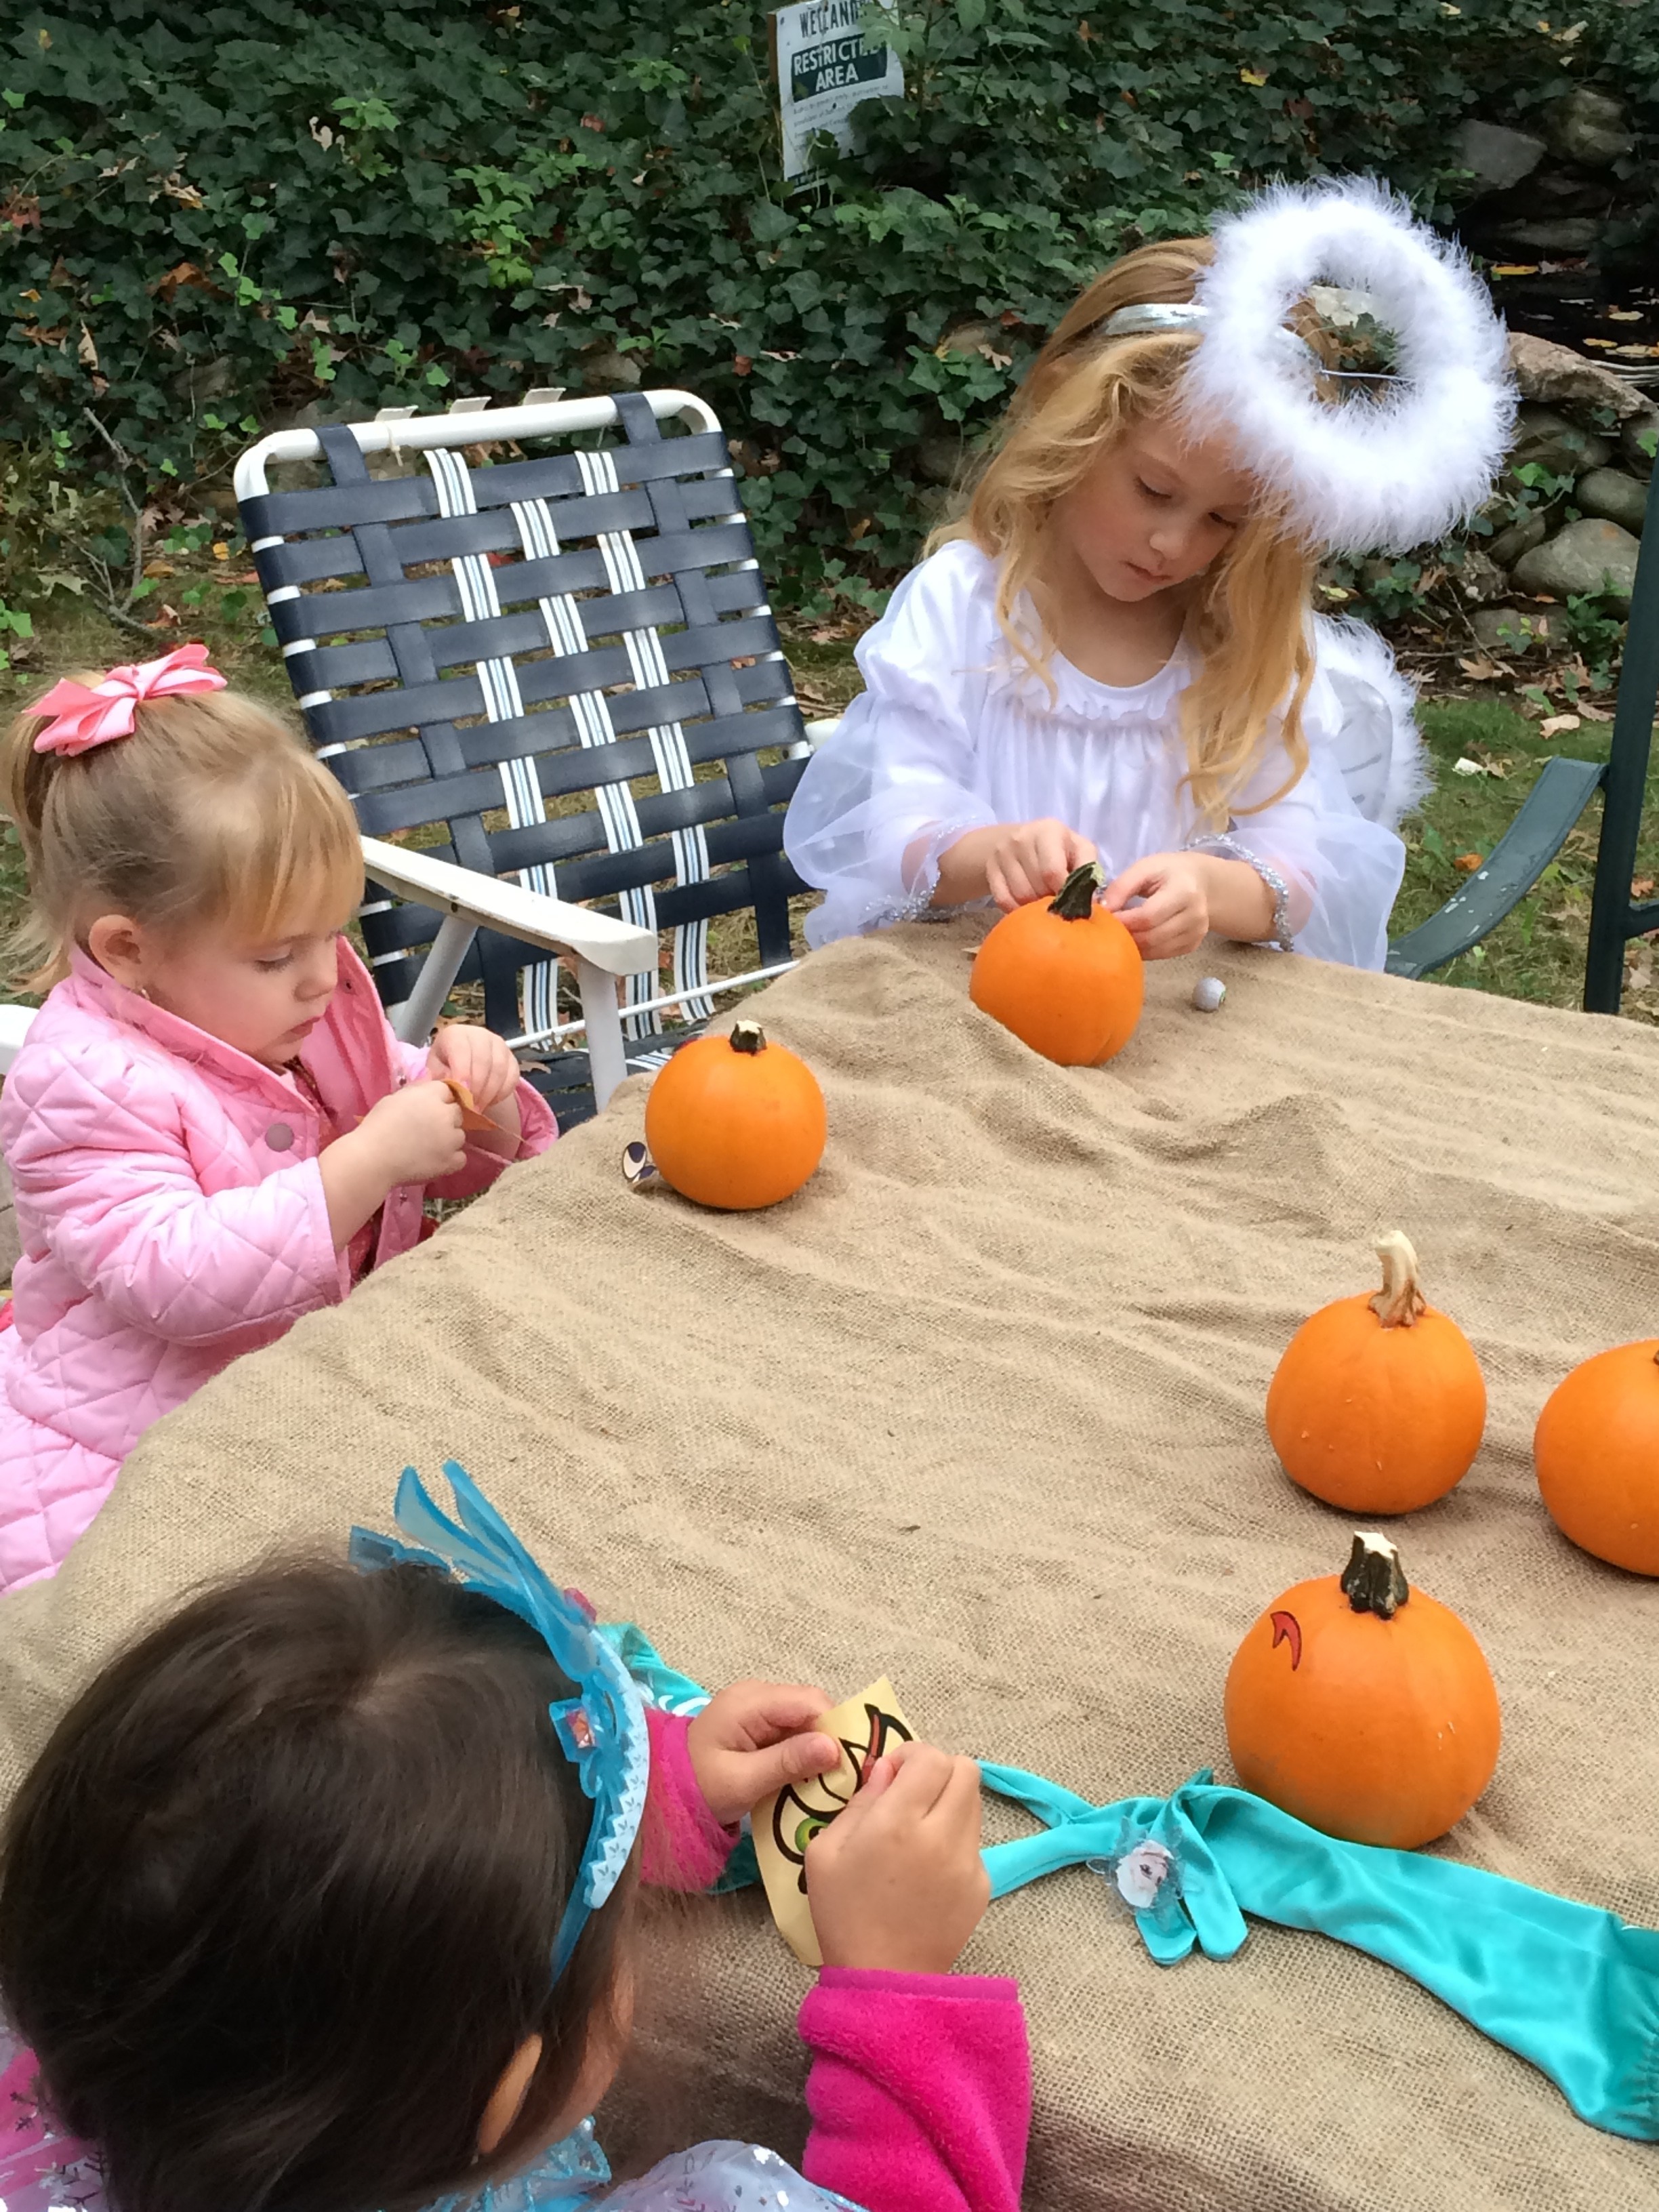
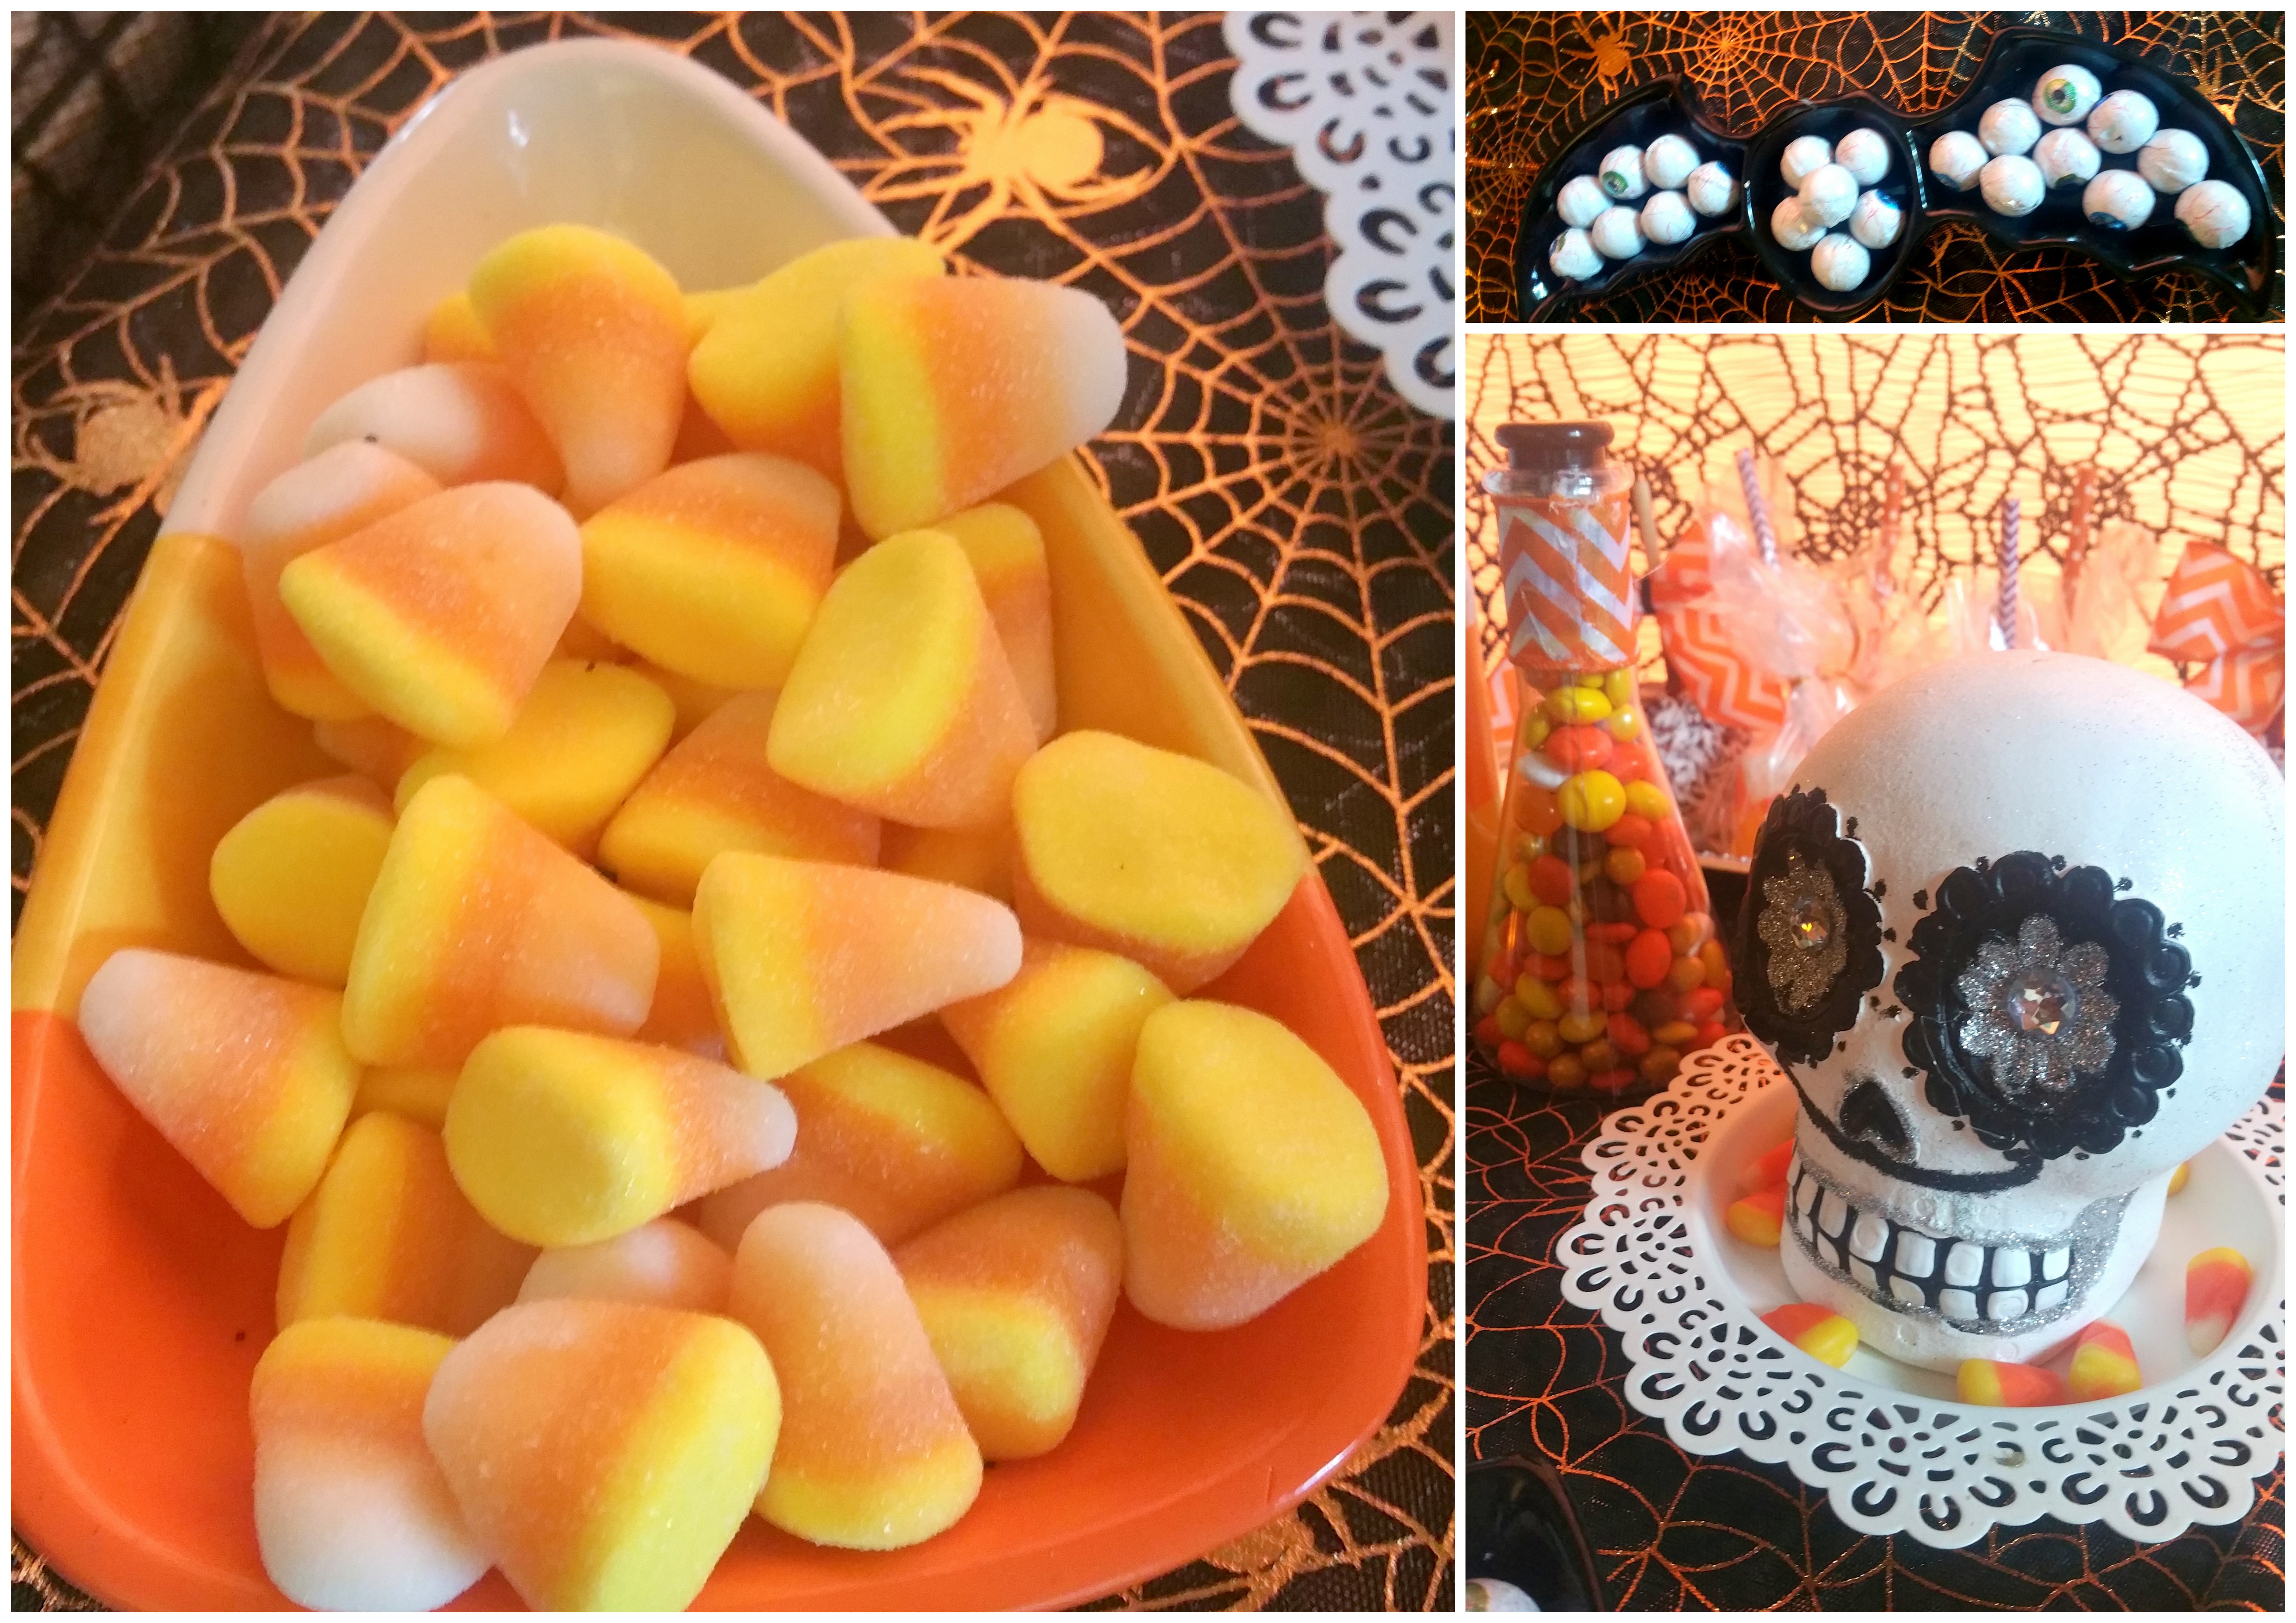
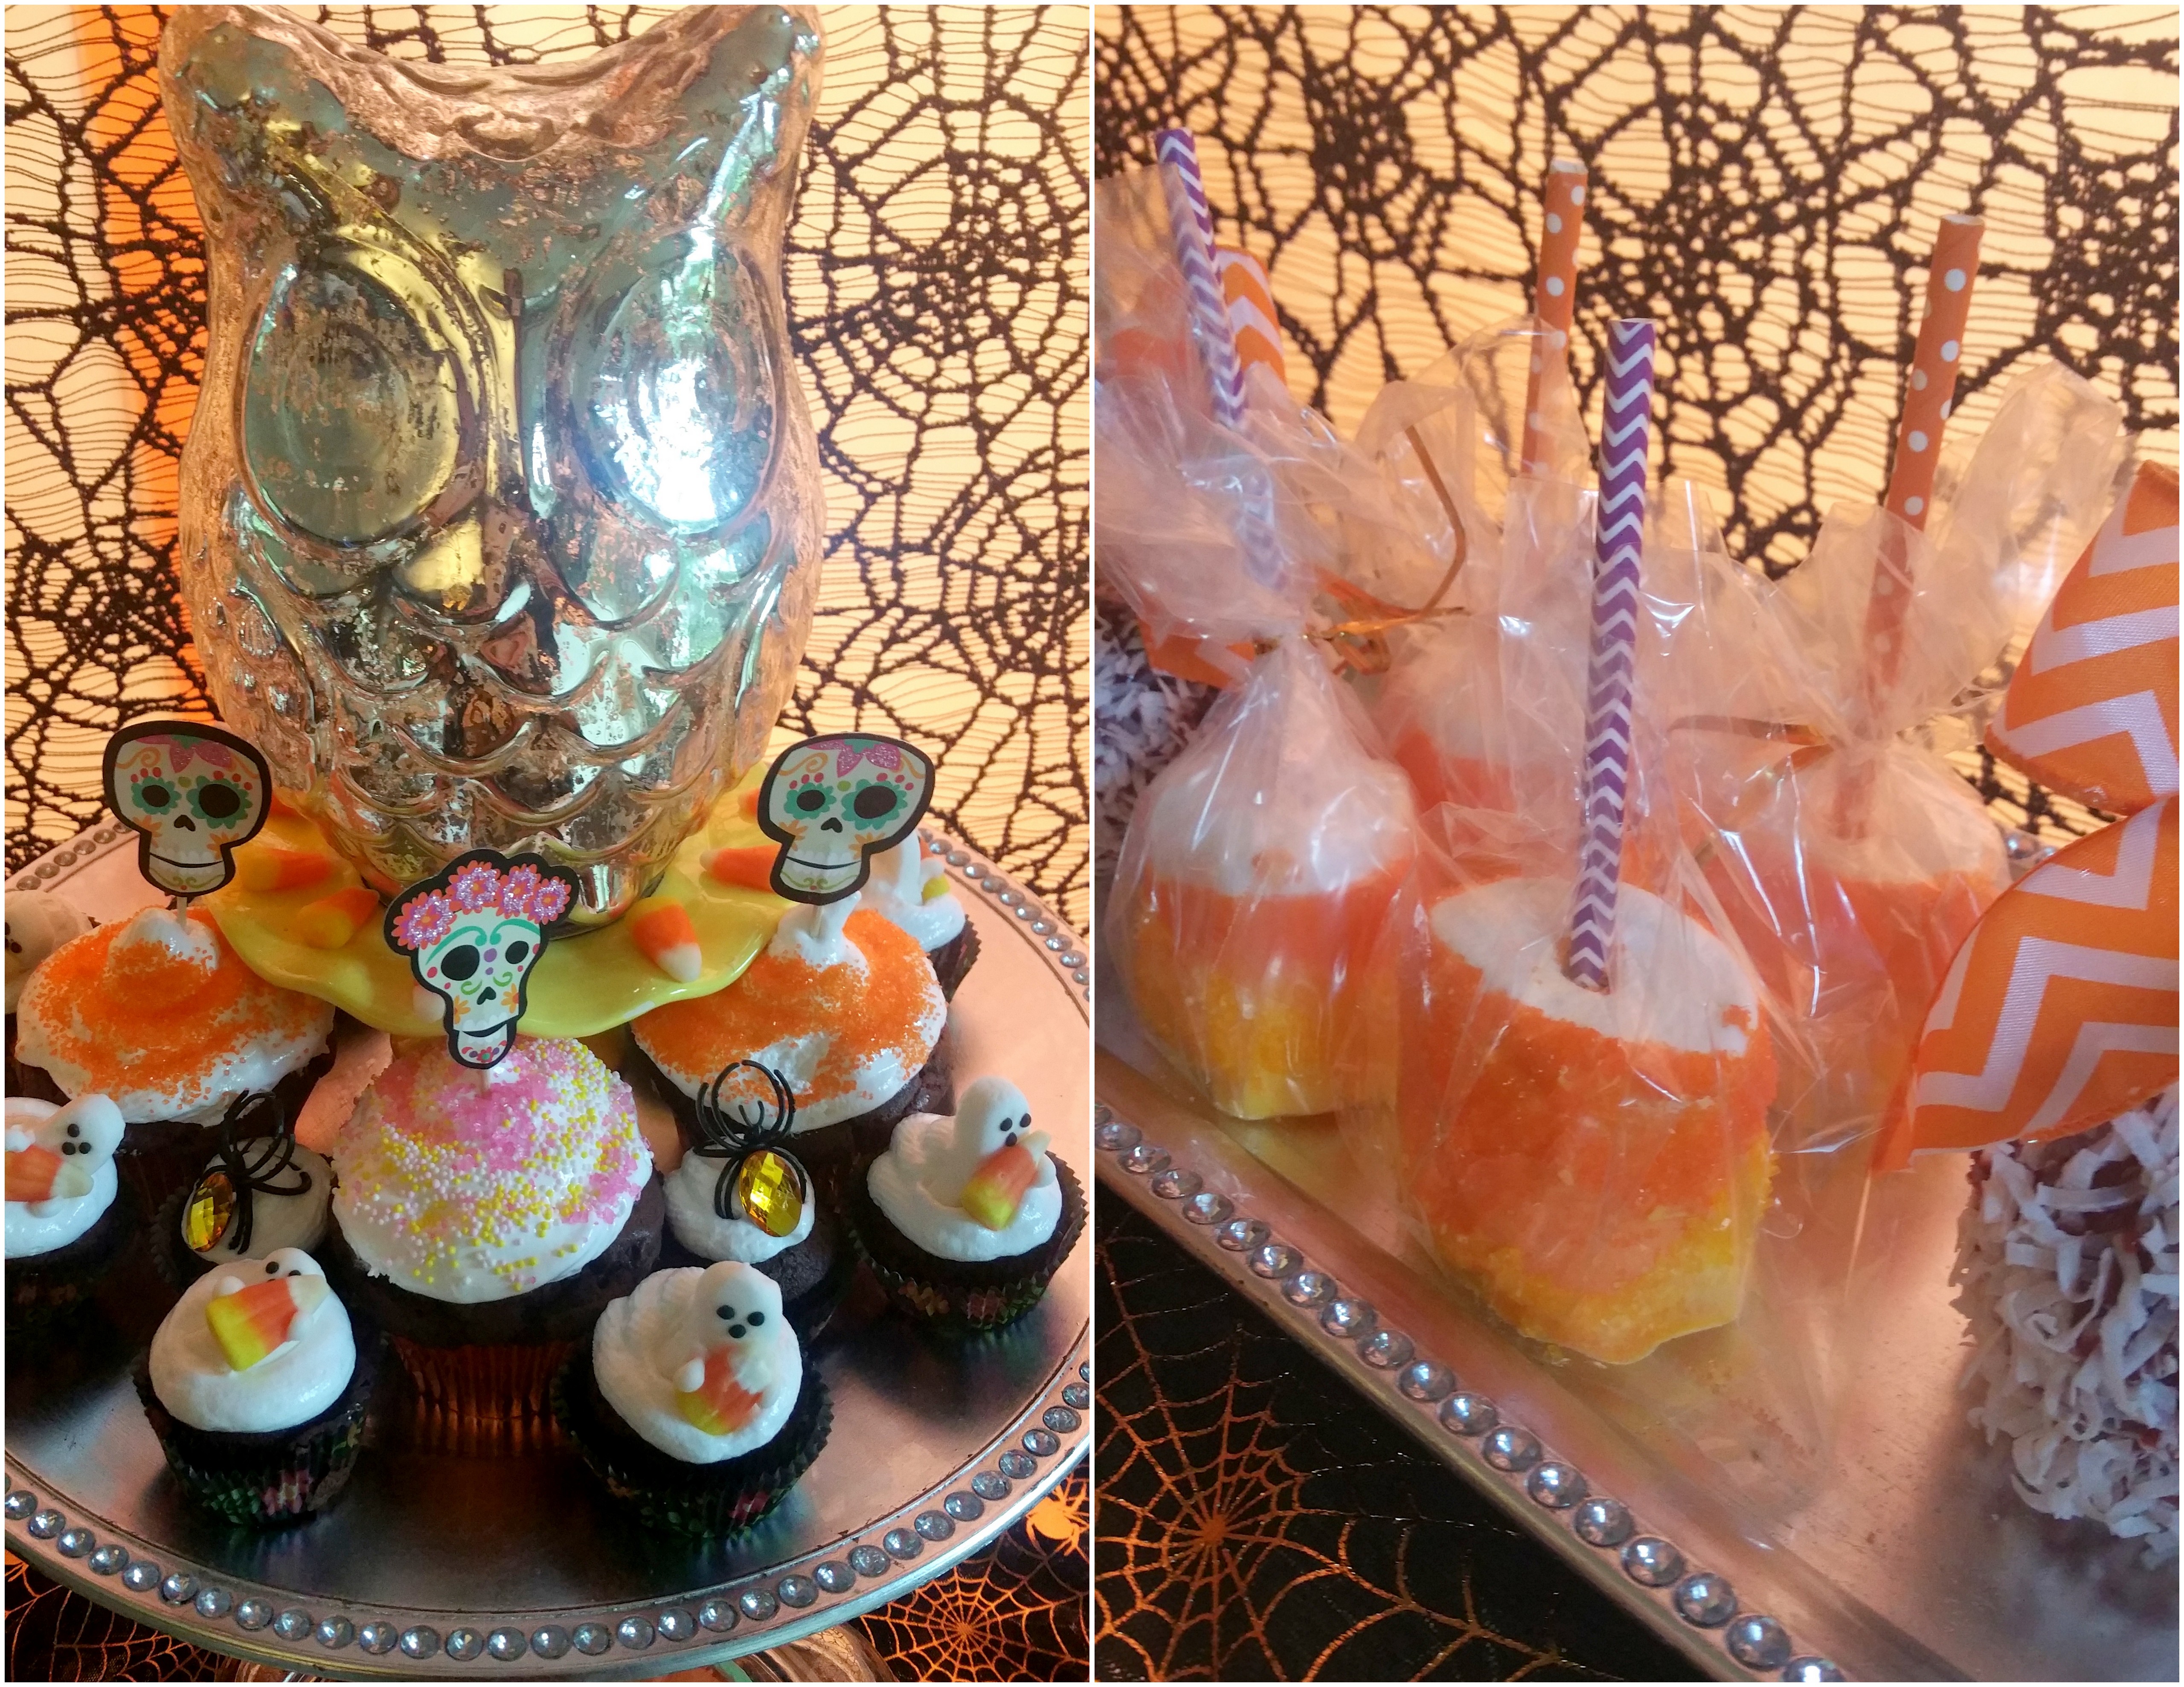
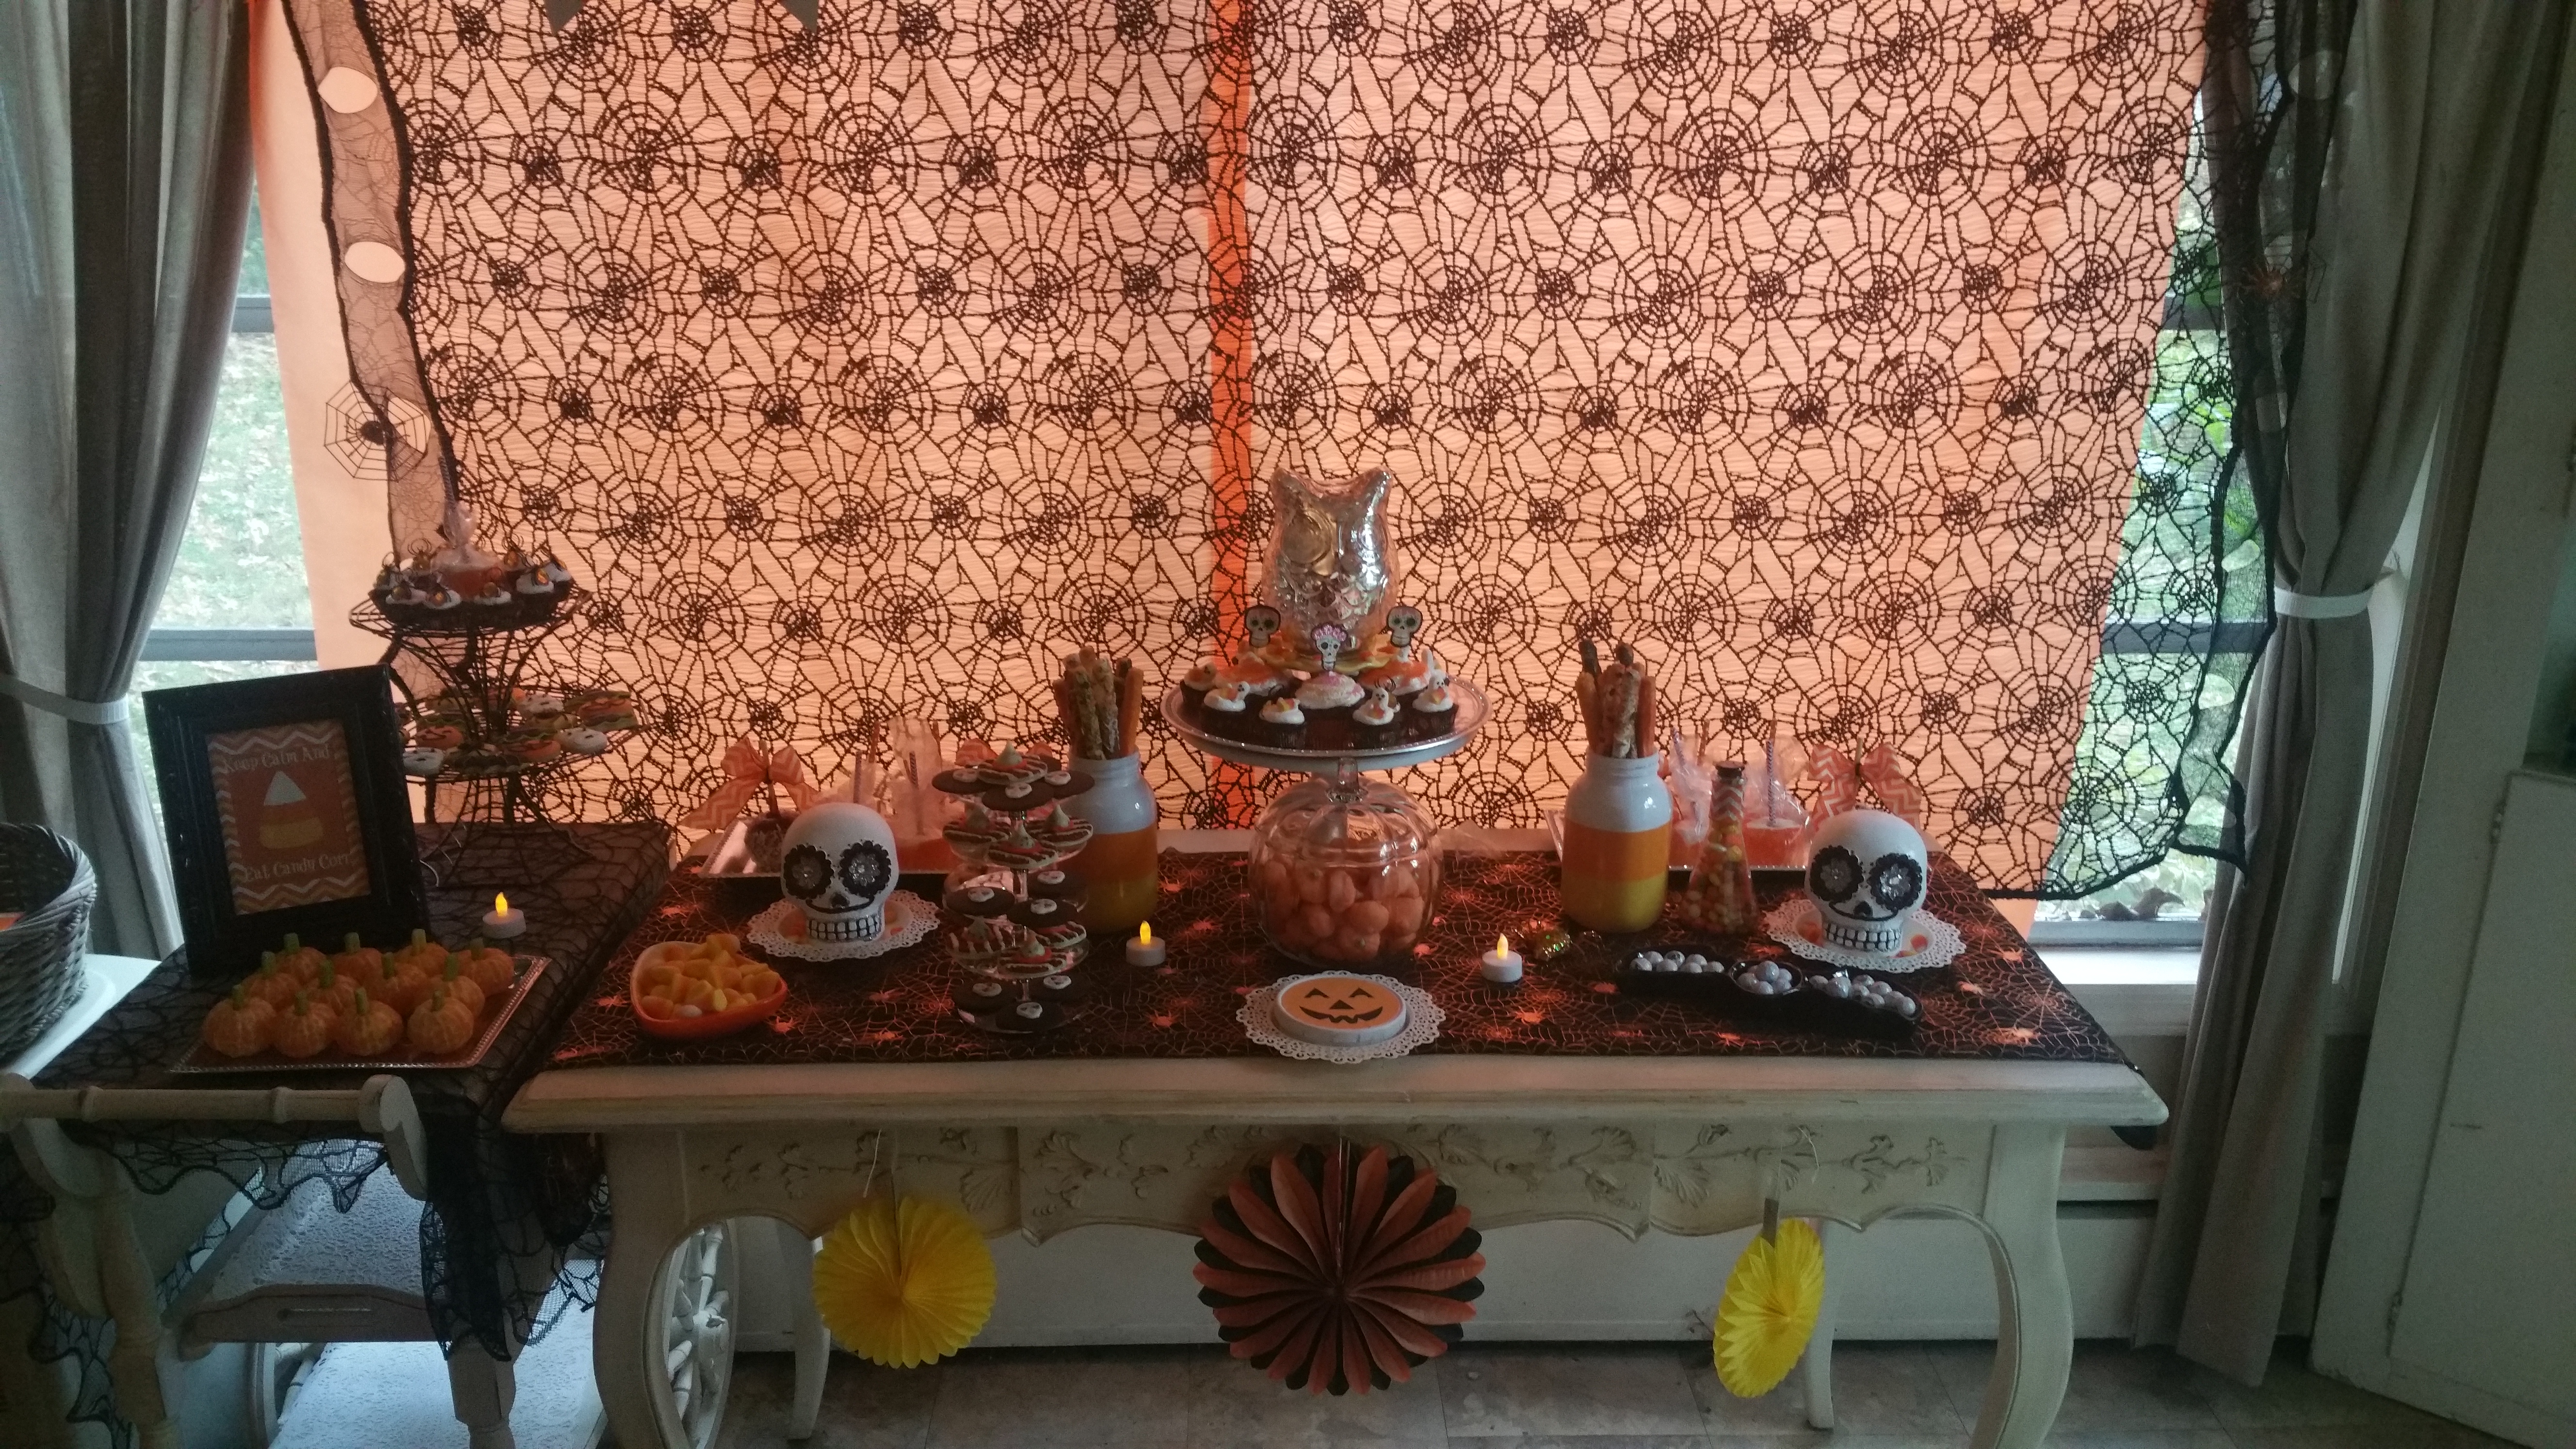
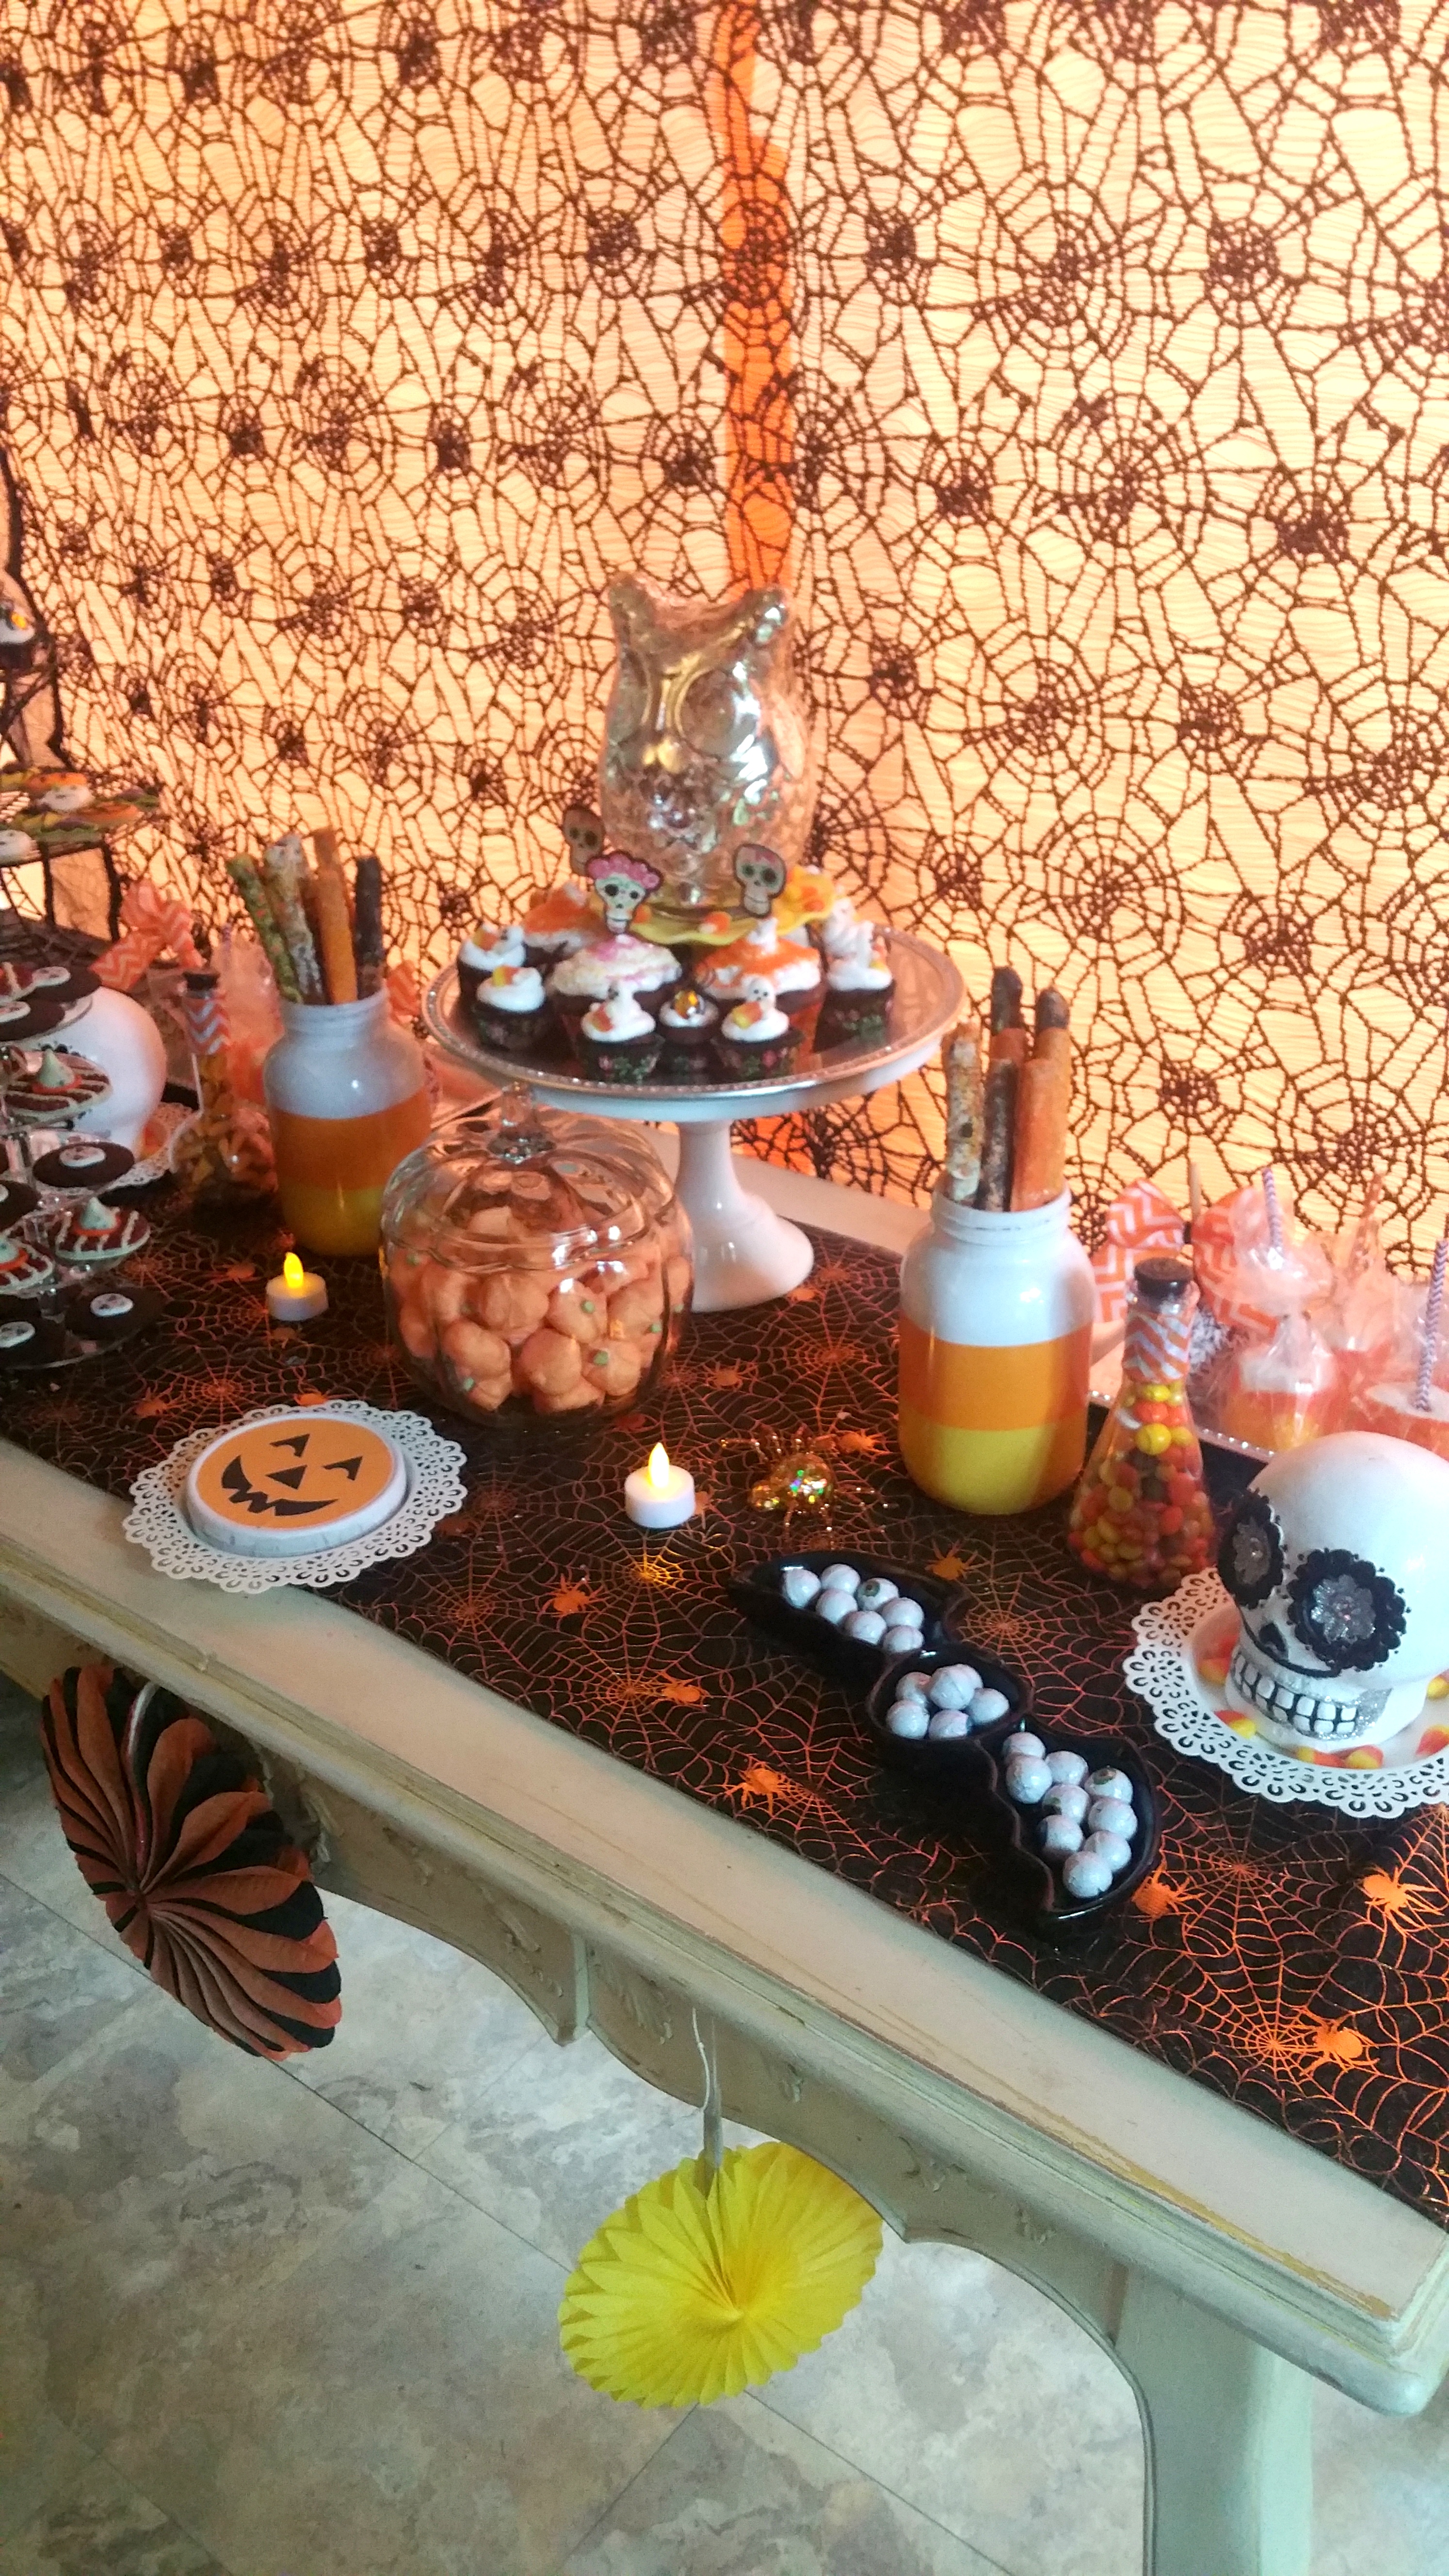
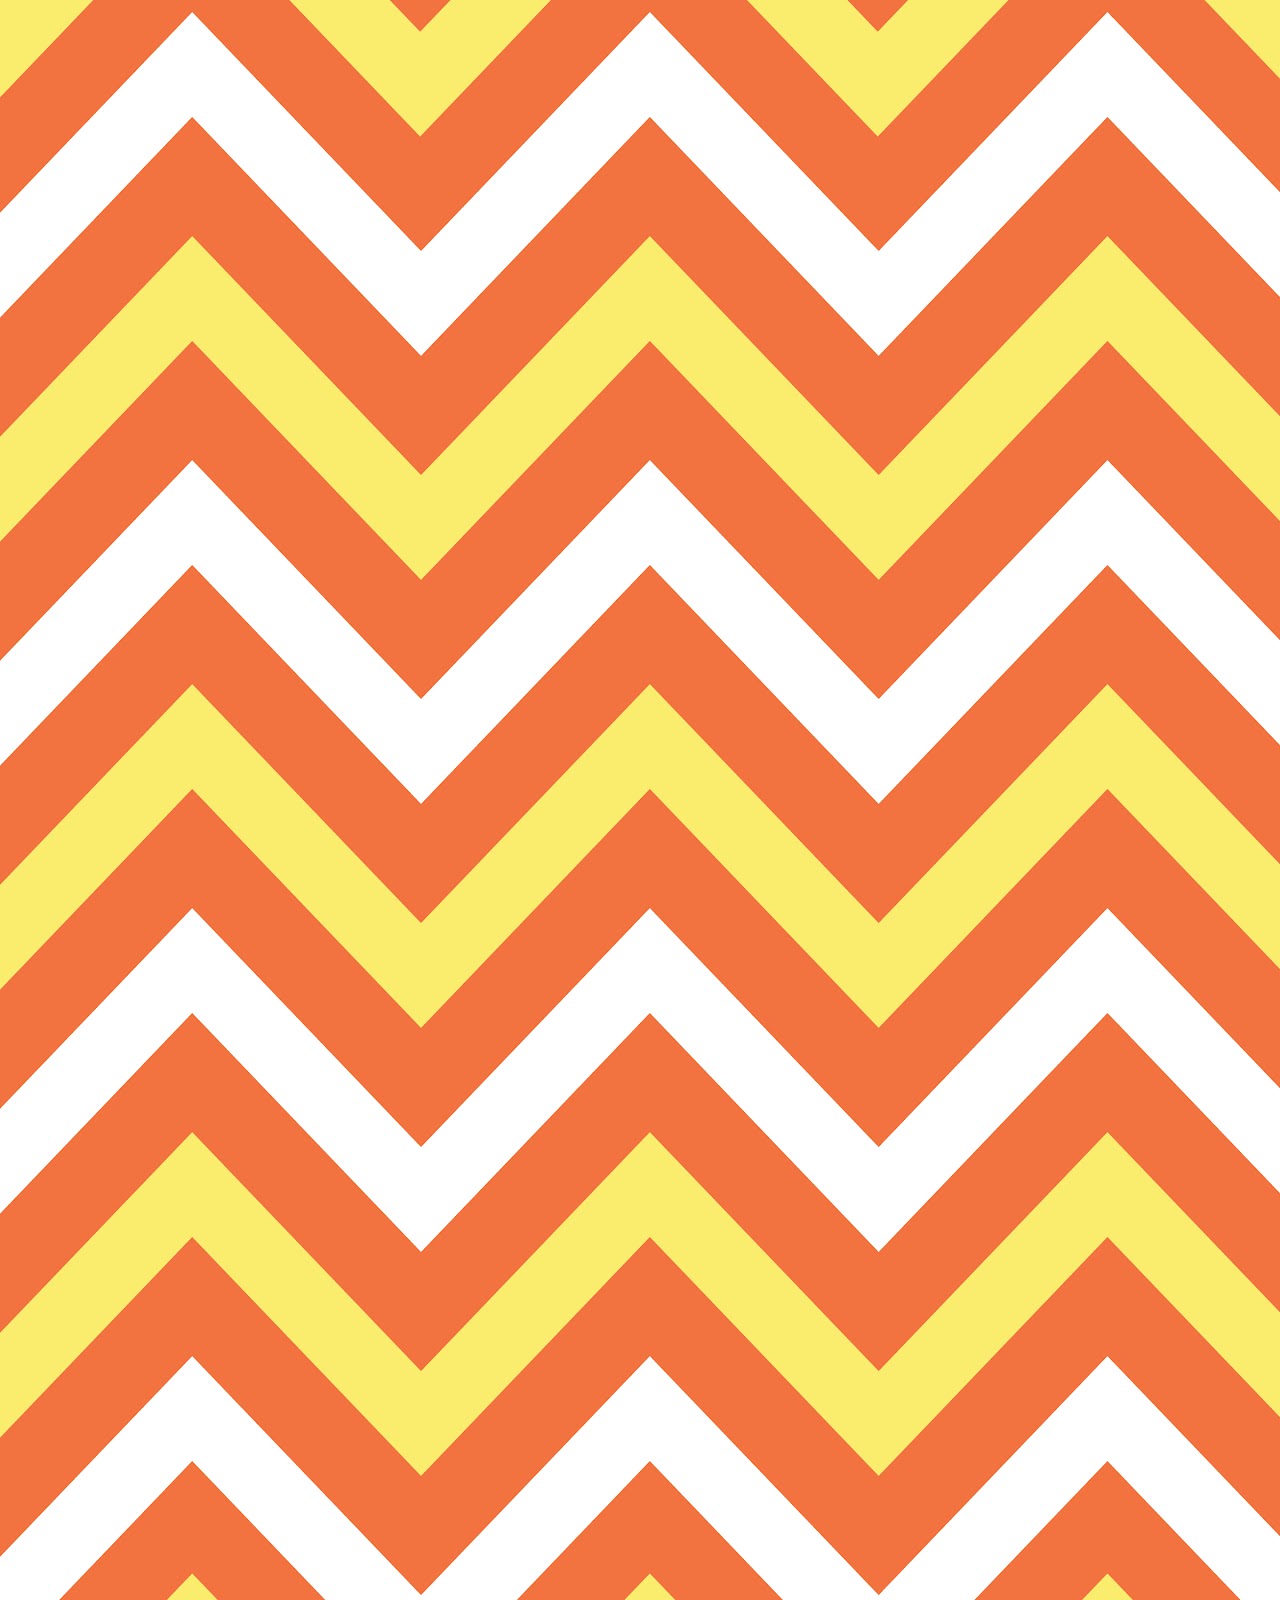
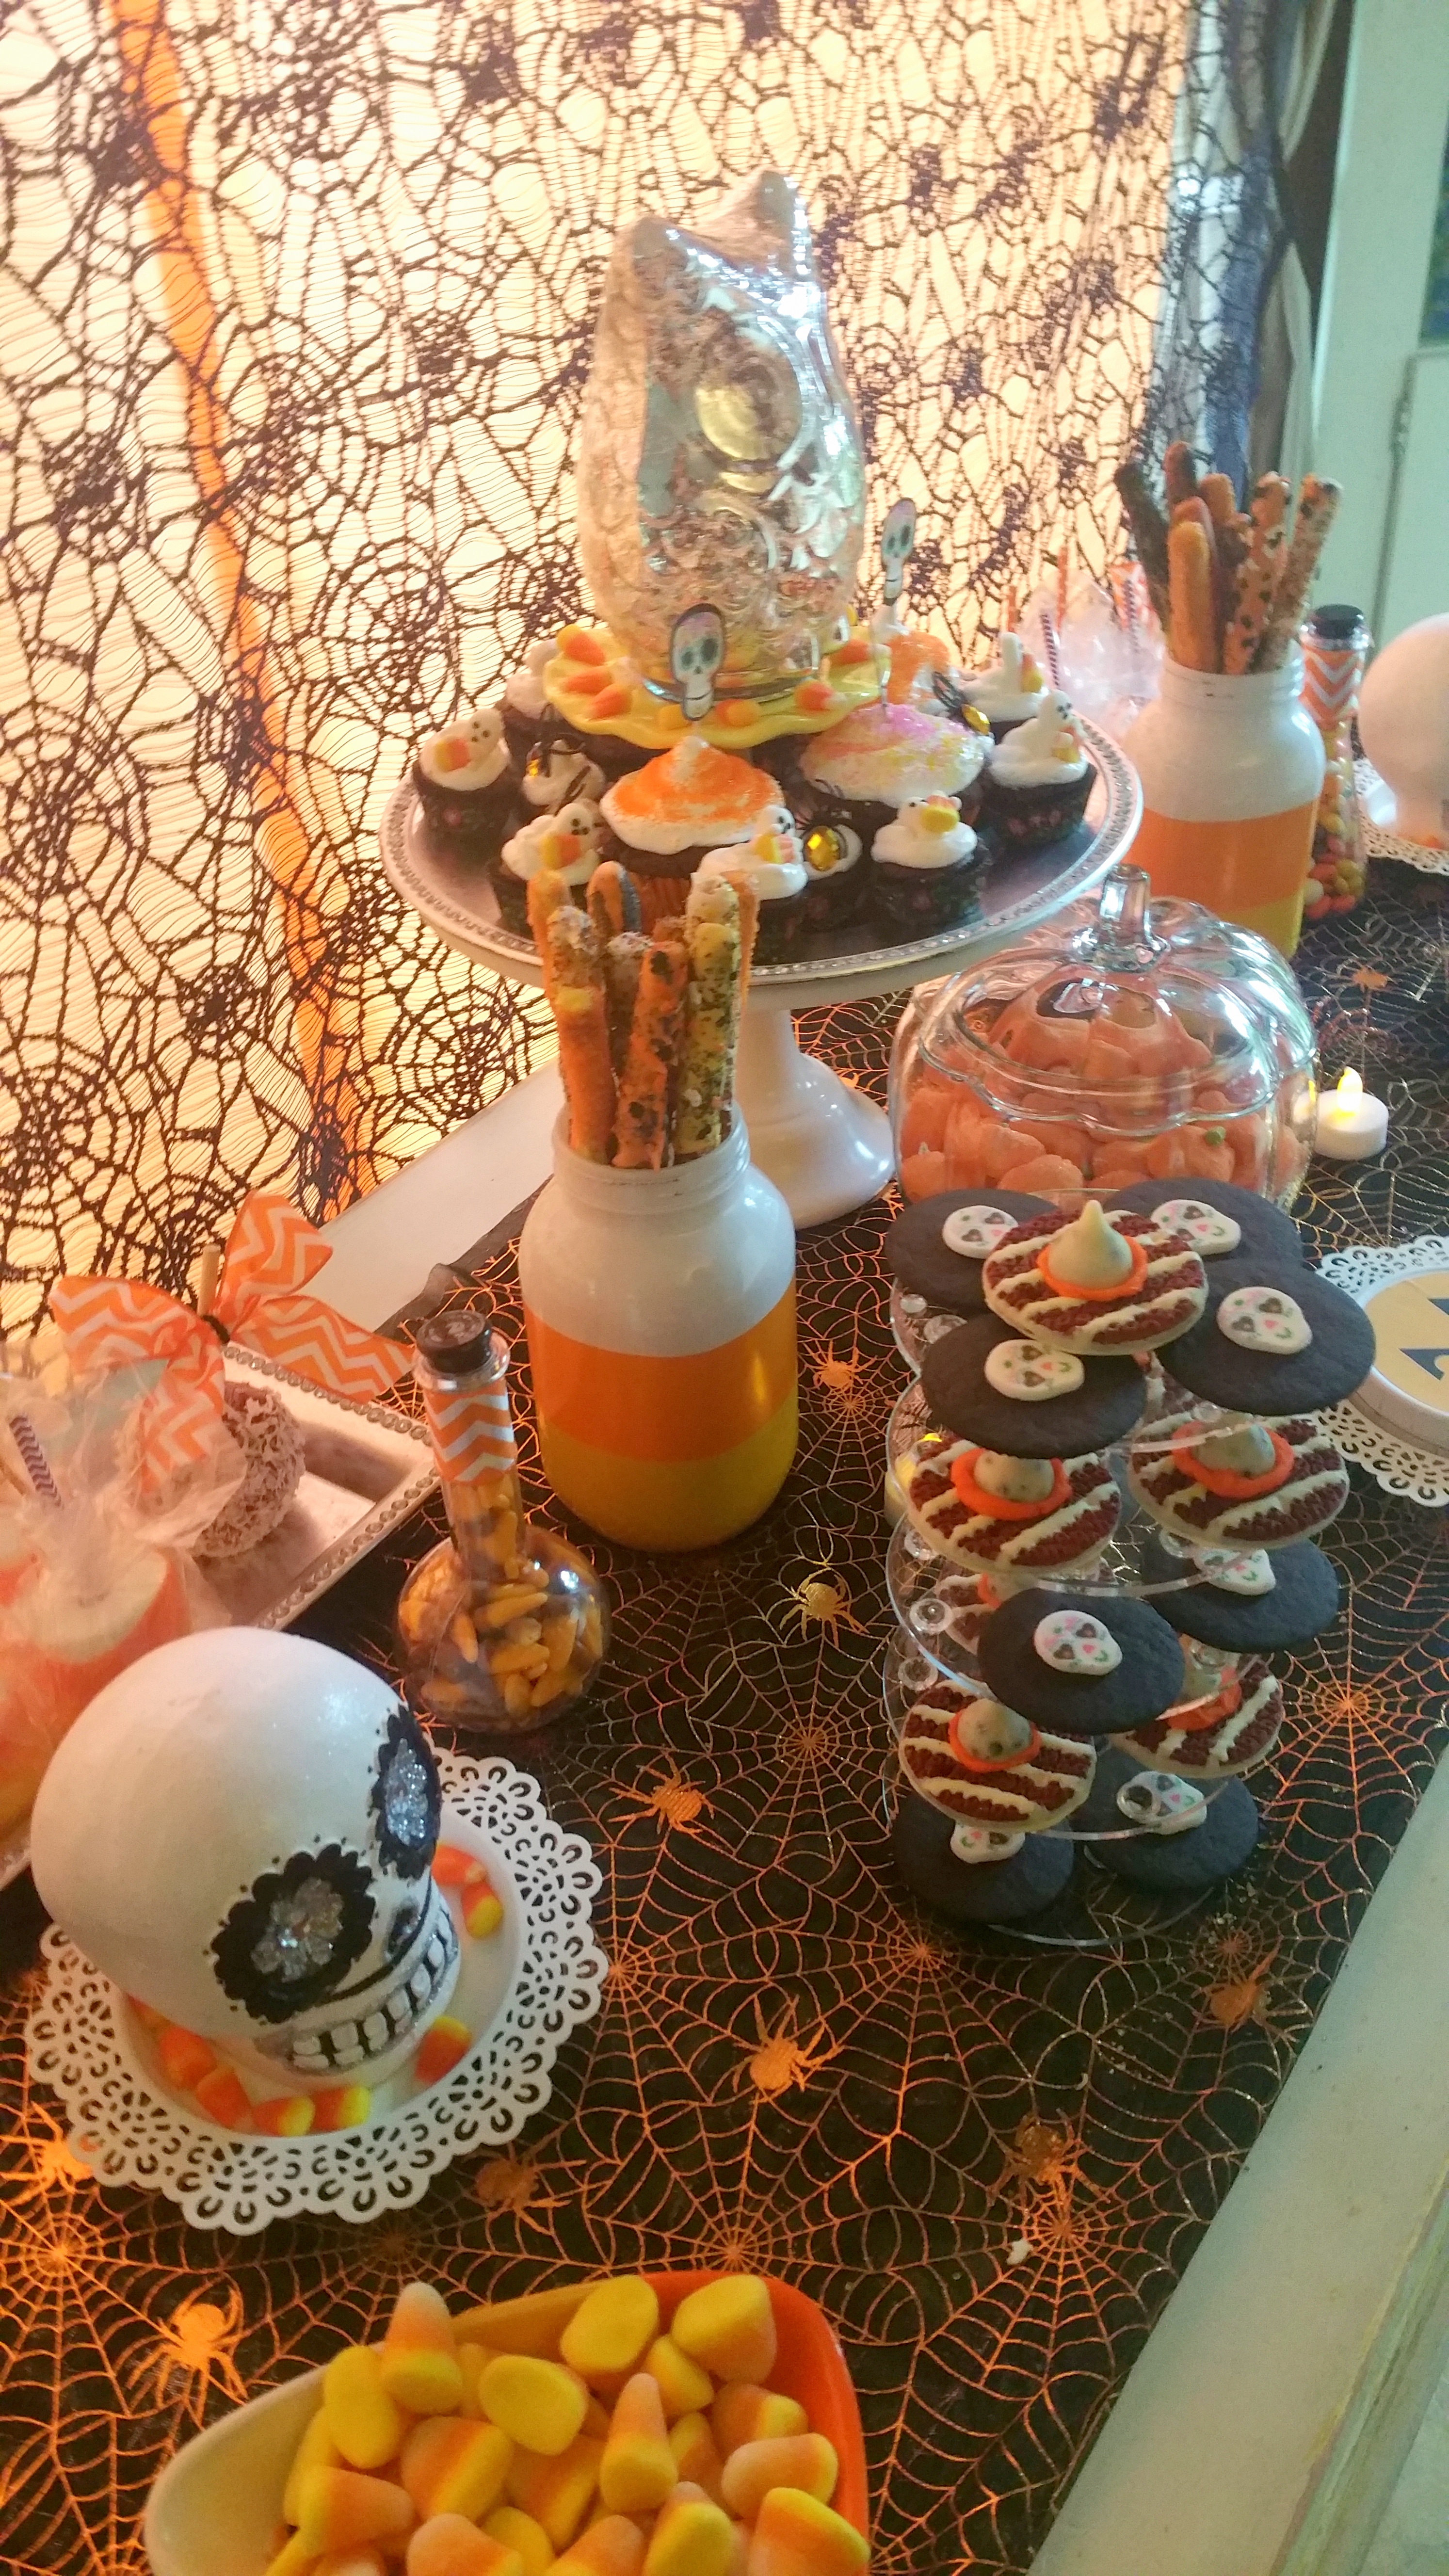
What is trending? #SugarSkulls. This year I gave our theme a bit of a festive feminine edge for our Halloween ‘Spook-caular’ event with Candy Corn colors and Sugar Skulls. After all I cannot really spook the kids at 4 & 5 years old with real creepy goblins and goolish treats. I would say this was a perfect compromise with lots of fun traditions from the previous years.

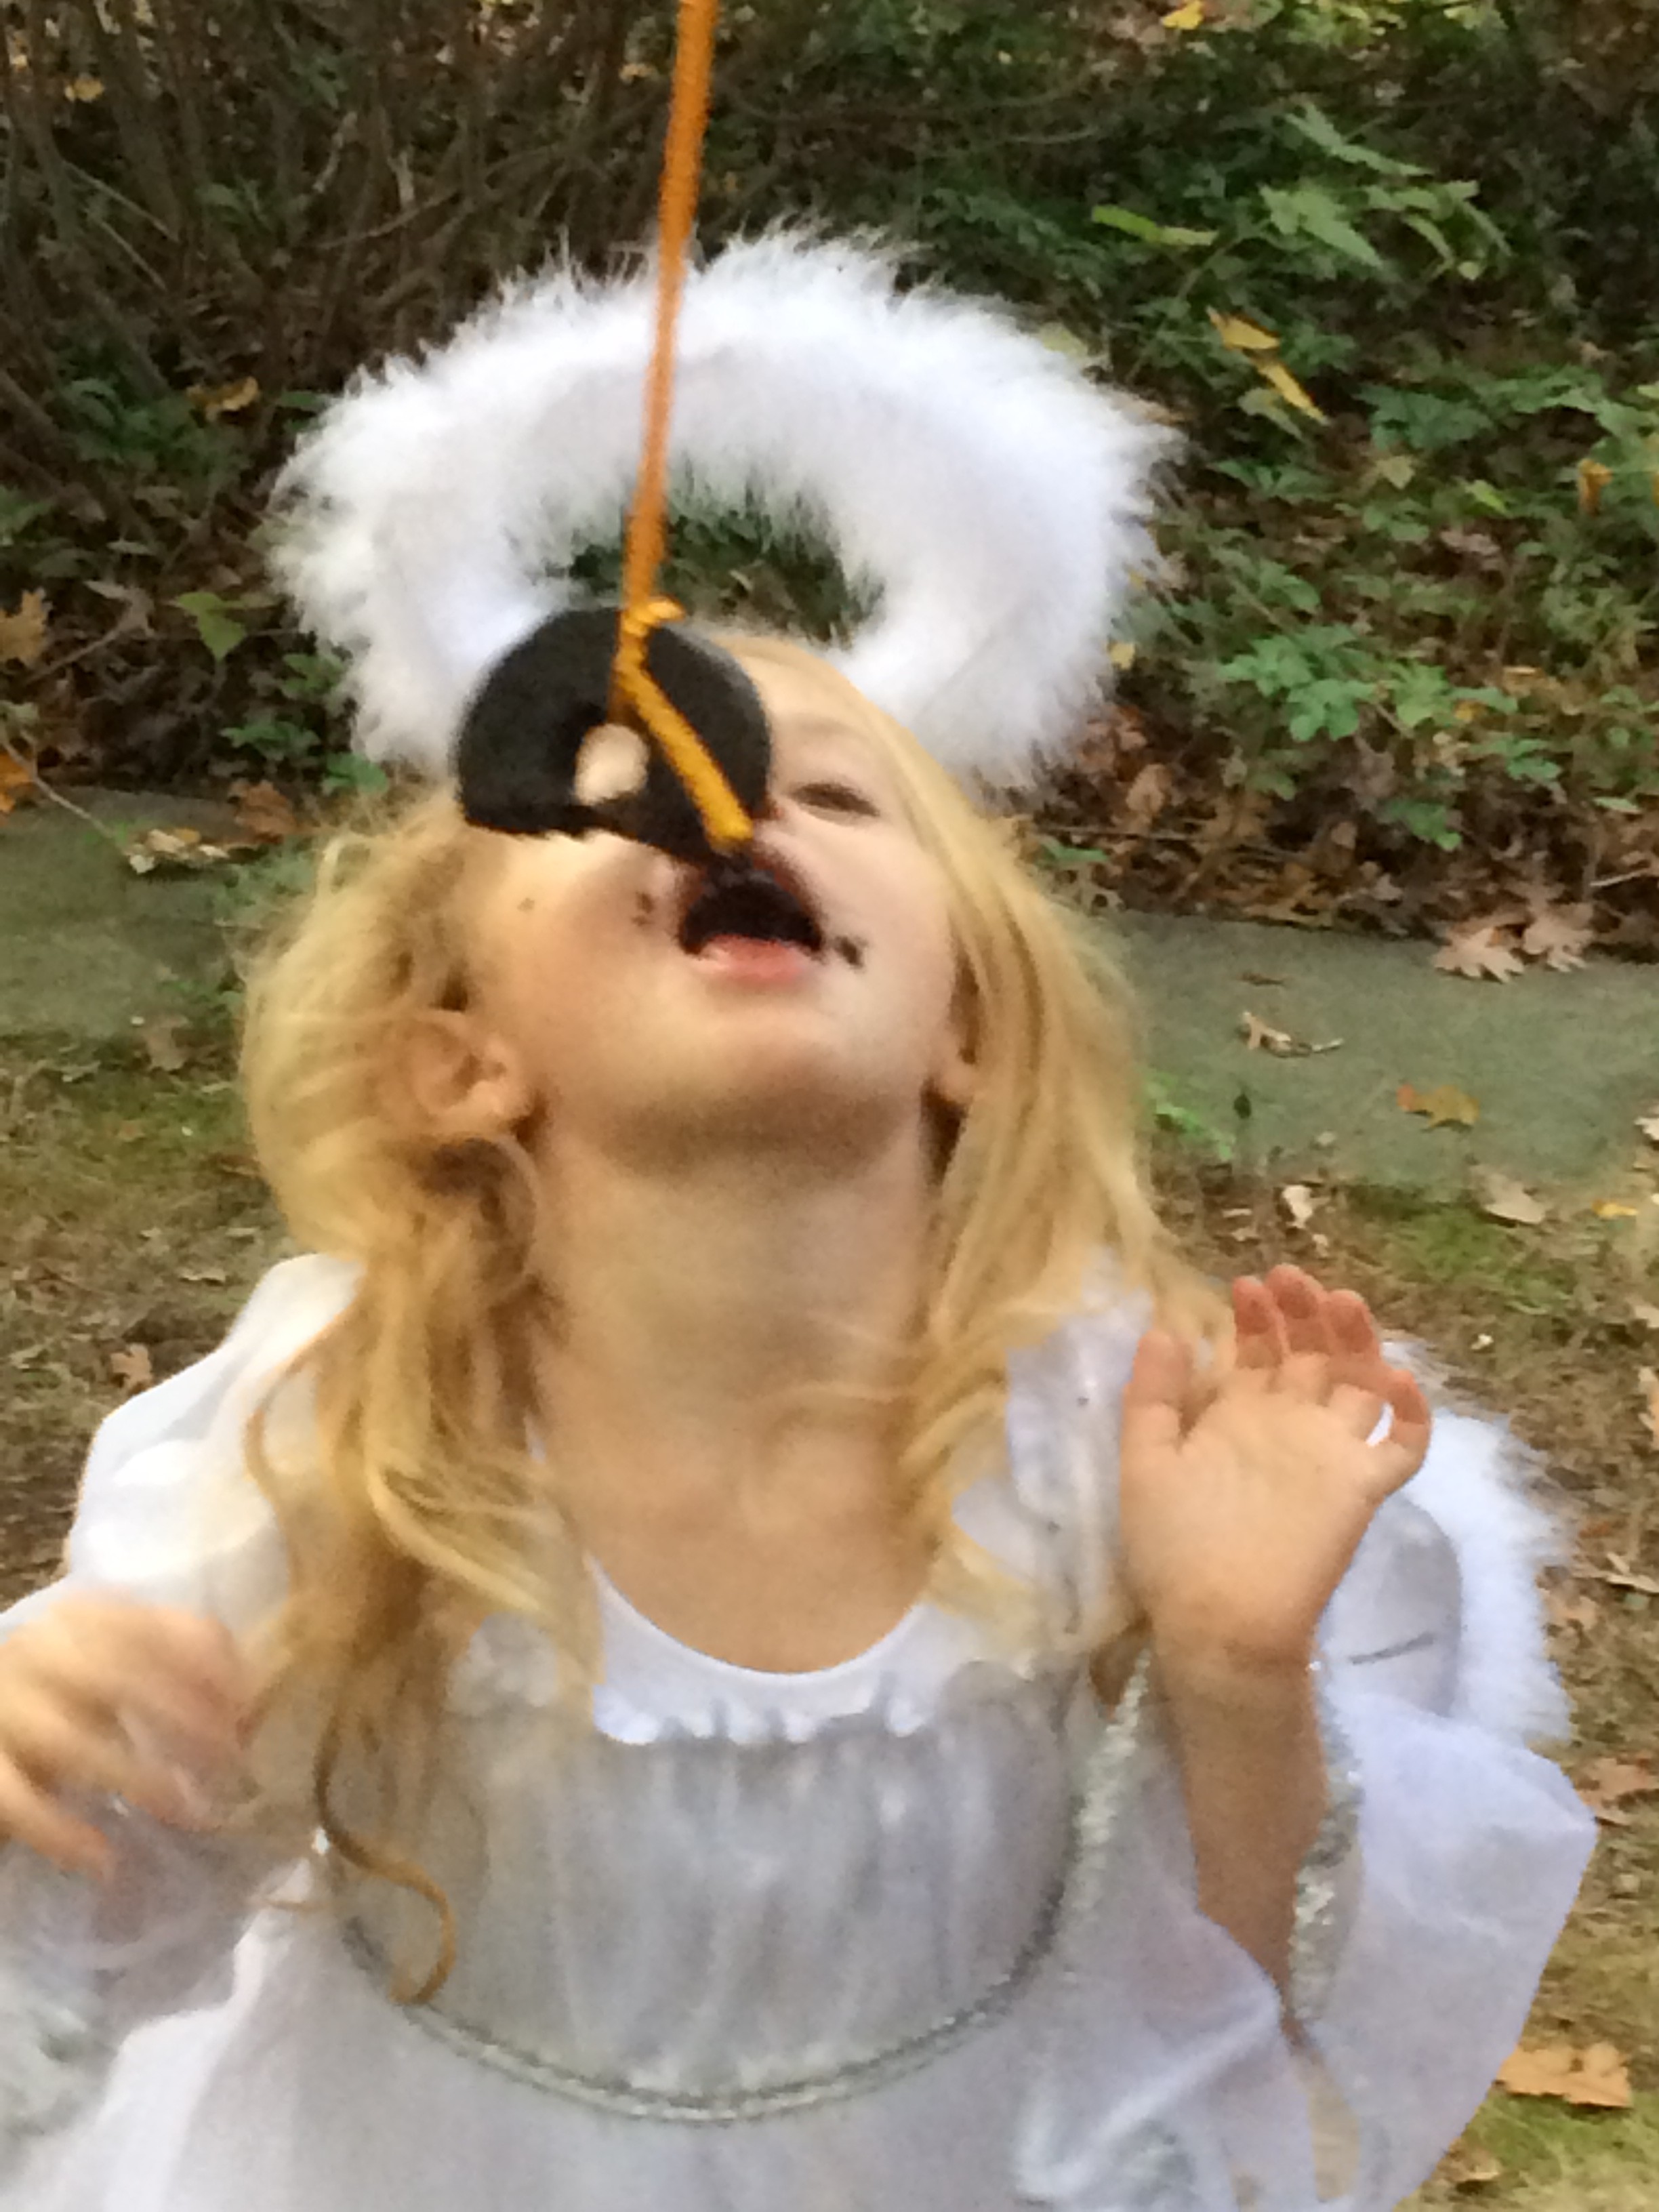
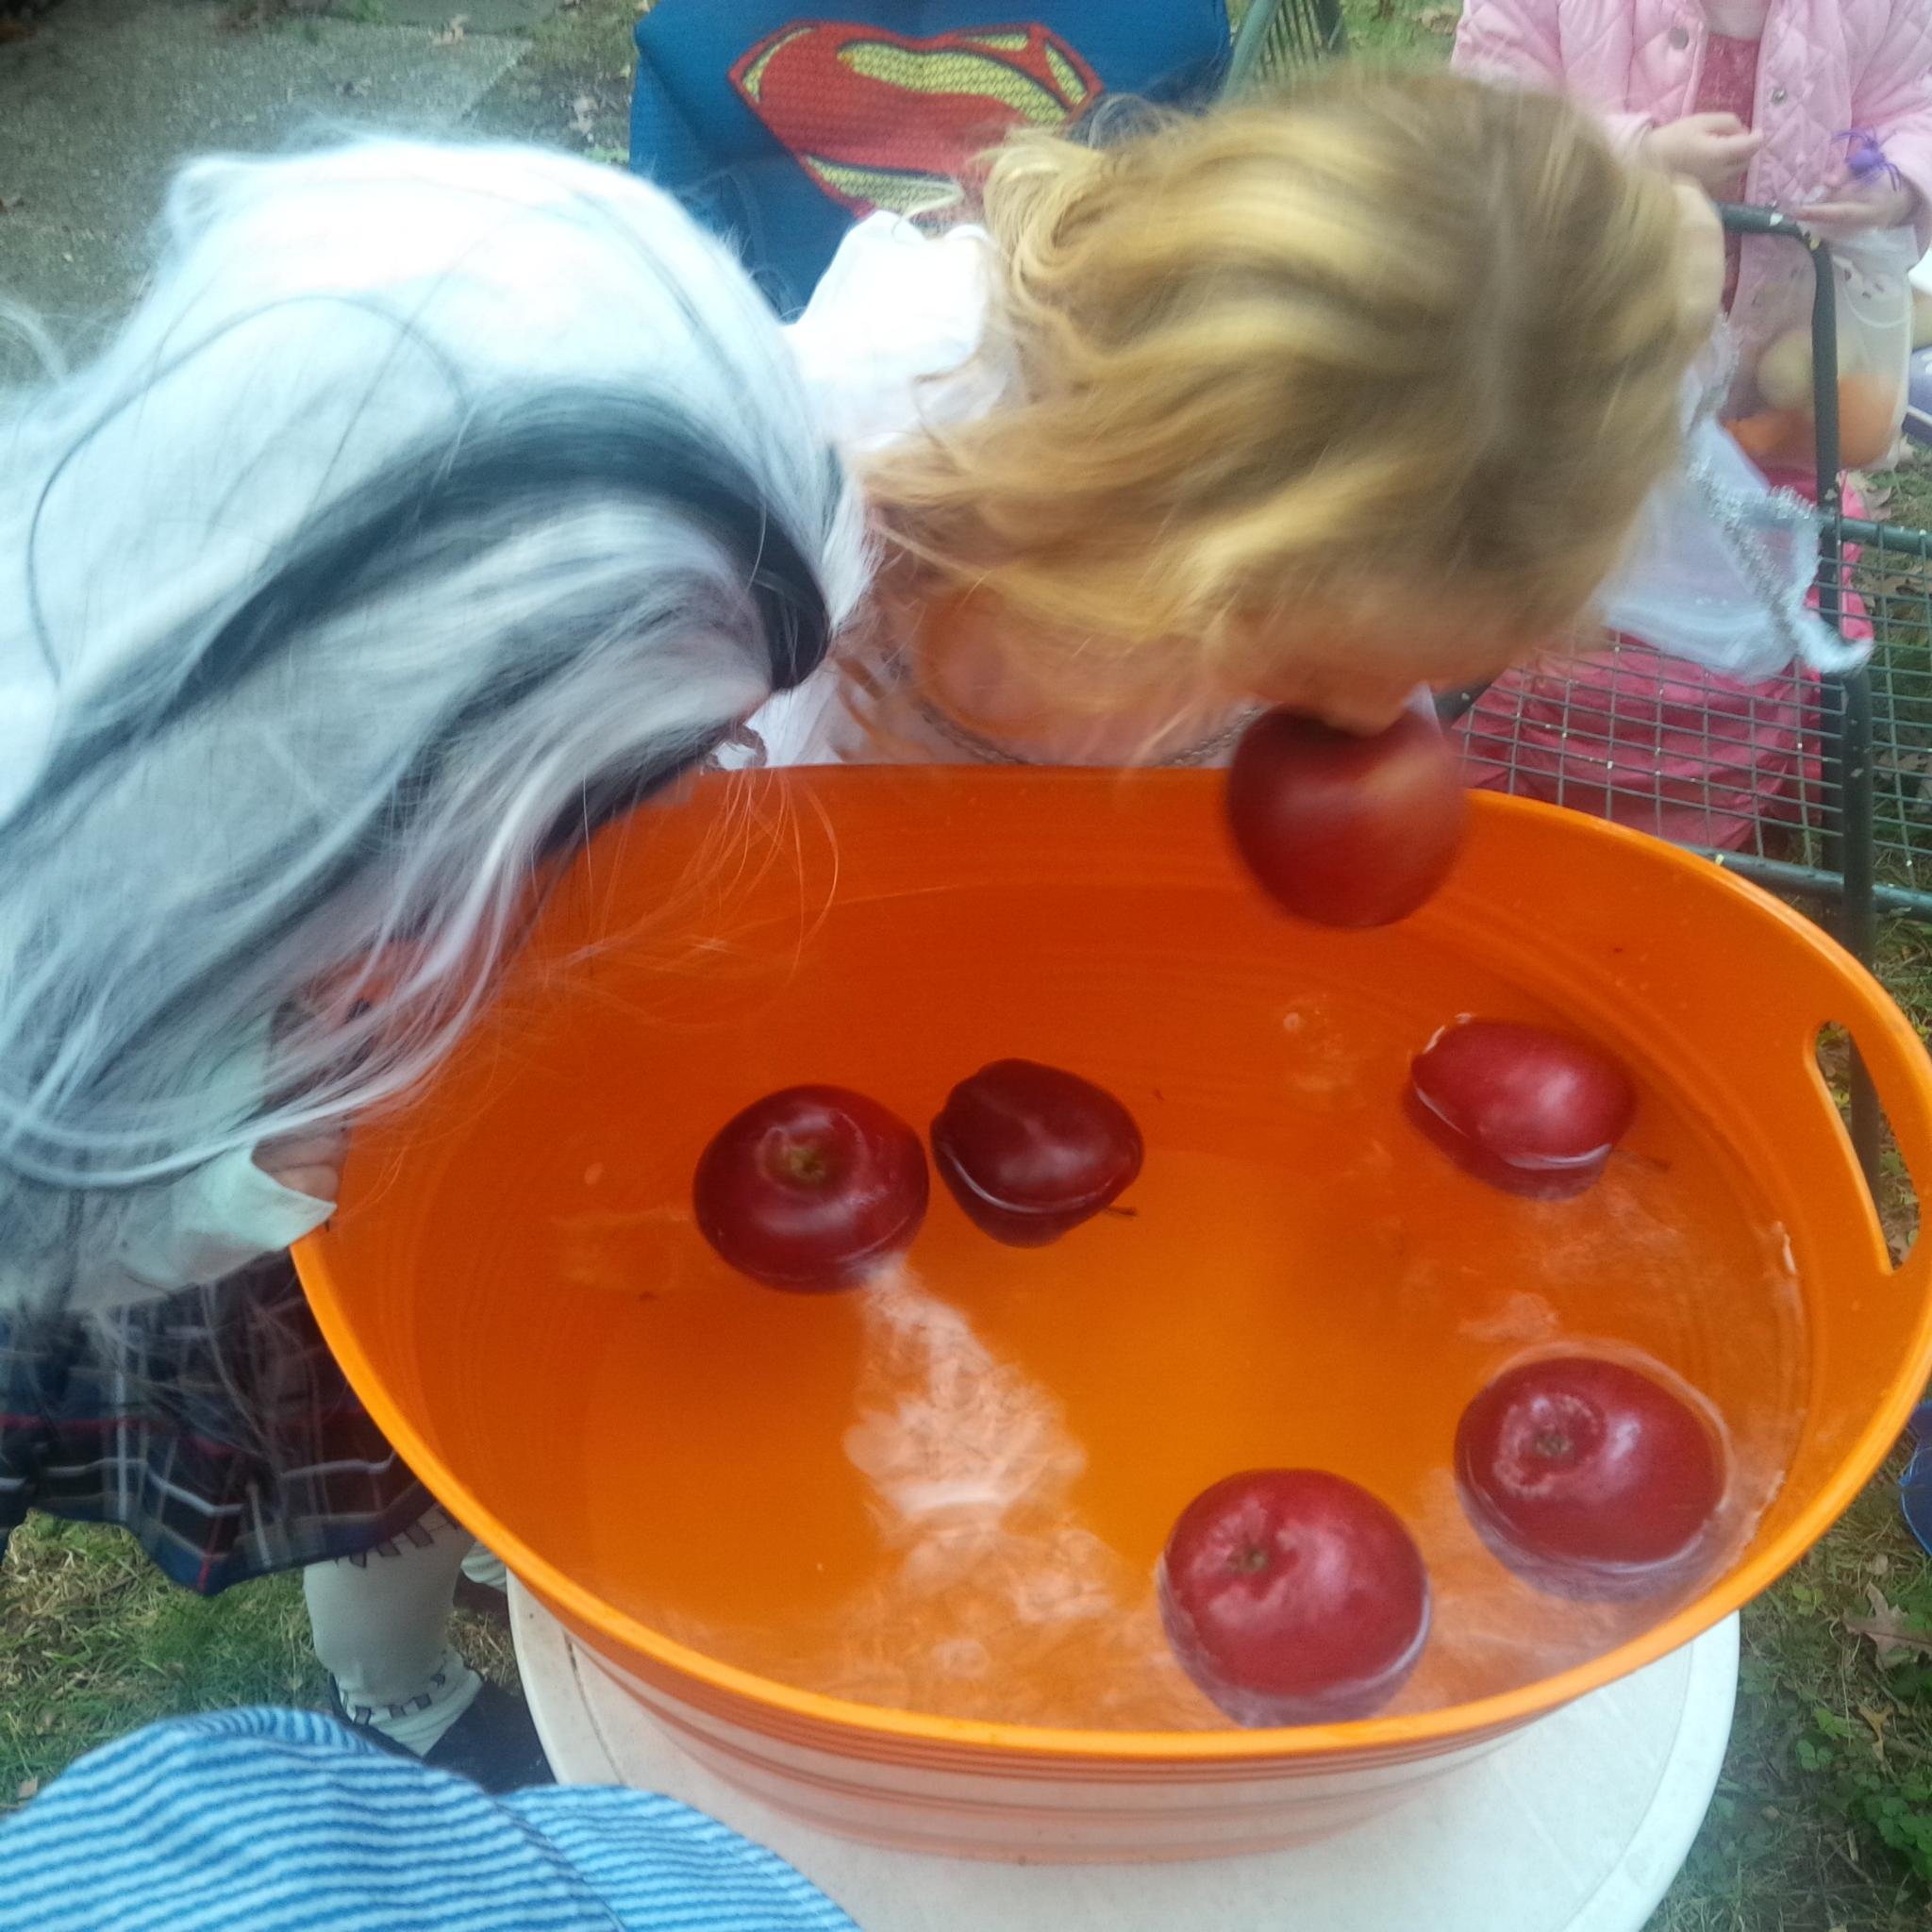
Some of our activities included, decorating pumpkins , doughnut string game, Halloween egg hunt with festive prizes for the occasion inside, bobbing for apples, halloween Tattoos, and a special appearance from Raggedy Ann from Clowing around town which was super symbolic to me this year 😉


and of course we cannot forget about the snacks and treats! Lots of laughs and was enjoyed by all!
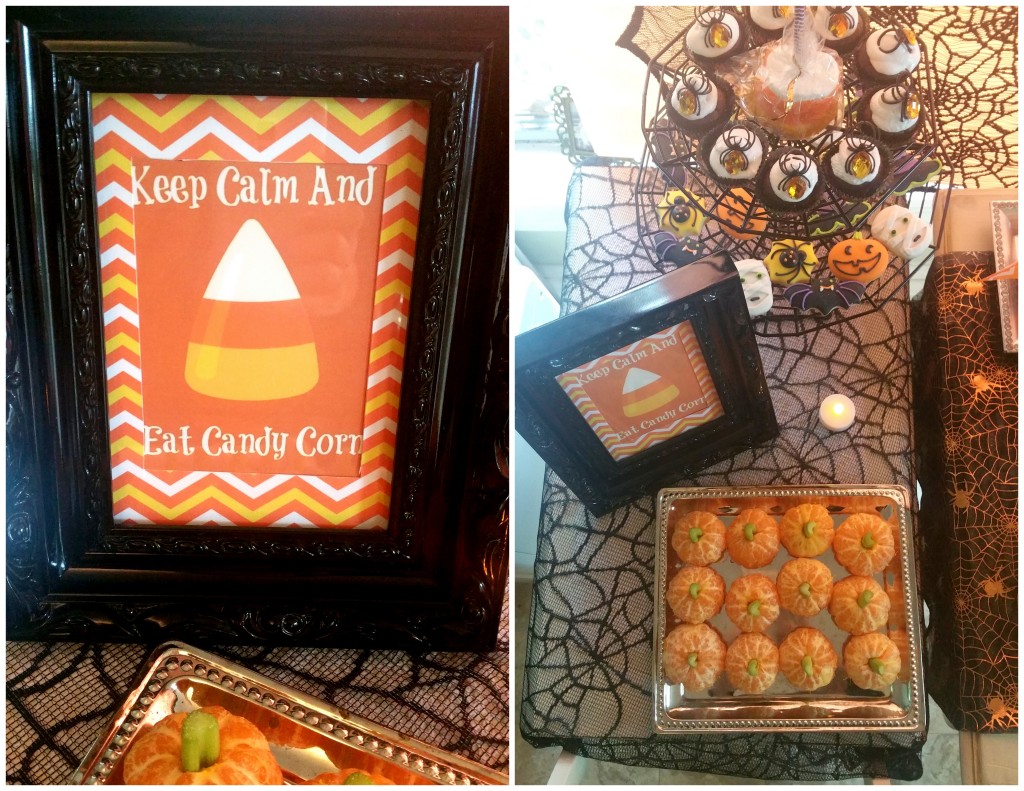

If you would like the free download for the candy corn print paper Click here.
If you would like the free download for the pumpkin candy corn cheese stickers for laughing cow Click here.
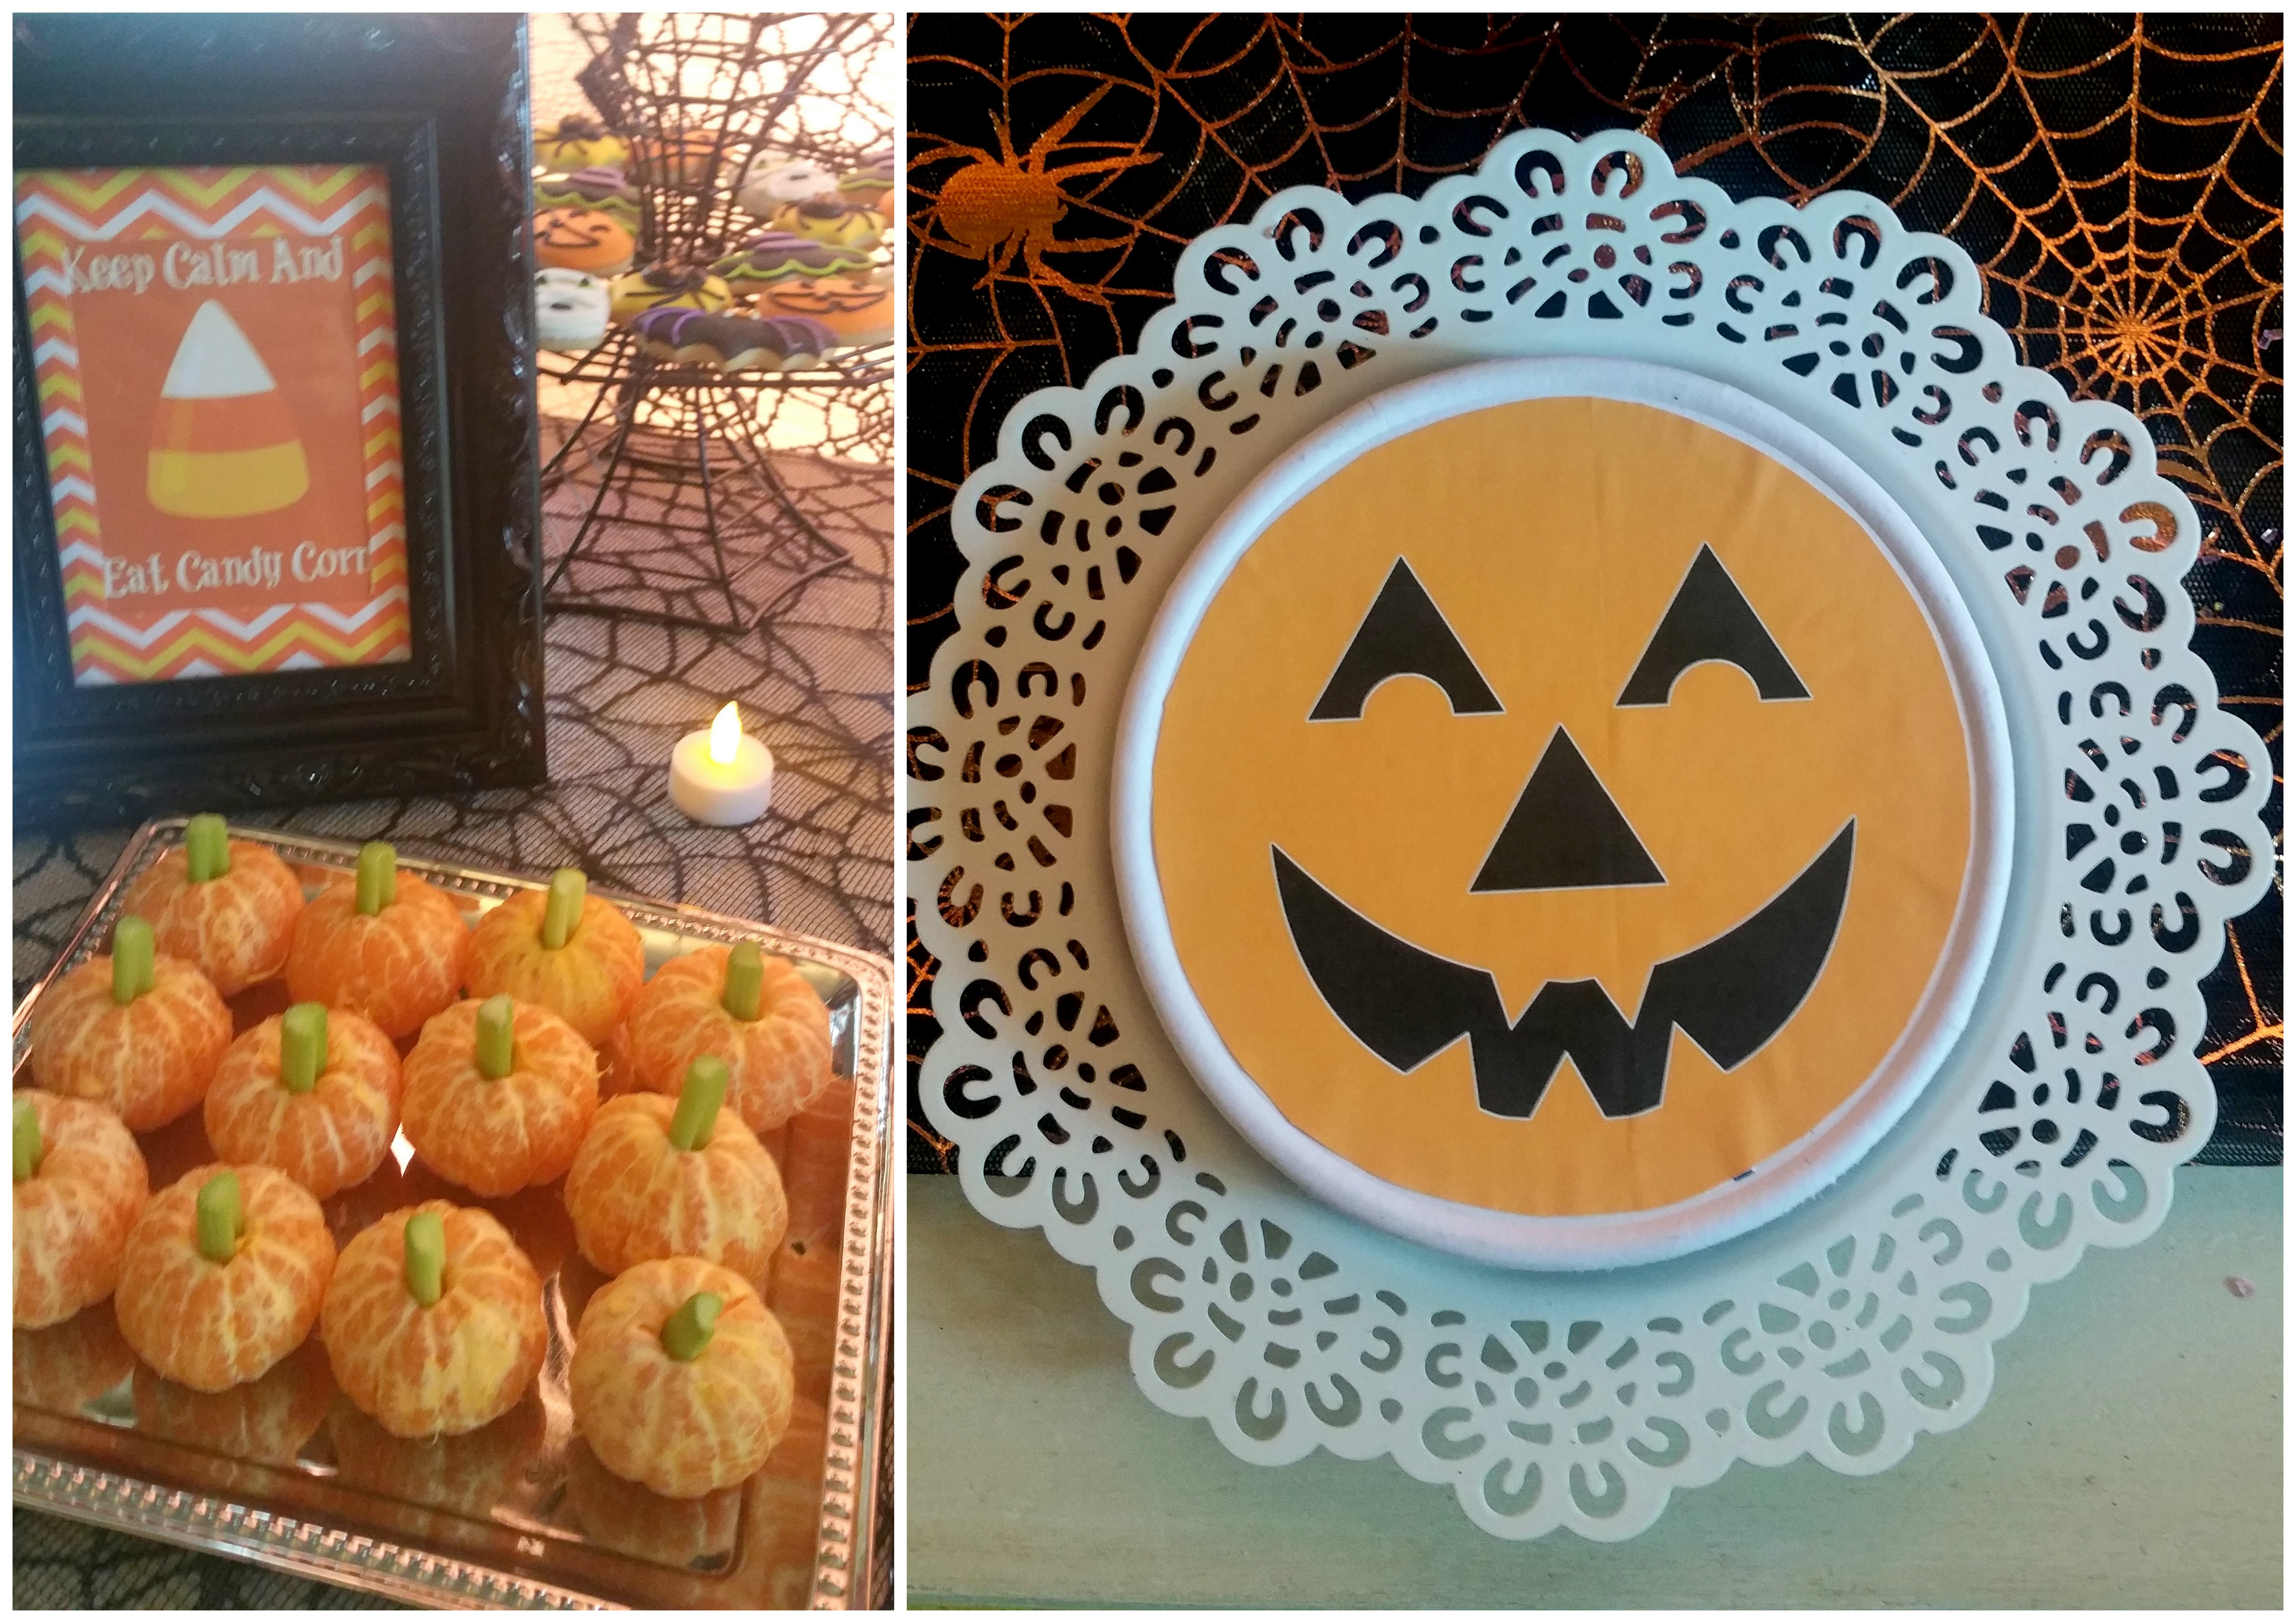
If you would like the “Keep Calm and Eat Candy Corn” sign click there —> Courtsey of Juggling act mama.

All cupcakes were made by myself and were gluten free and organic.
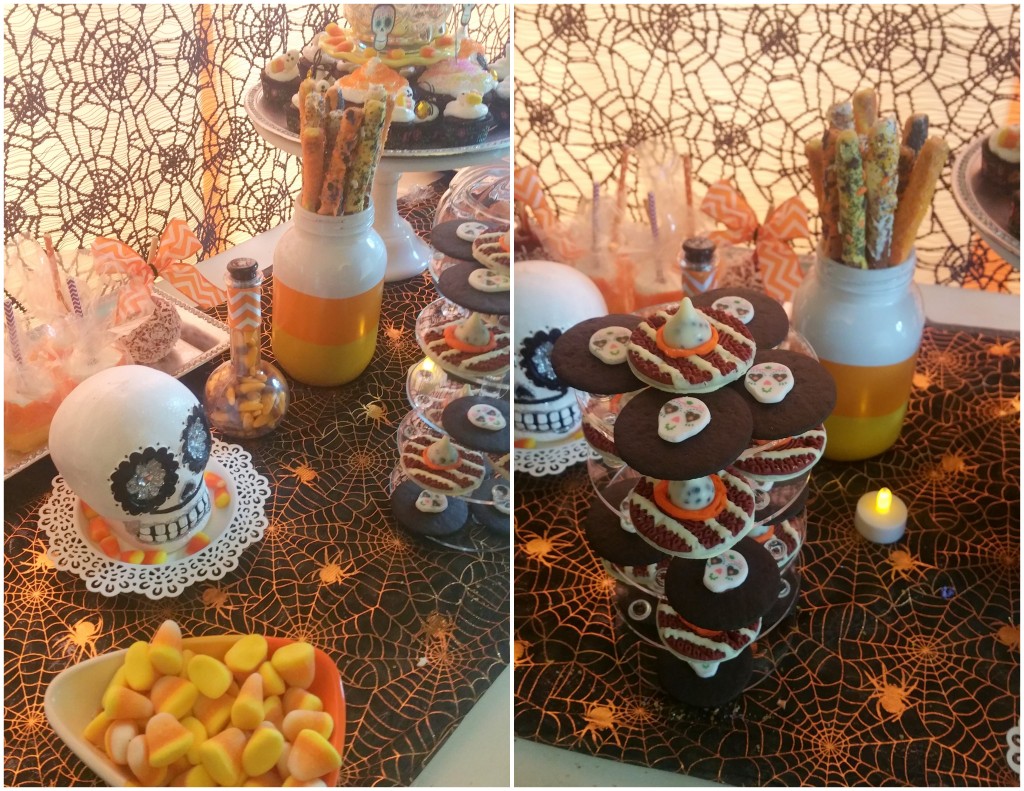
The cookie witch hats was an idea I saw on pintrest, however they were all milk and or dark chocolate that I saw, and I thought why not make it white chocolate to match the stripes on the cookies. The red velvet cookie was my daughter’s idea instead of the typical coco color on the fudge stripes. It definitely was an experiment.
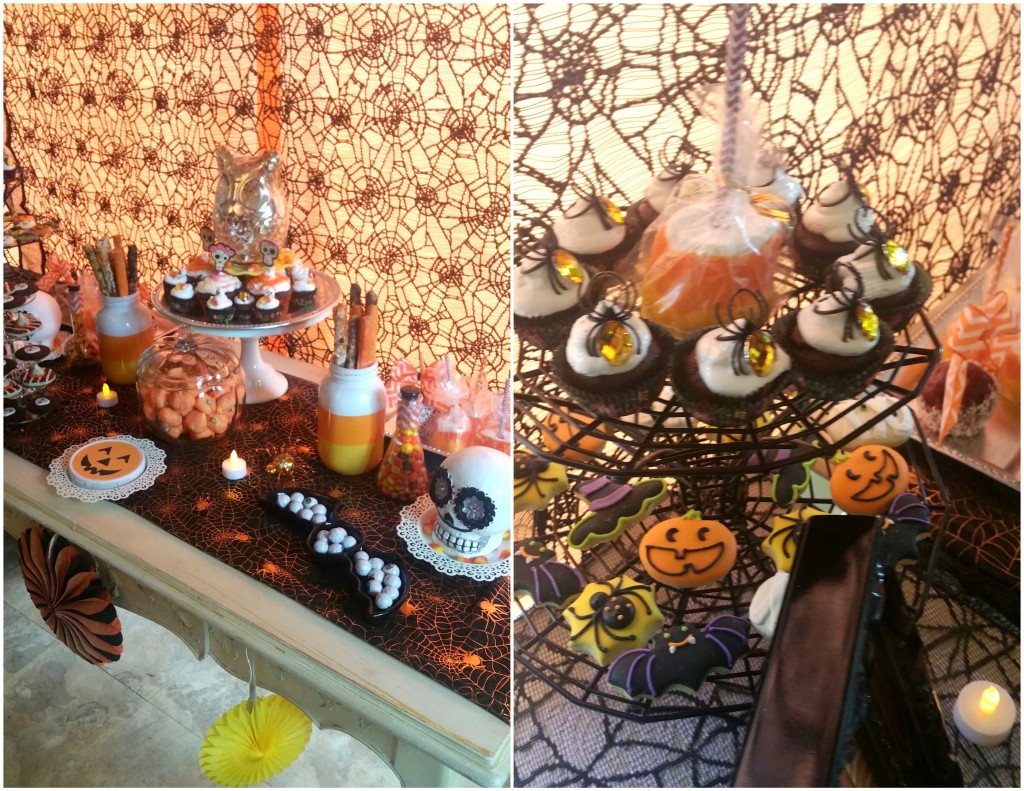
Our little goolish guests were given orange, silver and black bat beaded necklaces that were put on each plate and besides the sweet treats and crafts they also took home a fun pumpkin tissue surprise. That you can learn how to make yourself with this tutorial. I had to try it out the moment I ran across it because it was super adorbs from One little project at a time.

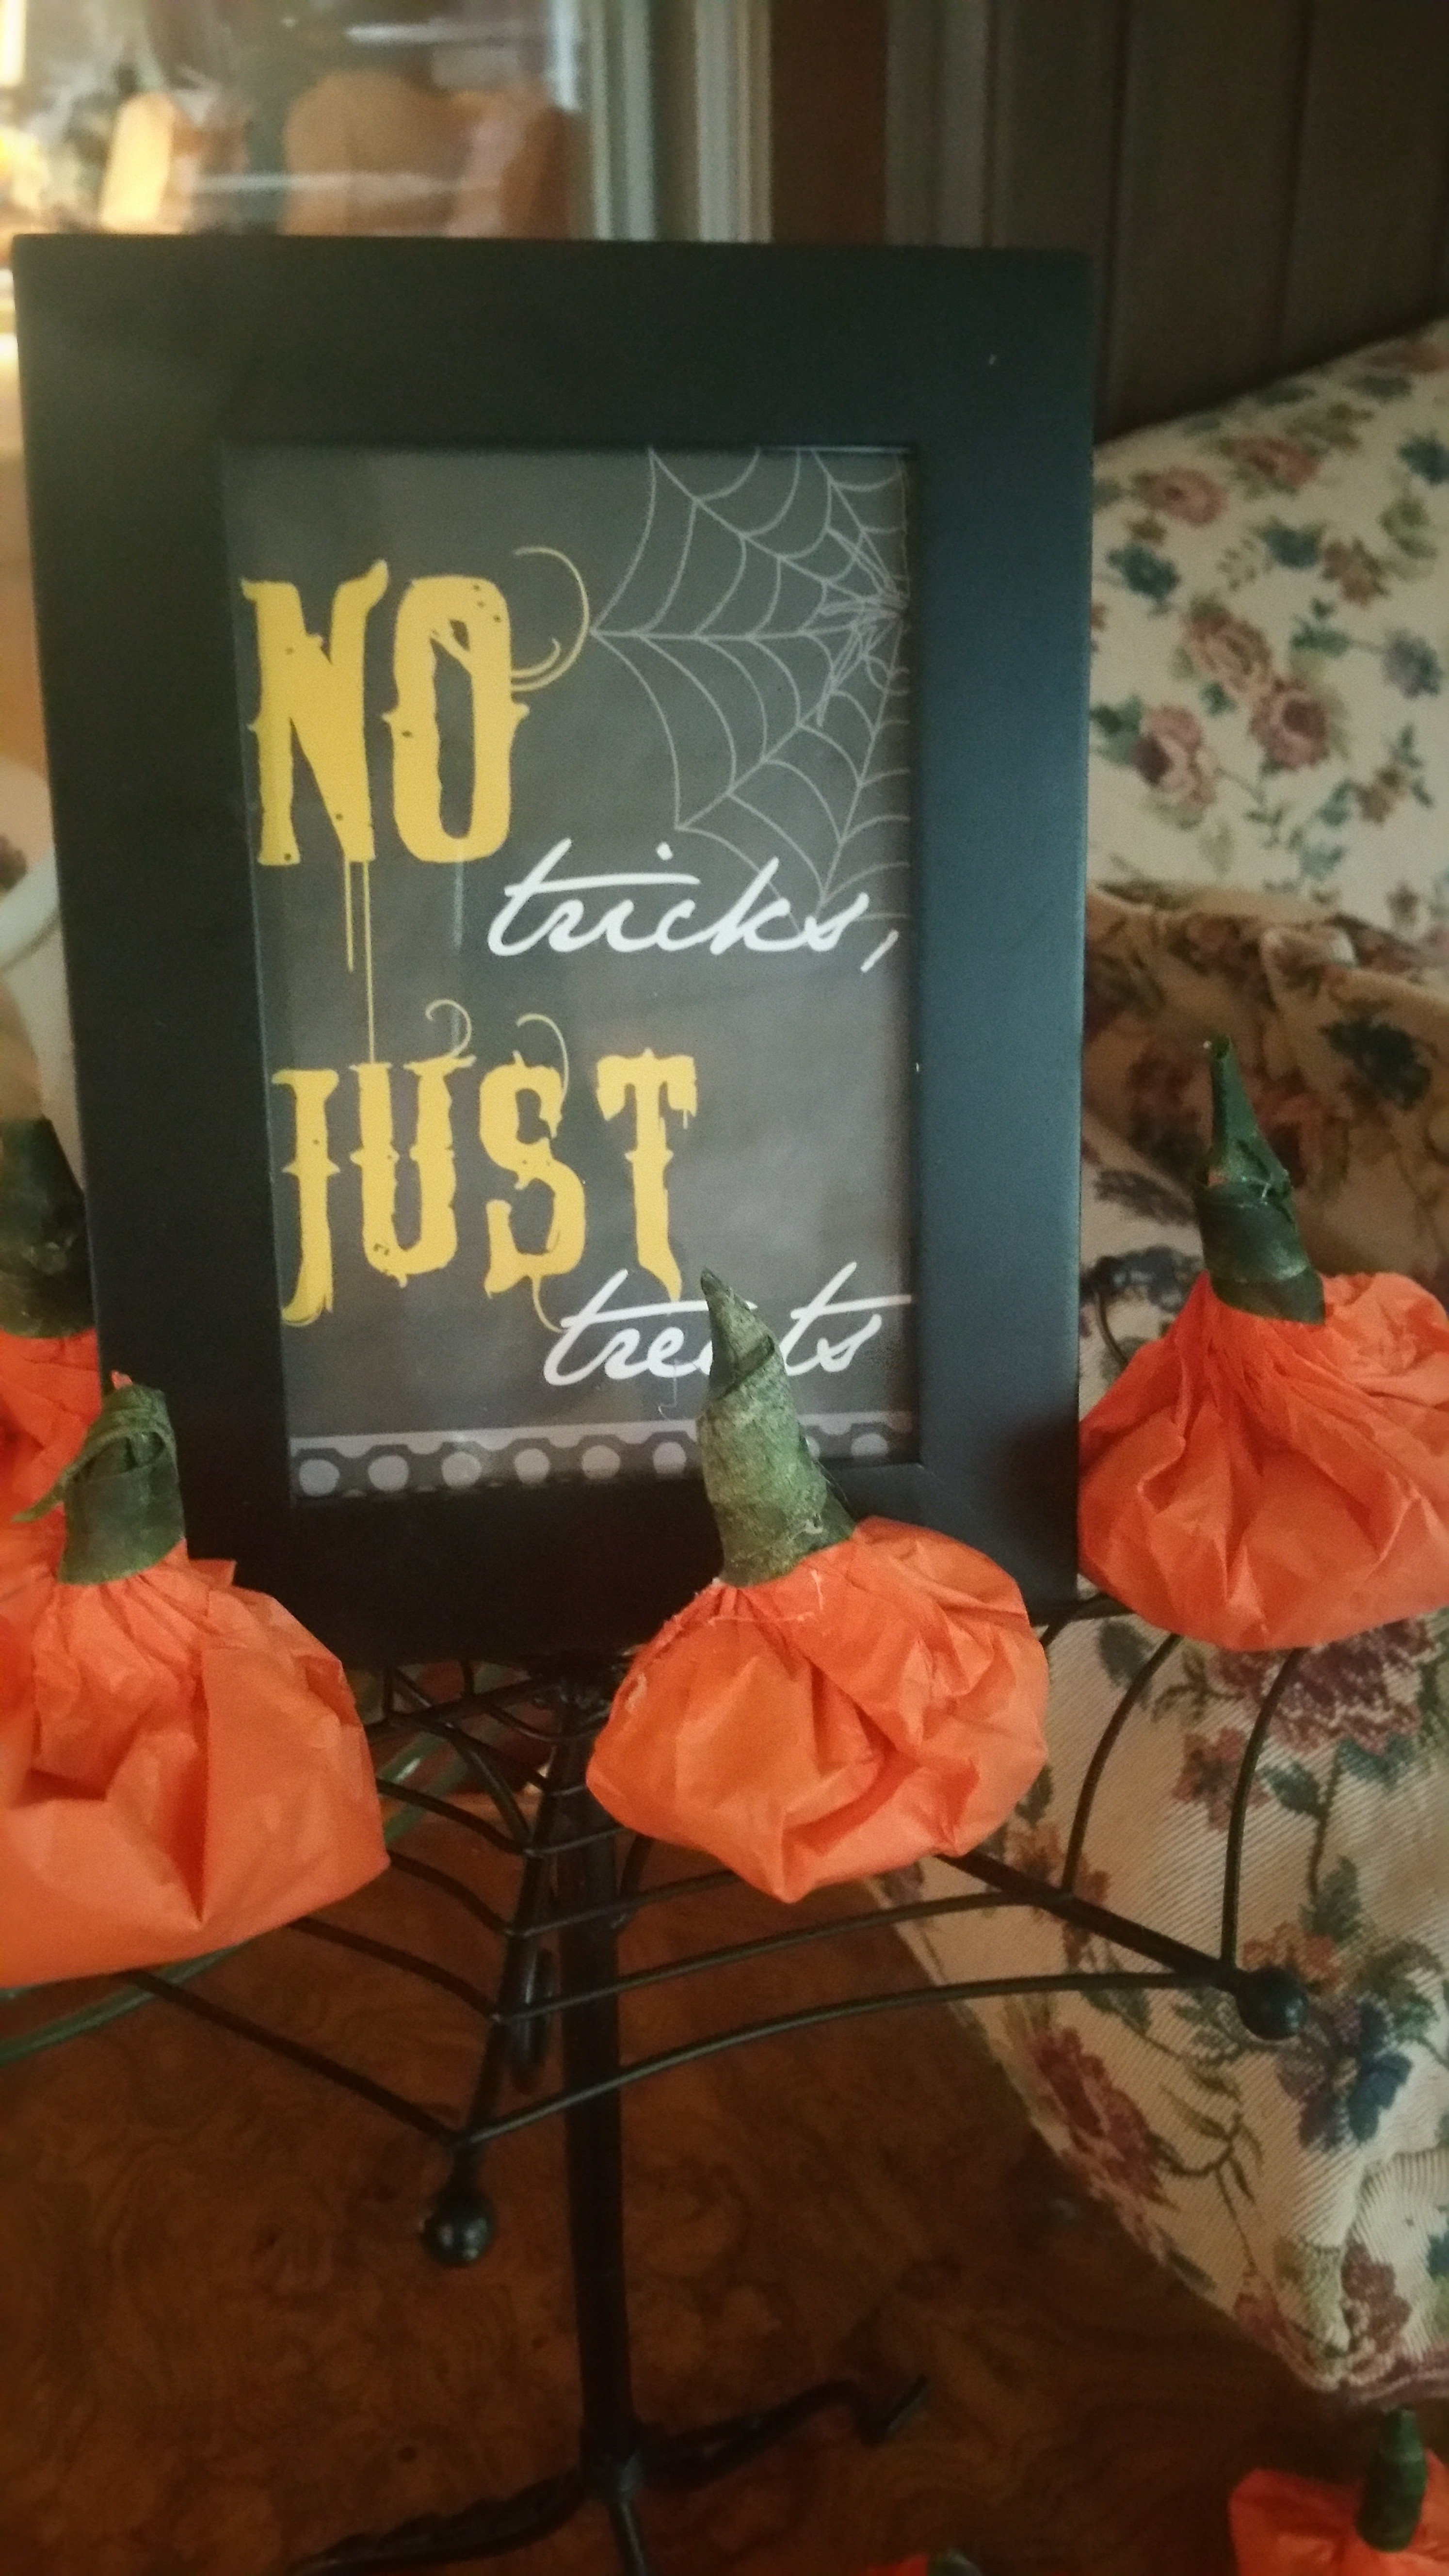
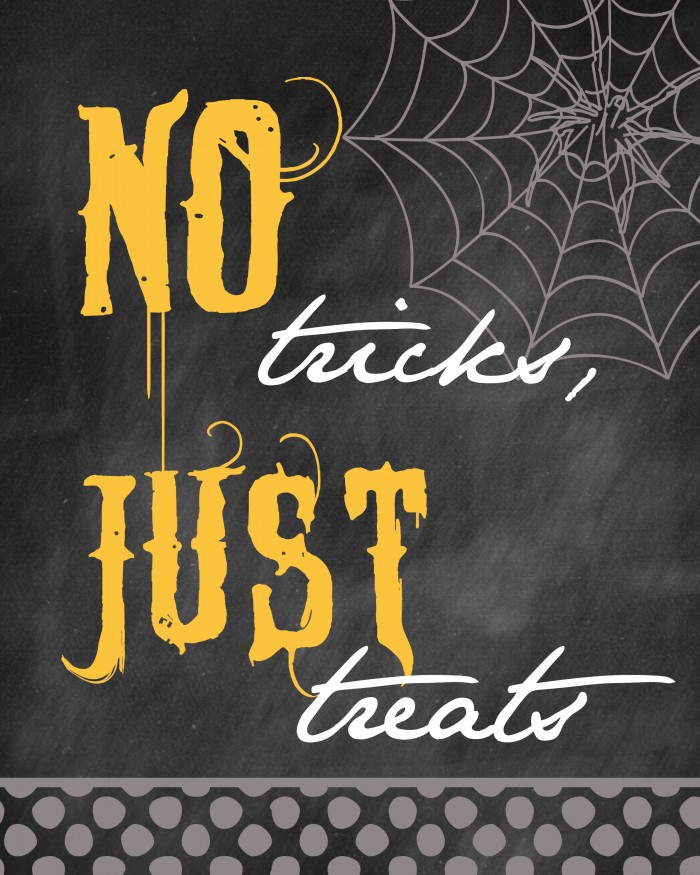
Here is a free printable for the NO TRICKS, JUST TREATS sign. Click here.
I was very busy entertaining all of our friends so please forgive me for not capturing every detail. Some of the Mommy’s were kind enough to share some shots they got from the day. Here is one of the kiddie table.
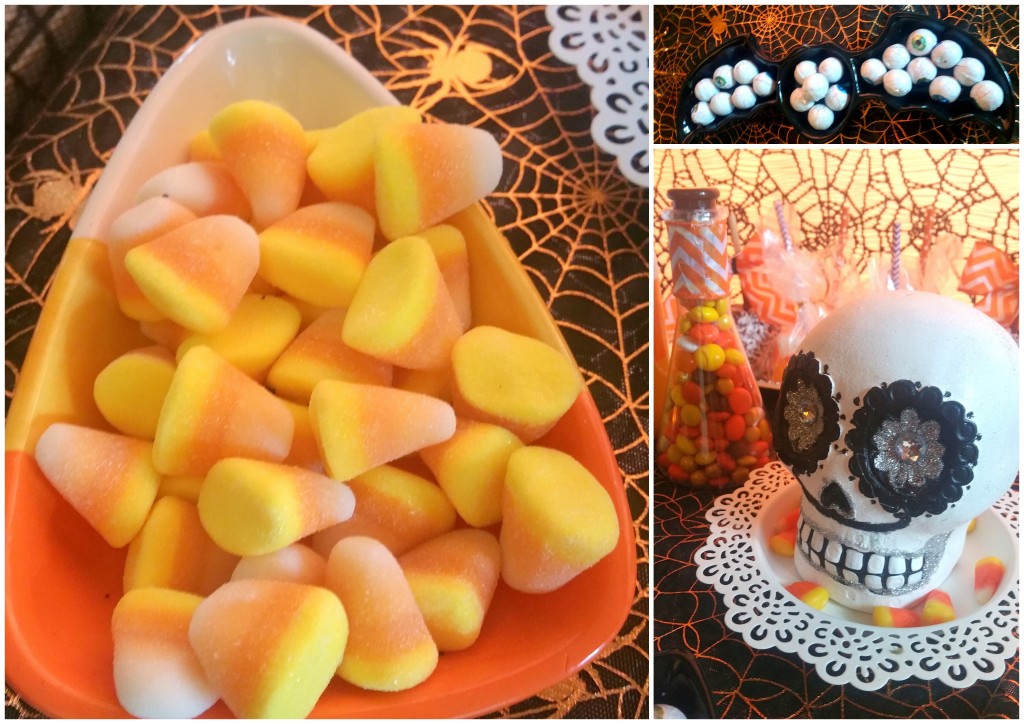
Credits: Assorted small festive cookies, Candy Corn Marshmallows, Pumpkin Marshmallows, Chocolate eye balls – William Sonoma. Candy Corn Marshmallows dipped in Chocolate – (directions on previous post) , Devil food organic cupcakes with marshmallow frosting , coconut candy apples, clementine and celery for pumpkins, chocolate covered pretzels, witch cookie hats & chocolate sugar skull wafers –dearjeni. Pumpkin face cheese: The laughing cow.
My goal next year will be to have our party weeks before so that maybe you can grab some ideas prior to Halloween. I hope you enjoyed reading about our fantabulous day!♥


