V day Heart Crayons
I ran across some adorable crayon melt projects. Truthfully, I had a hard time deciding which project we would attempt from social media sites like pinterest, facebook and youtube. After much deliberation I finally made my decision and we used this one here. From Katarina’s Paperie.
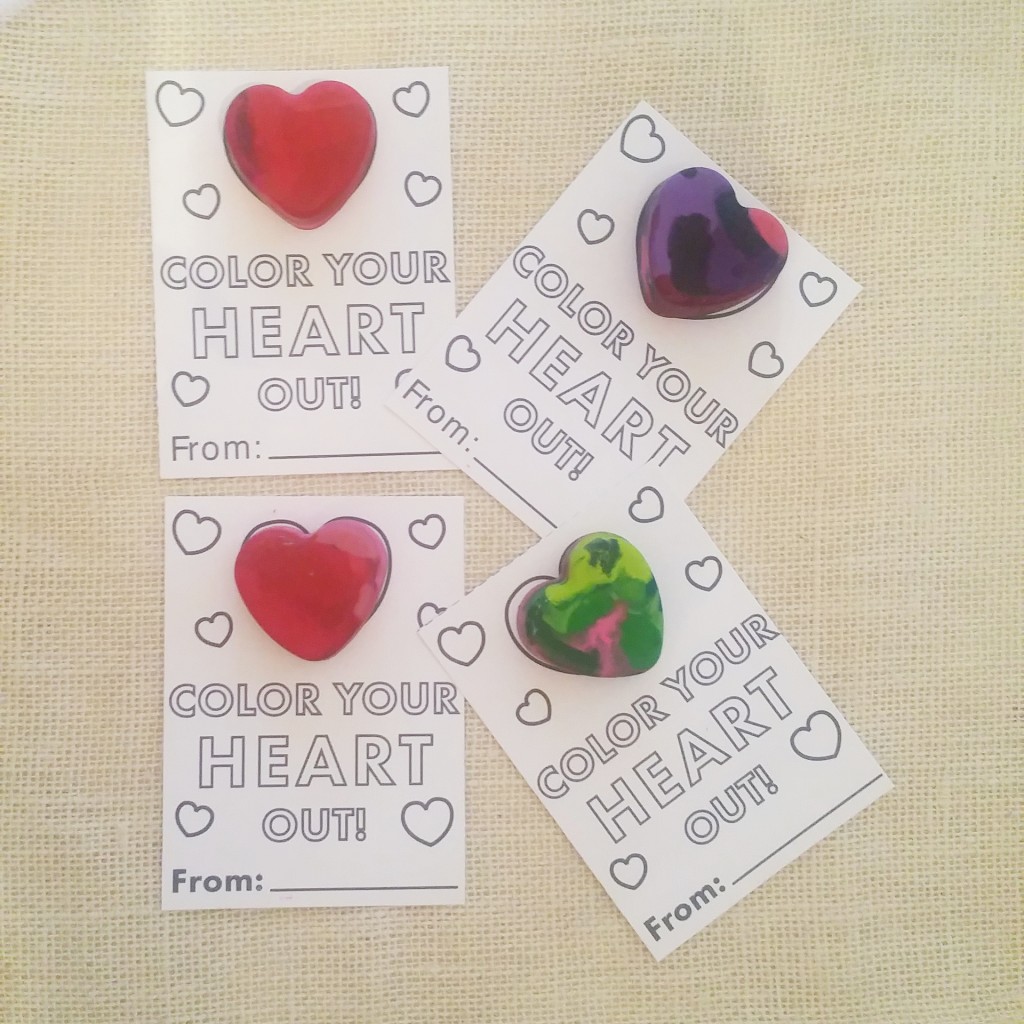
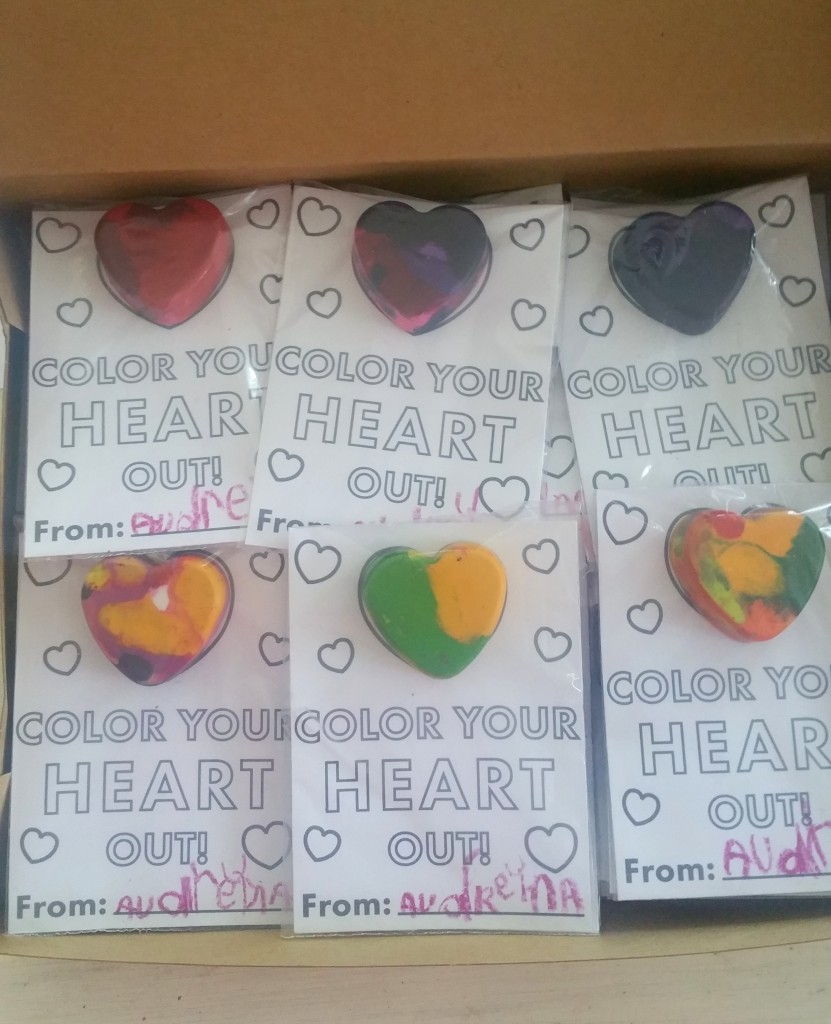
Valentine card for print here.
The only difference in my post here that you will not see in the link above is I will give you my tips for making this project go a little smoother for us 1st timers 😛
- Use an exact knife and cut the crayon labels straight down for easy removal when breaking crayons apart.
- Definitely make sure you over fill your Wilton heart molds with more crayons than less or your crayons will be shallow and smaller.
- Make sure you keep your oven on 225 and bake for 30 minutes ( I found a slow steady temperature makes a better crayon instead of cranking the heat up)
- Do NOT put them in the freezer , let them sit for 3 hours or more you will get bubbles in the crayons
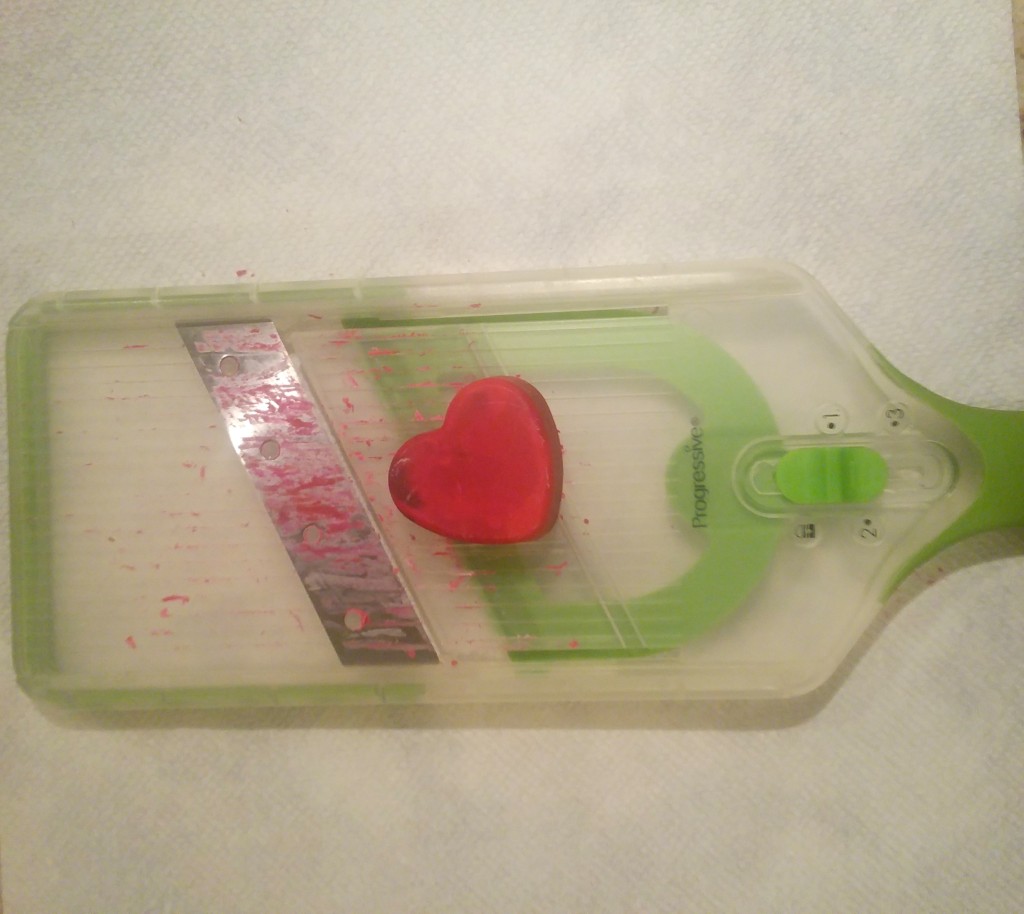
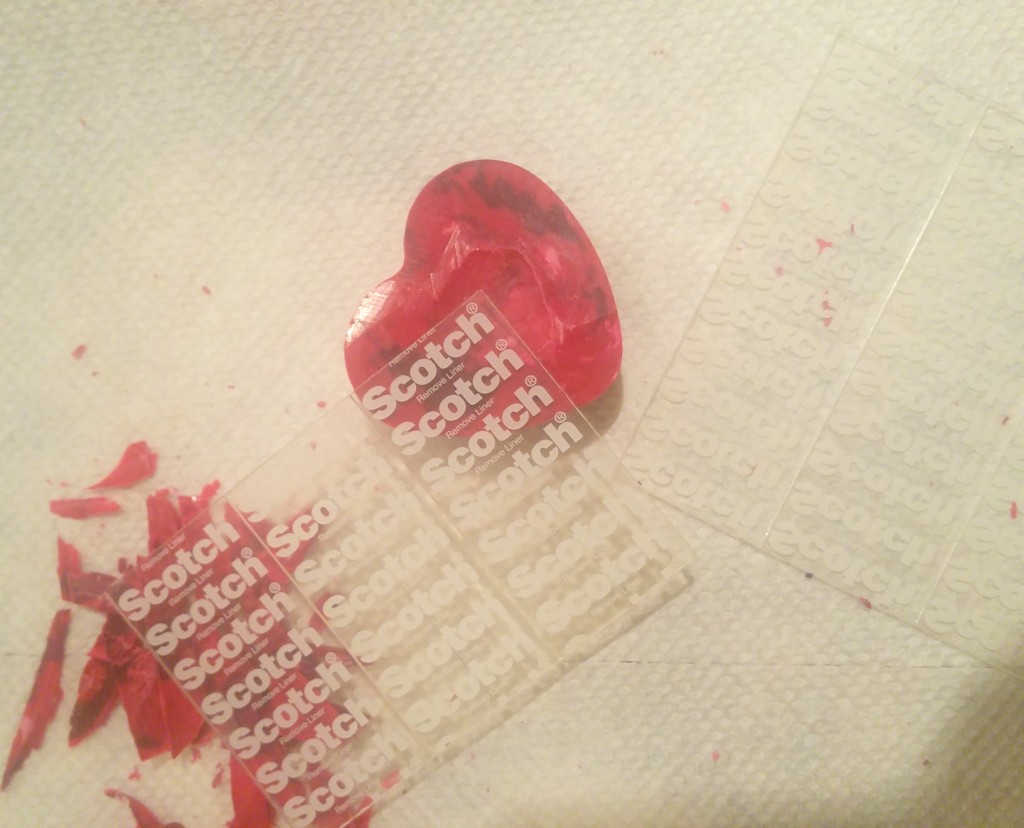
- After your crayons are ready to be peeled and popped out of your tray you might experience a small sinking hole or some unevenness in the crayon heart , you may need a peeler as shown to make your crayon level for pasting onto the paper valentine.
- Use double sided heavy scotch tape with weight for 1.4 lbs to hold into place.
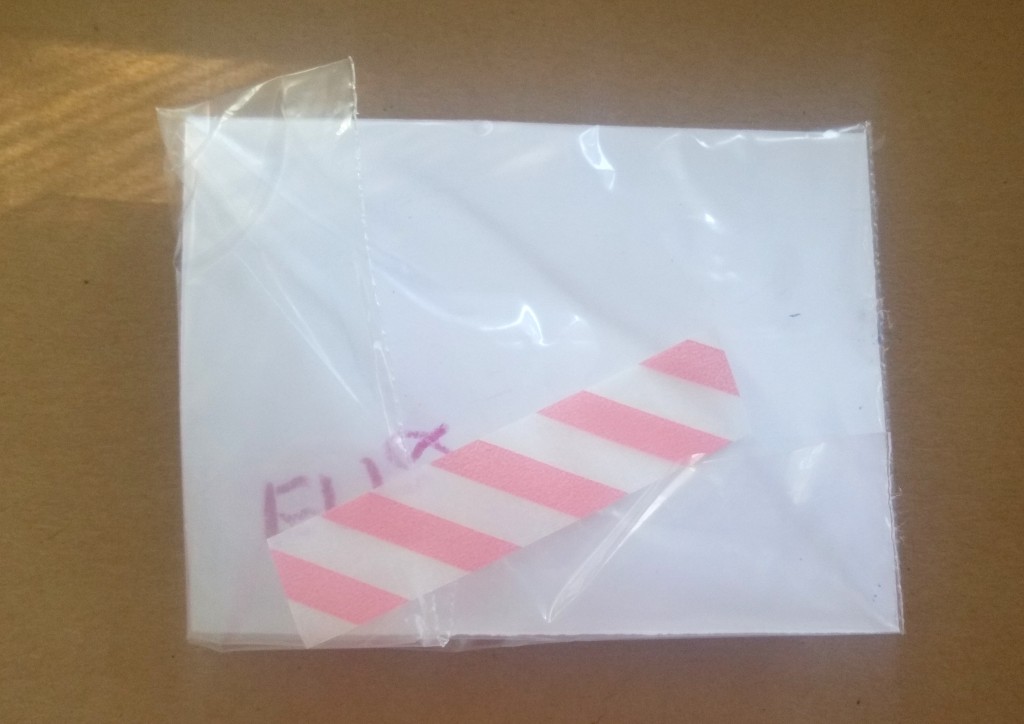
- Use zip-locks and cut them for a clear cello look or use cello envelopes and cut to shape. Fold over access and use decorative washi tape (as shown)
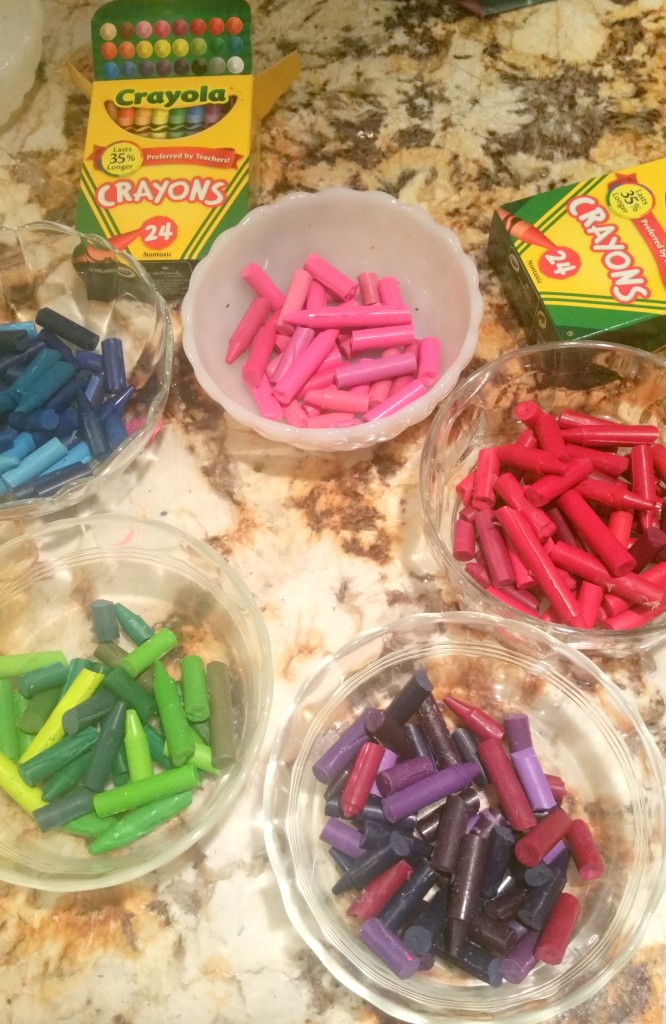
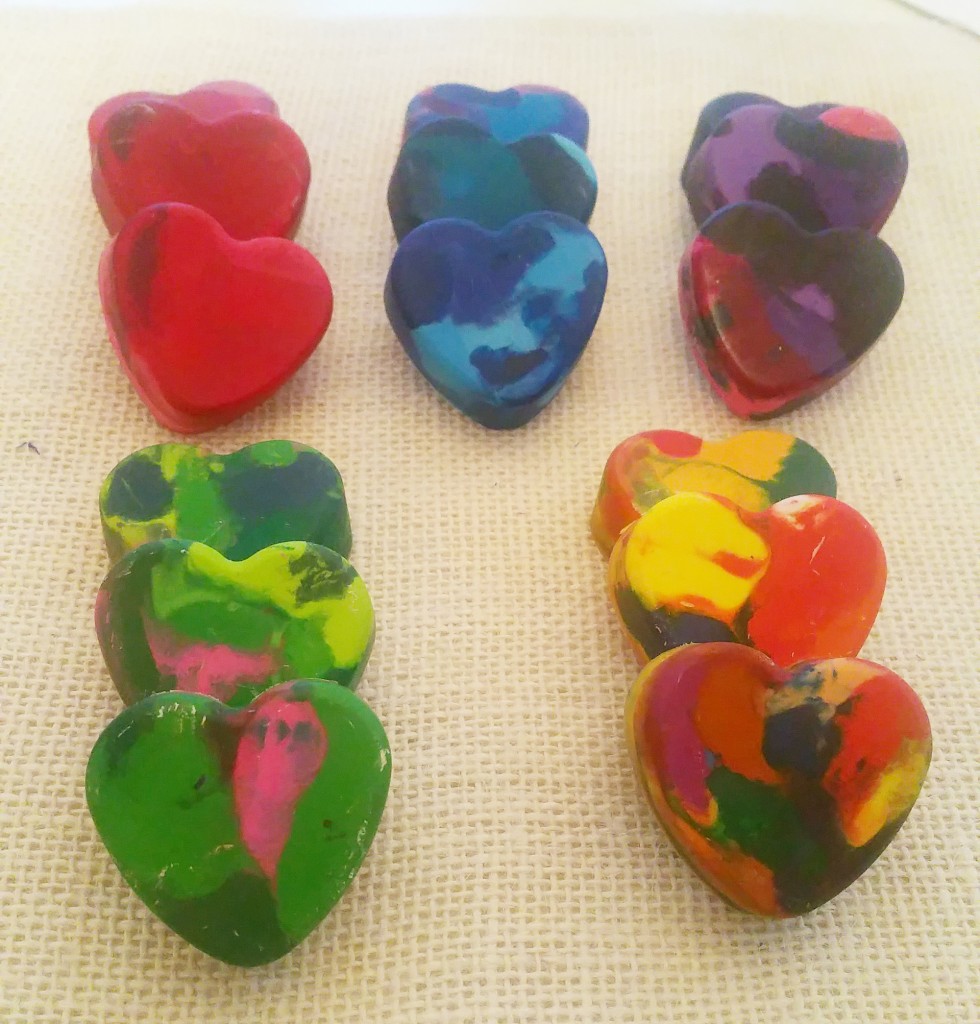
We separated by color.
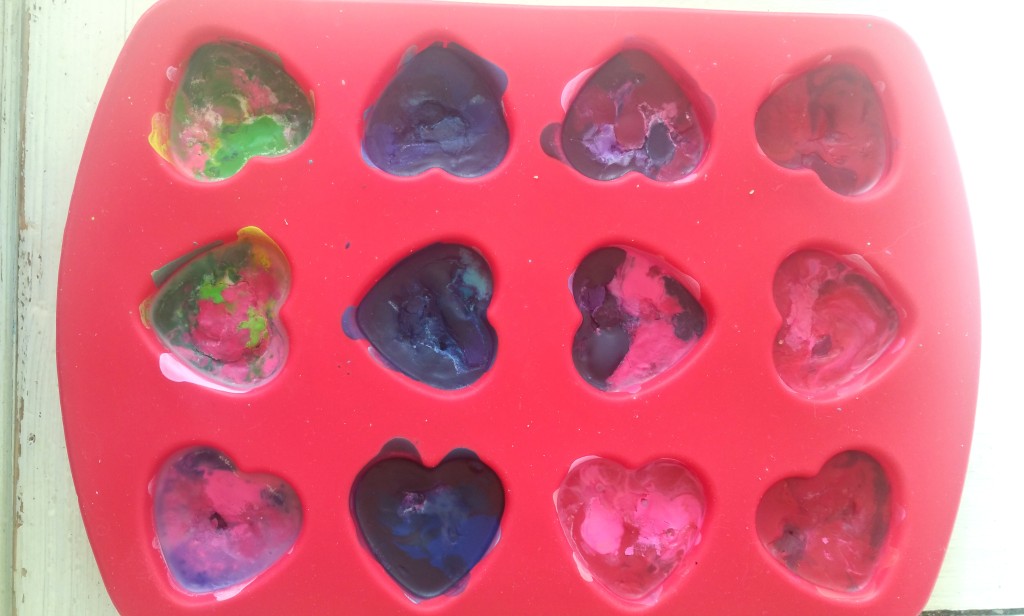
Pictured above is after our melt.
Here I shaved a section down to make even so it could adhere to the card evenly.
I recommend using scotch guard double sided tape for heavy weight or glue dots.
Result after colors were separated.
I found the clear cello or zip- lock give a nicer appearance than inserting into envelopes. It is also awkward when trying to close a regular envelope.
I hope your Valentines like them as much as we did making them!


